I am so excited to share our FINISHED Built-in Banquette with you! I shared back on THIS post in January that we really wanted to add a built-in banquette to our tiny kitchen. And I have talked about this banquette a lot since then, can you tell how excited I am about it?! If you have read my blog before this post you already know that we had a cozy little settee in our kitchen that we were using as a banquette. I was REALLY sad to see that settee go. It was comfortable and good looking settee and held a lot of memories. I was willing to part with it to gain some extra seating and some much needed hidden storage underneath the seat of the banquette. I have to say we are pretty thrilled with it. Ok enough talking about it…let me show you!
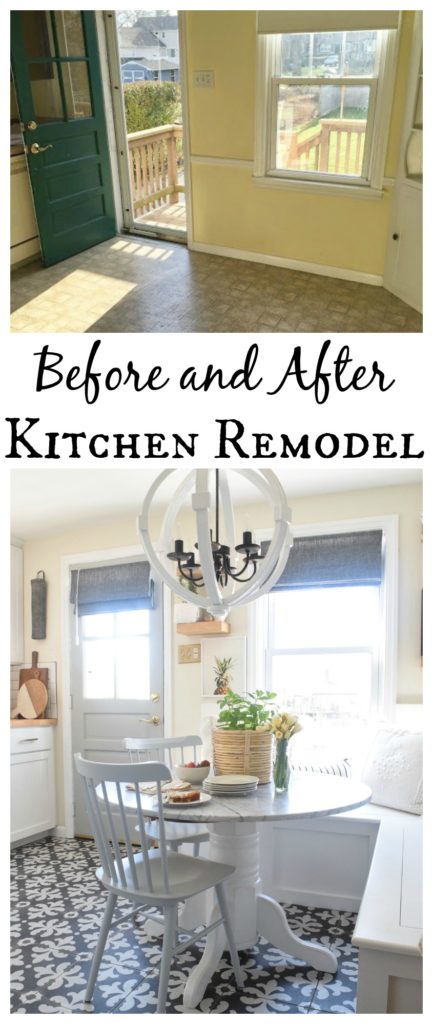
But first you have to see the BEFORE, the BEFORE we moved in-

Surprised we changed it? The homeowners before us didn’t have a dining table in this space, just a small little sofa table. And the picture got cut off, but there was a fan in here too:)
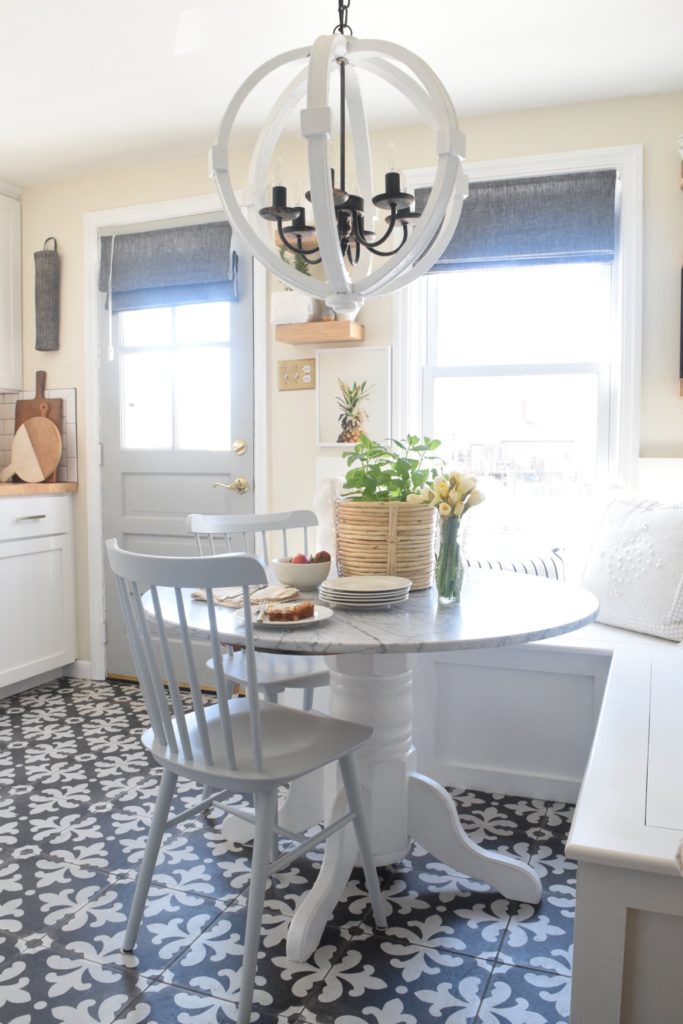
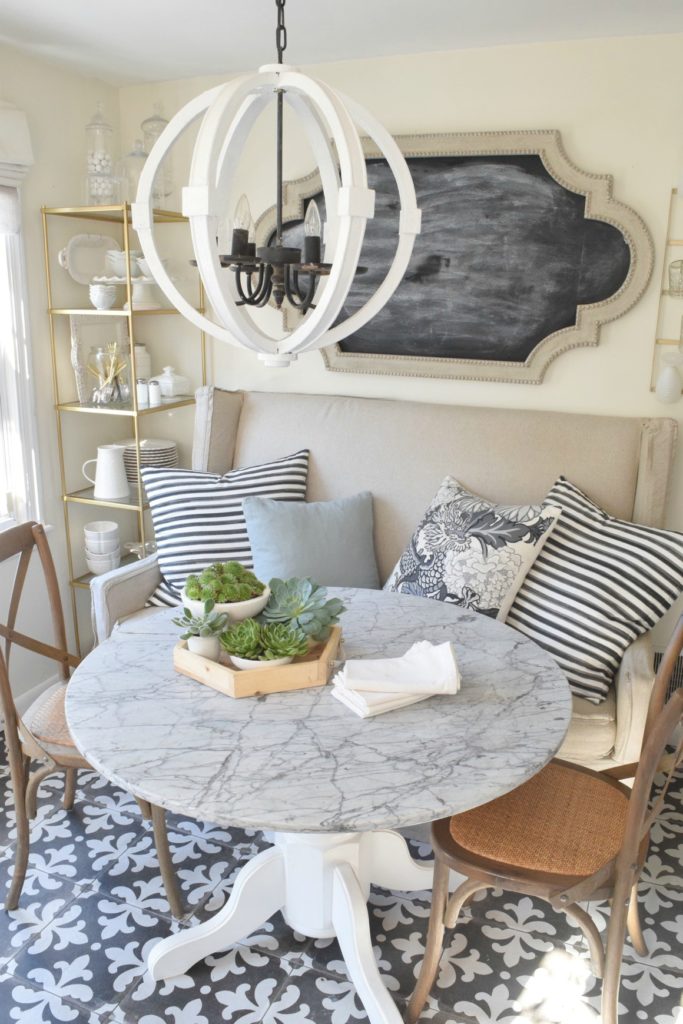
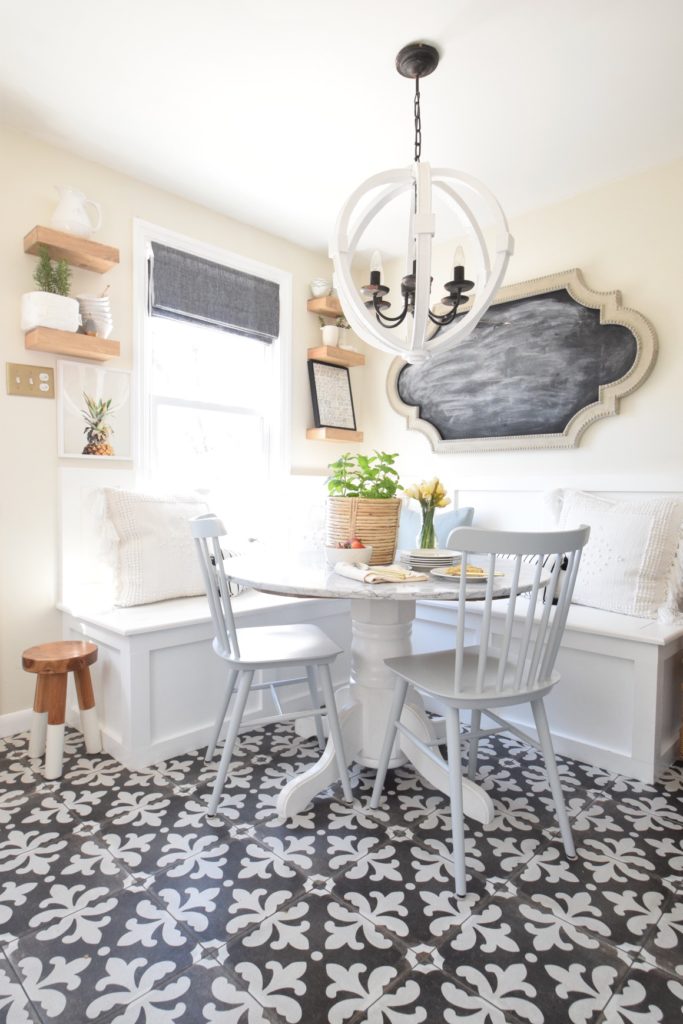
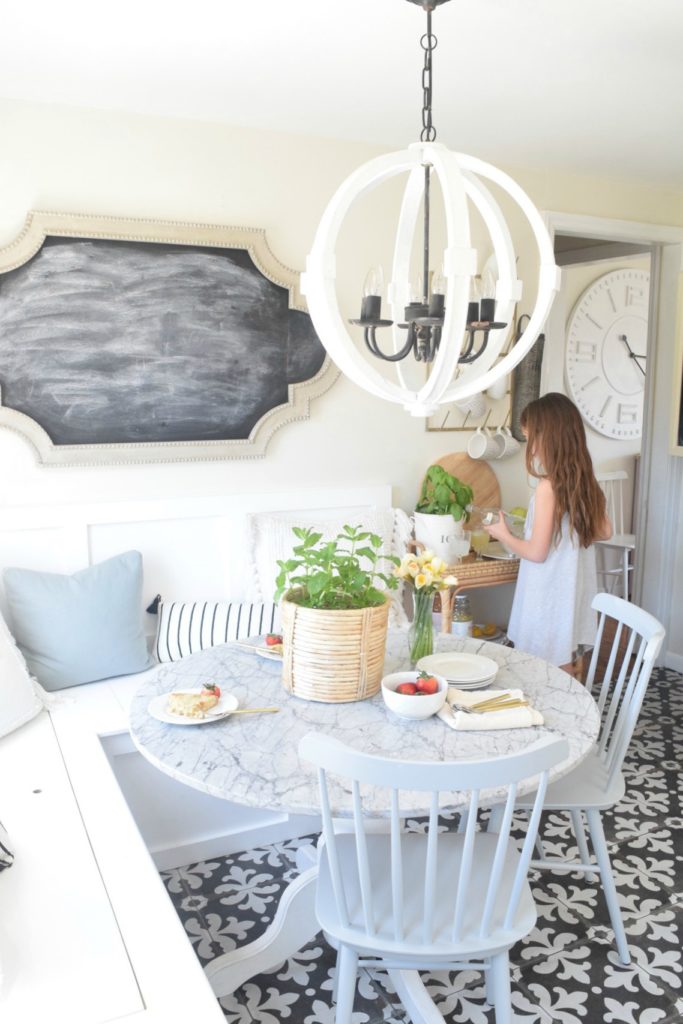
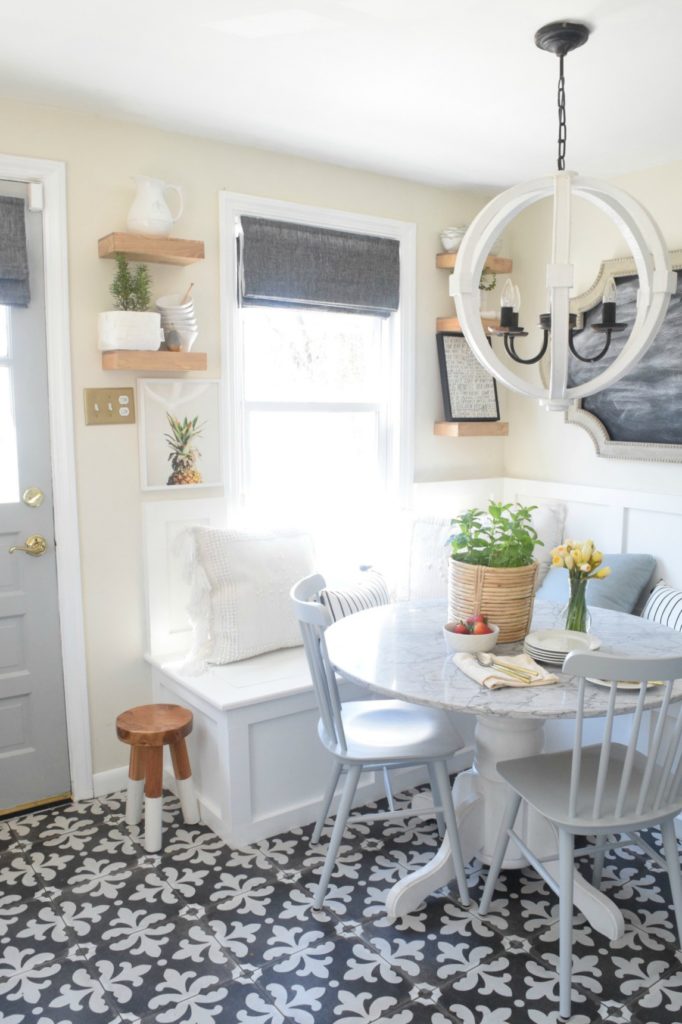
Here is the after with our new built-in banquette and a few other changes that we made. Below is what it looked like with our lovely settee, the way it looked for the two plus years we lived in this little cape. I actually got so many emails and questions on that settee- a lot of people wanting to take it off our hands. The woman who did get it was so sweet, she sent me a picture of it in her house and said it would be loved by her family.
We had our talented do-it all guy- Marcin build our banquette. I had mentioned that he also hung the wallpaper in our son’s nursery, hung the barn door upstairs and remodeled our exterior porch. Nothing he can’t do! My husband has gotten SO handy with this house, but we knew we couldn’t and didn’t want to tackle building a banquette.
I had two bids on the building the banquette with materials. Only because Marcin was busy for a couple of months and I was anxious. The other bid was about $2200, way over double what Marcin charged us! So needless to say, we wanted for Marcin and a day of sunshine for him to do the cuts outside.
Best tip I have is to- get a couple of bids!
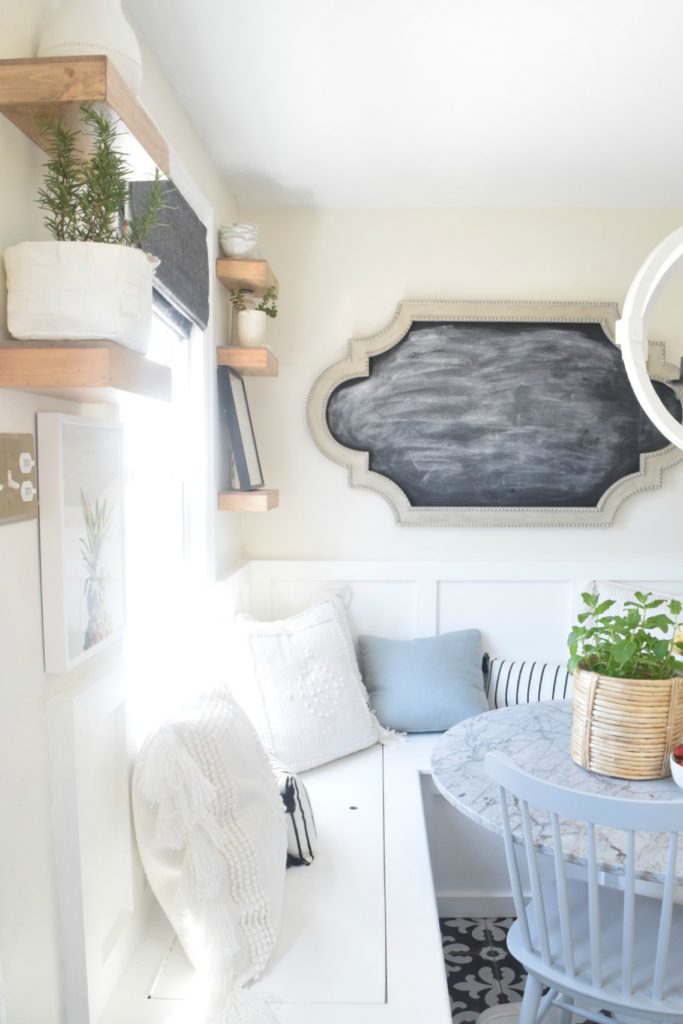
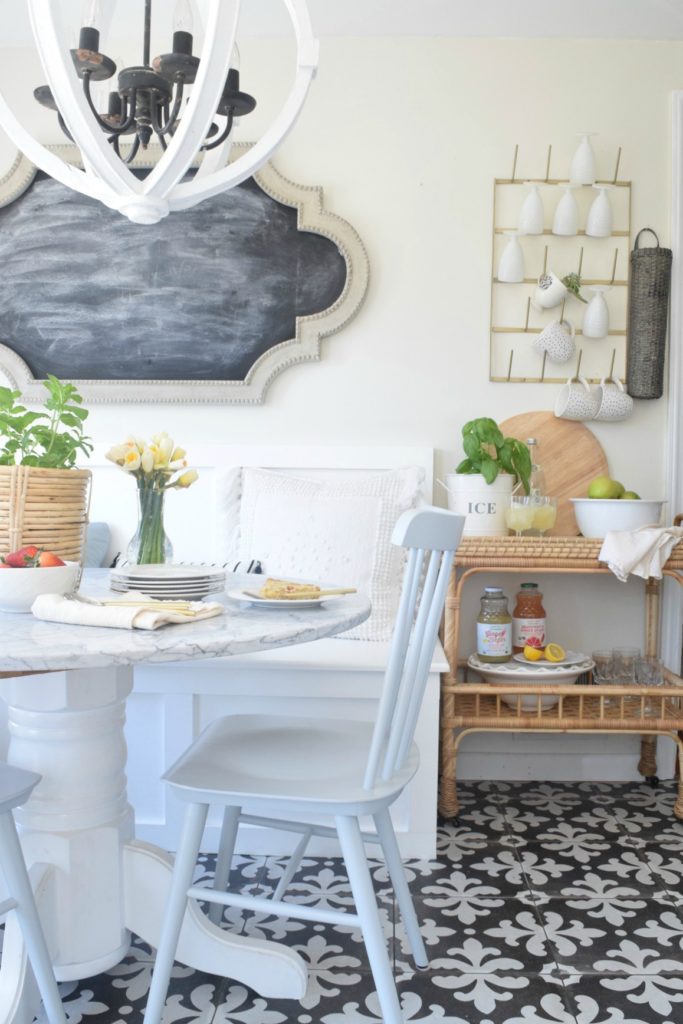
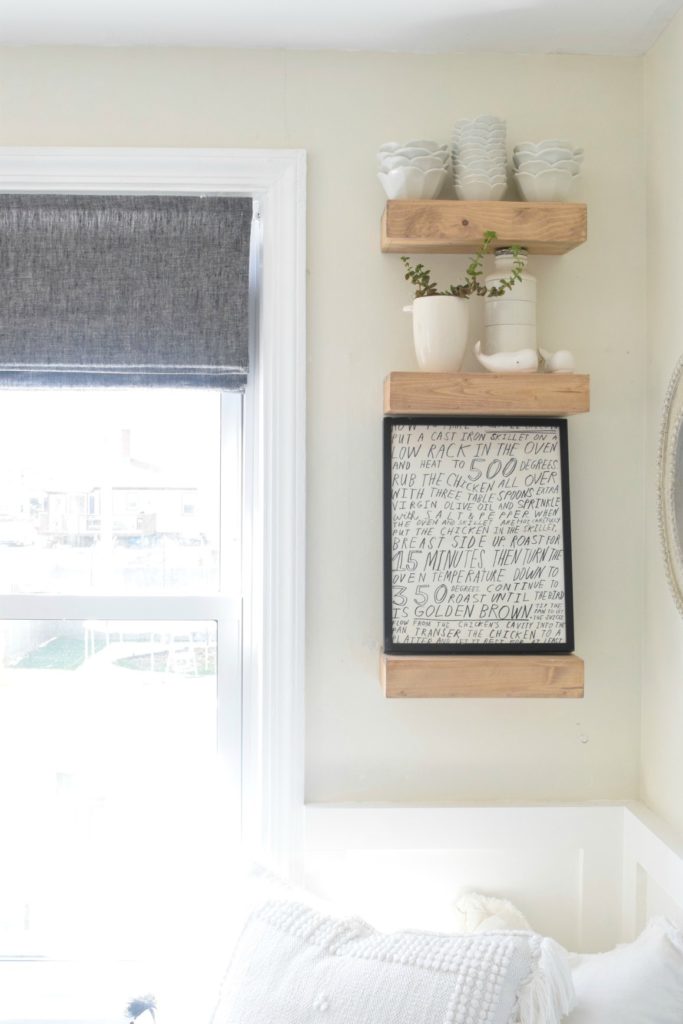
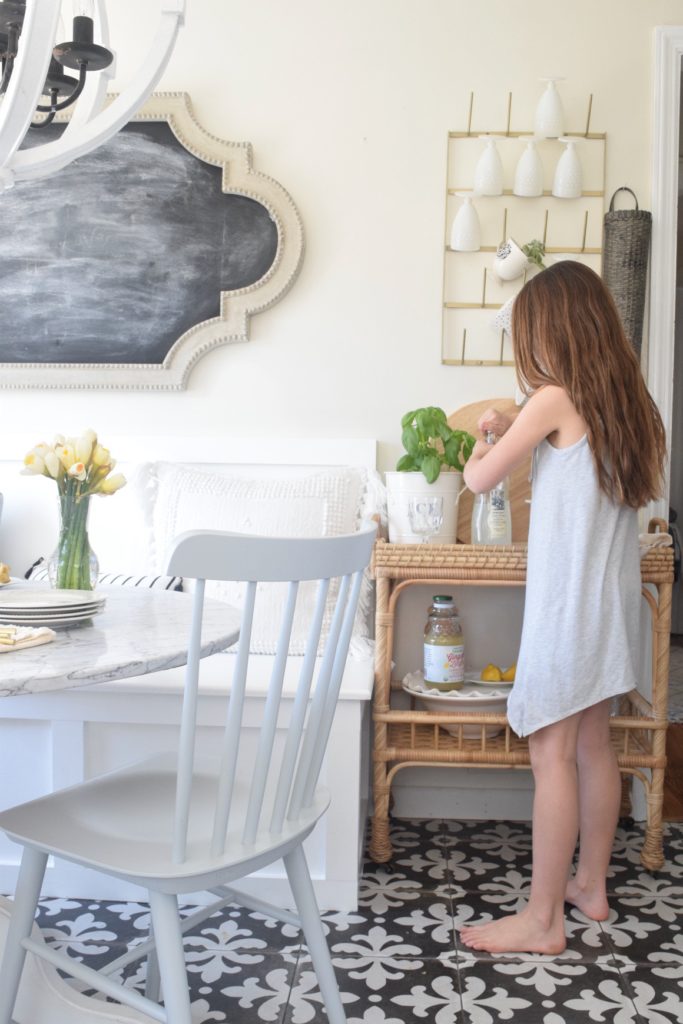
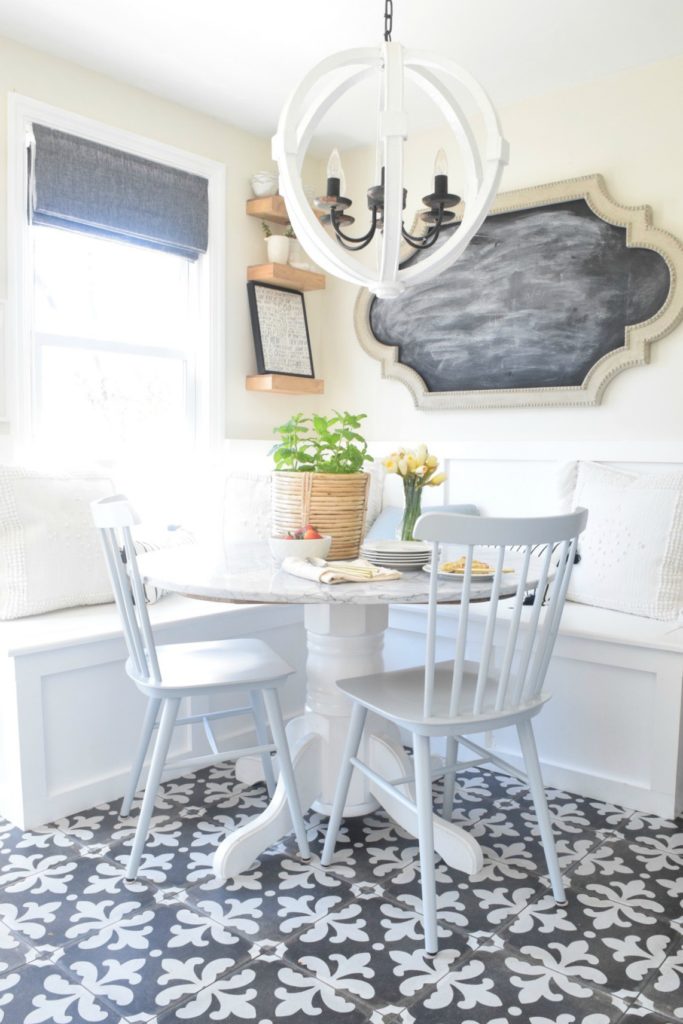
I kept the chalkboard in this space, I wasn’t ready to part with it yet. We did add some new shelves (complete source list at the end of this post). They were the only one’s that I could find small enough to fit in this area and that were wood to tie in our butcher counter tops.
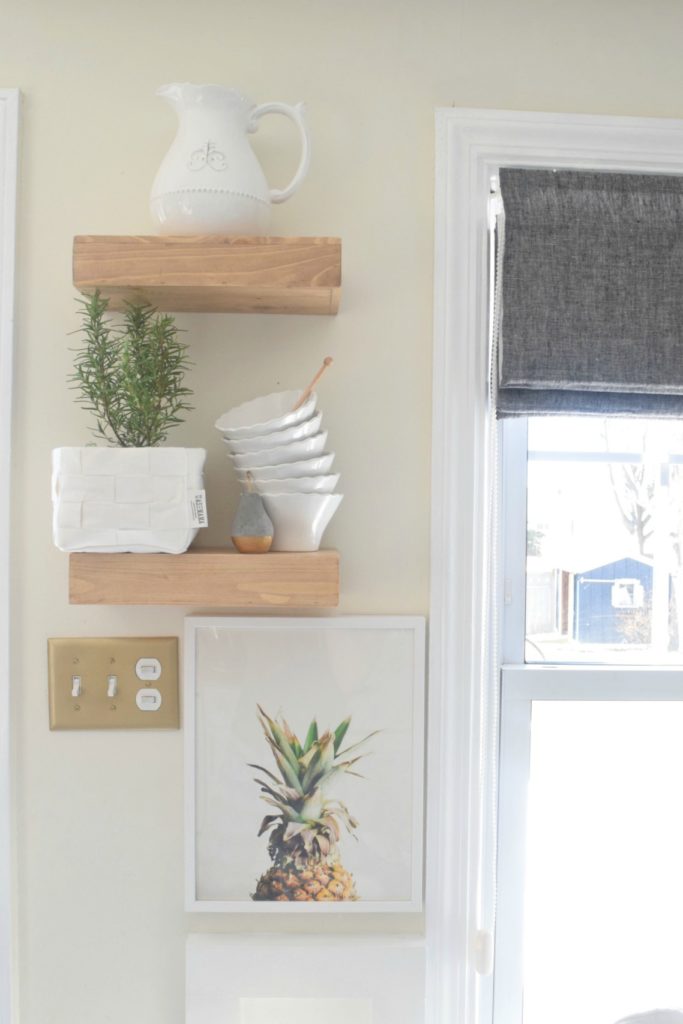
This shelf strategically hides a weird plug in the middle of the wall, gotta love old house charm.

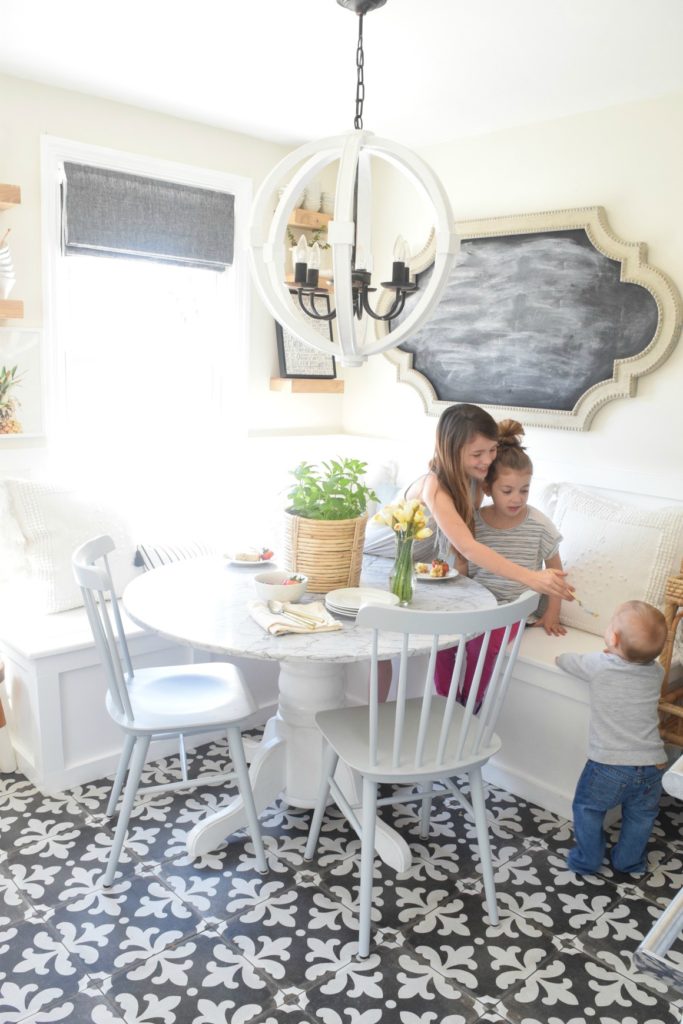
I wish I had a video camera set up after the banquette was complete. You would have thought it was a doll house the way Lola played here. She brought all her toys and dolls and played, turned on music and danced and sang. She loves it and so does everyone else.
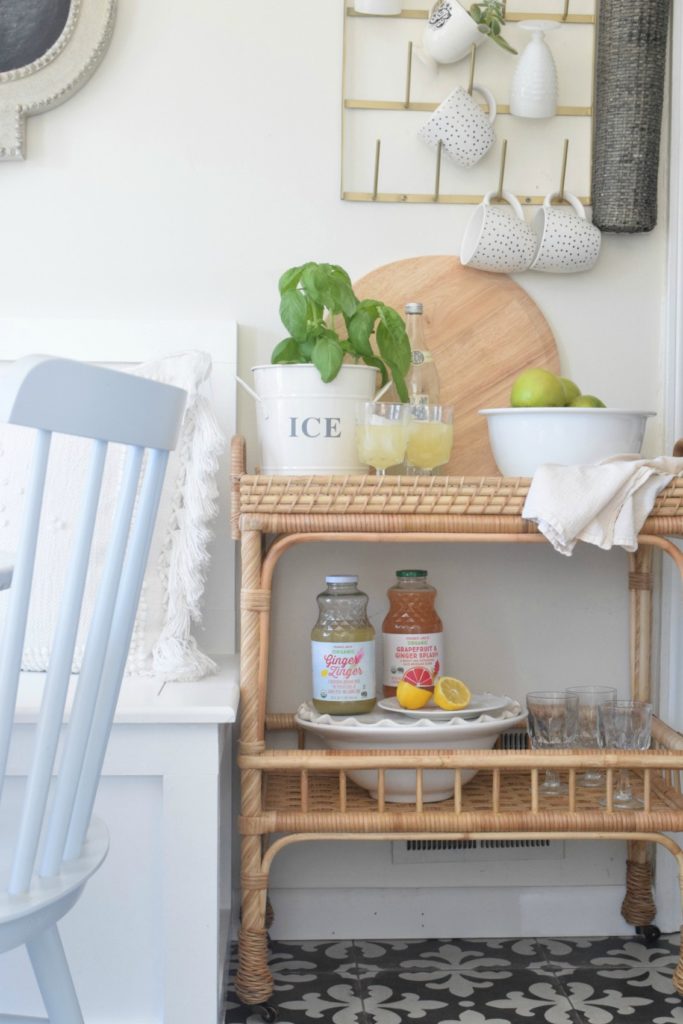
When I was measuring how far I wanted the new banquette to be built I brought in my tea cart and made sure there would be just enough room to squeeze it in. I love having a spot to put drinks, desserts or just hold extra fruit and dishes.
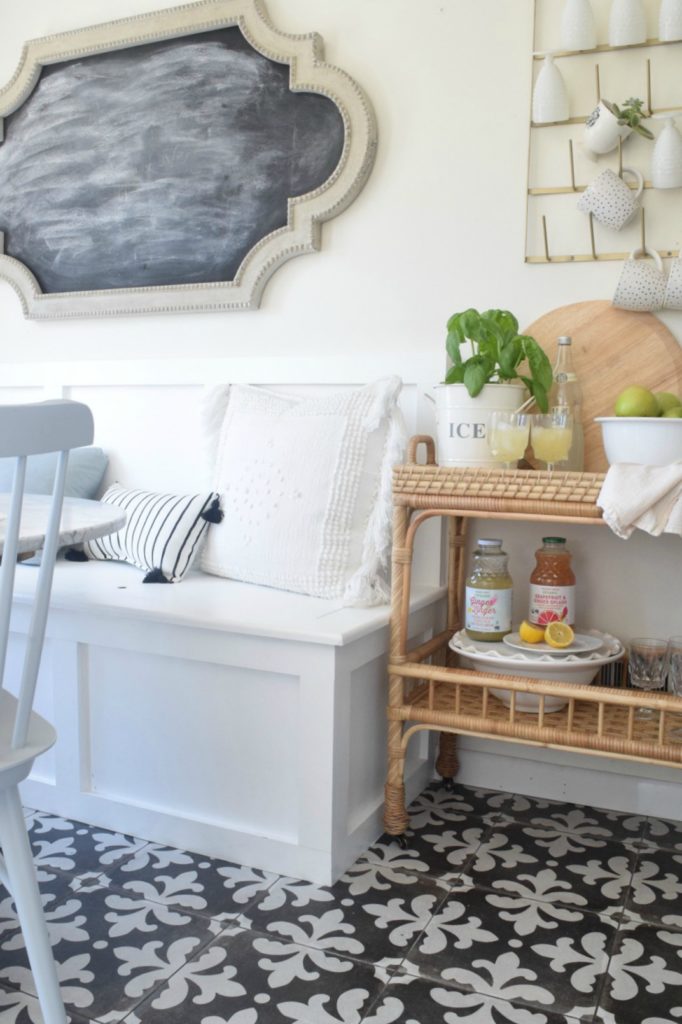
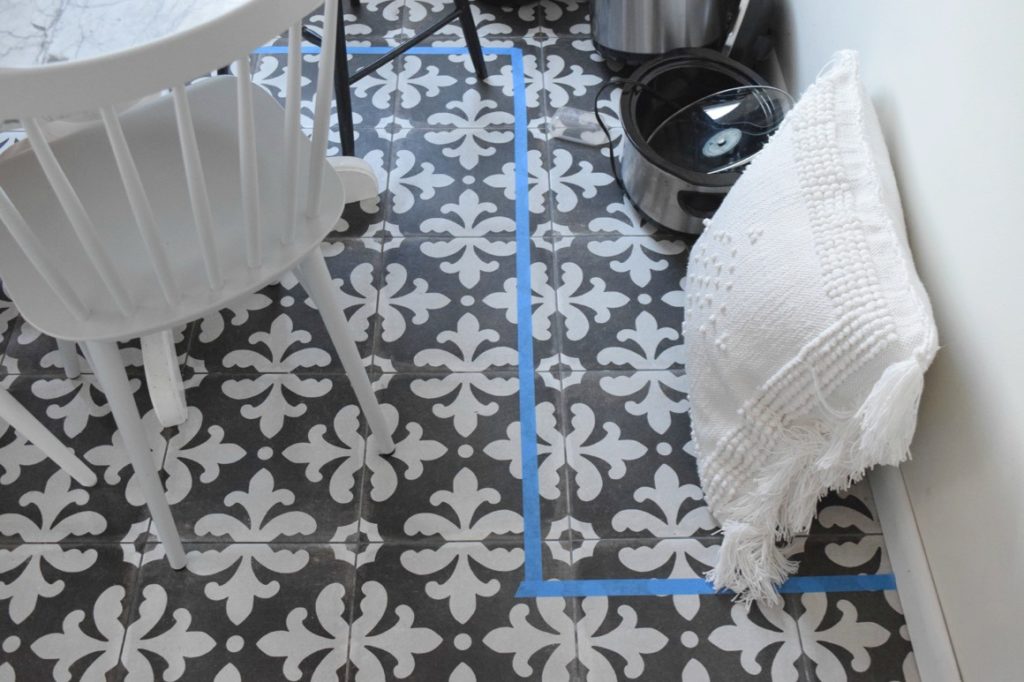
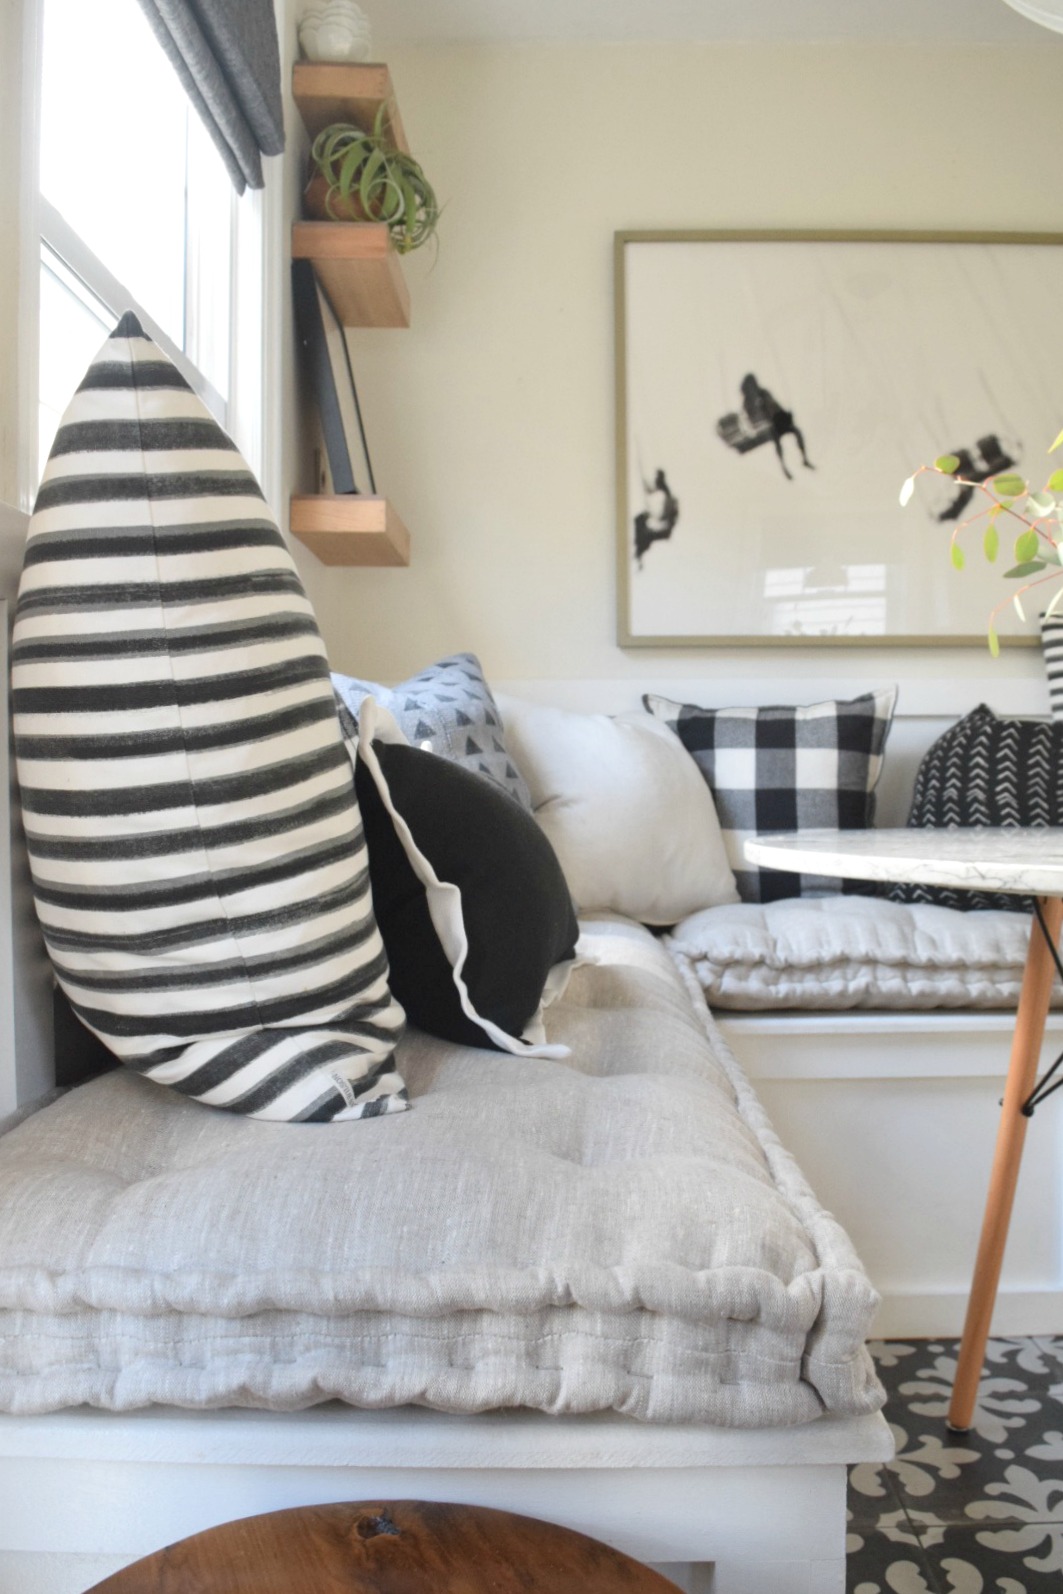
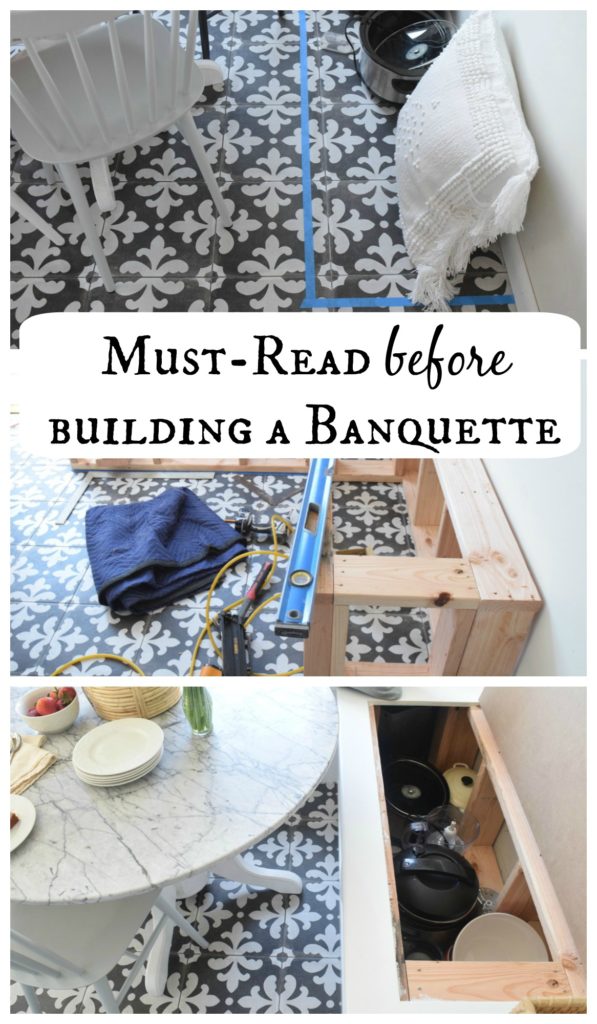
This is another tip I have- make sure to tape off the area you want the built in to be. It will give you an actual feel for it in the space. I knew I wanted to load the banquette with pillows and not have to pull them off when we sat down. I put the pillows and a few of the things I wanted to store in the built-in to make sure everything would fit.
Tip- Tape off the area for built-in or furniture
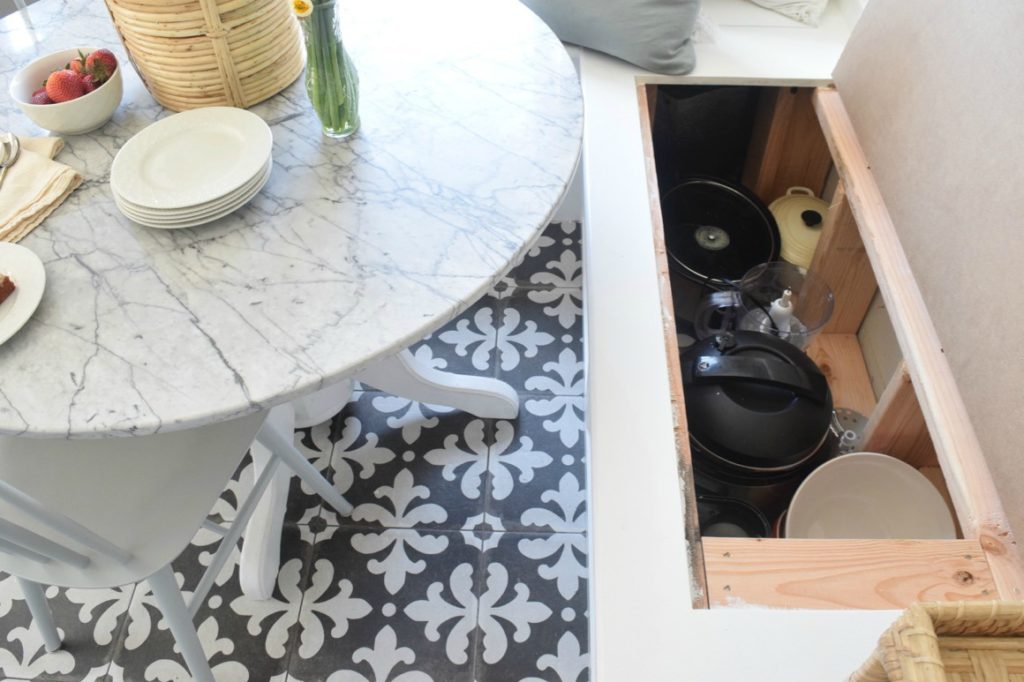
I love that we can keep our crock pot, pressure cooker, extra dishes and small appliances here rather than going down to the basement to bring them up. I know….it’s not a long trip but when you have a baby underfoot it is hard to rush to the basement without him wanting to follow along.

I showed Marcin a picture of a banquette I liked before he built our banquette. I knew I wanted the top to lift up. and what I wanted the style to be other than the little details I left that up to him. I thought the top would lift up entirely. But he made a cut-out in the top with a piano hinge on the back so it can lift up. I don’t love the hole for your finger to go in to lift it up, but it was the best option. He was going to do two holes, but I suggested one for each side and it works.
Details on our BANQUETTE
- PAINT– Valspar Ultra White in a semi-gloss.
- PRIMER– remember to prime before you paint- we went with inexpensive wood since we knew we were going to paint it white.
- SEALER– I HIGHLY suggest you seal your painted banquette after you paint it. We painted it a different white before this white that was too creamy (I had Home Depot match a paint and it did not look like it normally does). We had not sealed it because I did not like the color. But when we sat on it before sealing it our blue jeans would leave marks all over it and it would easily scratch. We used was THIS sealer.
- SEAT HEIGHT– 18 1/2″ heigh. I HIGHLY suggest comparing the banquette height to chairs you already have and ensuring you like the comfort of those, I wish mine was slightly shorter, closer to 17″ or 16 1/2″ (we are going to add a 2″ cushion). Keep in mind if you want to add a cushion to your banquette- then you will want to deduct the cushion thickness from the height of the banquette.
- SEAT DEPTH– 24″ deep. I like the seat depth. Like I mentioned I have a lot of pillows on it and when my girls sit on the banquette they can add another pillow if they need to be closer to the table. I really like that the pillows aren’t moved much, just there for comfort.
- TABLE- 40″ round. I get asked a lot what size table I have. And it works great in this tiny space. I like that there is extra hang over on the banquette that does not match up to the table exactly so you can easily just take a seat without sliding around a dining table.
- BANQUETTE SIZE– Overall it is 6’x 6′ and the total back height is 40″.
- CHAIRS– We have two of THESE chairs up to our table now and we could easily squeeze in two more for entertaining. I have to say I LOVE these chairs. I like that they are on the smaller scale but still very comfortable for myself and my husband who is 6 feet tall. Also I think they have been knocked over WAY too often and do not even crack or show any sign of damage.
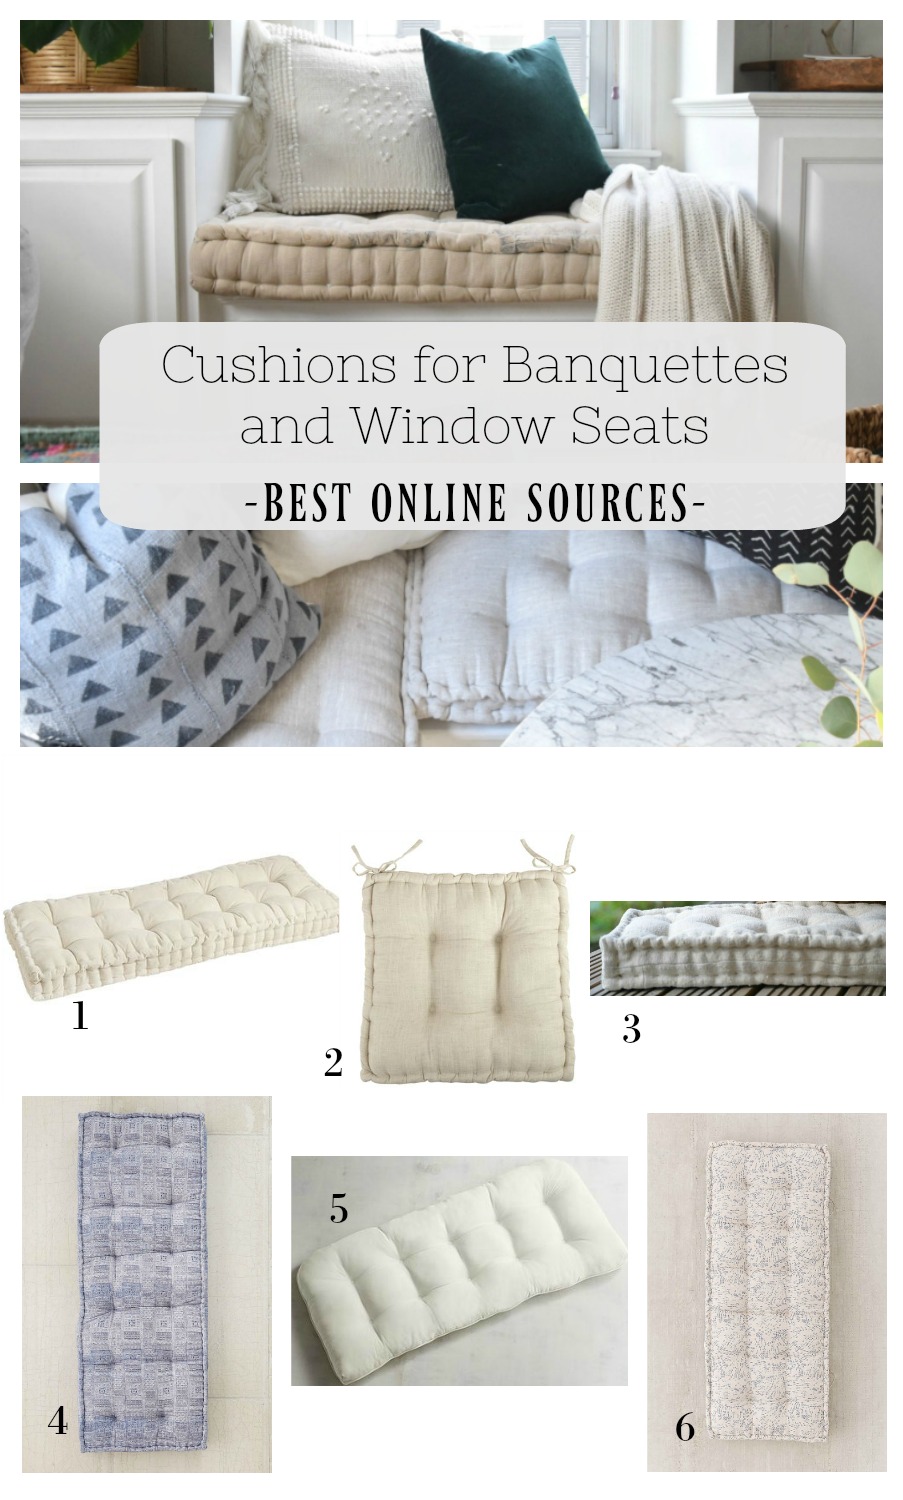
- CUSHIONS– Since this post we have added cushions to our banquette find that post HERE
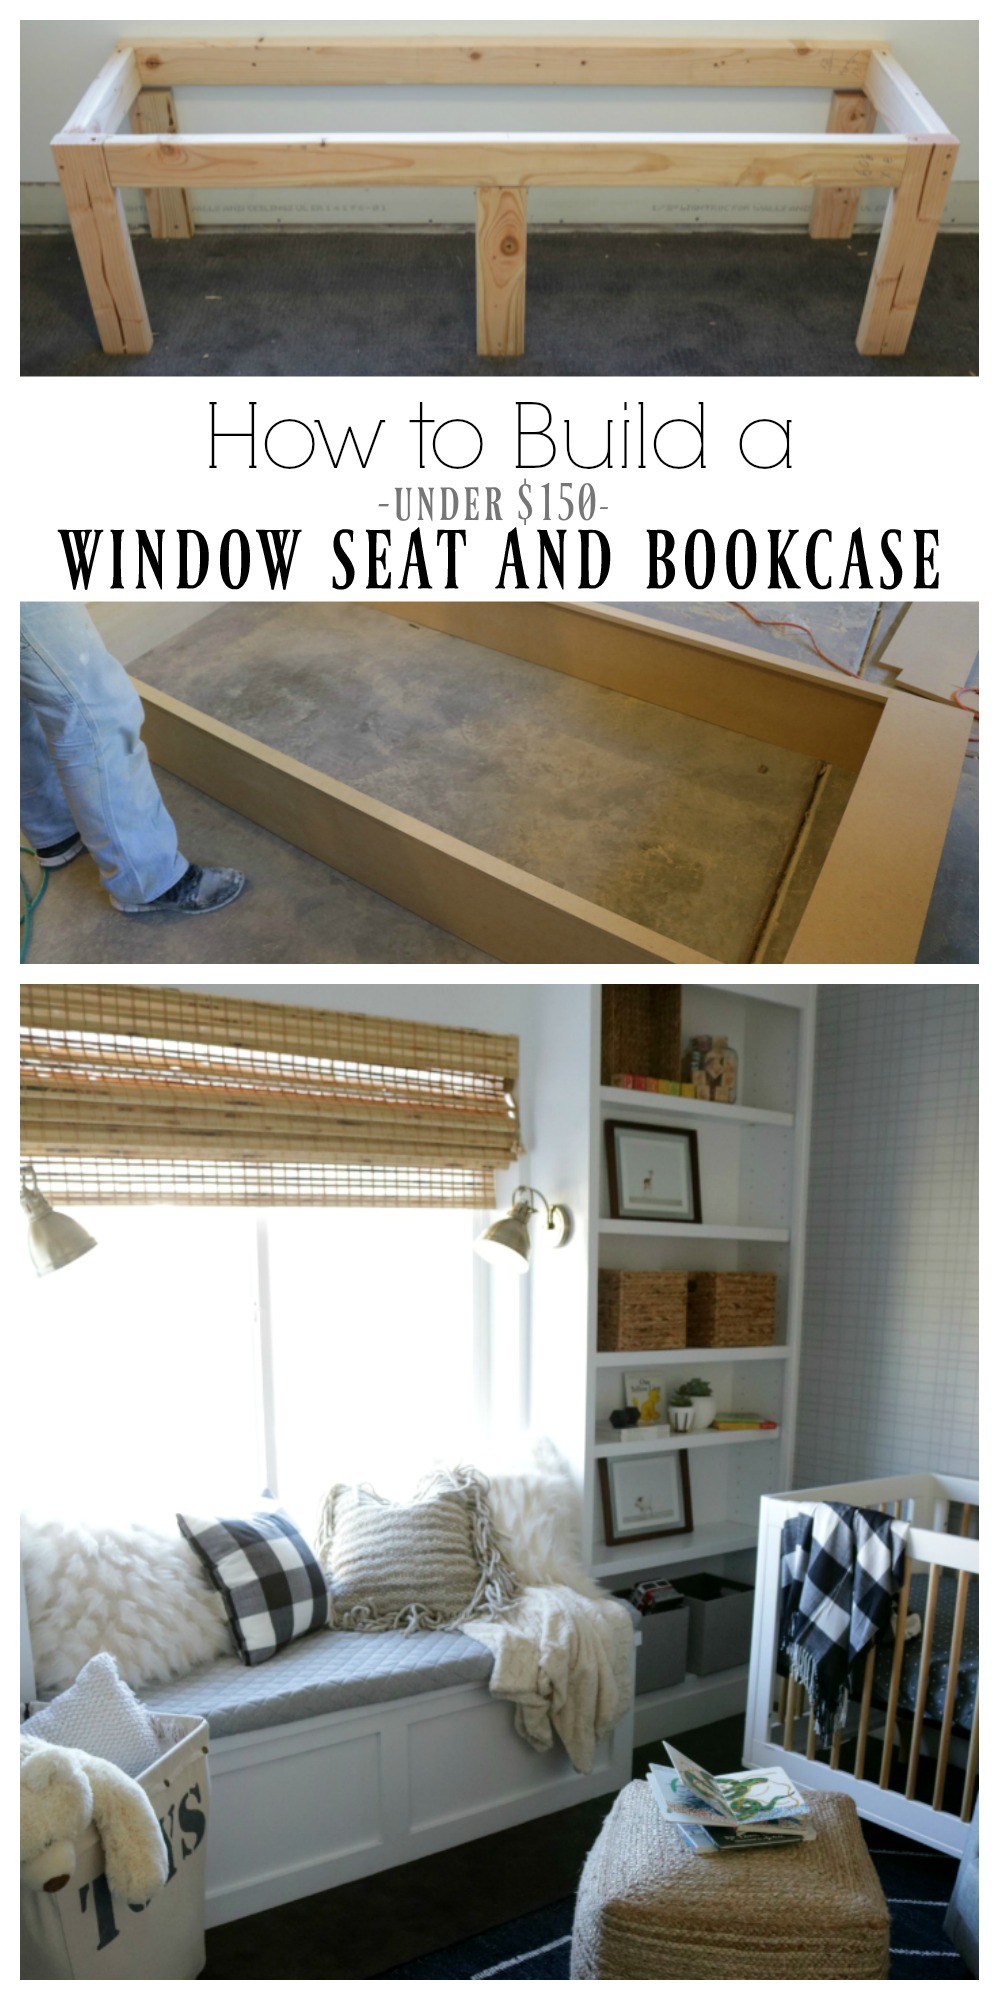
*** UPDATE- I recently shared a post on exactly how to build a window seat/ banquette seating like we have! Find the post HERE
Dining Table- my dining table was an antique find. You can find a similar one HERE
Roman Shades HERE
Kitchen remodel post HERE
Finns child chair is from Ikea find the post HERE
Updated photo-

Click on an image to SHOP-


I love it. And I like the hole in the bench top …character! 🙂
Thanks Jane:) that is a good way to look at it! I think my husband was more worried I wouldn’t like it- but it doesn’t bother me either.
Every detail is lovely. Can’t wait to come back and sit in the kitchen!
Thank you sis xoxox and yes please come back! I think sprinkles would get in that little hole…but I would totally worth it to have you come. Because Britt= cupcakes:)
hey girl- love the banquette! So cool!
Thank you so much!
Oh I just love it!!! Looks like it’s been there forever! Beautiful job my friend!! I too live in a small house and all the storage in there has me considering something like this somewhere in our home. Thank you for your inspiration! You truly have a gift <3
Thank you so much! I really appreciate your uplifting words. You would LOVE the extra storage!!
We are currently having our guy build our banquette in our new home! They are drywalling now so once that is done he can get started:) So excited to see how it turns out. Yours is gorgeous! Is all of your white trim also the ultra white valspar or is it another white?
How exciting! Yes that is the same color trim- we just touched it all up!
Beautiful as always! I wish you lived closer so you could help me with my house.
Thank you Christa, I wish I was closer too! And thanks for reading my blog friend xxxxx
Well! I love it. The whole thing. I am a big fan of clean looking spaces that are very useful. I liked the former too, but this is so useful with three kiddos. When our kids were growing up we had much smaller houses and I was very good at this same thing. Everything was a storage and shelving opportunity. Until we gutted our kitchen two years ago I was keeping a lot of things in the garage, very nearby, but a slight hassle. I am thrilled to have things right in the kitchen now. The little shelves are perfect, you are talented at arranging.
Thank you very much! Yes- our time is precious- can’t be rushing to the basement or the yard to grab something! Thanks again.
I follow a lot of the home blogs….and they’re all beautiful….but i have to say yours is one of my favs….love your home! I love to home decor….just not brave enough to put it online – yet…..
Thanks so much Keri- that means a lot. It does take some courage- you will know when you are ready:)
Amazing! Love the way the top hinges! Can prop it open and not have to worry about the seat falling down while lifting out the crock pot (we had a toy box that was nasty that way) and you might not have to move every pillow either. Super plan! I think the finger hole is a small price to pay for the function of the seat. Again – amazing and beautiful!
That is a good point! It doesn’t fall down and I can open it with the pillows still on it. Nice perspective. Thank you!
I didn’t think your kitchen could get more gorgeous- absolutely beautiful!
Oh thank you so much Christa!
Love it! Your family will be so happy here every day. Quick question: is the banquette bolted to the floor? In other words, did you hurt that beautiful floor? 🙂
Thank you:) and no it is not bolted to the floor…good question!
Oh it looks SO good!!!! I love it. I have always wanted a banquette and now this has my wheels turning (the built in storage would be my choice too). It turned out lovely. Enjoy! 🙂
I absolutely love your new kitchen, I loved the old one too, your whole house is just stunning, thank you for sharing all your information.
Thank you so much Debbie:) I appreciate your kind words!
Thank you for sharing your beautiful kitchen with us! We’re looking at doing something similar with our farmhouse style table & chairs. Did you mention that the storage/ bench seats were not attached? That’s exactly what we want …not a permanently attached. Also does your seat overhang a little for kick room?
Just trying to figure how to do the bench.
Thank you?
Yes they are not attached to the floor- to the wall but didn’t damage the tile.
Yes there is maybe a 2″ overhang.
We love it. Best of luck to you!
I thought I would find plans for building the banquette but if they’re here, I can’t see them. Yes? No?
I dont have plans- just a description of what we did.
Looks great and I’m sure the added storage is a huge bonus!! 🙂
thanks Gina! yes, love the storage!