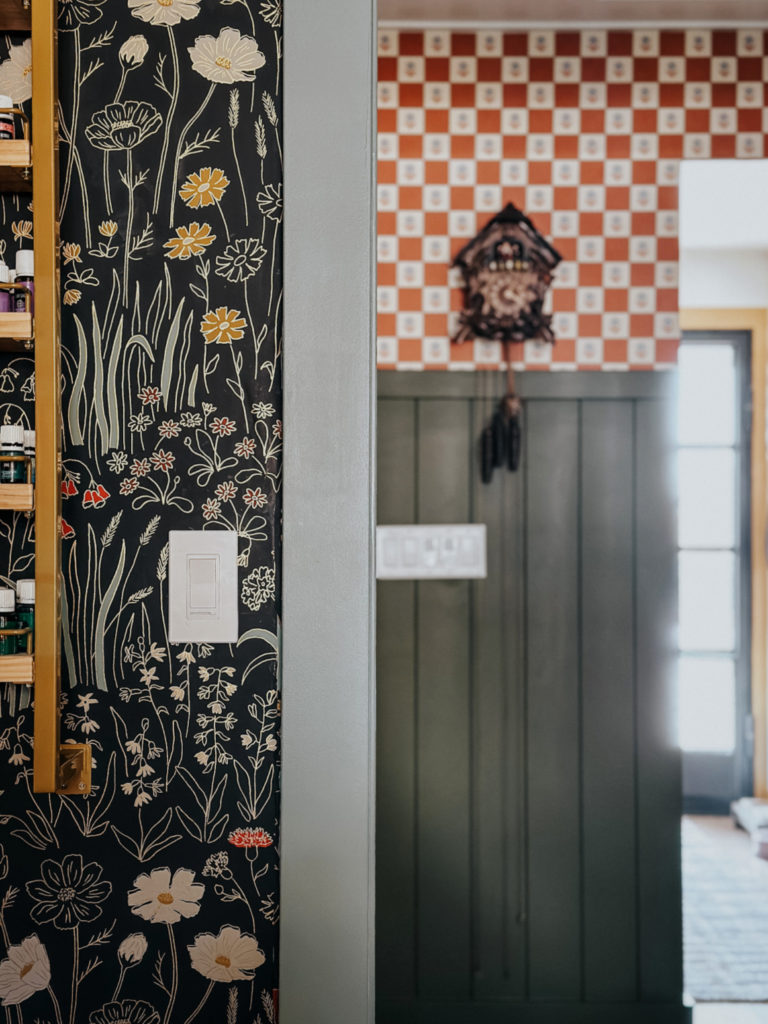
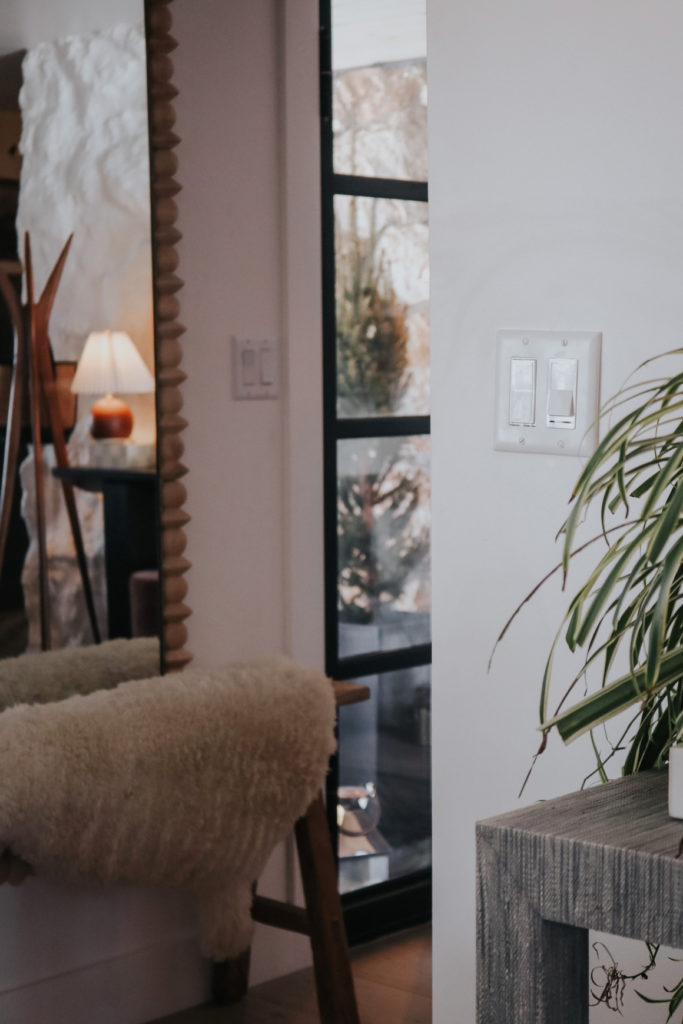
When we were remodeling this 1970’s home I told our electricians that I wanted every switch to be on a dimmer. They looked like, are you sure? Yes, worth it!!! There were a few lights they missed that we just recently switched to a dimmer ourselves, easy to do! Obviously a bedroom on a dimmer makes sense, you want restful lighting, but I love having our kitchen lights dimmed at night when we aren’t cooking, but grabbing a snack or drink. I will share how to install a dimmer switch on your own and my favorite dimmer switch!
*ordinary dimmer switches are not intended for most fluorescent lights or with most ceiling fans.
*Sometimes an electrician will need to be called. For example, if the light switch has been showing signs of catching fire, then an electrician will need to be called. A sign of this would be black marks on the switch or around the area. Another time an electrician would need to be called is if the breaker keeps flipping or the switch is not working after replacement.
*I feel like I should say this…the legality of do-it-yourself electrical work varies from state to state and from one municipality to another. You can call your local permit office for the answer that pertains to you.

Here are instructions on how to install a dimmer for a three-way switch (two switches or more on the wall plate)-
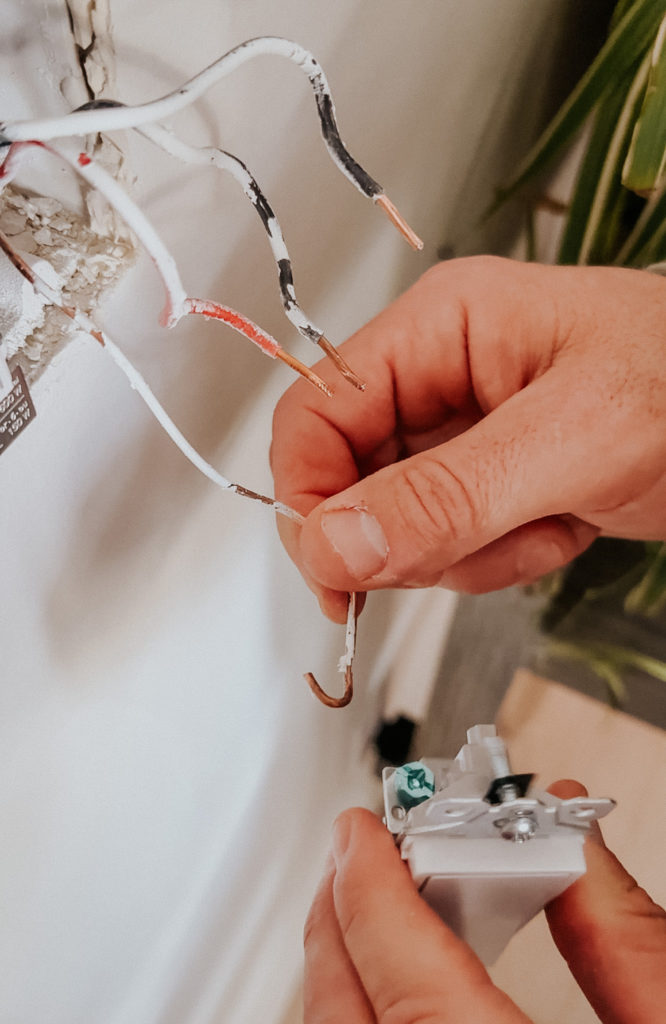
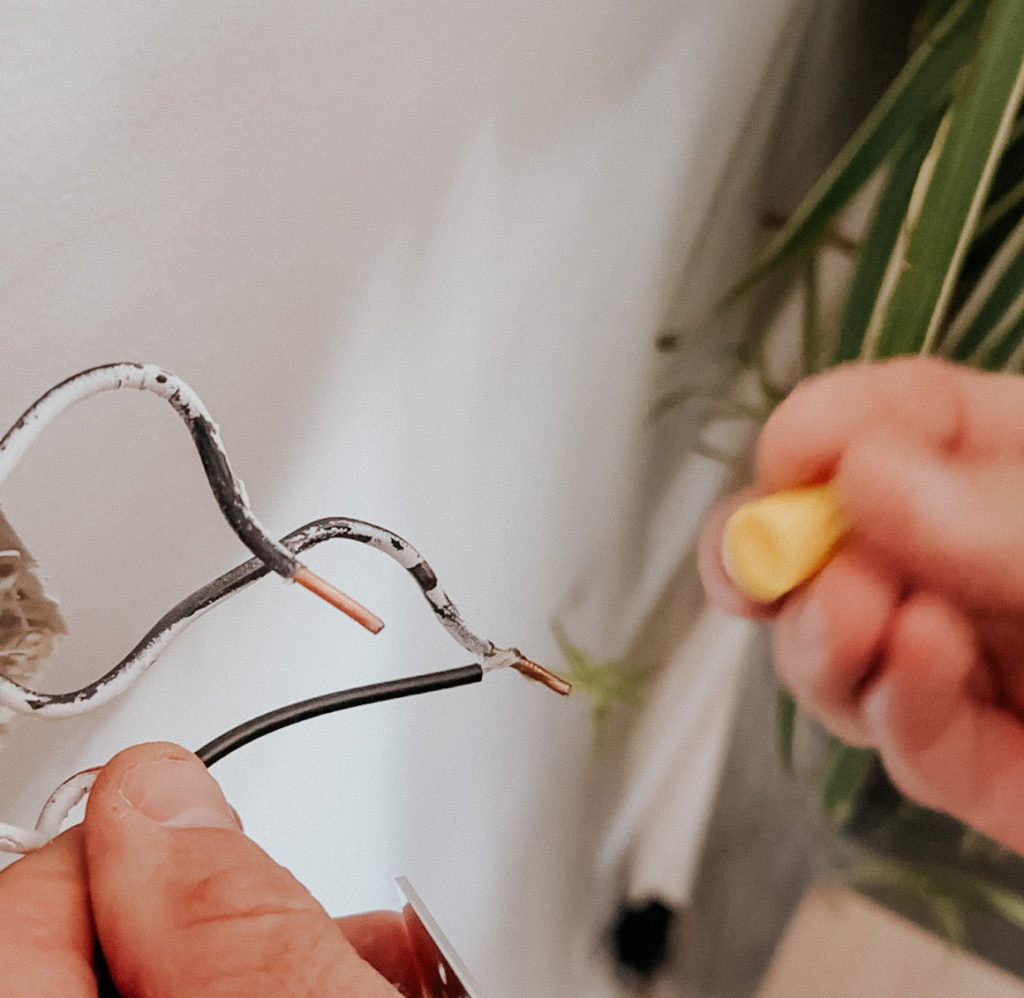
- If the wires aren’t exposed (which most the time they already are) remove 3/4 inch of plastic casing from the end of the wires.
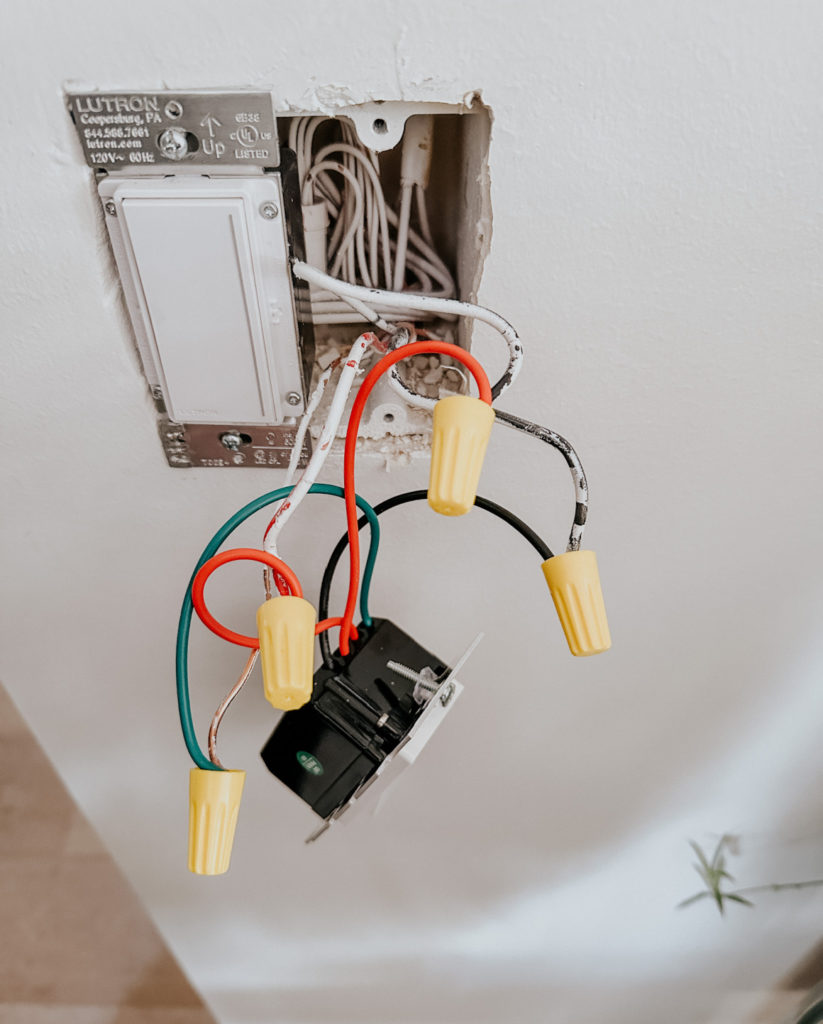
- Connect the ground wire from your dimmer to a green or bare copper wire in the wall box. Twist the ends together. Then cap them using a wire connector nut.
- Connect the black dimmer wire to your tagged common wire.
- Connect the two remaining dimmer wires, called traveler wires, separately to each remaining wire in your wall box.
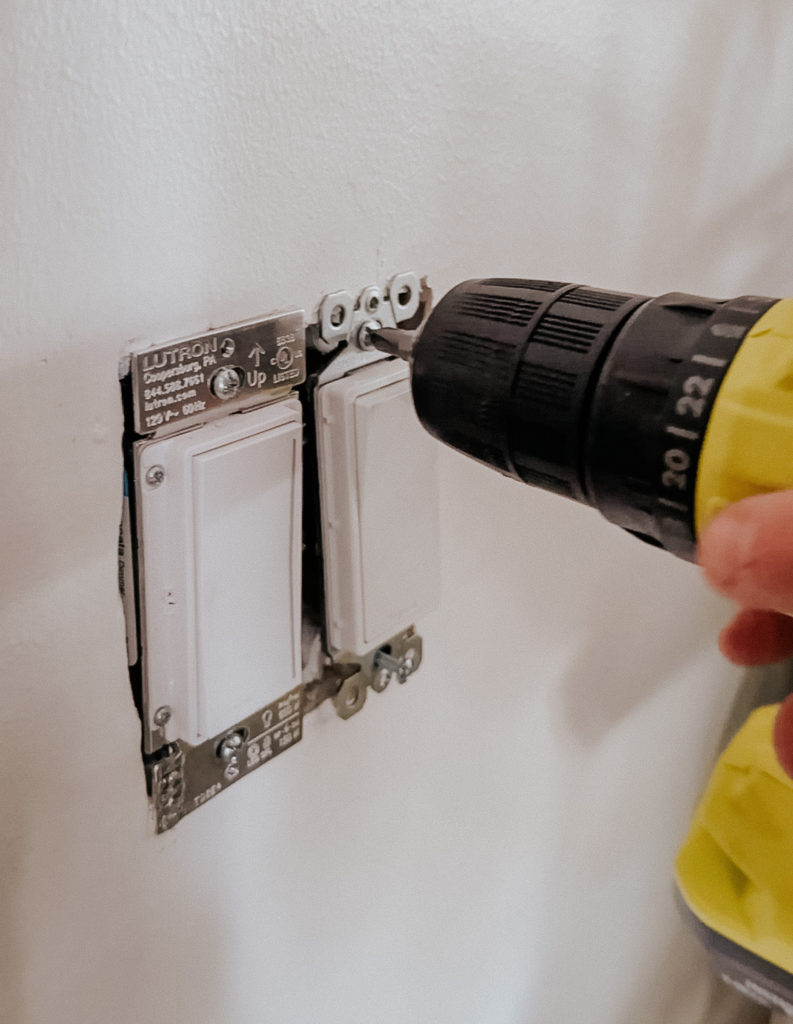
- Use a screwdriver to mount your dimmer to the wall with the provided screws.
Here are the steps for wiring a single-pole dimmer switch (just one switch)
- If the wires aren’t exposed (which most the time they already are) remove 3/4 inch of plastic casing from the end of the wires.
- Connect the ground wire from your dimmer to a green or bare copper wire in the wall box. Twist the ends together clockwise and cap them using a wire connector nut.
- Connect each dimmer wire to a house wire by gripping the wire ends with a pair of pliers and twisting them together. The wires from the dimmer will typically be black. The two house wires may be black, red or white with black marking. Tighten a wire nut over each pair of wire ends. If there is bare wire exposed, unscrew the wire connector, remove the wires, trim the ends of the wires with a wire cutter and then re-cap the wires
- Carefully tuck the wires back into the electrical outlet box.
- Tighten the screws holding the dimmer to the electrical box.

Don't Miss Any of the Fun!

Join my newsletter subscription and get a chance to get your design question answered LIVE or on the blog!