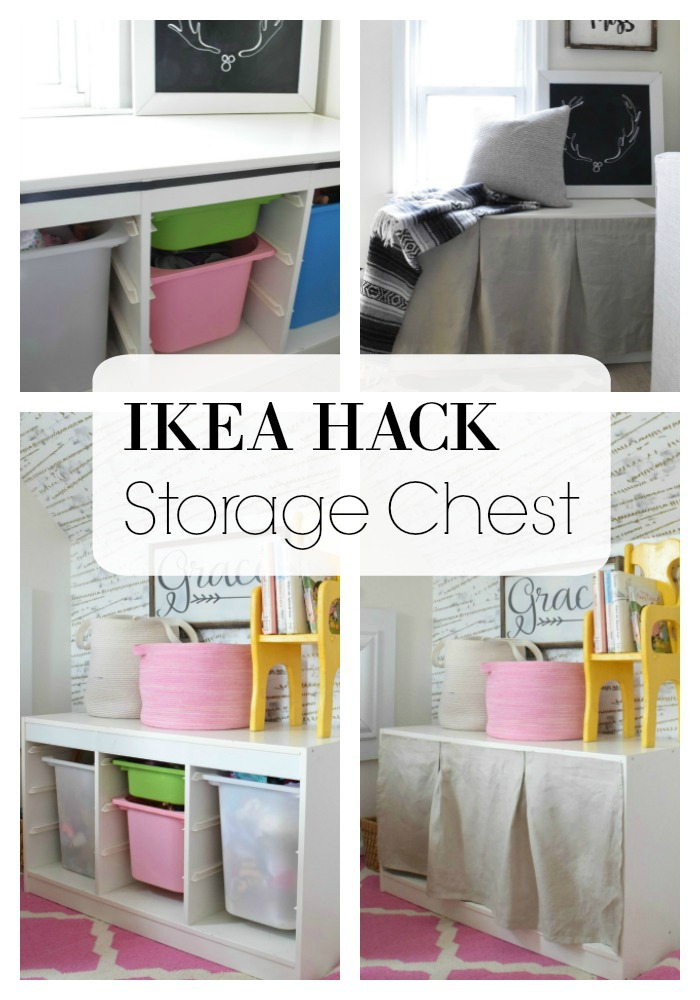
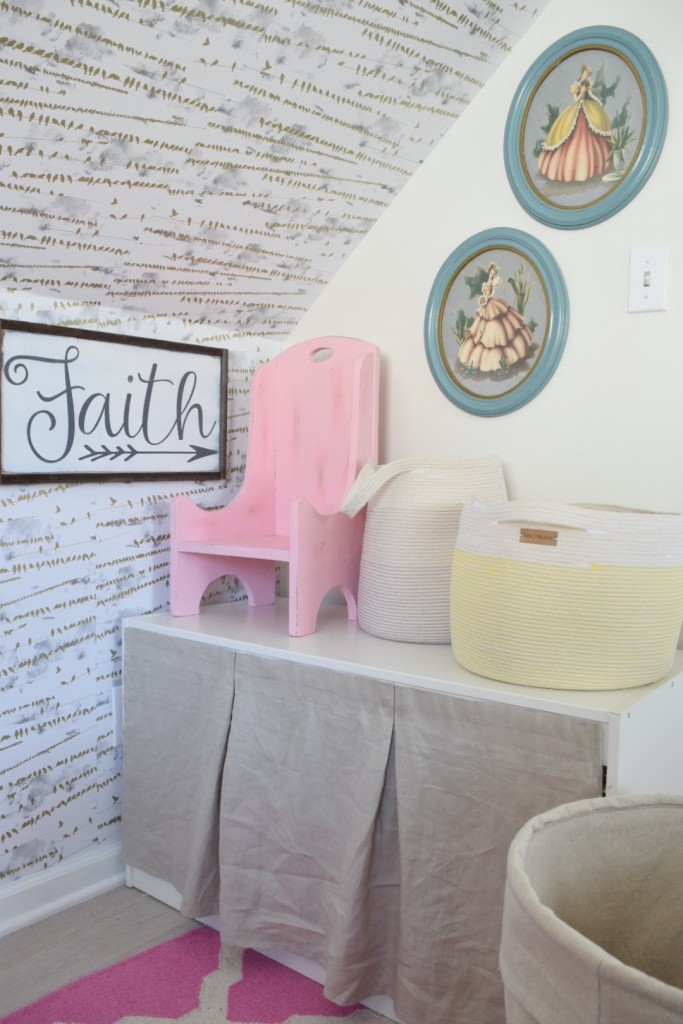
We had these Ikea white cabinets with the plastic bins in the girls playroom in our old house. I know you have all seen them if you don’t own one yourself. The plastic always kind of bothered me, but I thought “relax Brooke, it’s a play room.” Now that we are in a smaller house we use the bins in the girls bedroom. They have a good size bedroom and there was plenty of room for toys. But now that it is all open the plastic bothered me even more. So I came up with a Ikea hack to create something more pleasing to the eye.
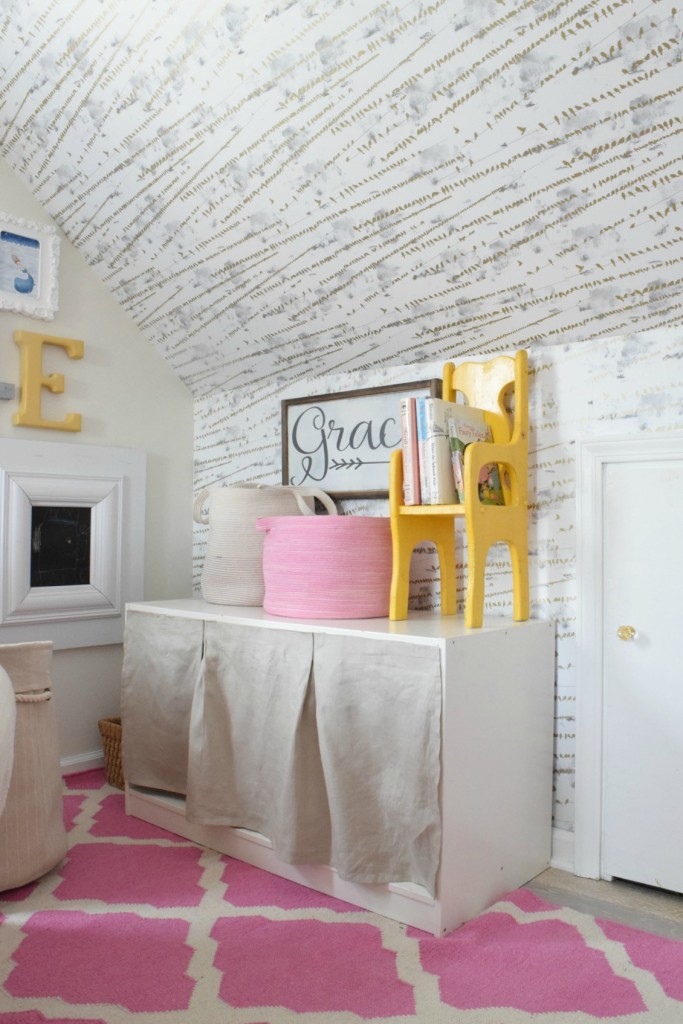
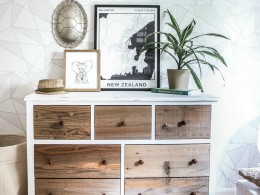
Now they don’t look like a cheap Ikea toy chest, it looks like a more custom finished piece.
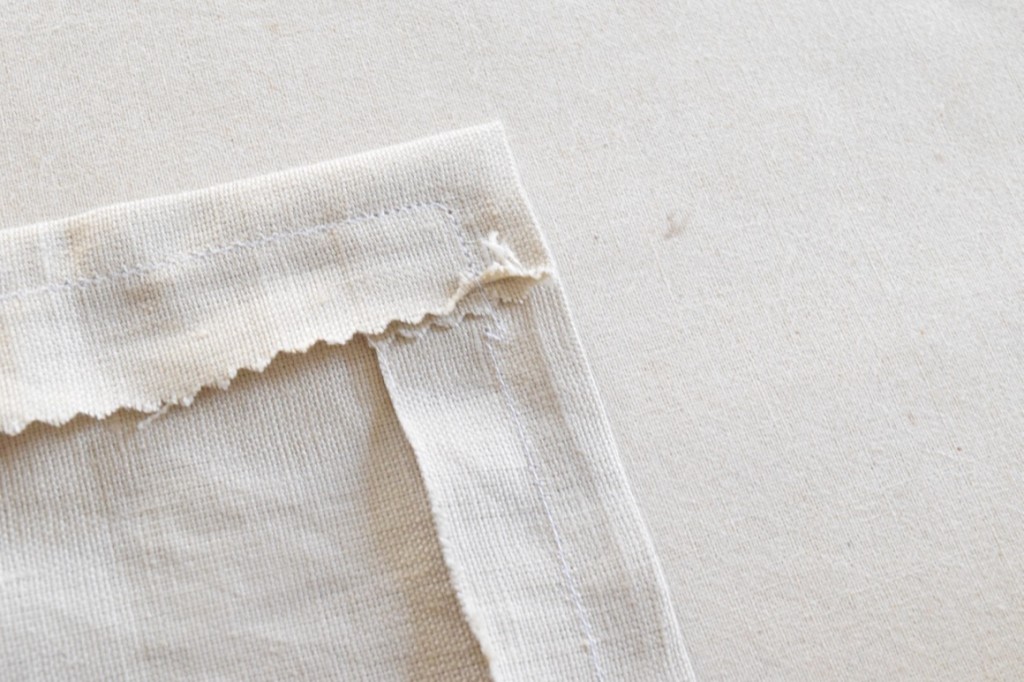
I am a simple sewer, nothing fancy over here. I get the job done. The biggest thing I have learned to do is to iron everything and prep well before you sew. That helps so much. I first measured my space and then I added in 2″ for every side that I folded over to iron and then sew.
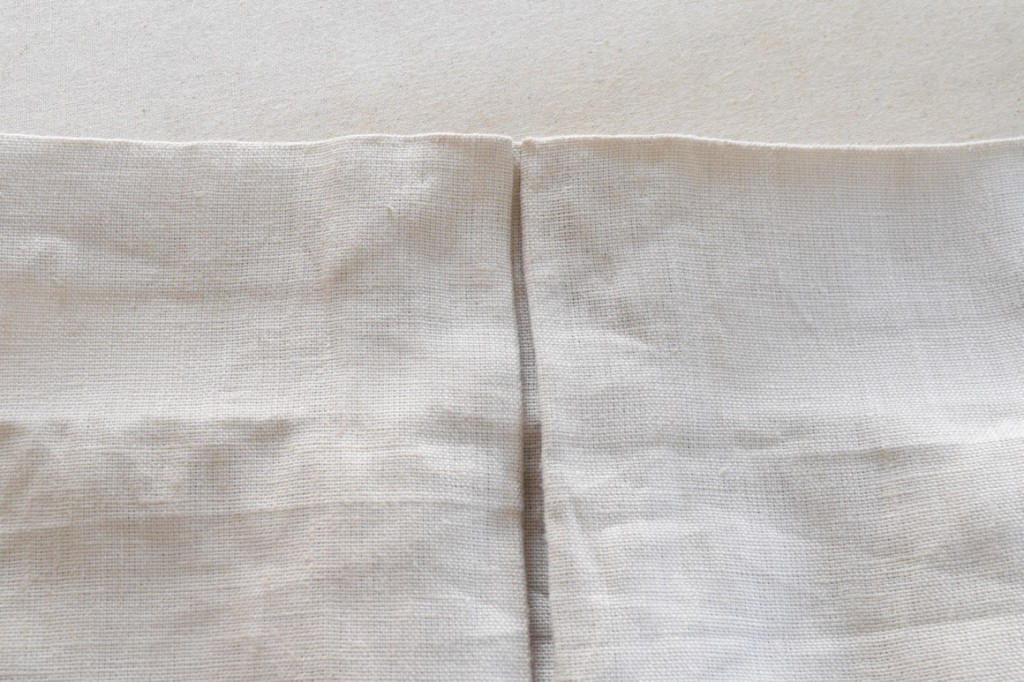
I added pleats to my fabric panels. I factored in folding them in an 1″on each side of the pleat and ironed it really well.
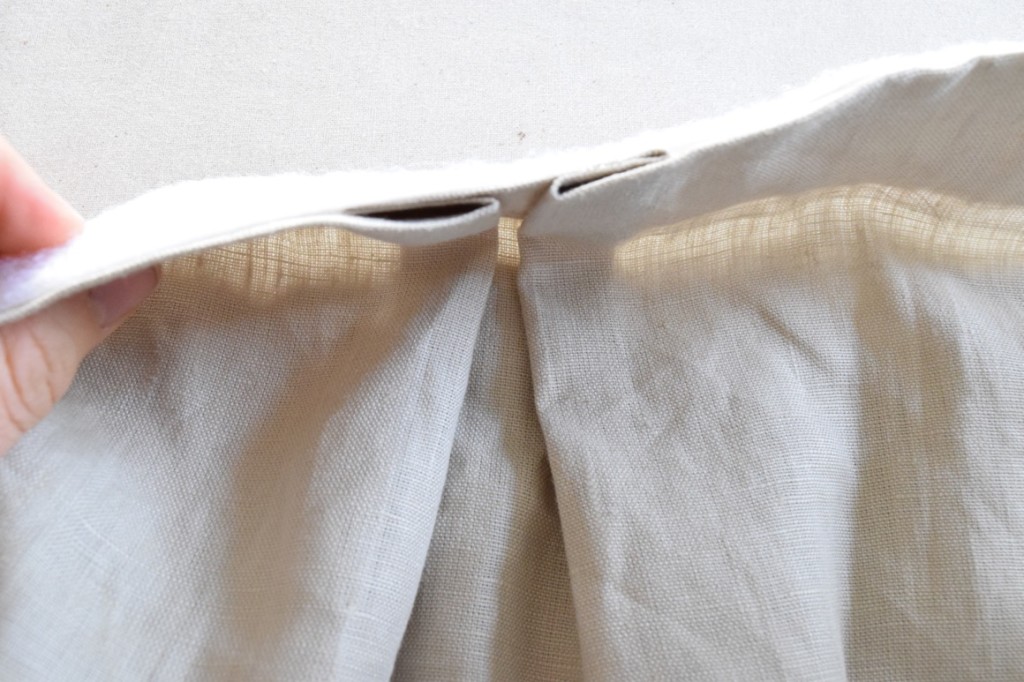
After I sewed it all I added THIS industrial strength velcro to the back of the panel. I used the soft side of the velcro for the fabric. Now don’t make the mistake like I did and try to sew this on. It was way too thick and the back of the velcro is sticky, so it gets all caught on your needle.
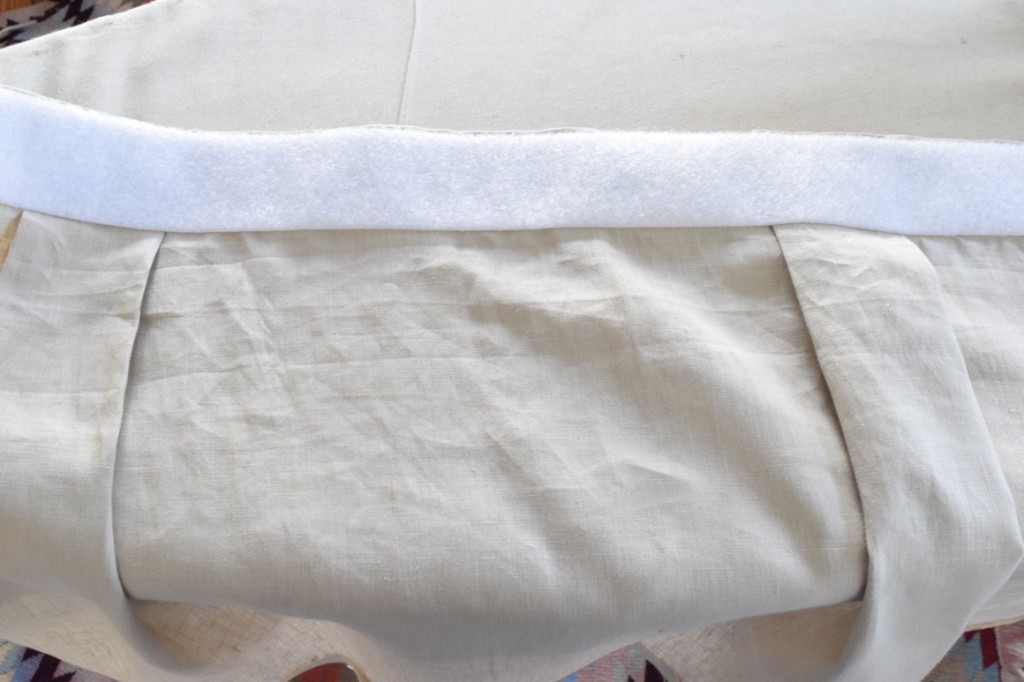
I ironed mine on. Like I said the velcro I used had a sticker on the back that I just went over the fabric side and ironed it on and it attached right to the fabric. Make sure to not leave the iron on it for too long, but long enough that it attaches to the back. If there are still parts that are not totally attached use THIS fabric glue to attach it. I also glued the front of the pleats down. Go light on the glue then add as needed.
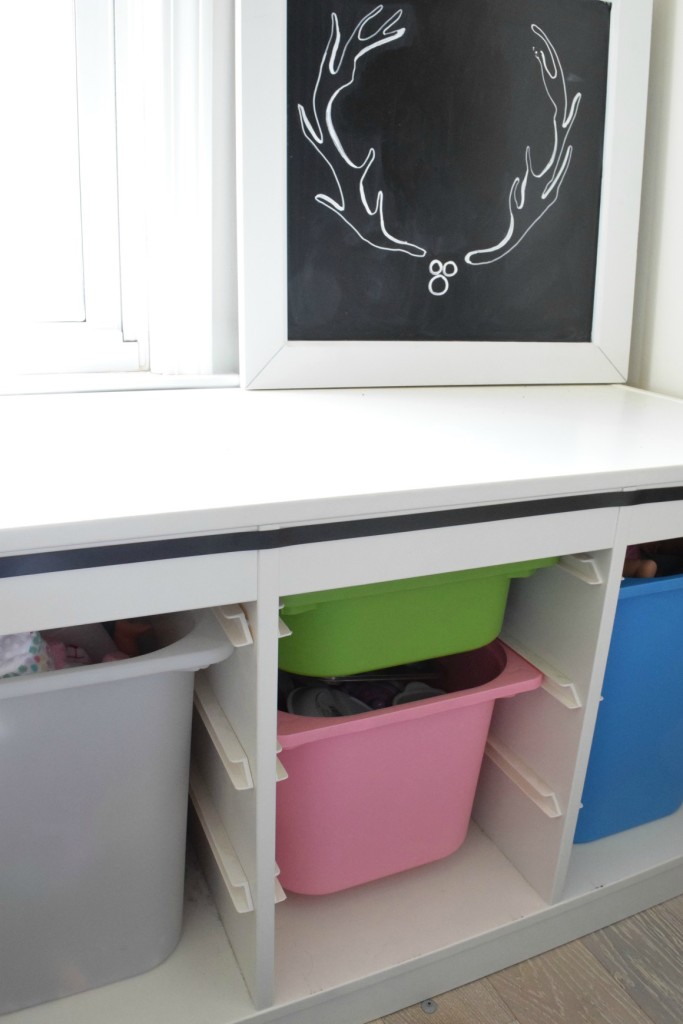
I took off the sticker on the back of the other side of the velcro and stuck it right to the Ikea cabinet.
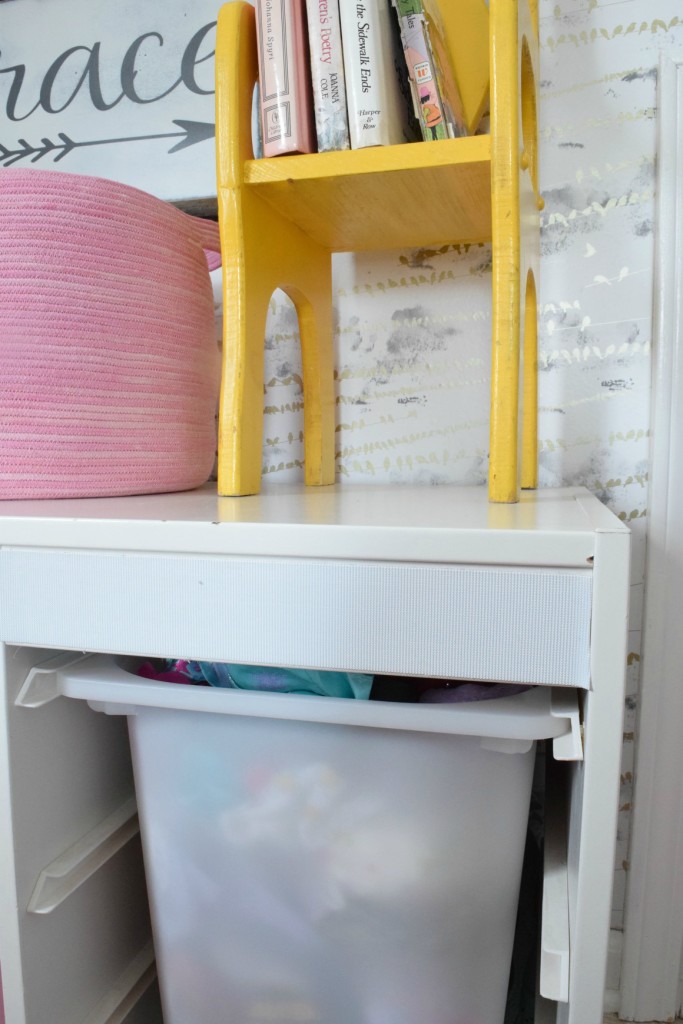
The girls can easily pull it off when they are playing. But they normally just lift it up and pull out the bins that they want to use. I love that it hides all the mess.
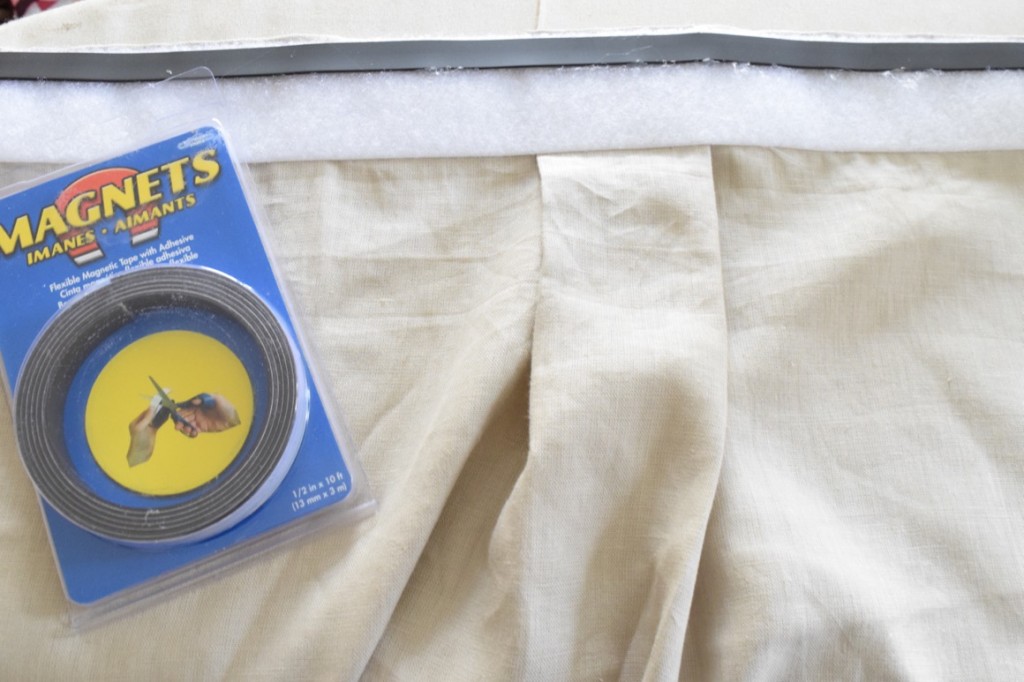
I tried another option in our family room where we have another Ikea cabinet behind the sofa. It is kind of like another play area where all their legos are. I just hot glued on a strip of THIS magnet to the back of the panel. I had already attached the soft side of the velcro to this fabric panel, you do not need to do this but it helped to protect the hot glue from showing through on the front of the fabric.
The magnet strip has a sticker on the back so I just stuck it right to the Ikea cabinet. This option is easier to take down the entire fabric panel. But it isn’t the best option if you want the fabric panel to stay on as they are going through the bins. I like the magnetic option here where all of the toy food is and they play more in this area with friends. It works best to just take down the panel when friends are over and they girls know to do that, then to just stick it back up after they clean up!
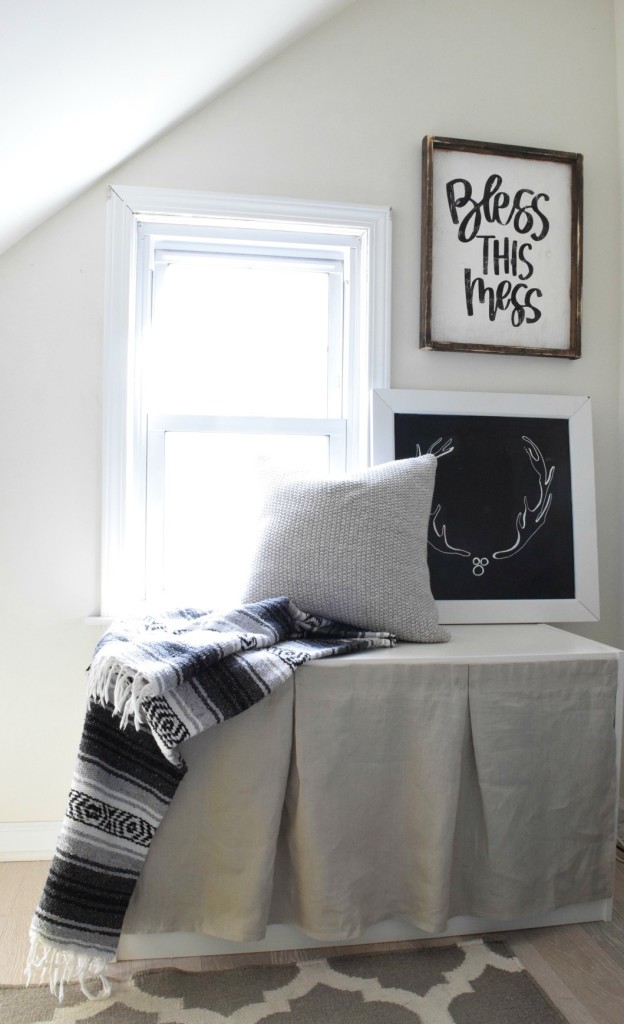
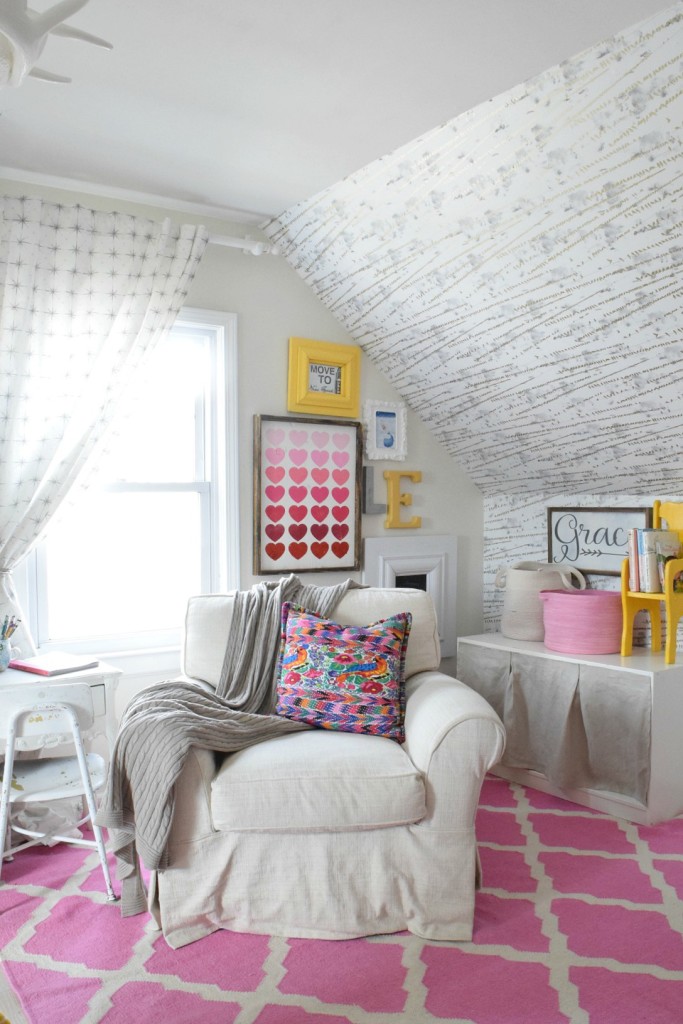
I might add some sort of cushion to the top and create a little bench for reading and playing for them. It looks like a custom little bench to me, you would never know it was an Ikea toy cabinet.
You can always click on an image and Pin it for later! Read more about my daughters bedroom HERE.


Brooke I really love this idea and I may have to use it for Ev’s room! She has no storage and I love how this looks!!! Thanks for sharing –
Thanks Annie! I love Ev’s room, it turned out so sweet, I love all your details.
Brooke,
I’ve noticed this piece in the girls room and thought how brilliant it was to make something to cover what’s inside….and now that we see it close up….and that you used magnets…it’s even better. I did wonder how you attached it. So smart and it looks wonderful!
xo
annie
Thanks Annie- you are so sweet to comment and to notice those things:)
hey girl love the idea!! Great job!
Thank you!
I totally copied this idea to cover the toy clutter in our built ins! Thank you, I love the look!
http://www.making-our-nest.com/?p=154
That looks so great!! Thanks for sharing and happy I inspired you!