I had heard of Milk Paint, but just didn’t understand what it was and how it was different than Chalk Paint or Mud Paint. Have you heard of it? Well, my friend Miss Mustard Seed has her own line of Milk Paint and I got to try it! We had these large frames I have been wanting to refresh and use up our stairs as a gallery wall with candid family photo’s. And I thought these frames would be a good place to start with Milk Paint, the smaller the better for me when trying out a new paint or any project for that matter! I shared my experience with Milk paint on our gallery wall frames. And bonus…Ella Claire Inspired and other bloggers shared what they painted with their Milk Paint at the end of this post.
Verdict is in and I enjoyed using Milk Paint! I ended up using the color Typewriter, a really true black. It was not as hard or scary as I made it in my mind to be! Typically the case with me.
My first question was…What is exactly Milk Paint? Well I looked it up! It is only FIVE ingredients (just how I like my recipes…simple!) Casein (milk protein), chalk, clay, oxide (natural pigments) and limestone. All natural ingredients. Milk Paint comes in a powder form. So you can mix as much or as little as you need at a time.
When I got Milk Paint I looked up a couple of videos on how to use it. But honestly the instructions on the package does a really good job of telling you exactly what to do. Milk Paint comes in a dry powder that you mix with water. For two large frames (they hold 8×10 photos) I used about 1/2 cup of dry Milk Paint with 1/2 cup of water.
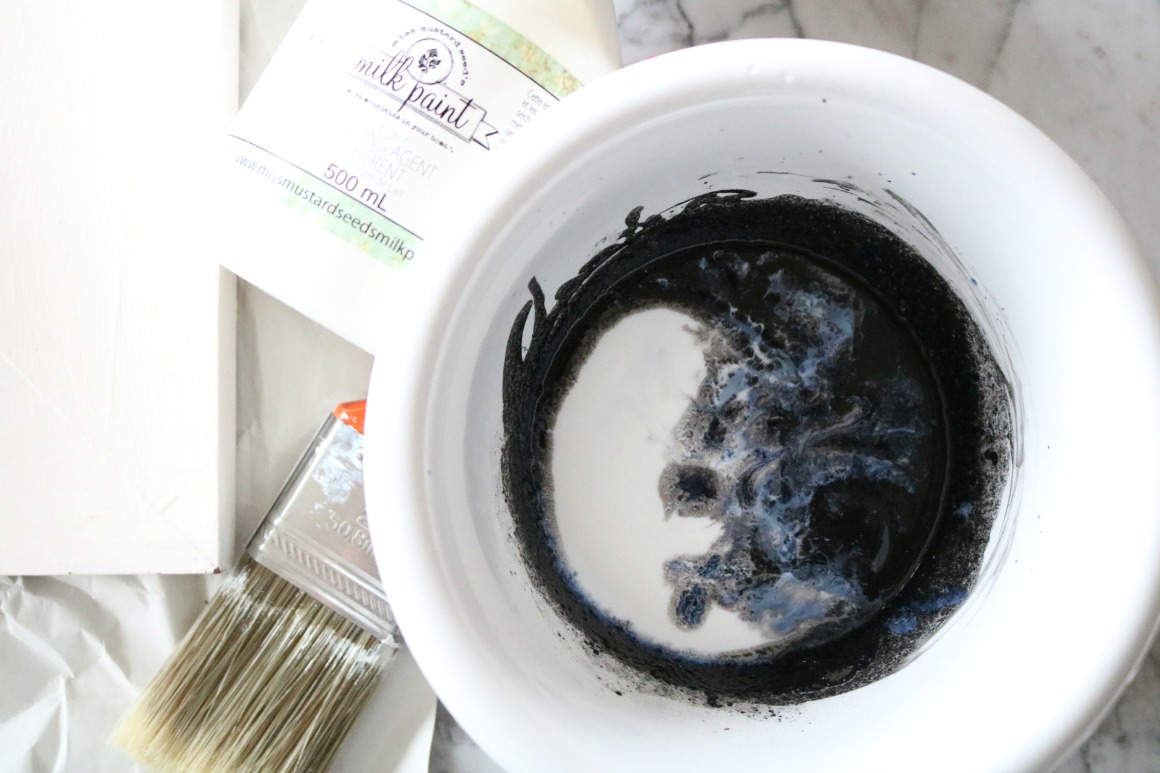
I did use the Bonding Agent and mixed it right in with the paint. The bonding agent is good to use on pieces that have already been painted or stained. It helps the Milk Paint adhere. I followed the directions and let the paint sit for about 10 minutes after mixing it. I also just mixed it by hand, it does say to use a blender on the package, but on the video they just used a stir stick, so that is what I did! Too lazy to have to wash the blender. (BTW if you mix the paint in a nice bowl you like….then make sure to wash it out right after using it, I recommend using something you don’t mind throwing out).

Also paint somewhere that you don’t mind paint getting splattered. I ended up taking this all to our basement after I realized that it was silly to do it here, it could get all over and Finn would be waking up soon! AHHHH! Kevin snapped this picture of me because I think he was thinking “you idiot” but is too nice to say that:)
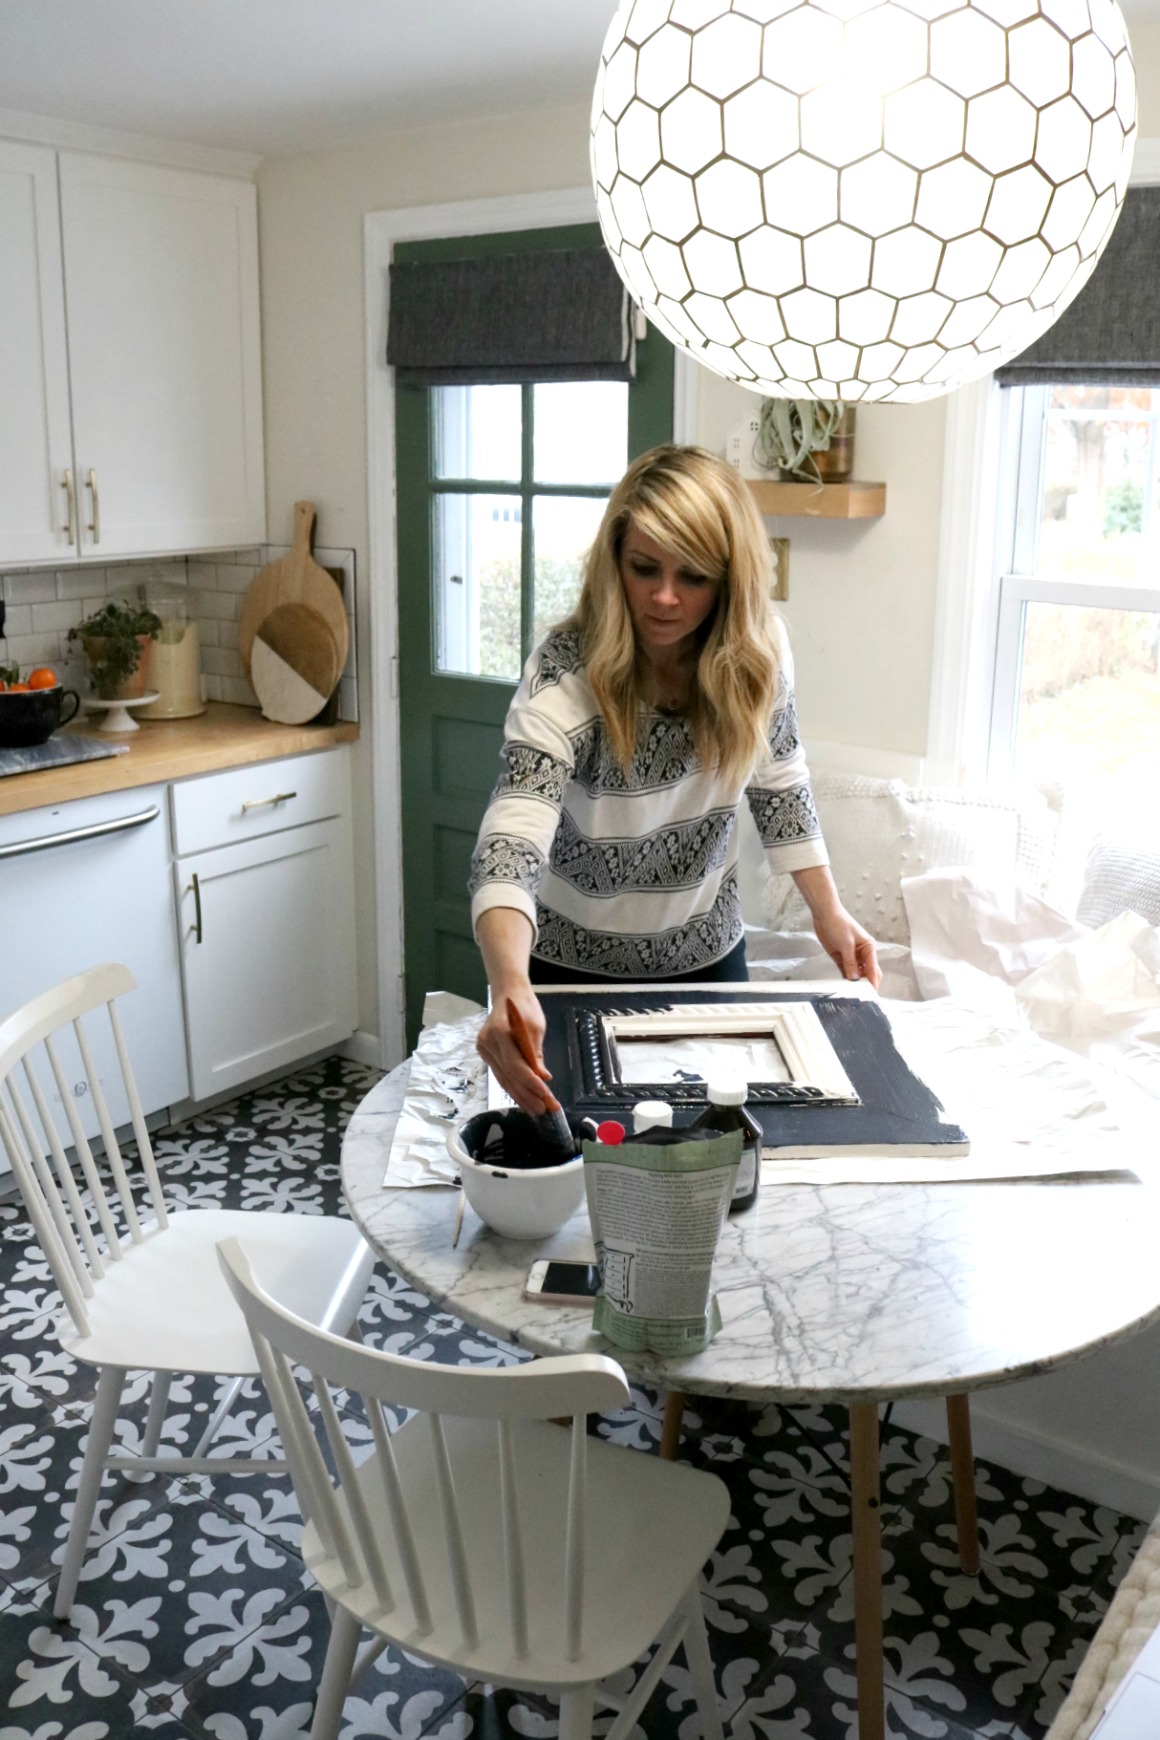
It took these frames two coats of paint. I do have to say I was surprised at how thin the Milk Paint was. But after using it I liked it! It went really far and the project was quicker with a thinner paint. After the frames dried, and it only takes 30 minutes to dry!!
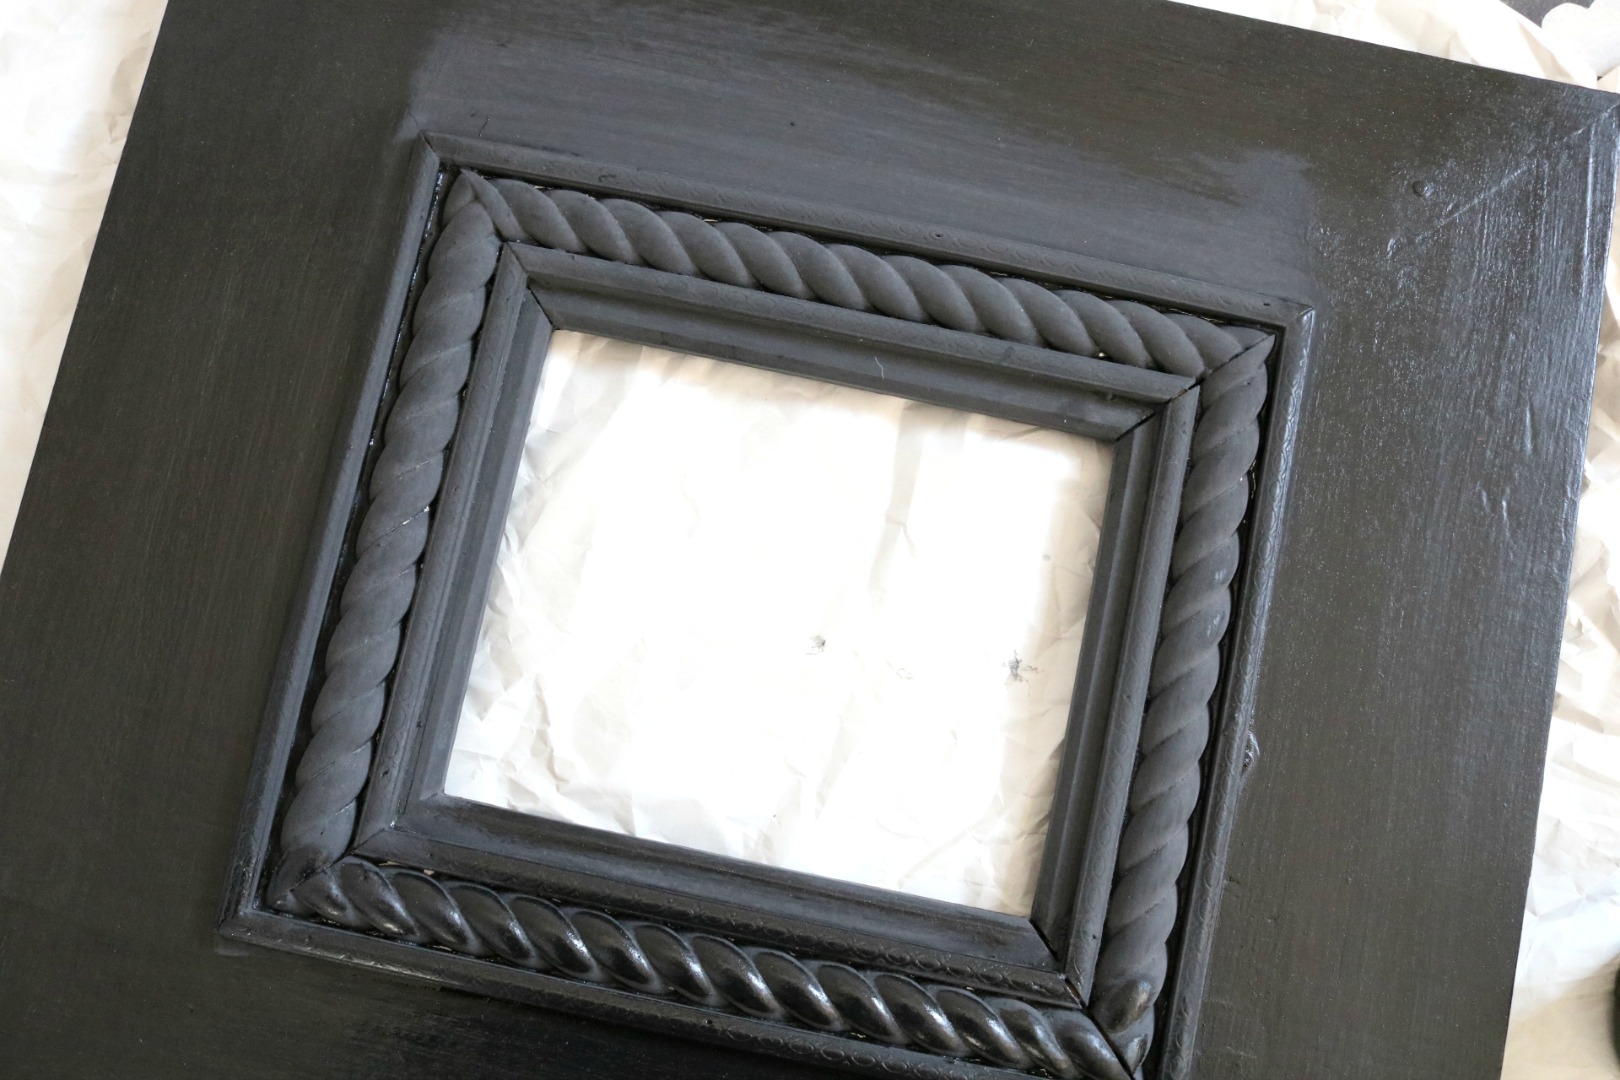
I did seal the frames with Hemp Seed Oil that they recommend and sell with their Milk Paint. I highly recommend using it. Without the Hemp Seed Oil the frames felt super chalky and unfinished. It also changed the color from a Gray to a Black (you can see in the above pic where I used the Hemp Seed Oil and where I didn’t). And can I just say that I LOVE that the sealer is Hemp Seed Oil… it is all natural!! I mean you could eat this stuff, but don’t. You can use this in your home without any worry of toxins. YES!
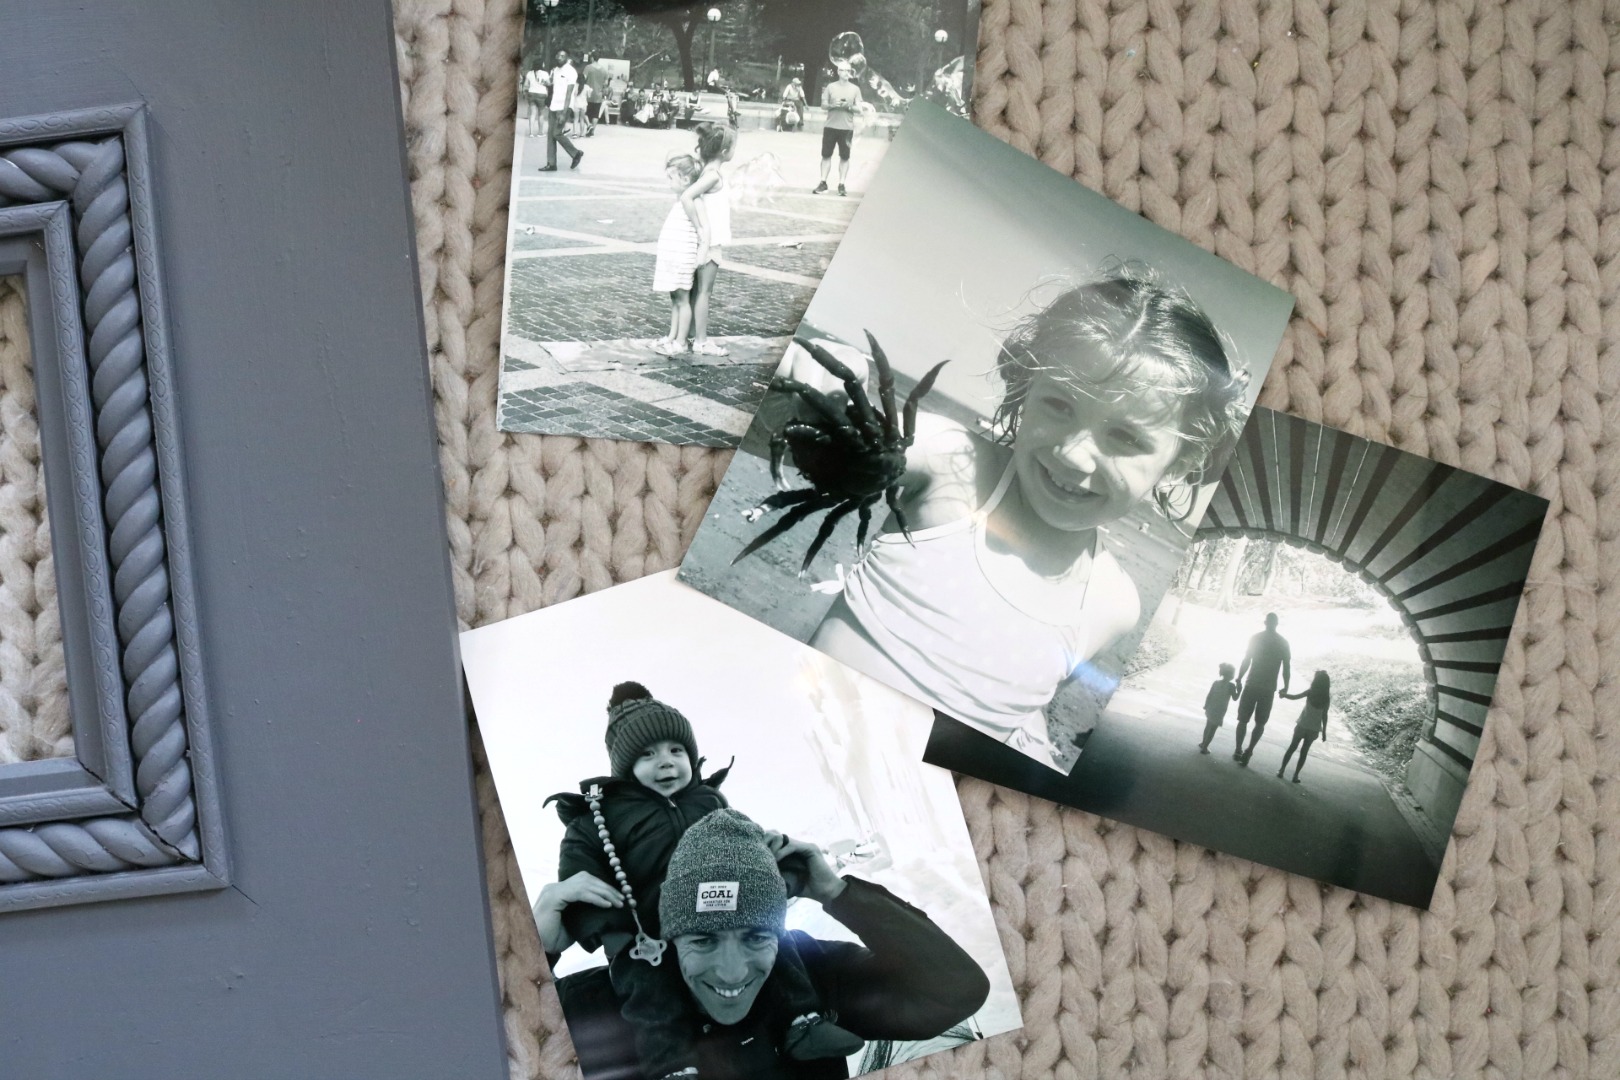
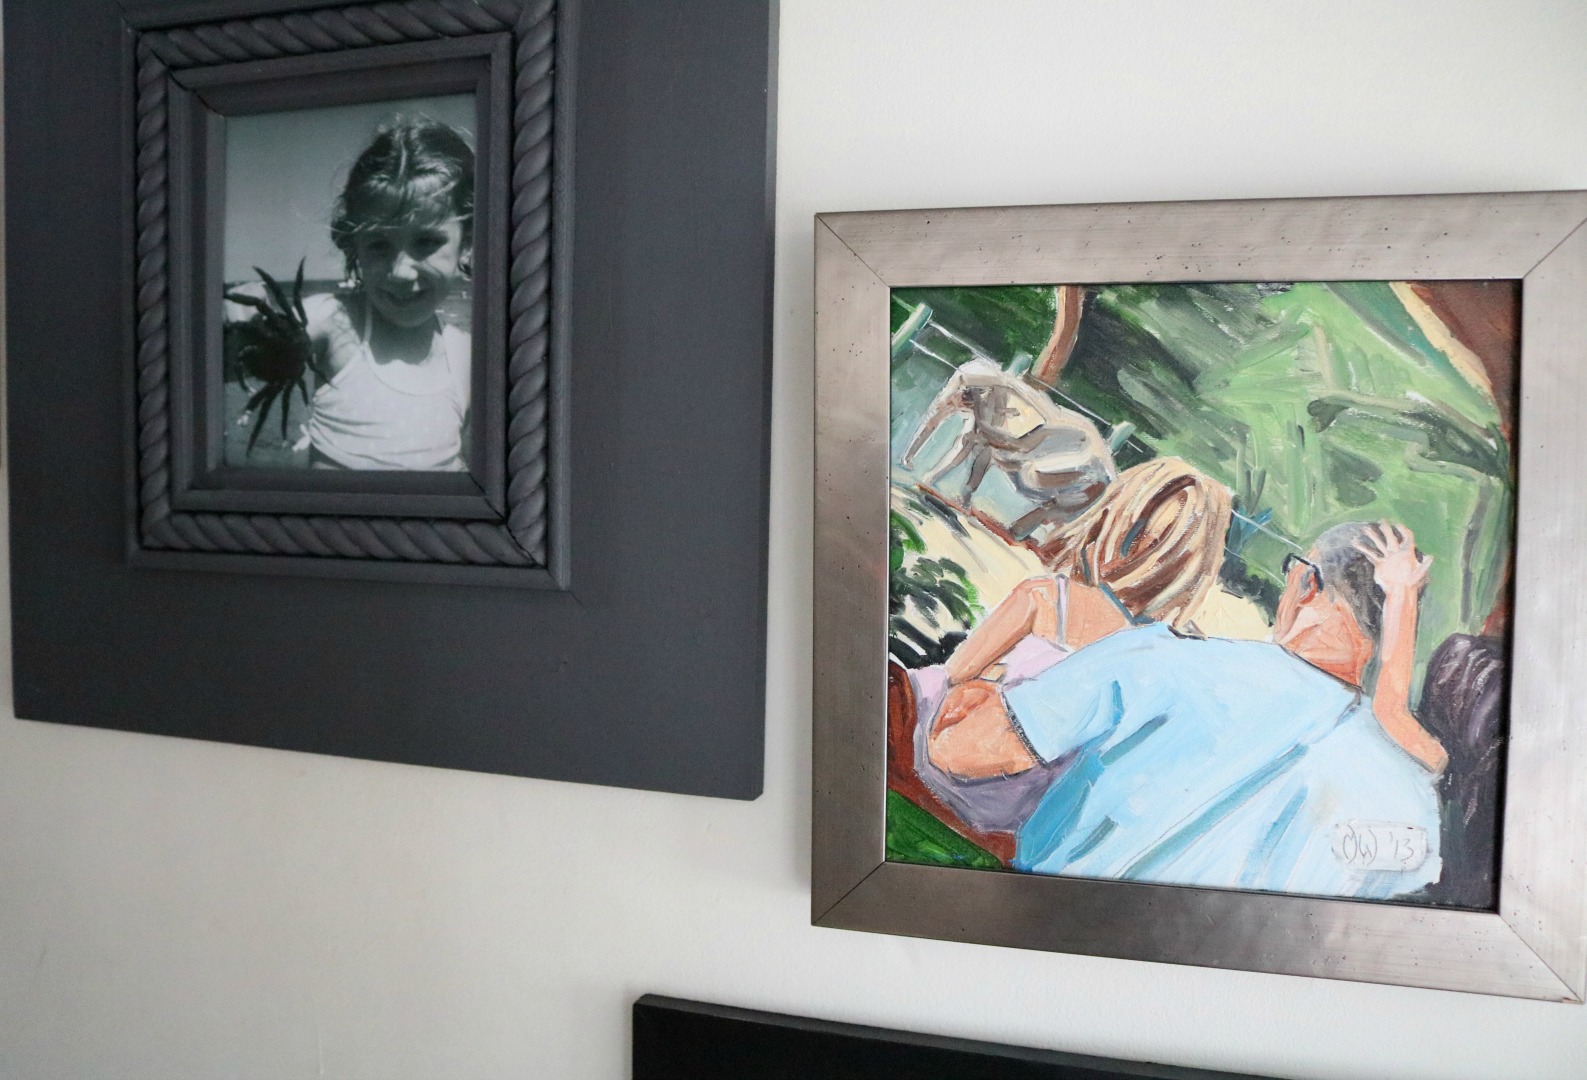
Now that they frames were all painted. I ordered some black and white photos that I had taken just with my iPhone over the year. I ordered them on Walgreens online. I prefer the mat finish but was in a hurry to get them and they take a couple of days to have ordered in the mat. These shiny black and white prints were ready in a couple hours. (PS- always google “Walgreens Coupon Code” and you should be able to get a coupon code to put in at check-out! I got 50% off my order).
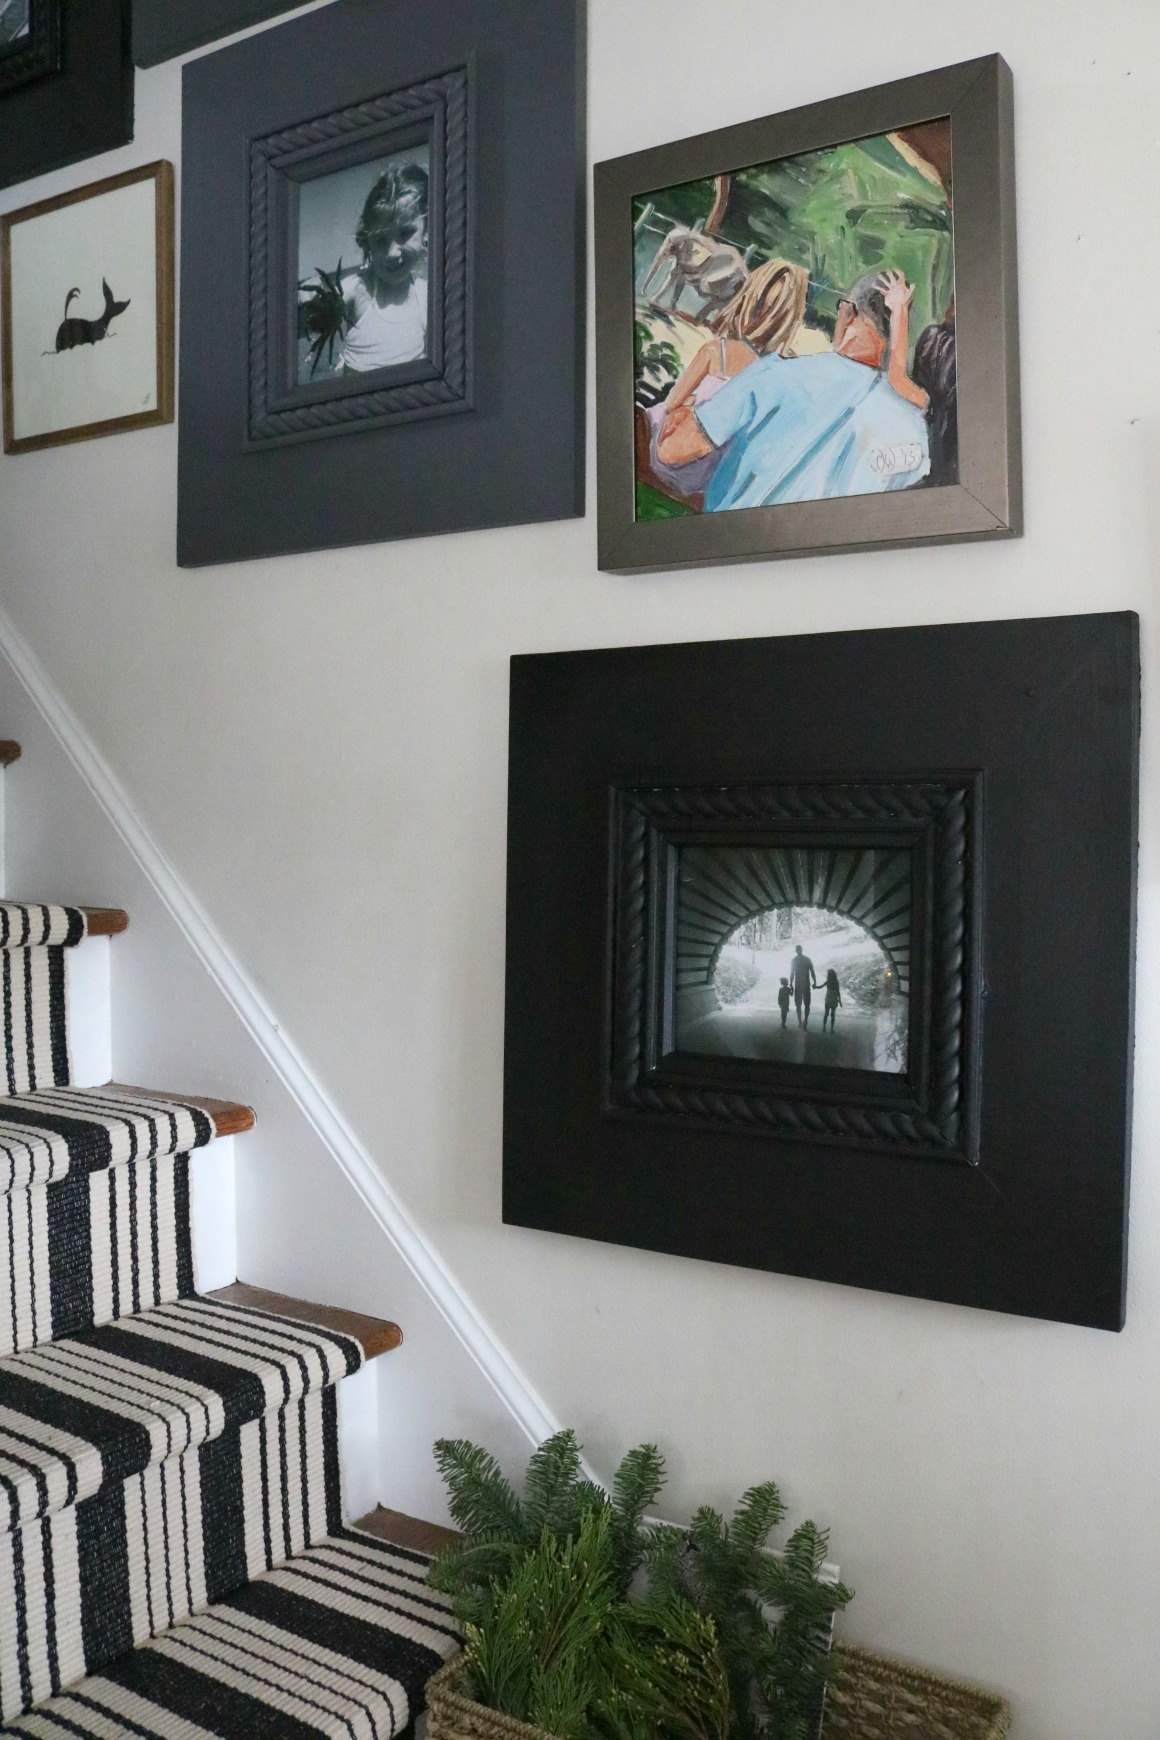
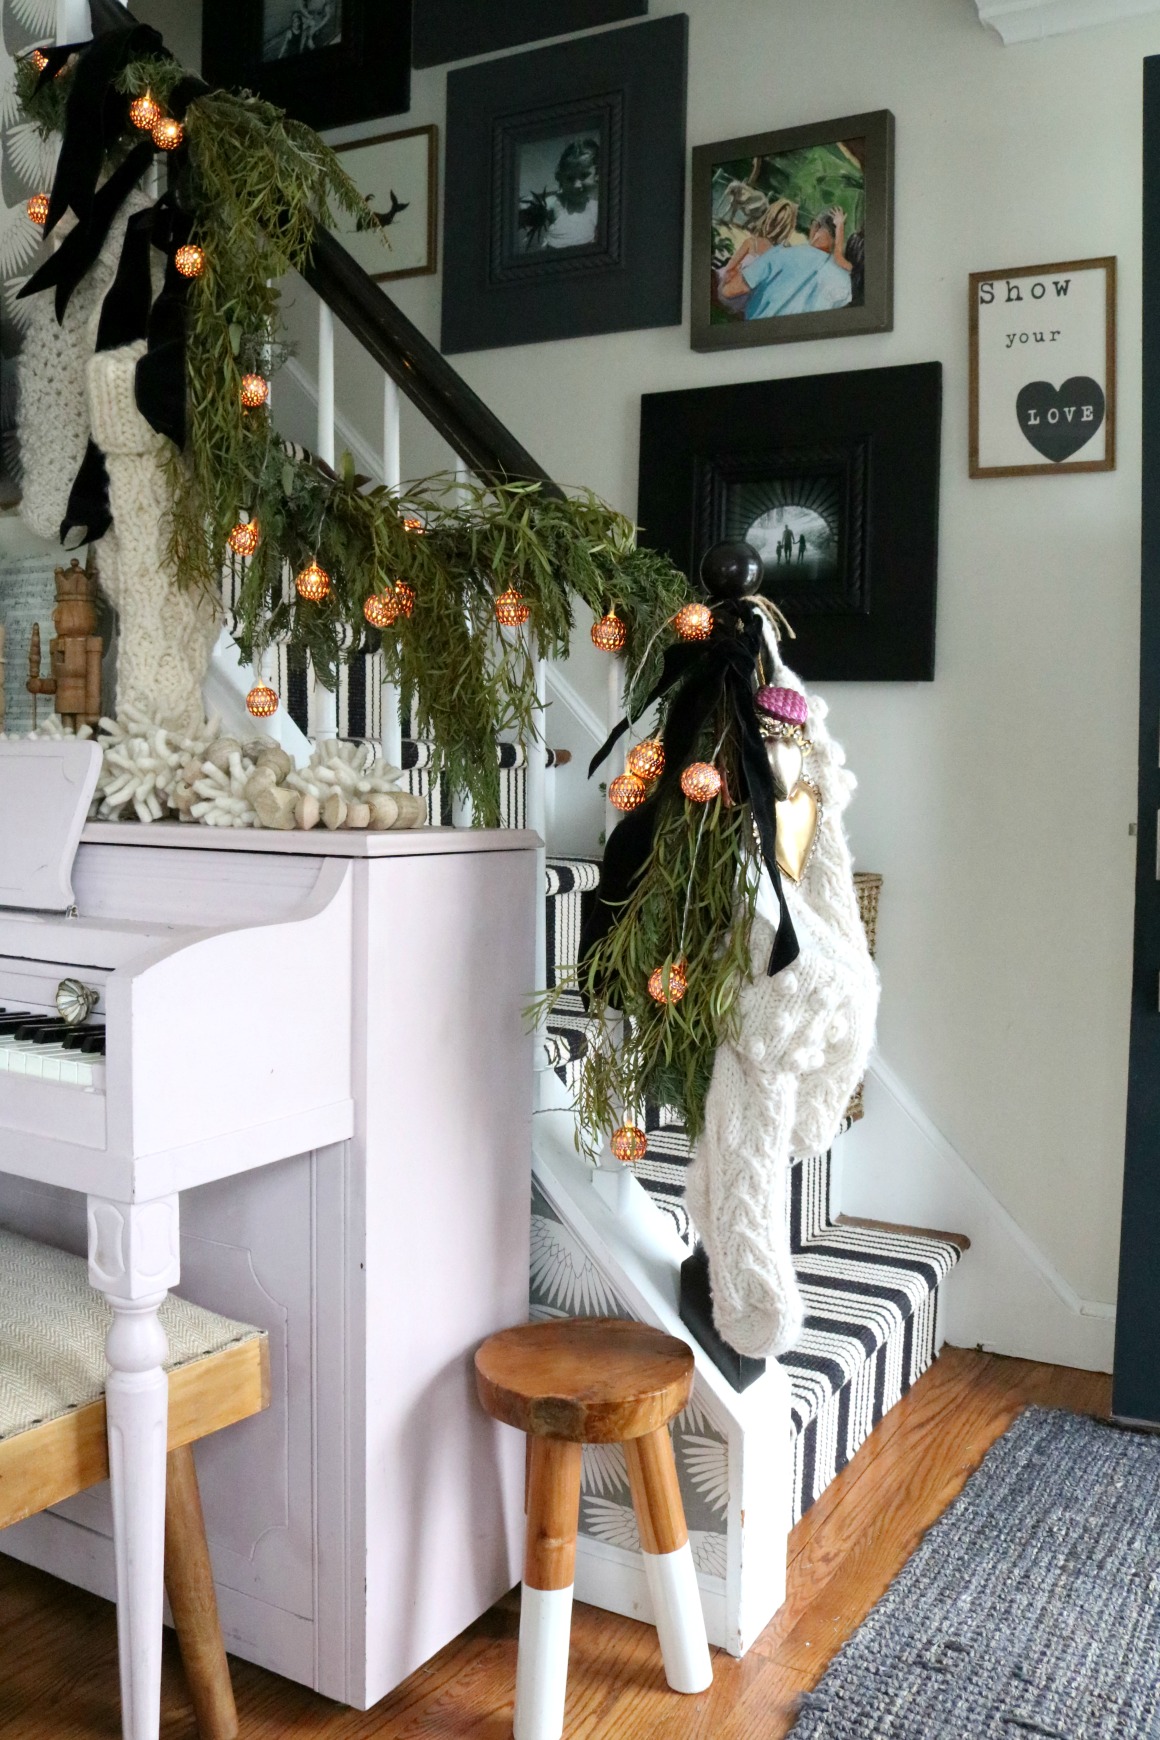
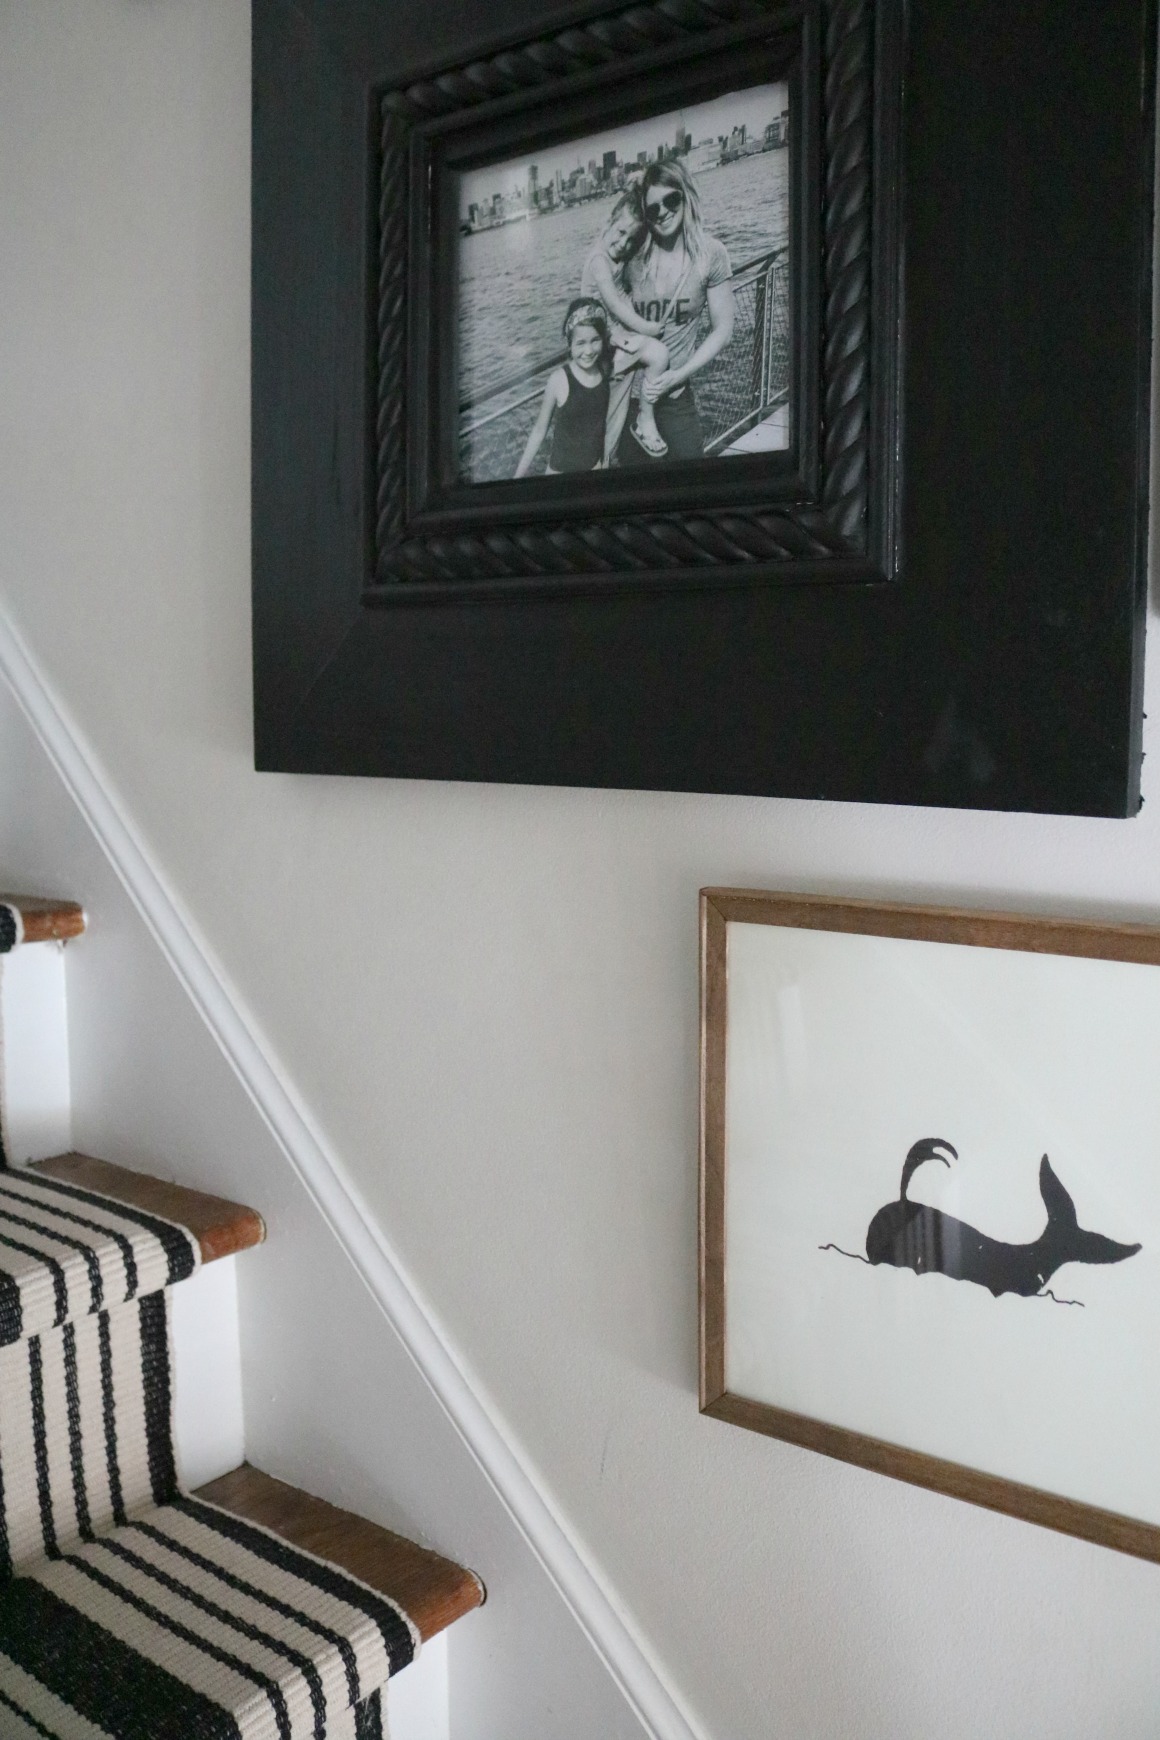
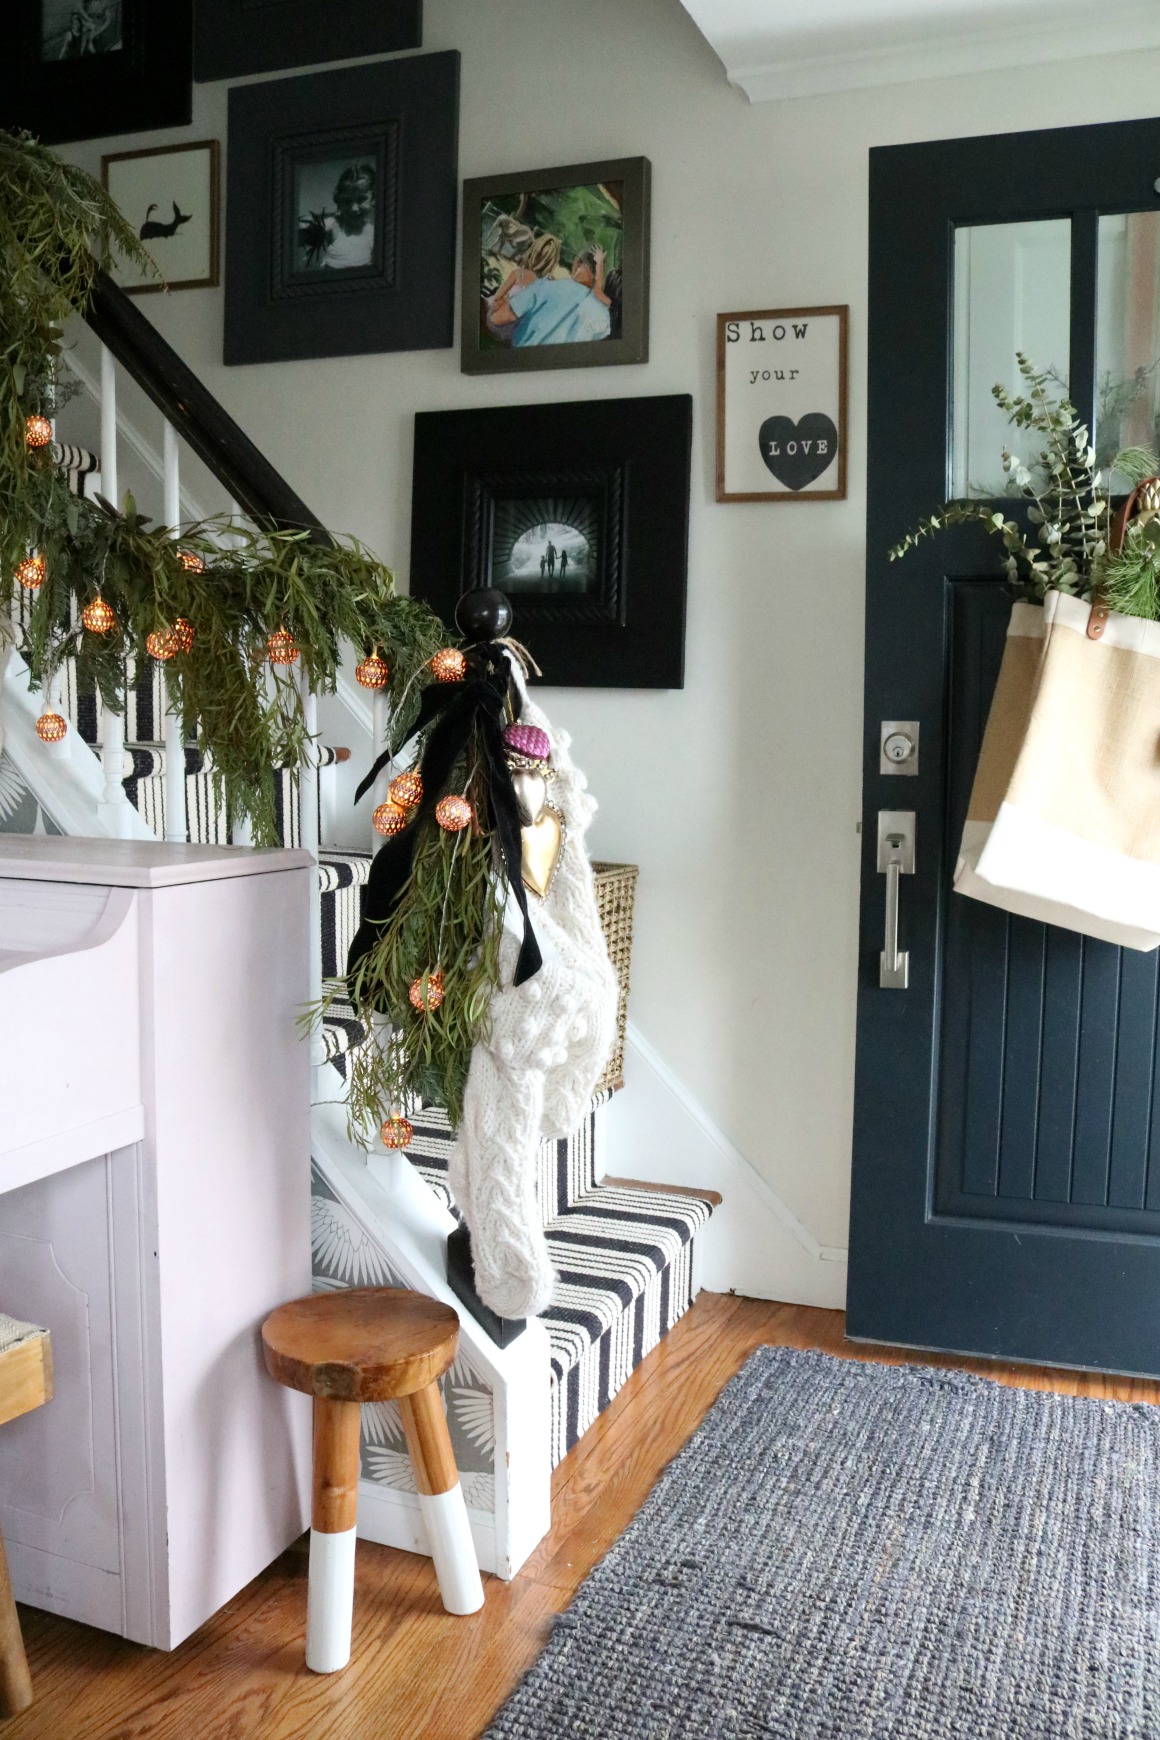
The bottom photo is the one I painted in Typewriter from Milk Paint. The top frame was already painted in Gray from Benjamin Moore. I might get ambitious and paint them all in the Typewriter, but for now two are done in Typewriter and I kind of like the mix of the two colors.
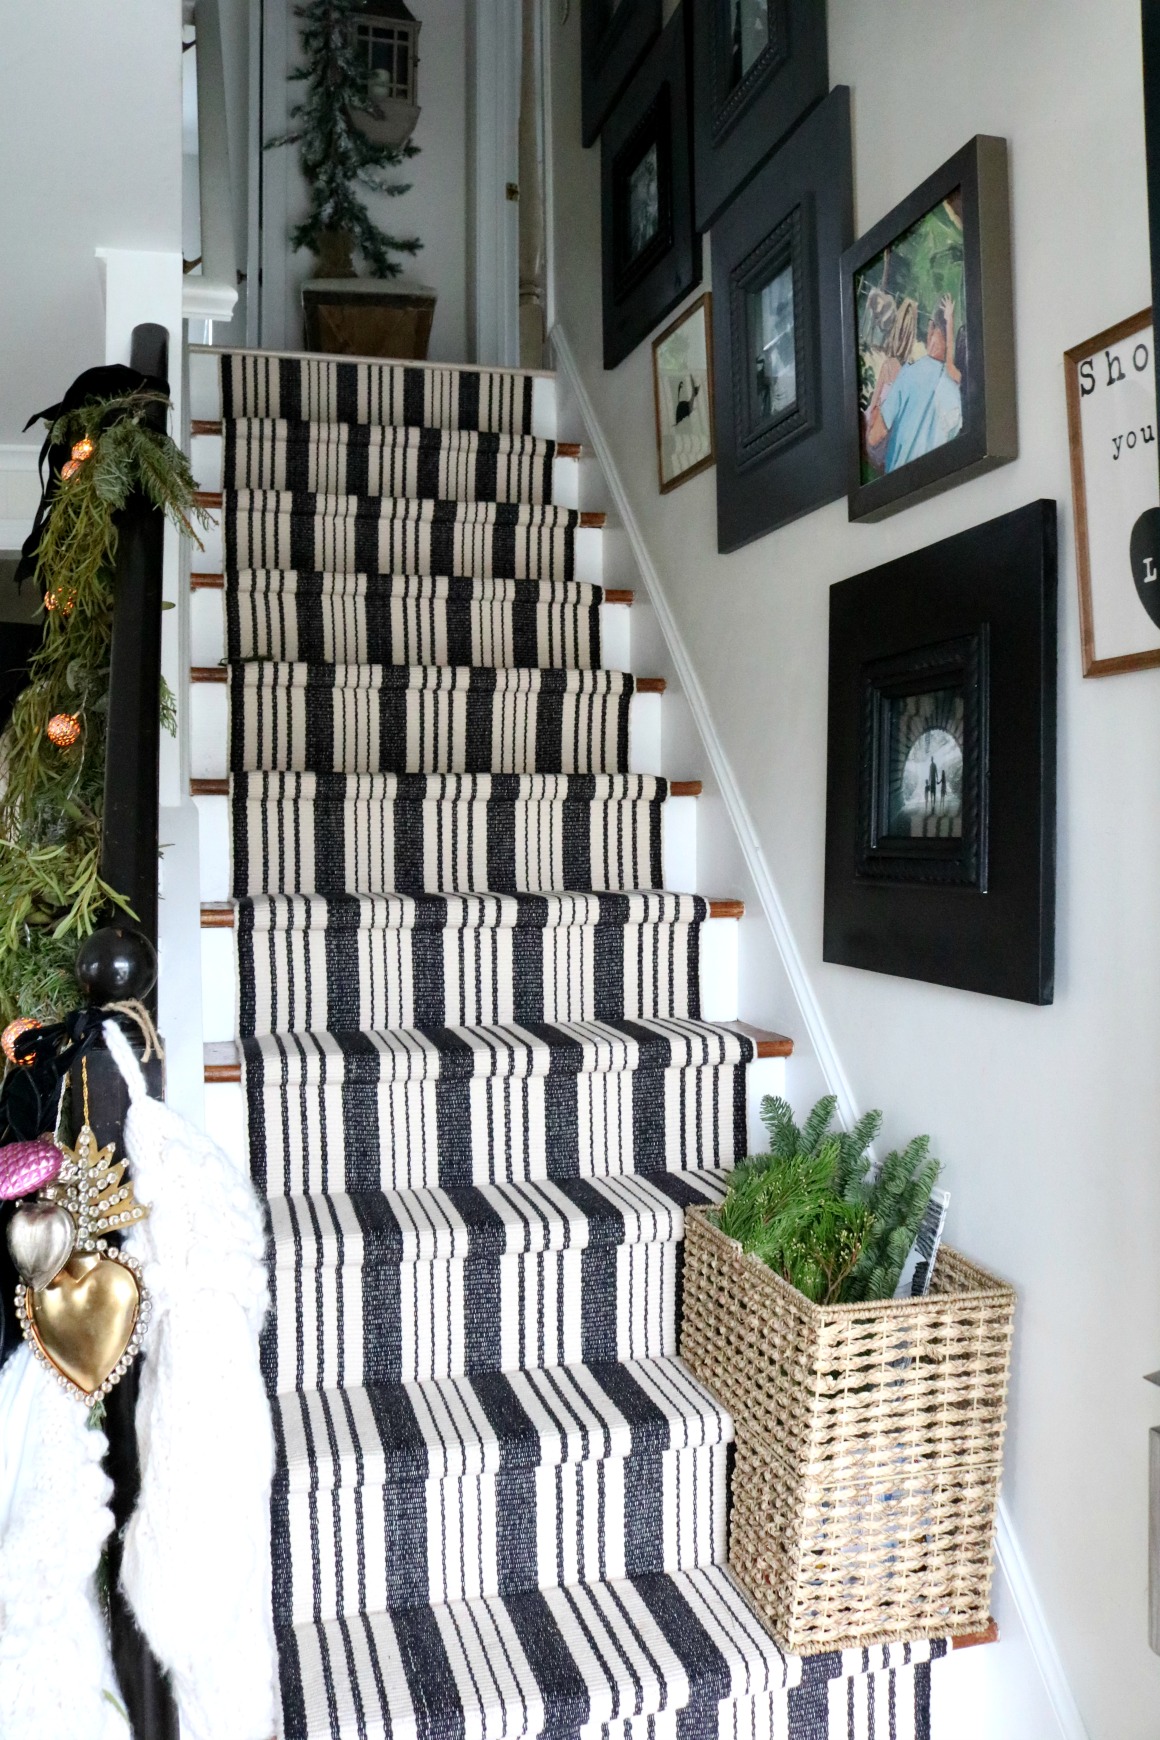
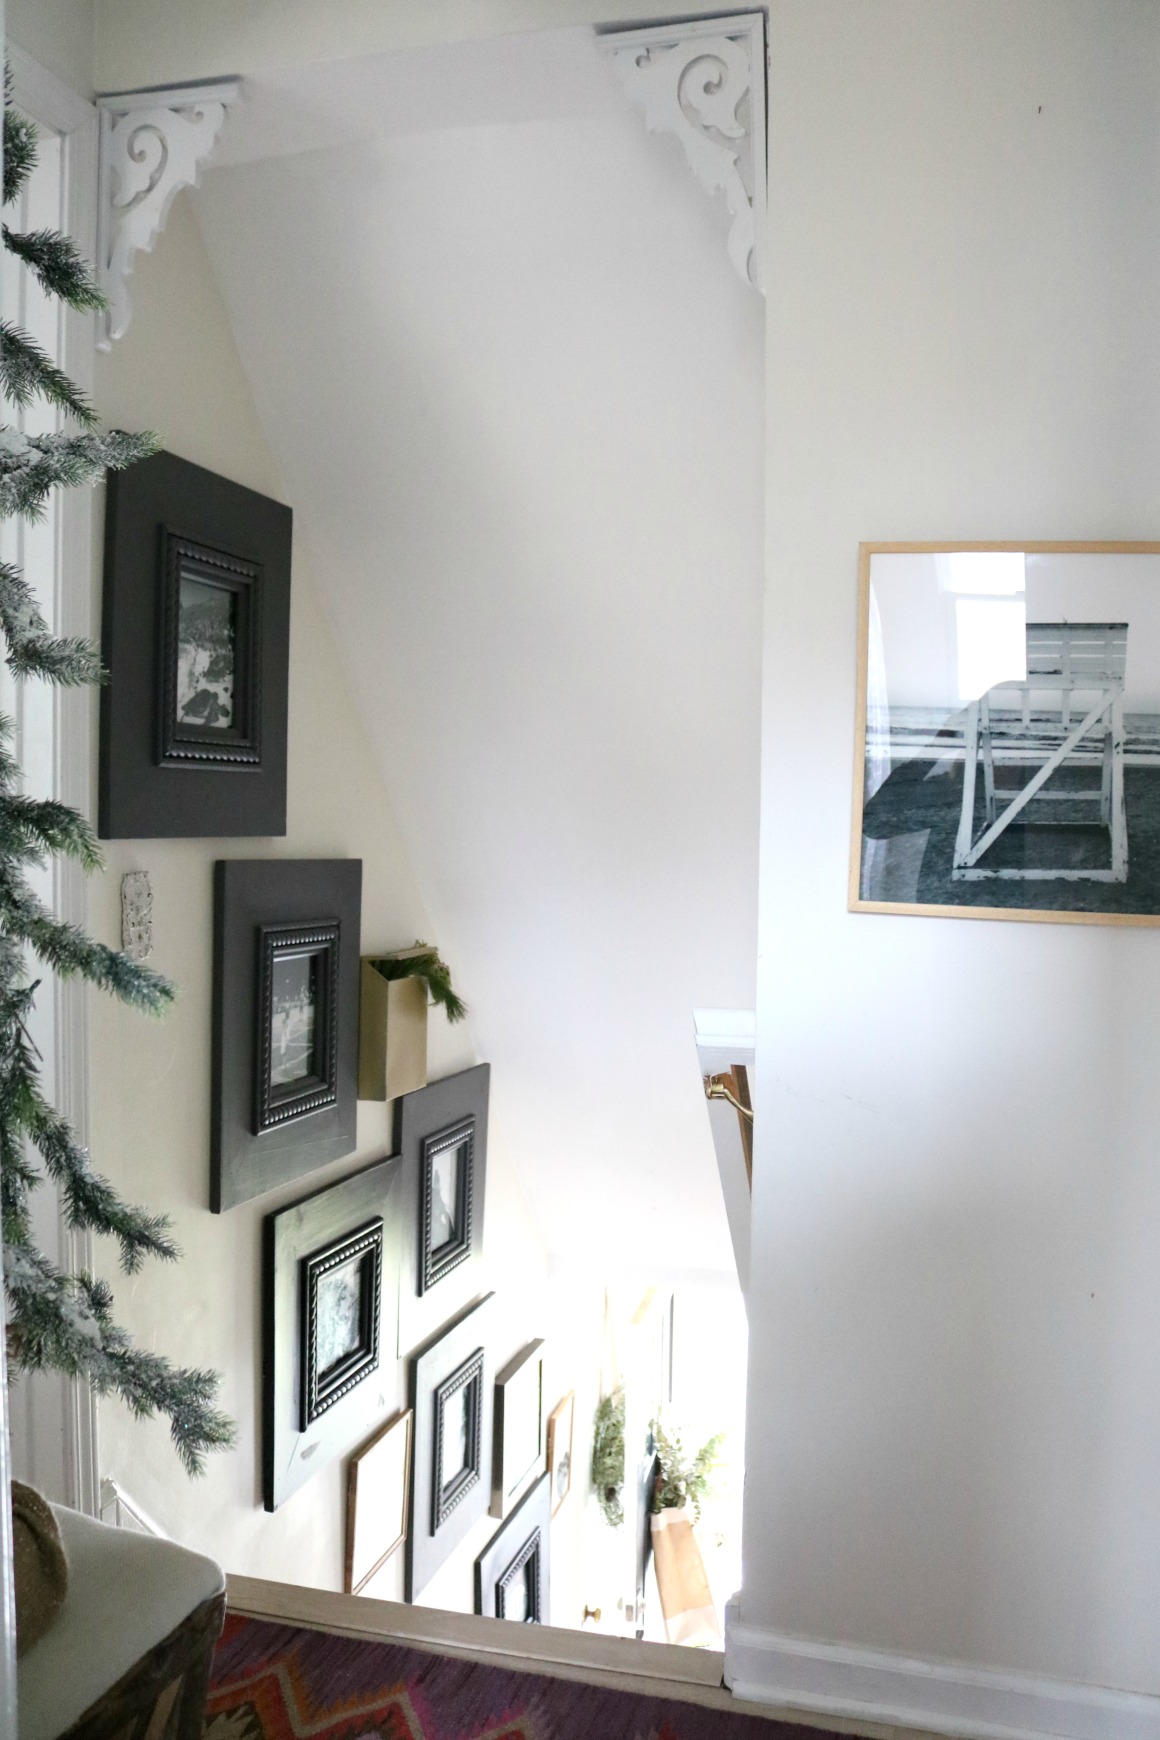
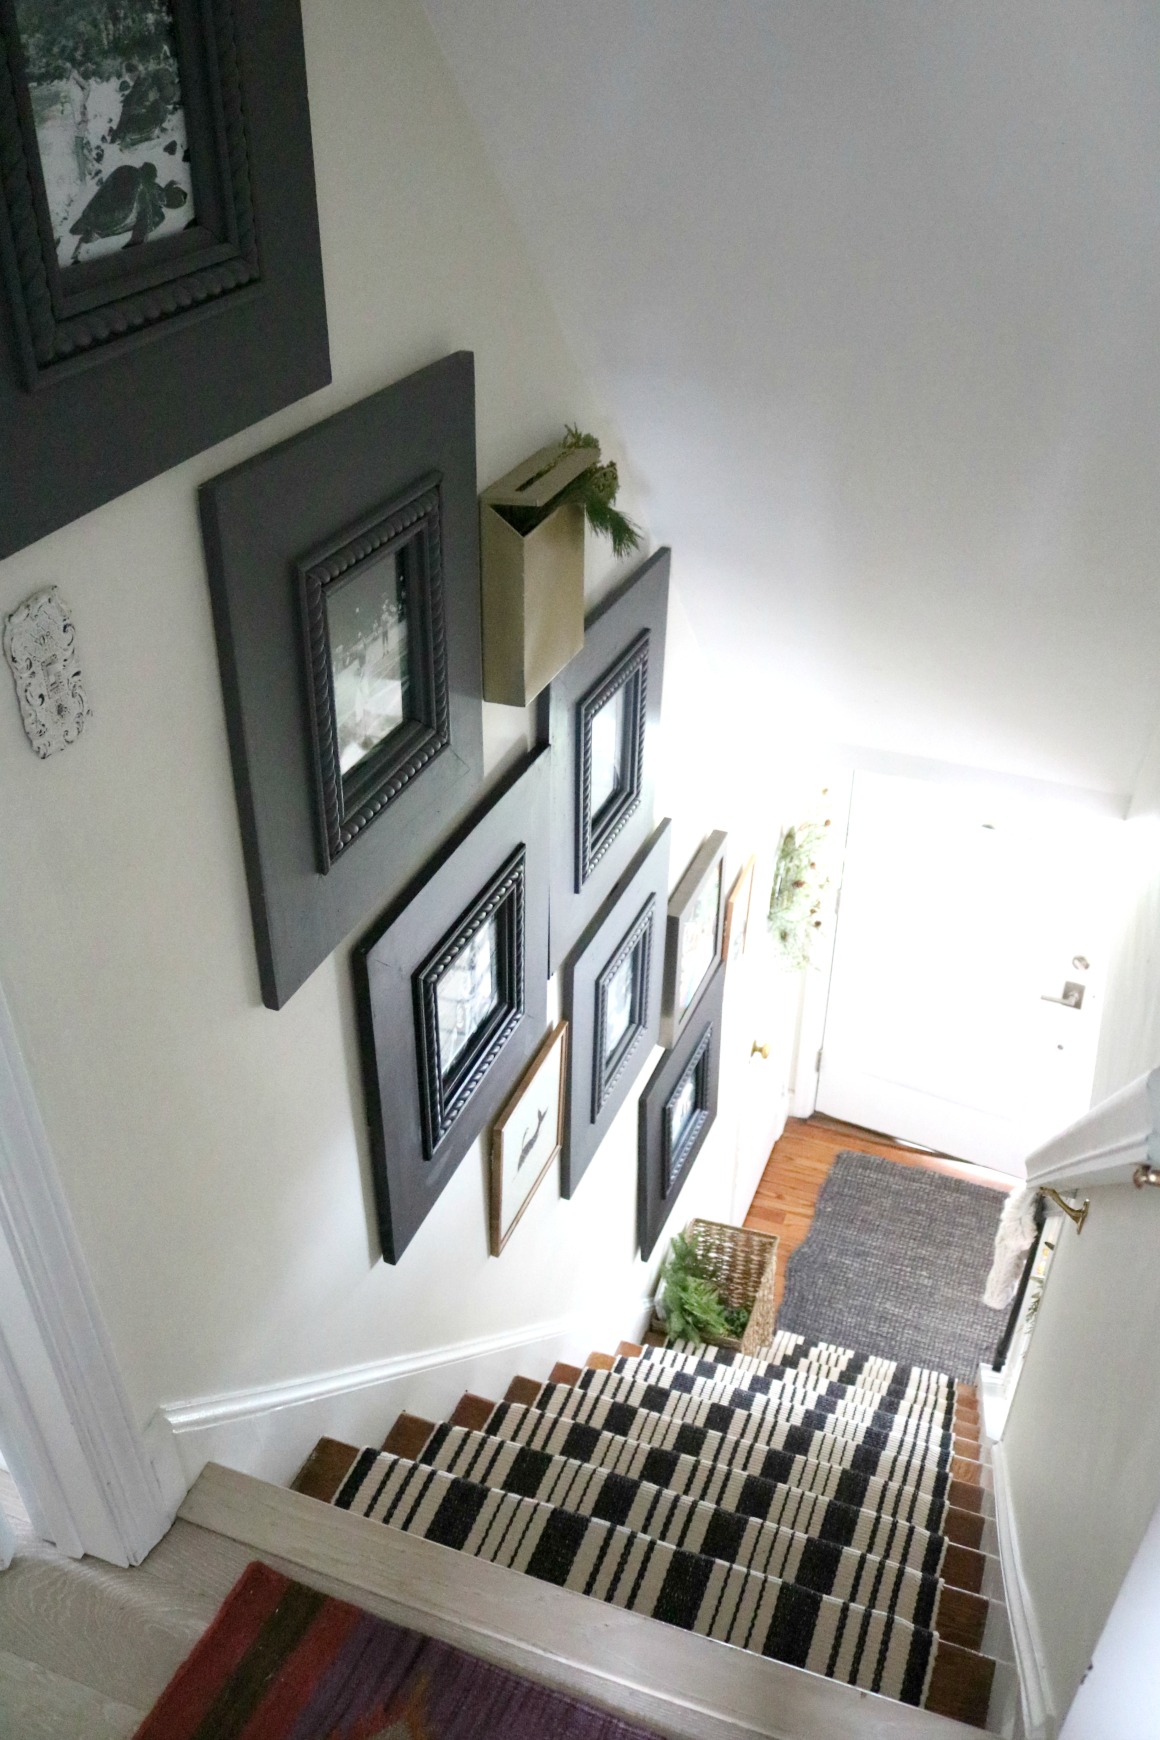
It was kind of tricky to get photos of this tight space! But you can see how well the Typewriter color looks with our new stripe stair runner (find info on that HERE). And you can find our stair basket HERE.
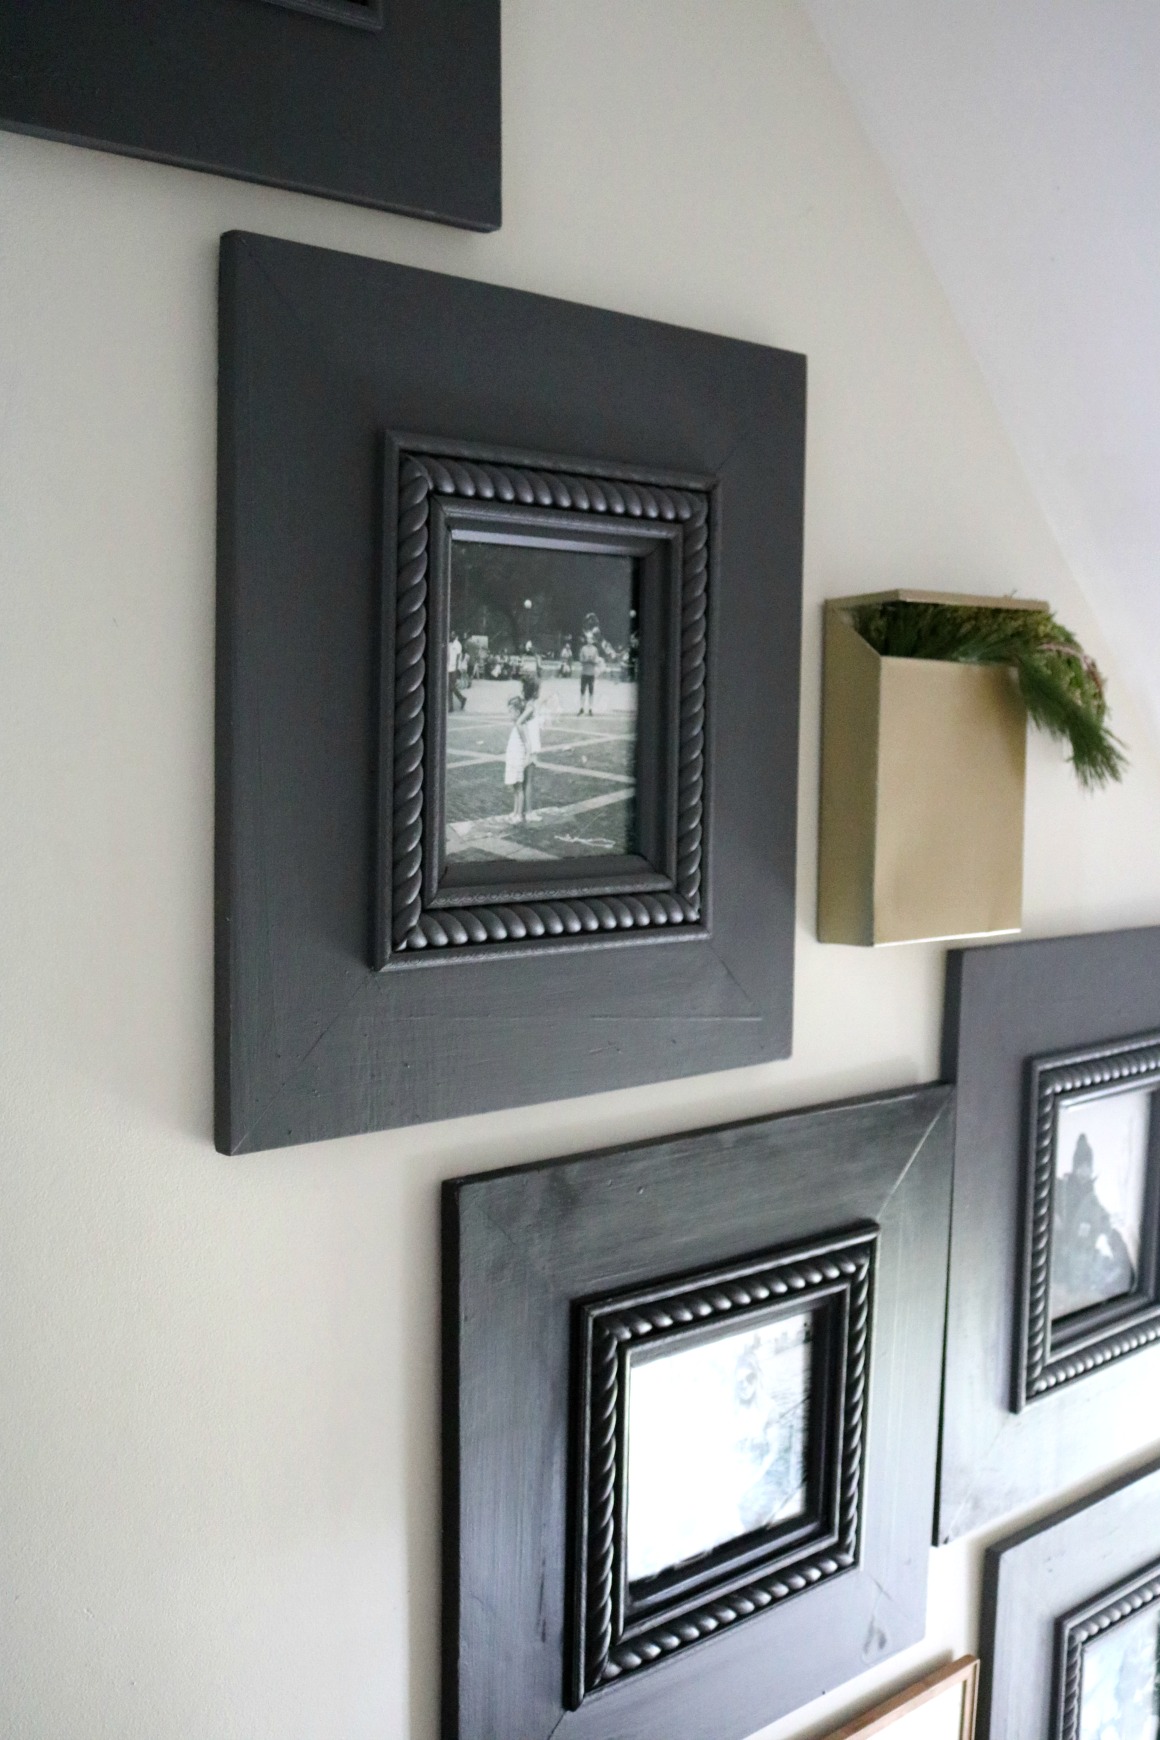
Also these new photos just put a big smile on my face when I walk by them. I decided to pick some of my favorite candid shots rather than formal family pics. These tell a story of us and bring back such fond memories. Highly suggest it! And hope this answers where I keep our family photos! Love them on a gallery wall by the stairs (well obviously).
As I mentioned I had these frames, I bought them a long time ago at a great clearance price. Sorry I don’t have the source. I did find THESE or THESE unfinished wood frames that you can create your own Gallery Wall with!
You can find all the paint colors and more detailed info on Milk Paint from Miss Mustard Seed HERE!
And I am so excited to check out all my friends paint projects! We all gave Milk Paint a try. Head to their blogs to see what they worked on….
Ella Claire | Love Grows Wild | Kindred Vintage | Liz Marie Blog

French Country Cottage | Nesting with Grace | Miss Mustard Seed | Rooms for Rent


I might have to try this Milk paint on a small project! i love that it’s toxin free-Thanks for sharing! Could you tell me where to get that basket on your stairs? Would be perfect to collect toys that get scattered around the house.
Yes! Here you go- http://rstyle.me/n/cvhip7b5qwf
The frames turned out so well! I love painting little things like that, to personalize them and unify the look. You did exactly that. 🙂
I have a gallery wall up my stairs as well, but I really like that you included some different frames. I used all black, but I think I’ll throw in some other materials to mix things up. I like!
oh yay! Glad it gave you an idea!