Our exterior has gone through some minor and major updates! Sometimes I look at older pictures of the house and think, I can’t believe it looked like that! I really was just smitten with the older house charm, the location (beach area) and the big backyard is hard to find around here, especially so close to town and the beach. And I knew we could give the exterior some major curb appeal with small and simple changes along the way.
Here are some up the improvements we have made and written about on the blog-
- Siding to vinyl shake shingles
- Replaced the iron railing and posts and added white wood
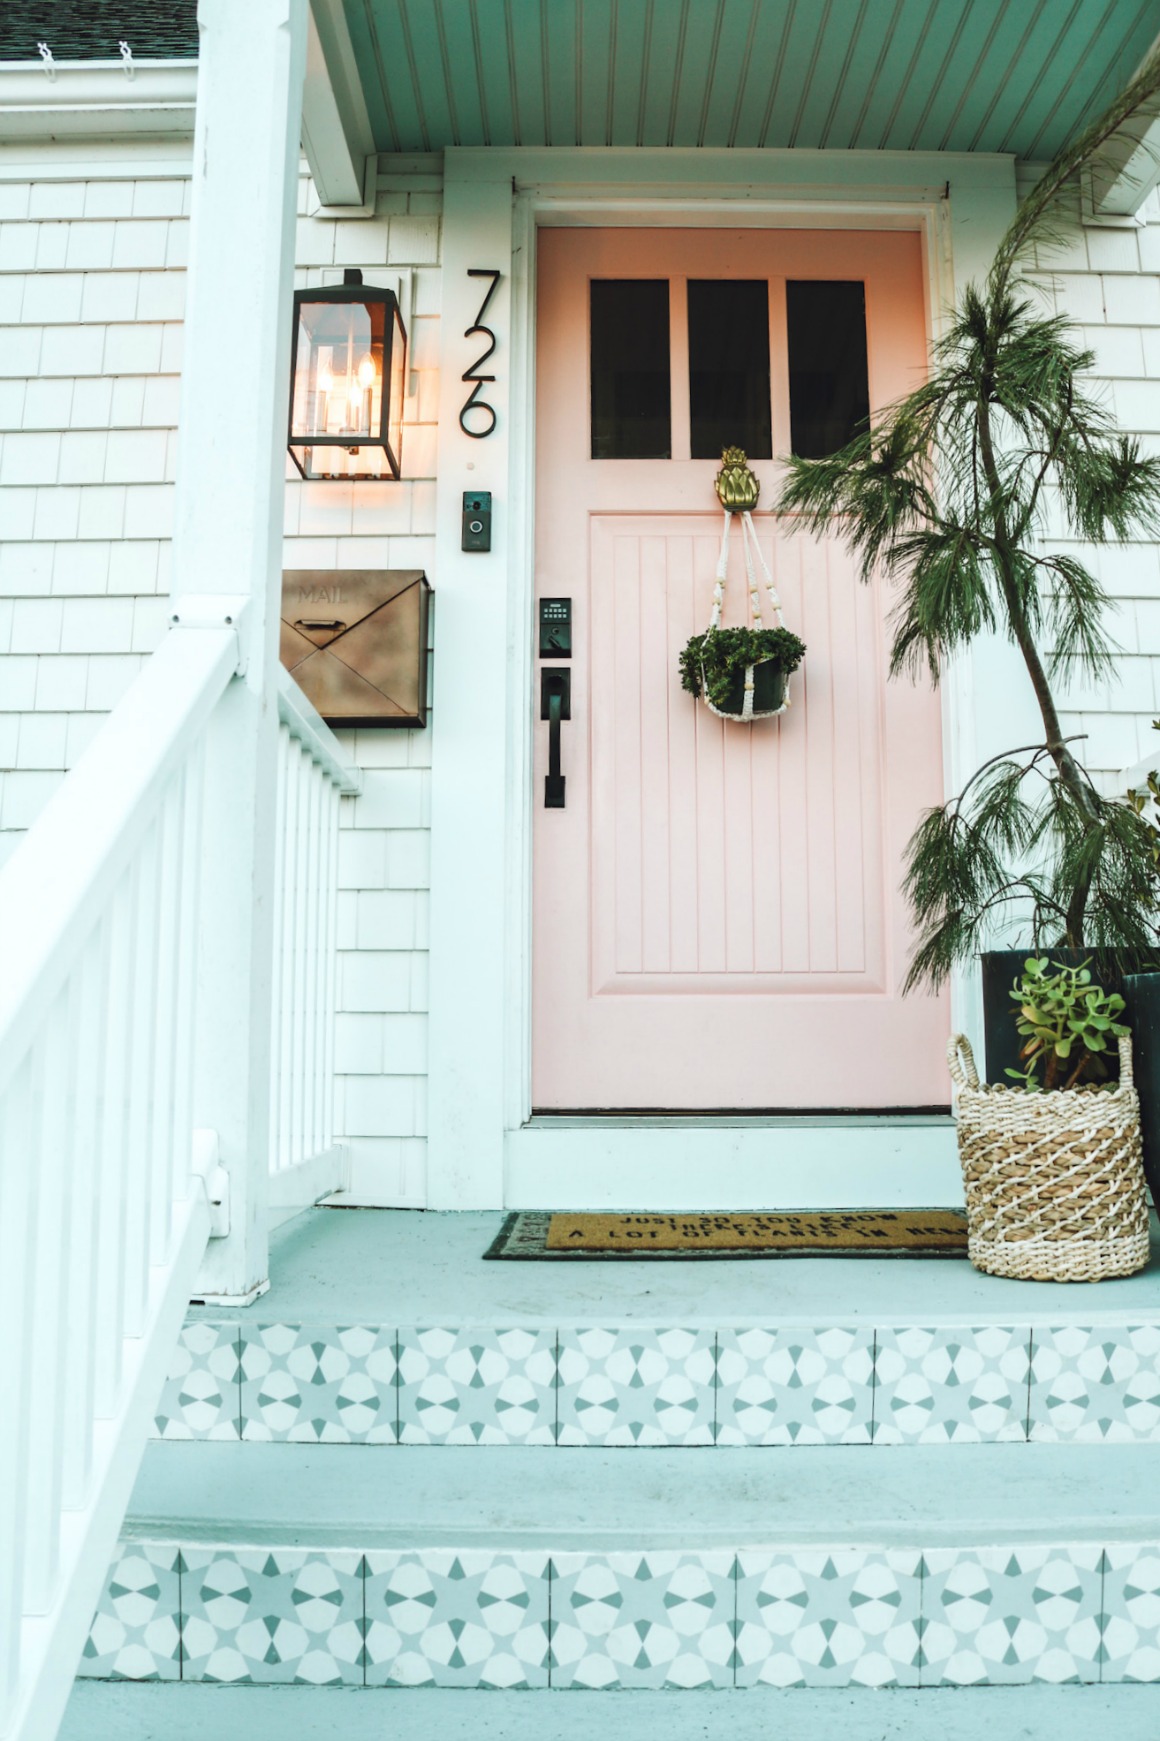
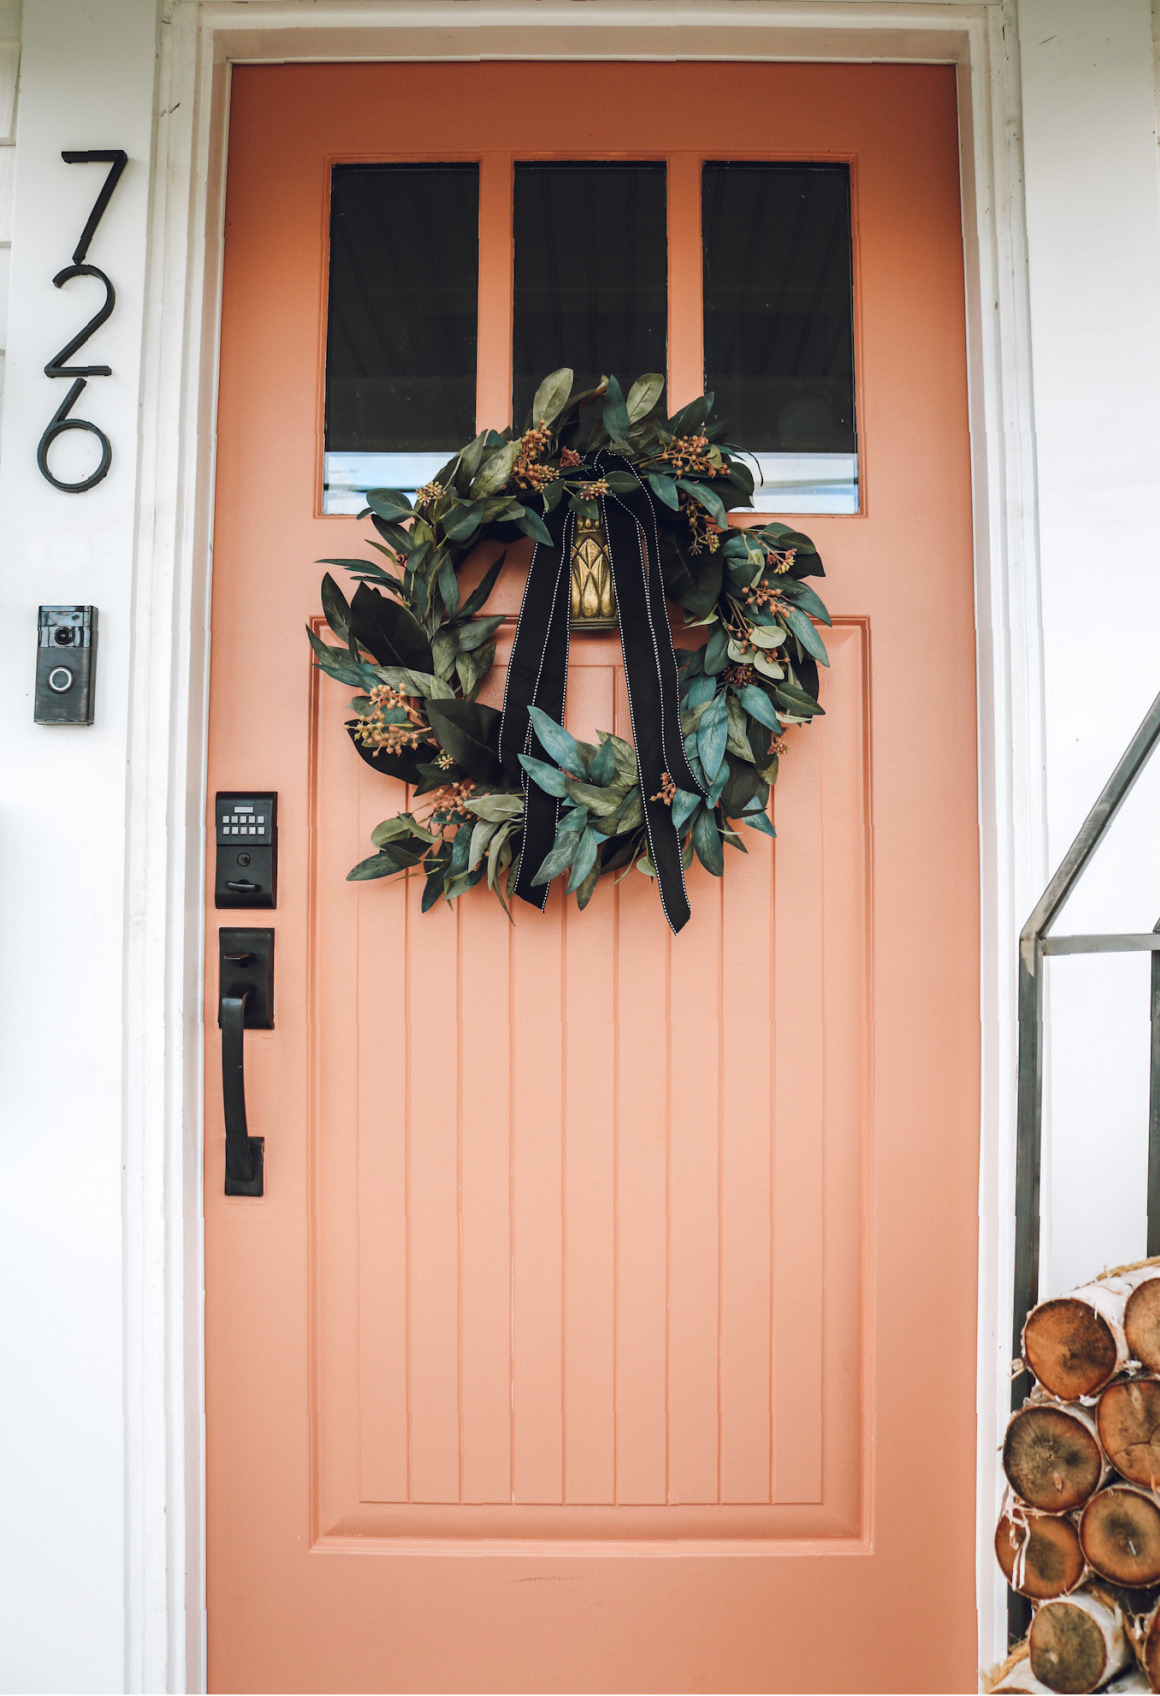
- Got a new front door (Door is from Lowes- Door Style– is called Therma-Tru and the style is Classic-Craft)
- Painted front door pink (I can’t believe we kept it pink this long- I feel like it is a signature look now!)
- New Outdoor light (you can shop all our home HERE)
- New Roof
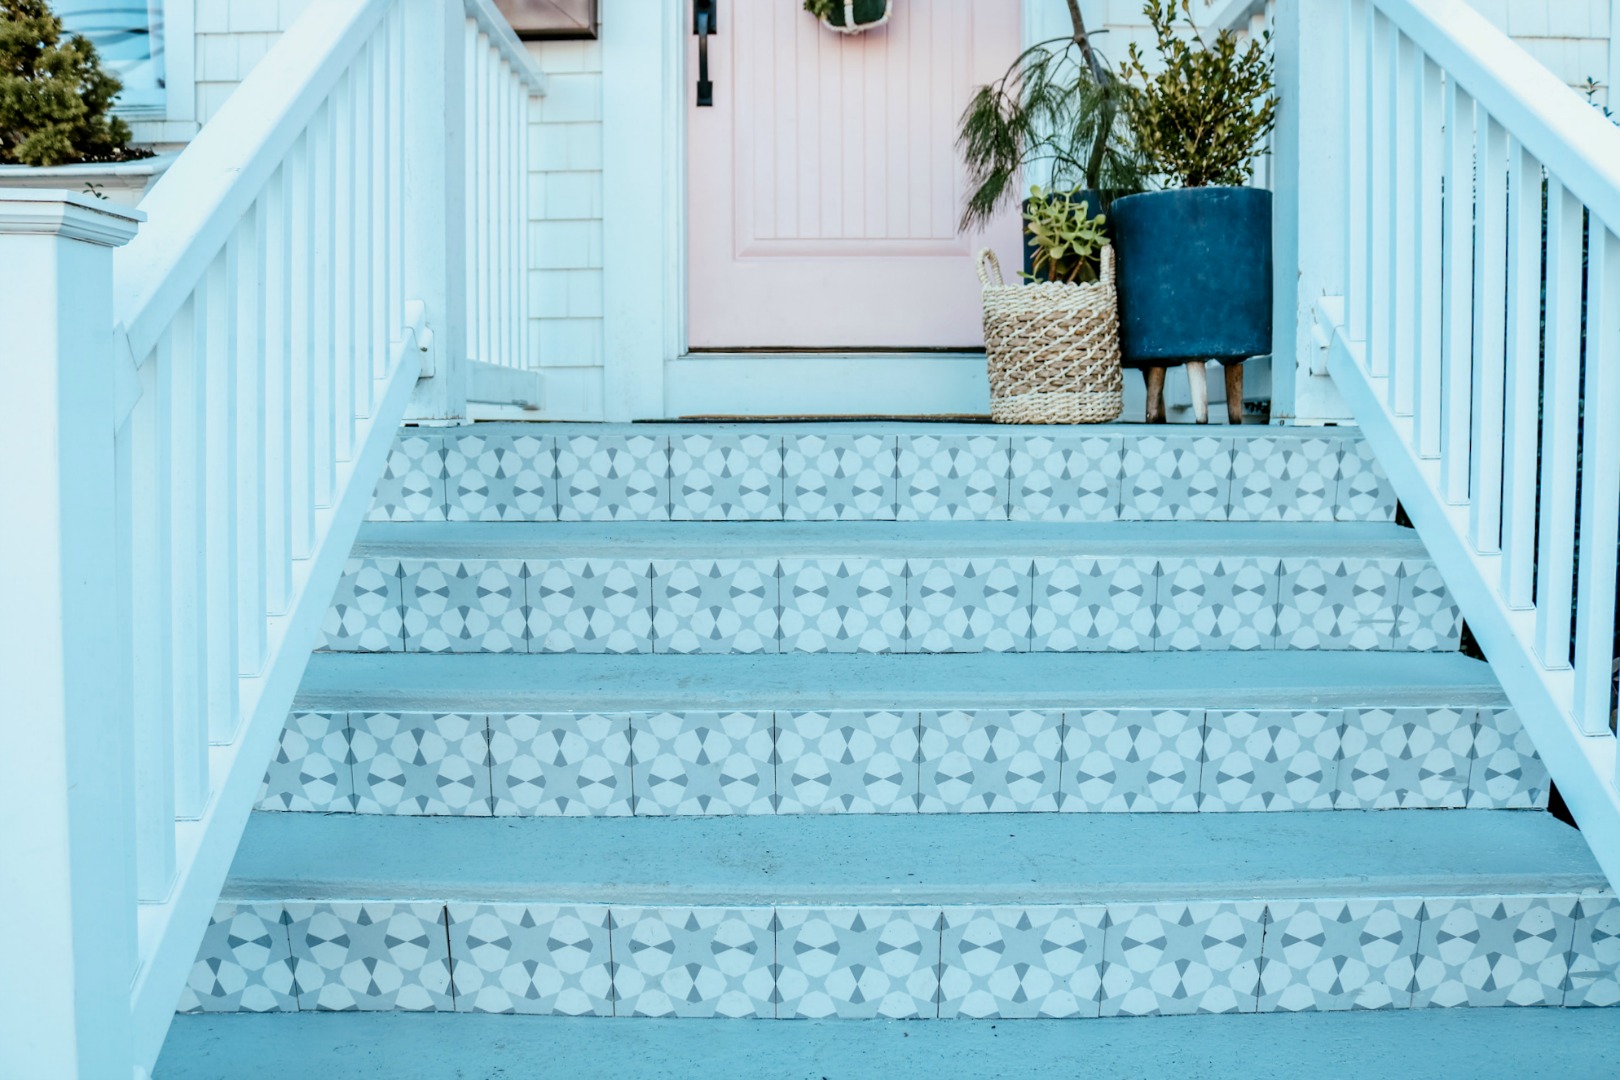
- Painted the cement steps
- Added tile to the front of the steps
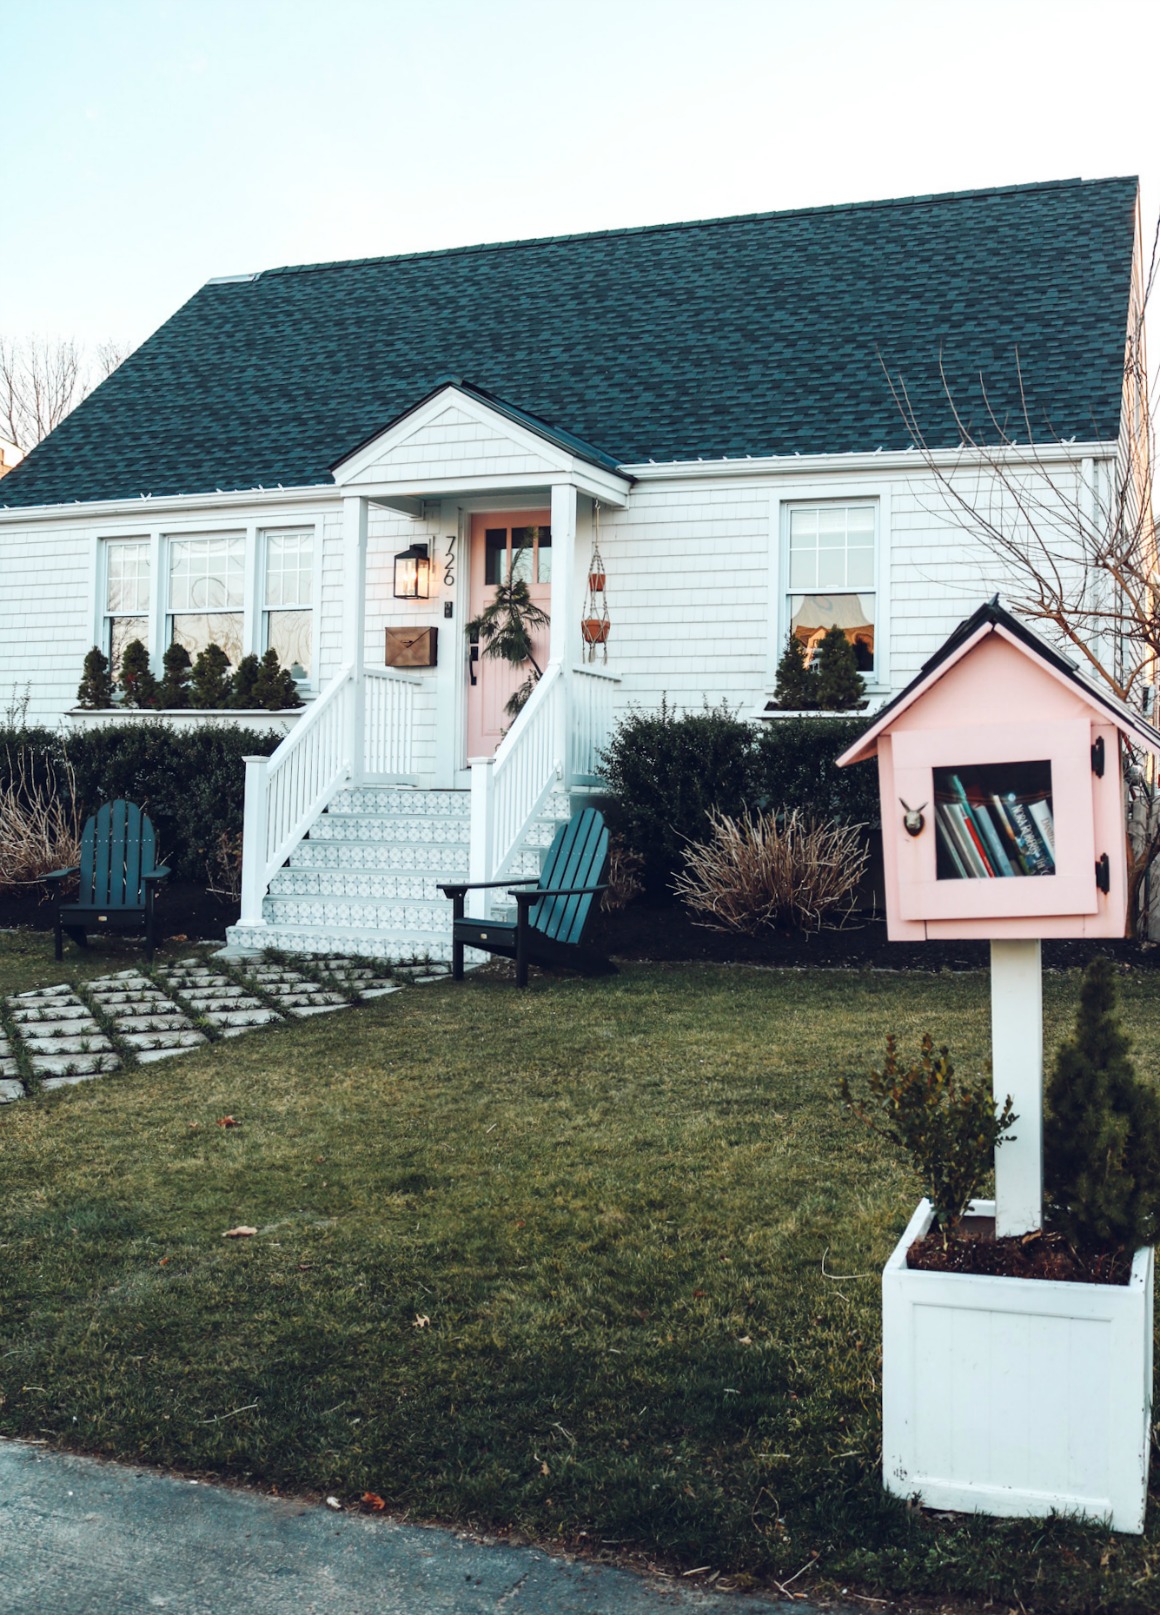
- Even added a Free Little Library
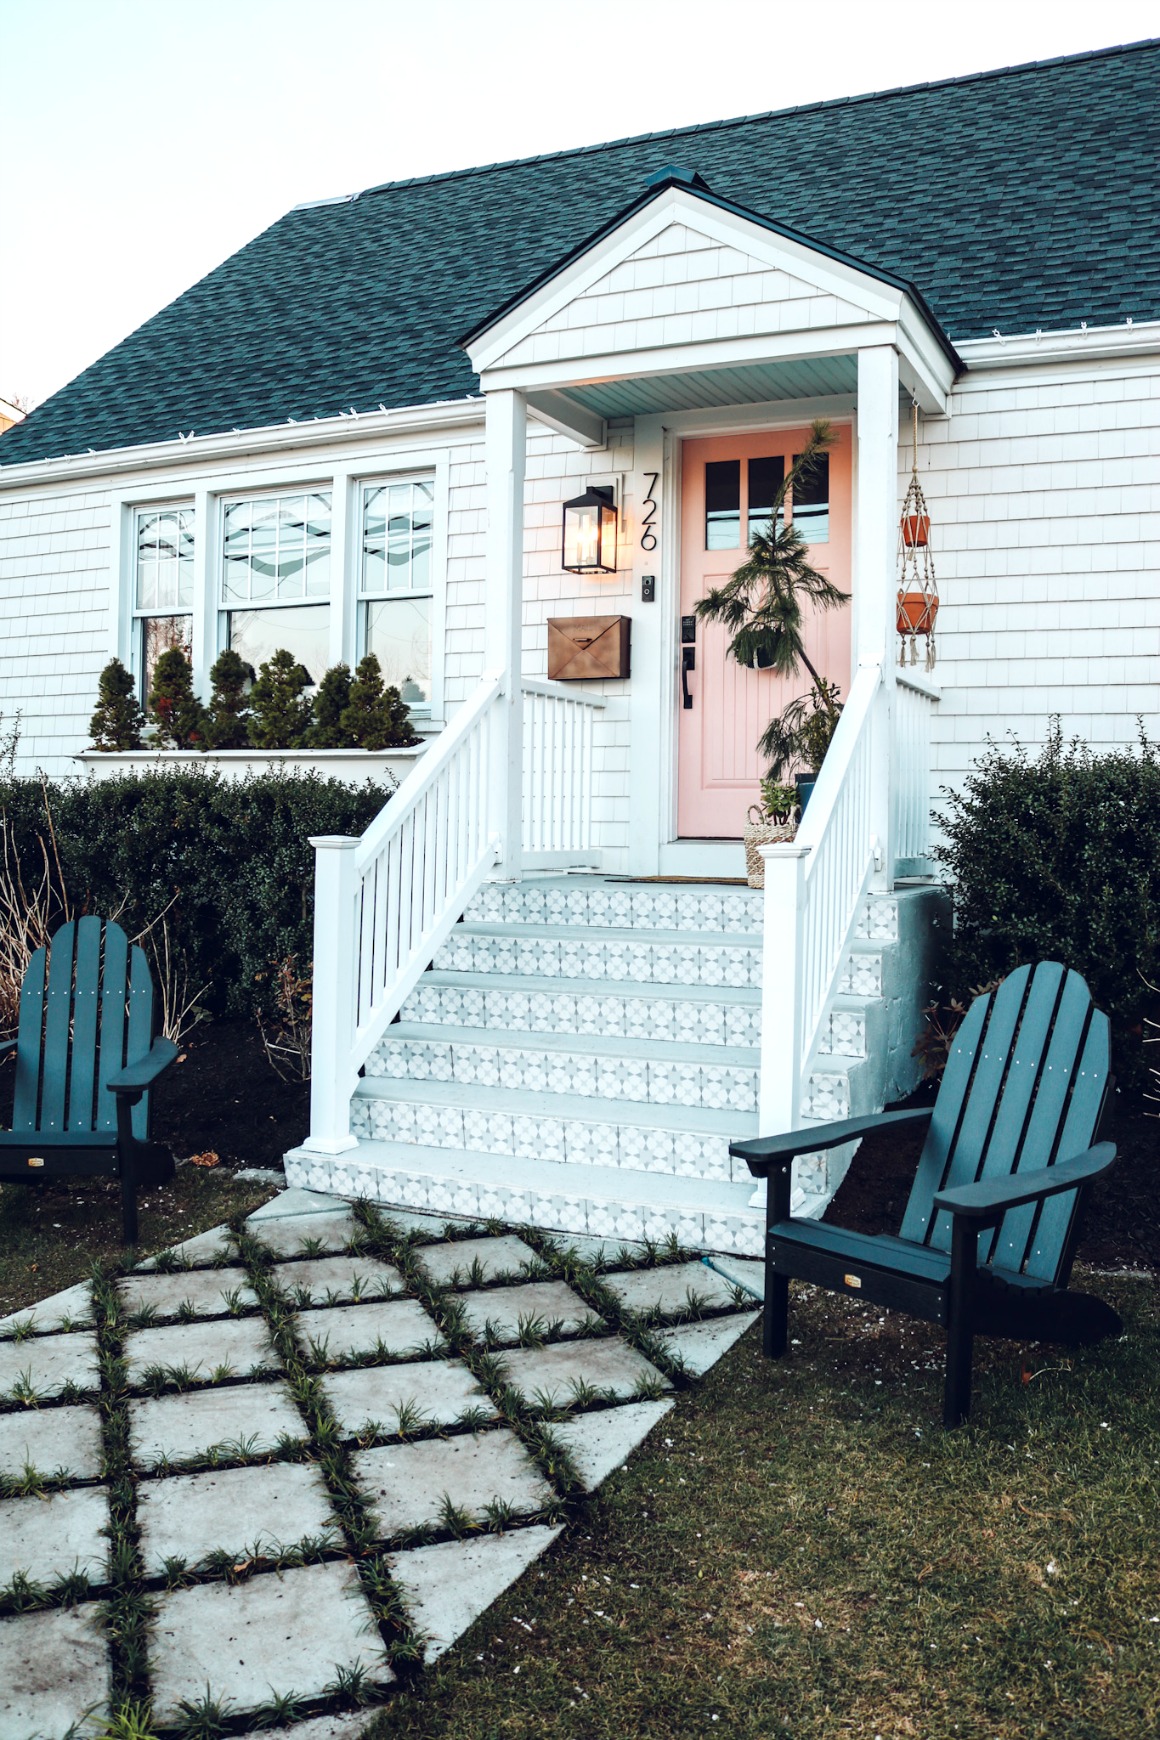
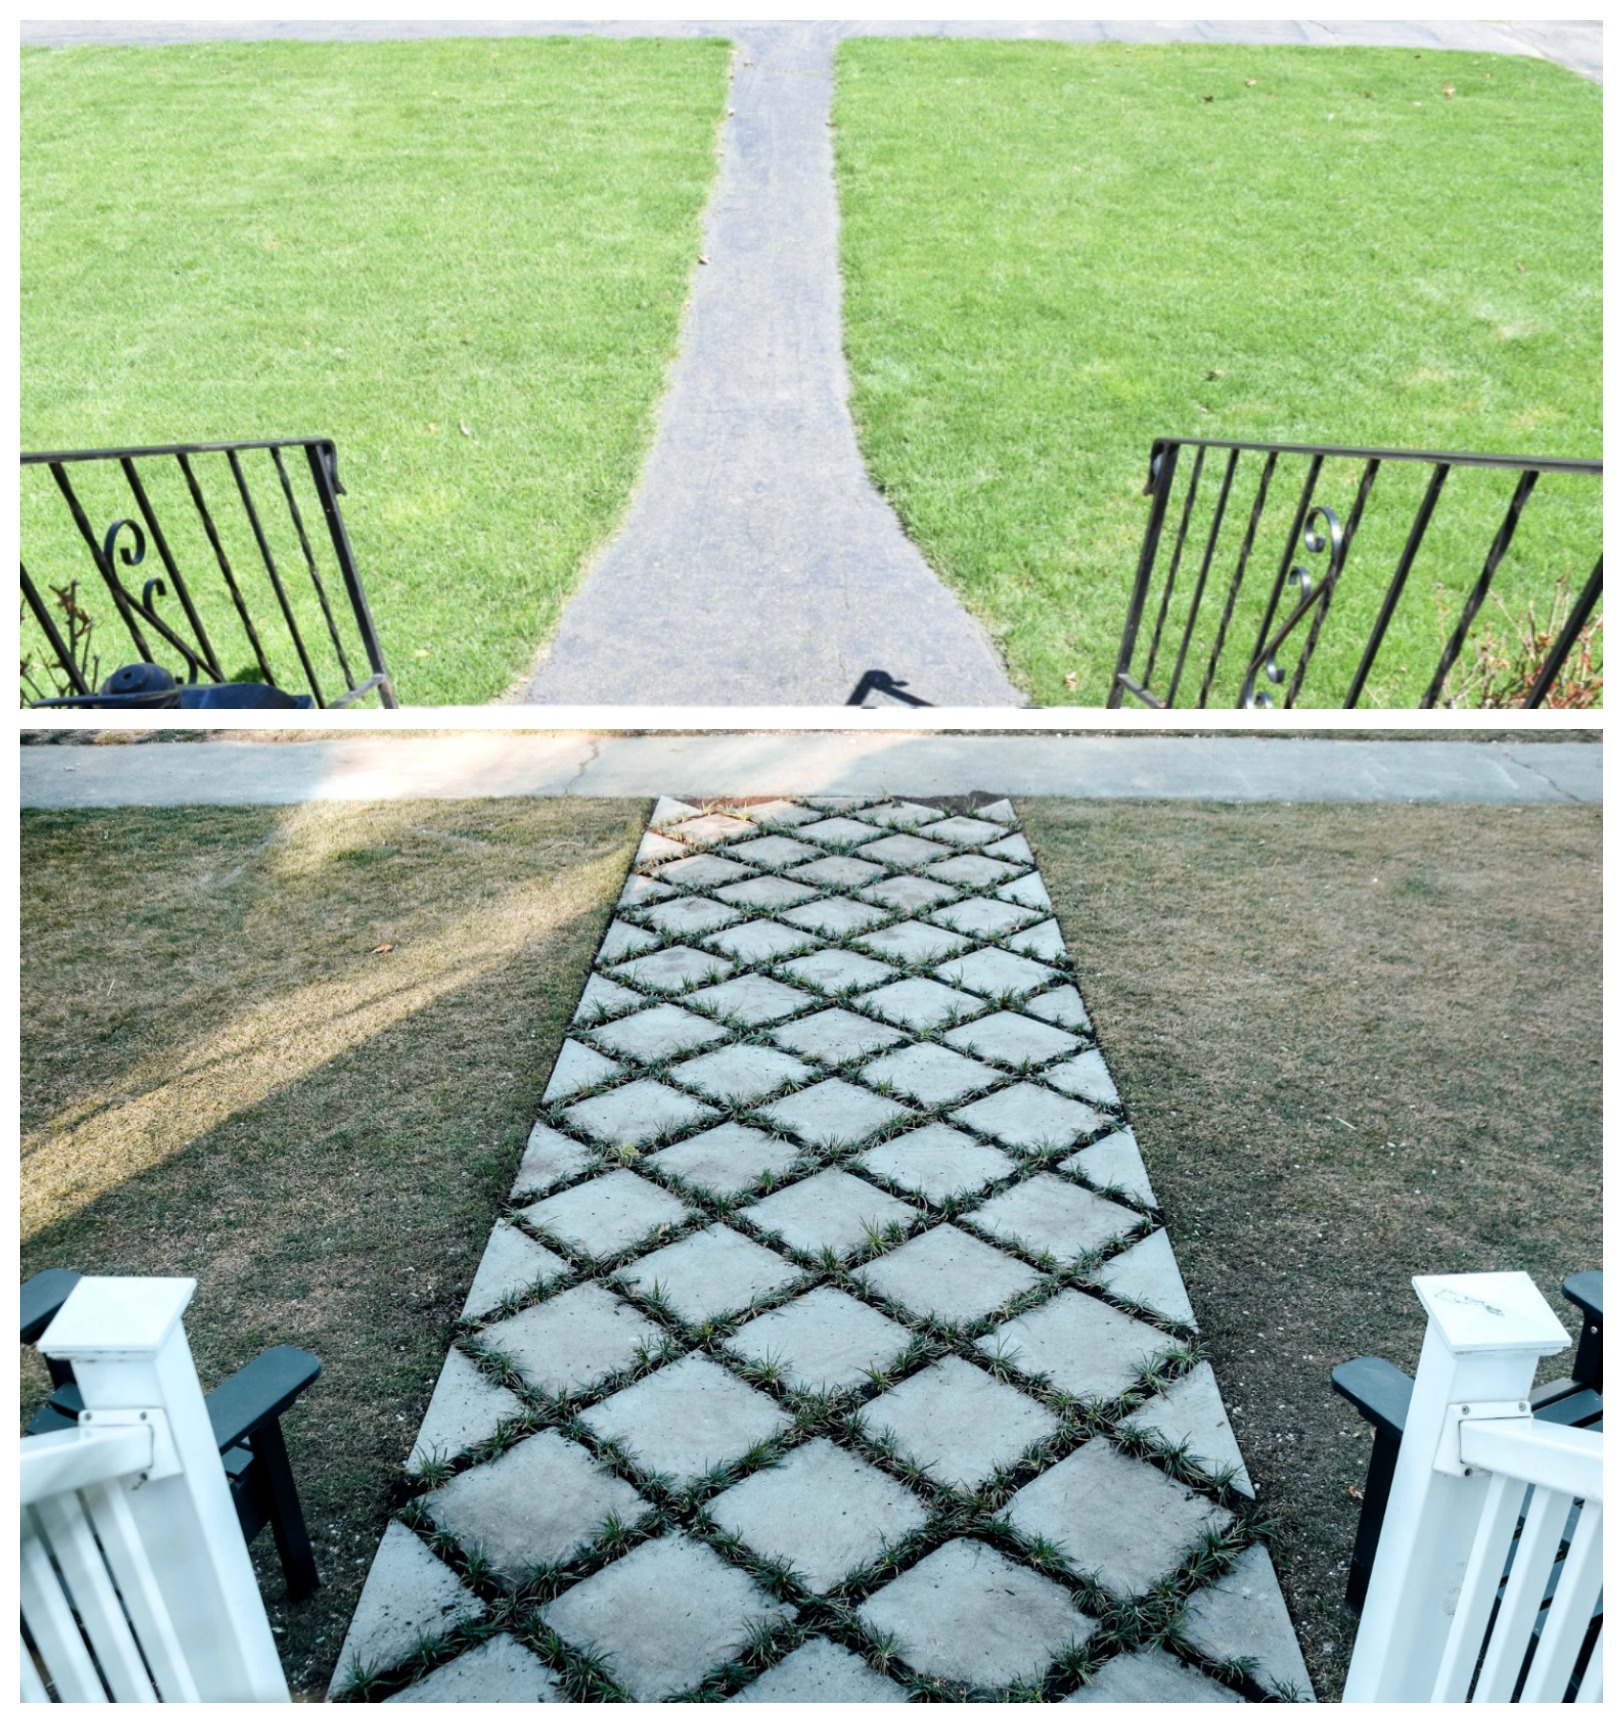
And recently we took out the miss-shaped asphalt walkway and replaced it with concrete stepping stones with grass in-between each stone…want to see??
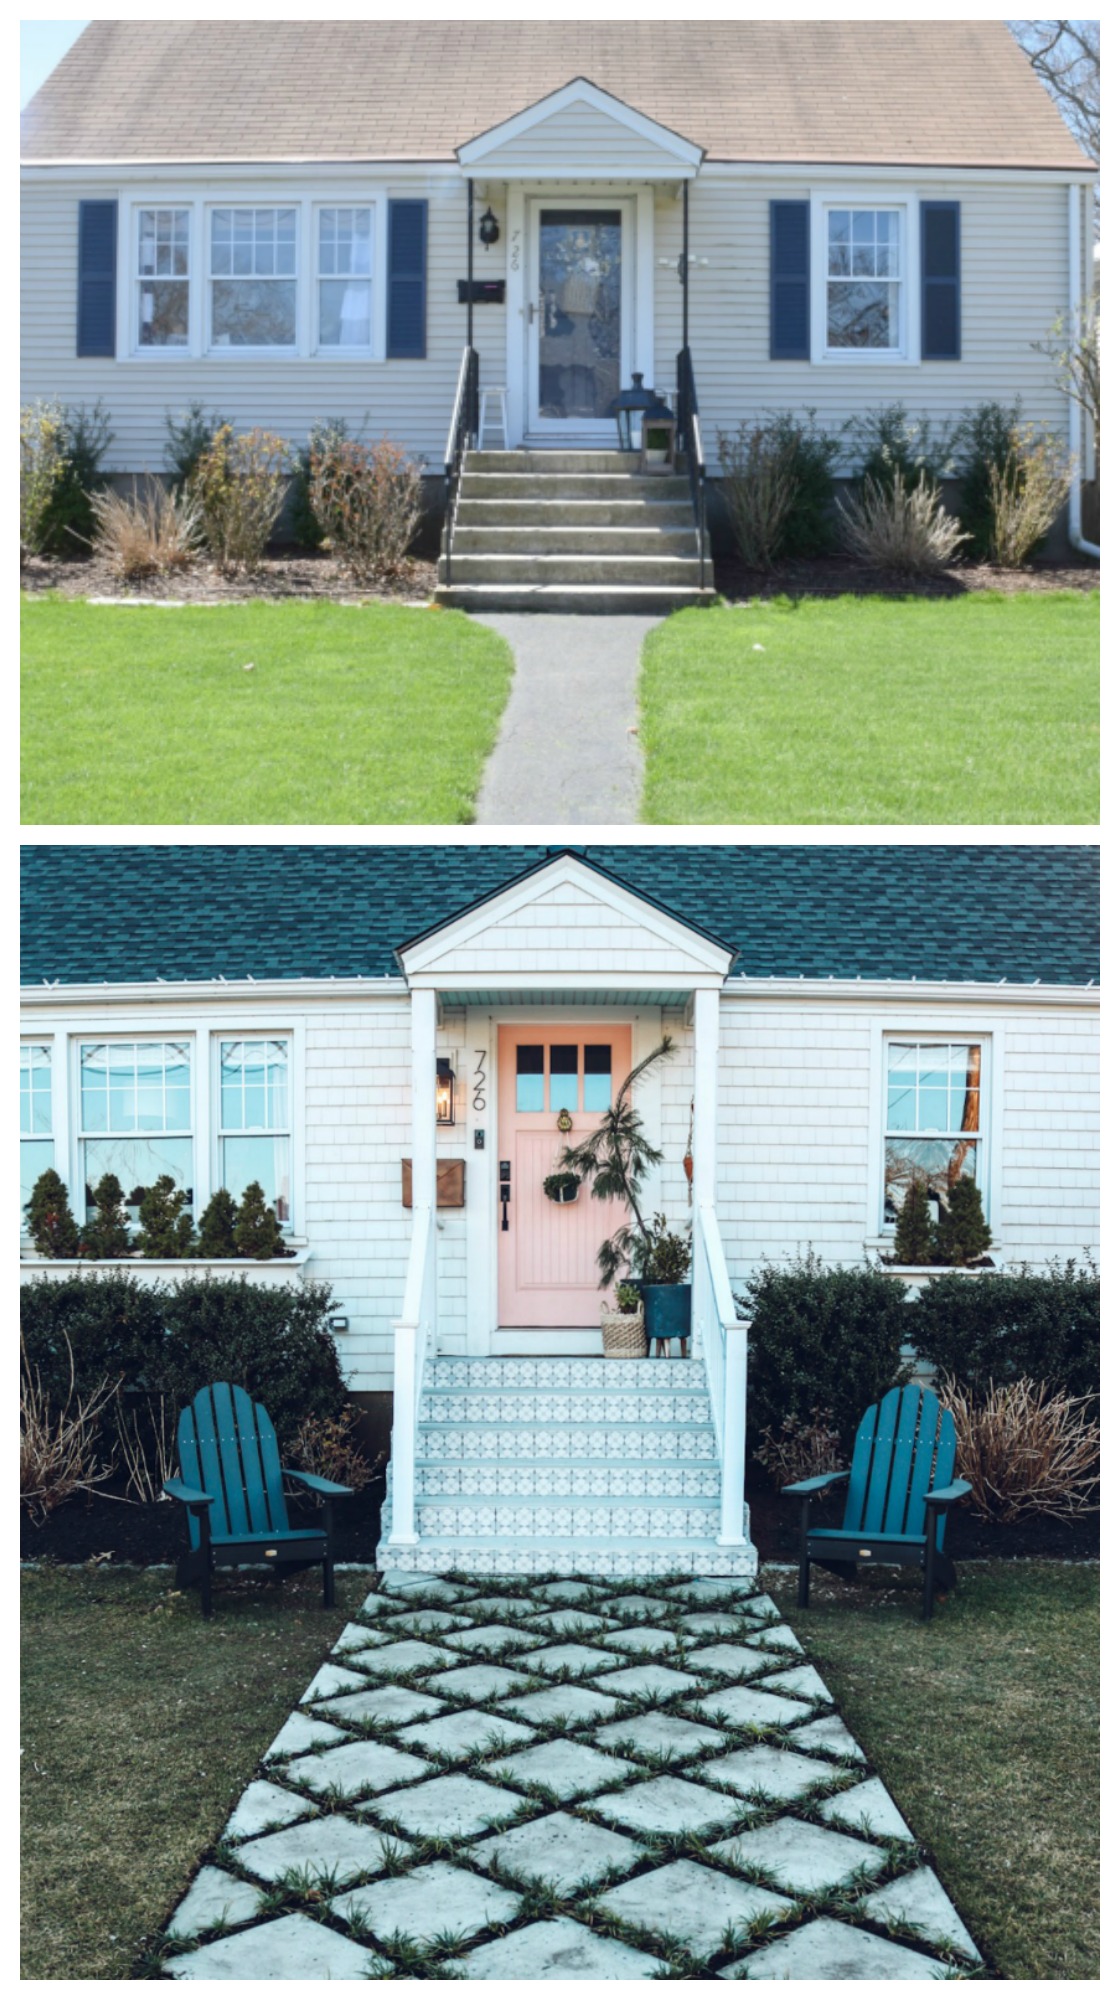
Better than before right? I had seen the look of the grass between the stepping stones while ago on Pinterest and always wanted to do it. It makes a statement for not a lot of money. Feels like a little cottage entrance now.
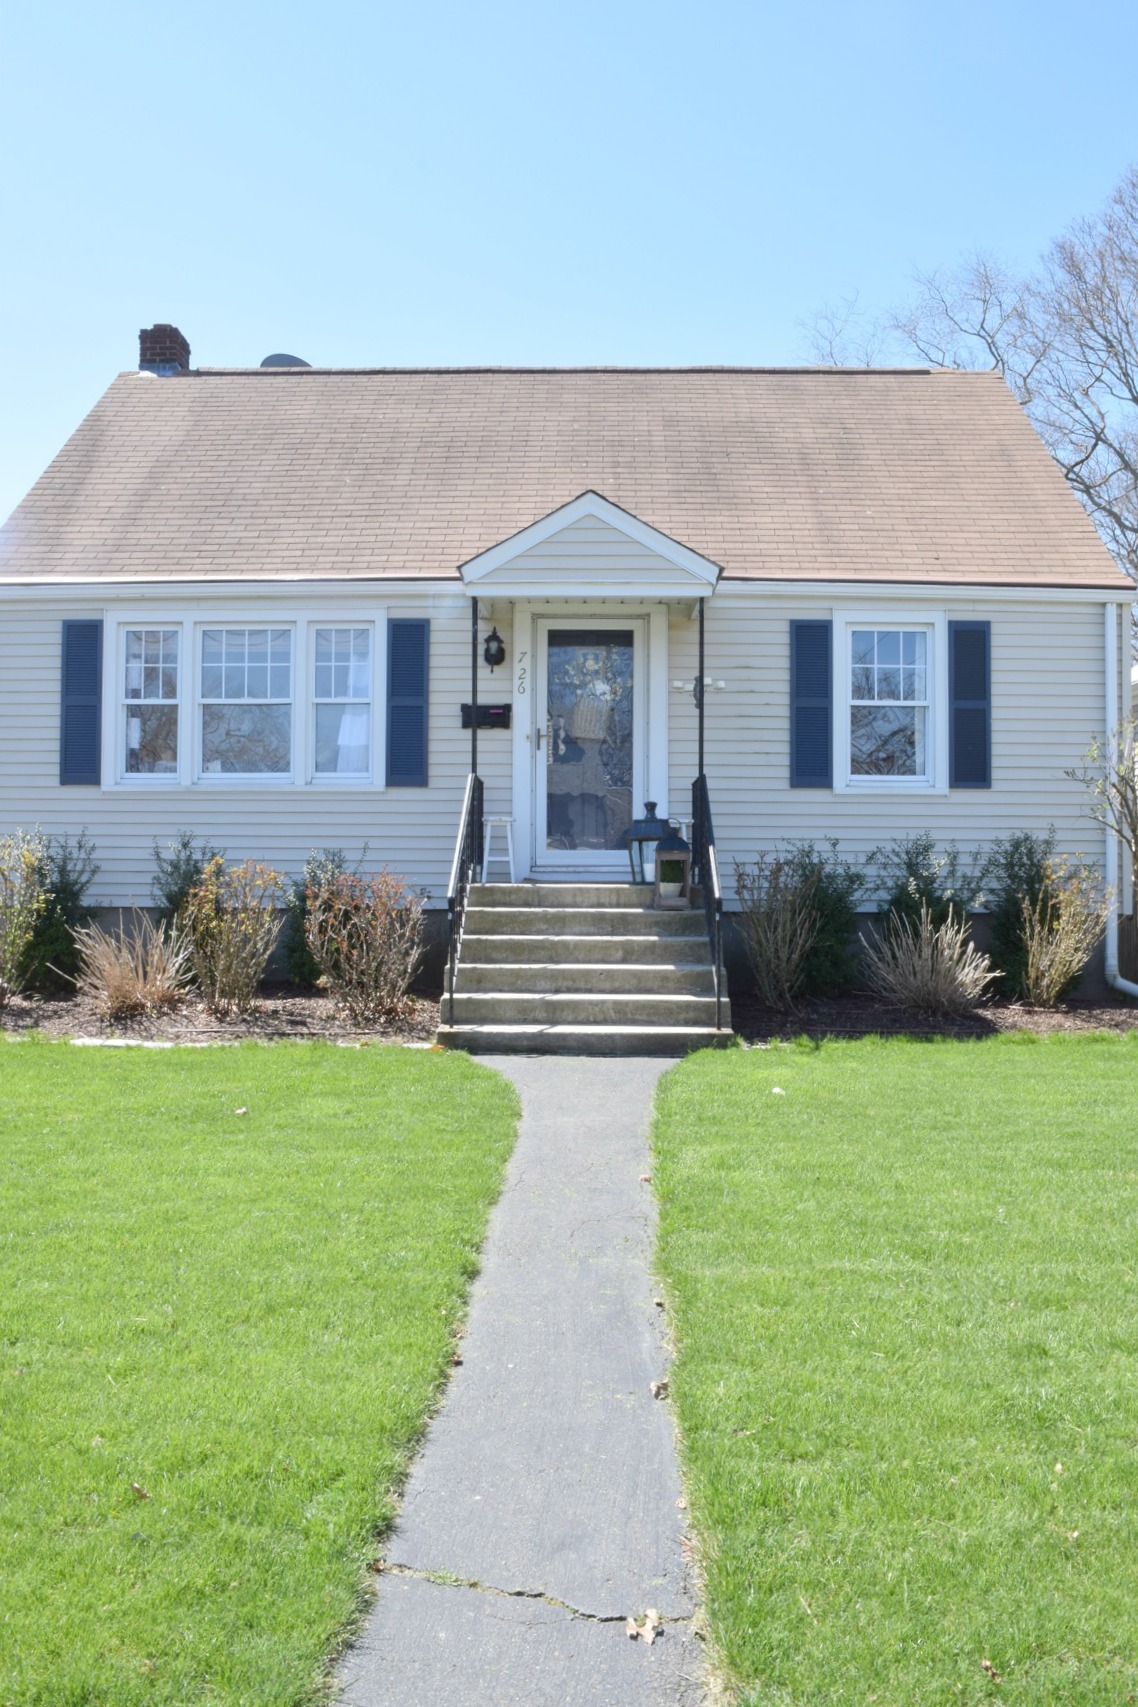
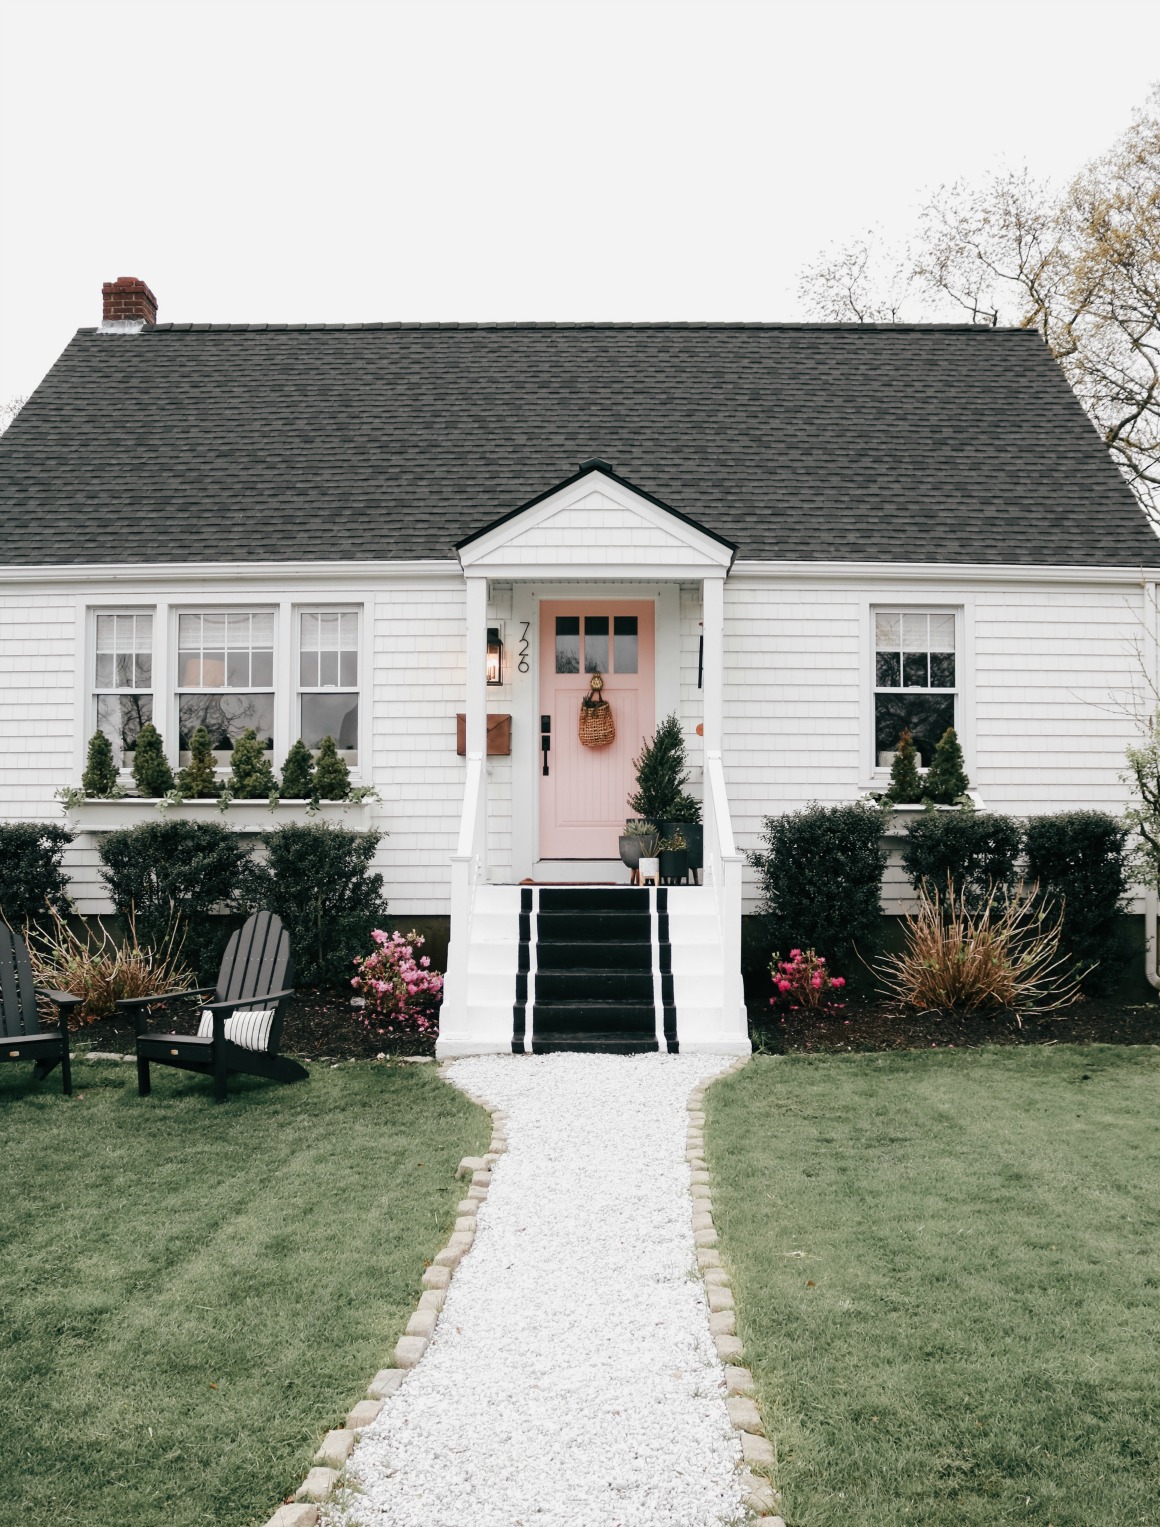
This is what is looked like a couple months after we moved in. We made do and covered the black asphalt with little white pebble rocks, which we thought it looked great and again was better than before. But we wanted to make the walkway wider. See what it looked like with the white rocks….
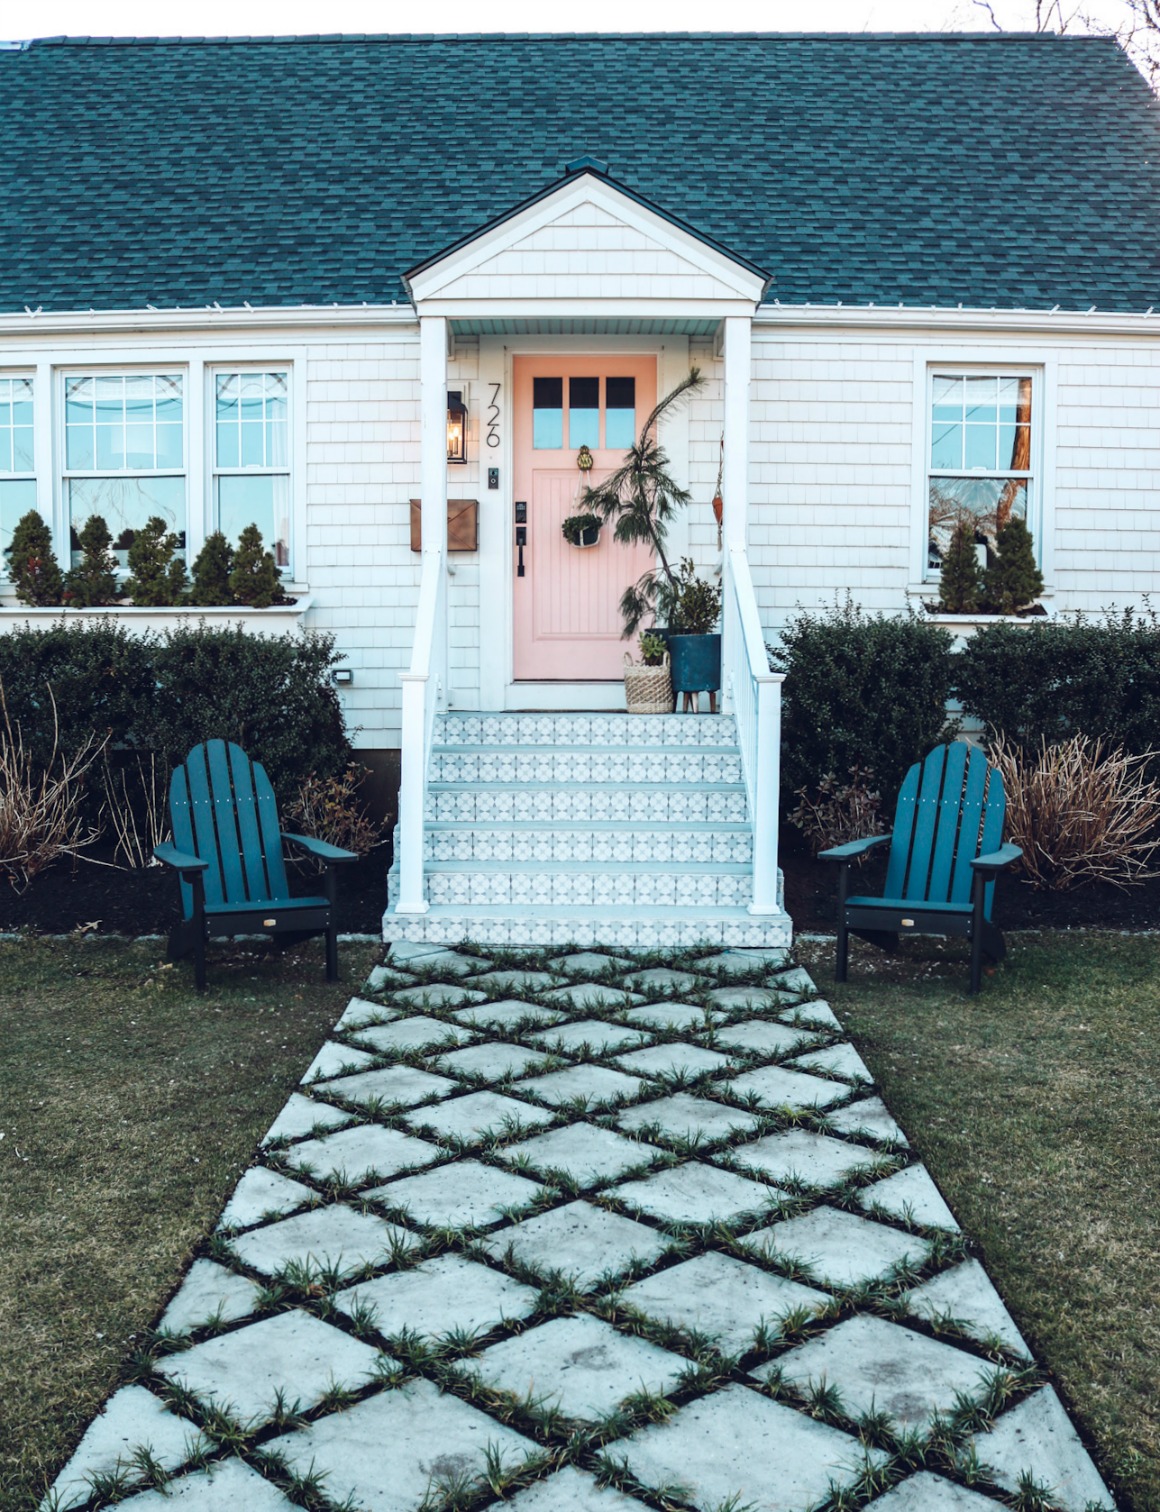
Please don’t judge it completely yet- we need to clean off the pavers, and the grass needs to fill in more. So give it a month and we will report back with some updated photos.
Steps and photos of laying Pavers for a Walkway with Grass-
*We have a sprinkler system so the grass will be able to get watered that way, you are also able to mow the grass like any other grass, he mentioned that he will just raise the blade of the lawn mower. In his research it said that it typically only needs to be mowed twice a year, but we will have to see.
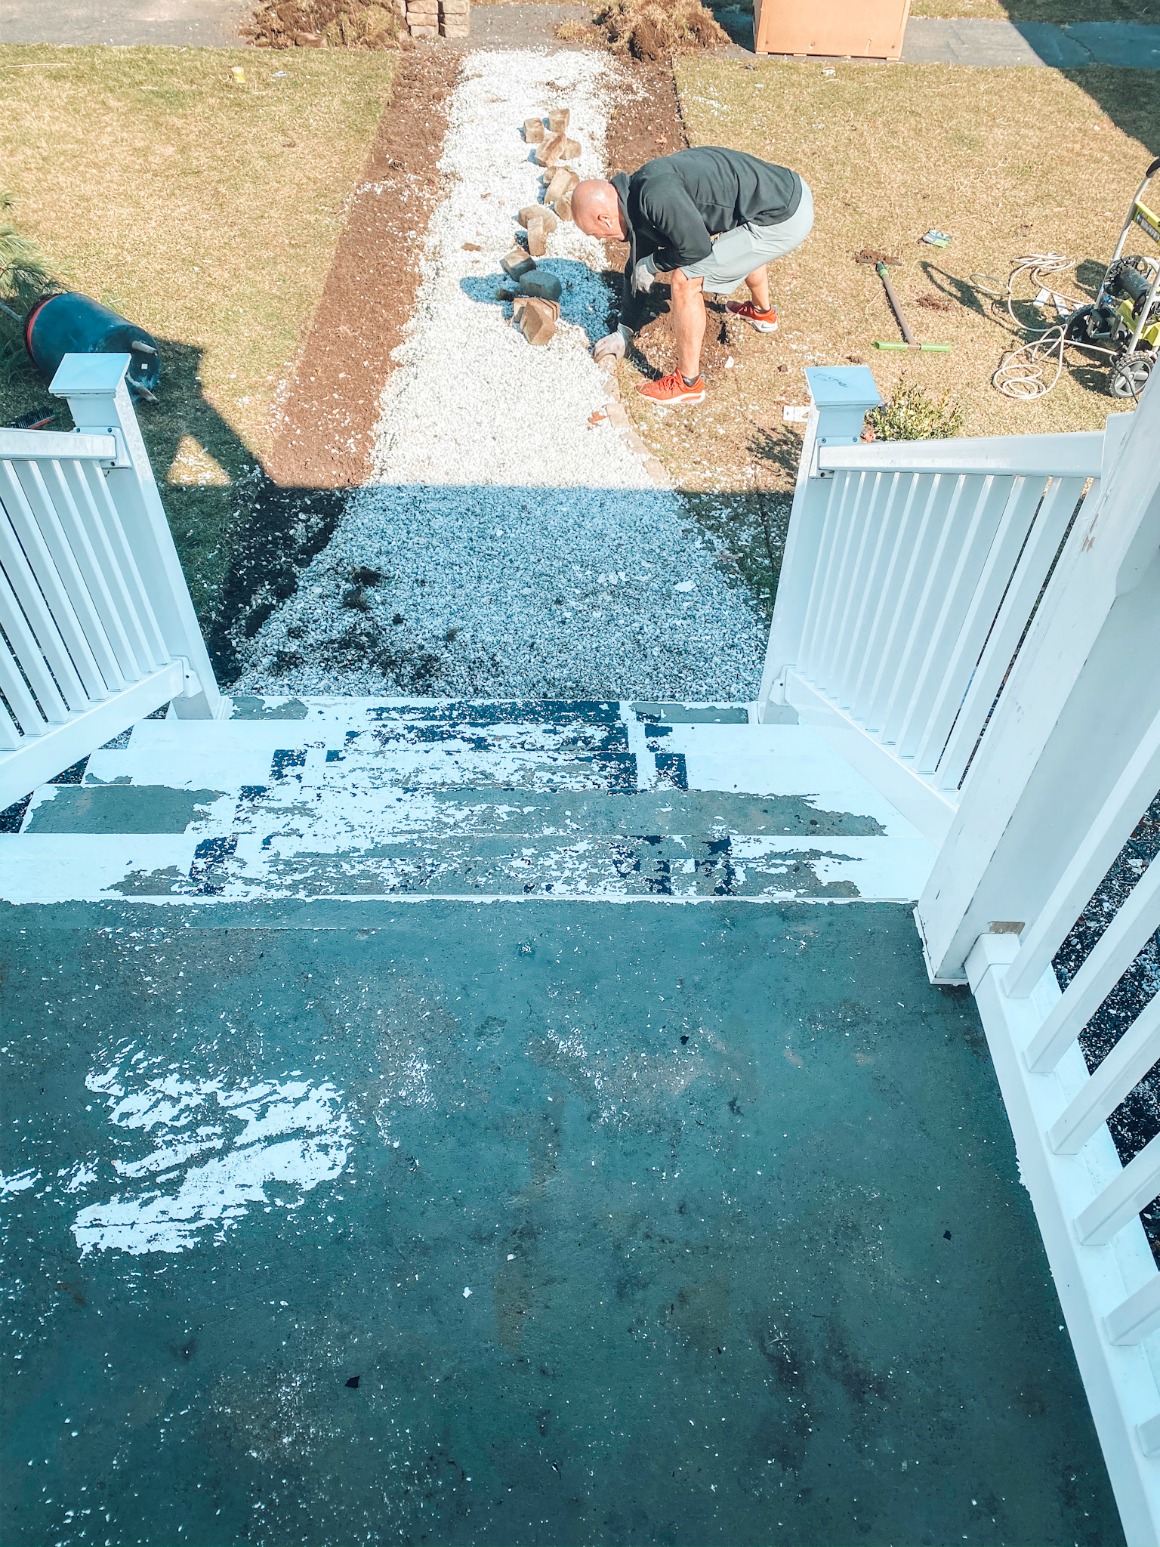
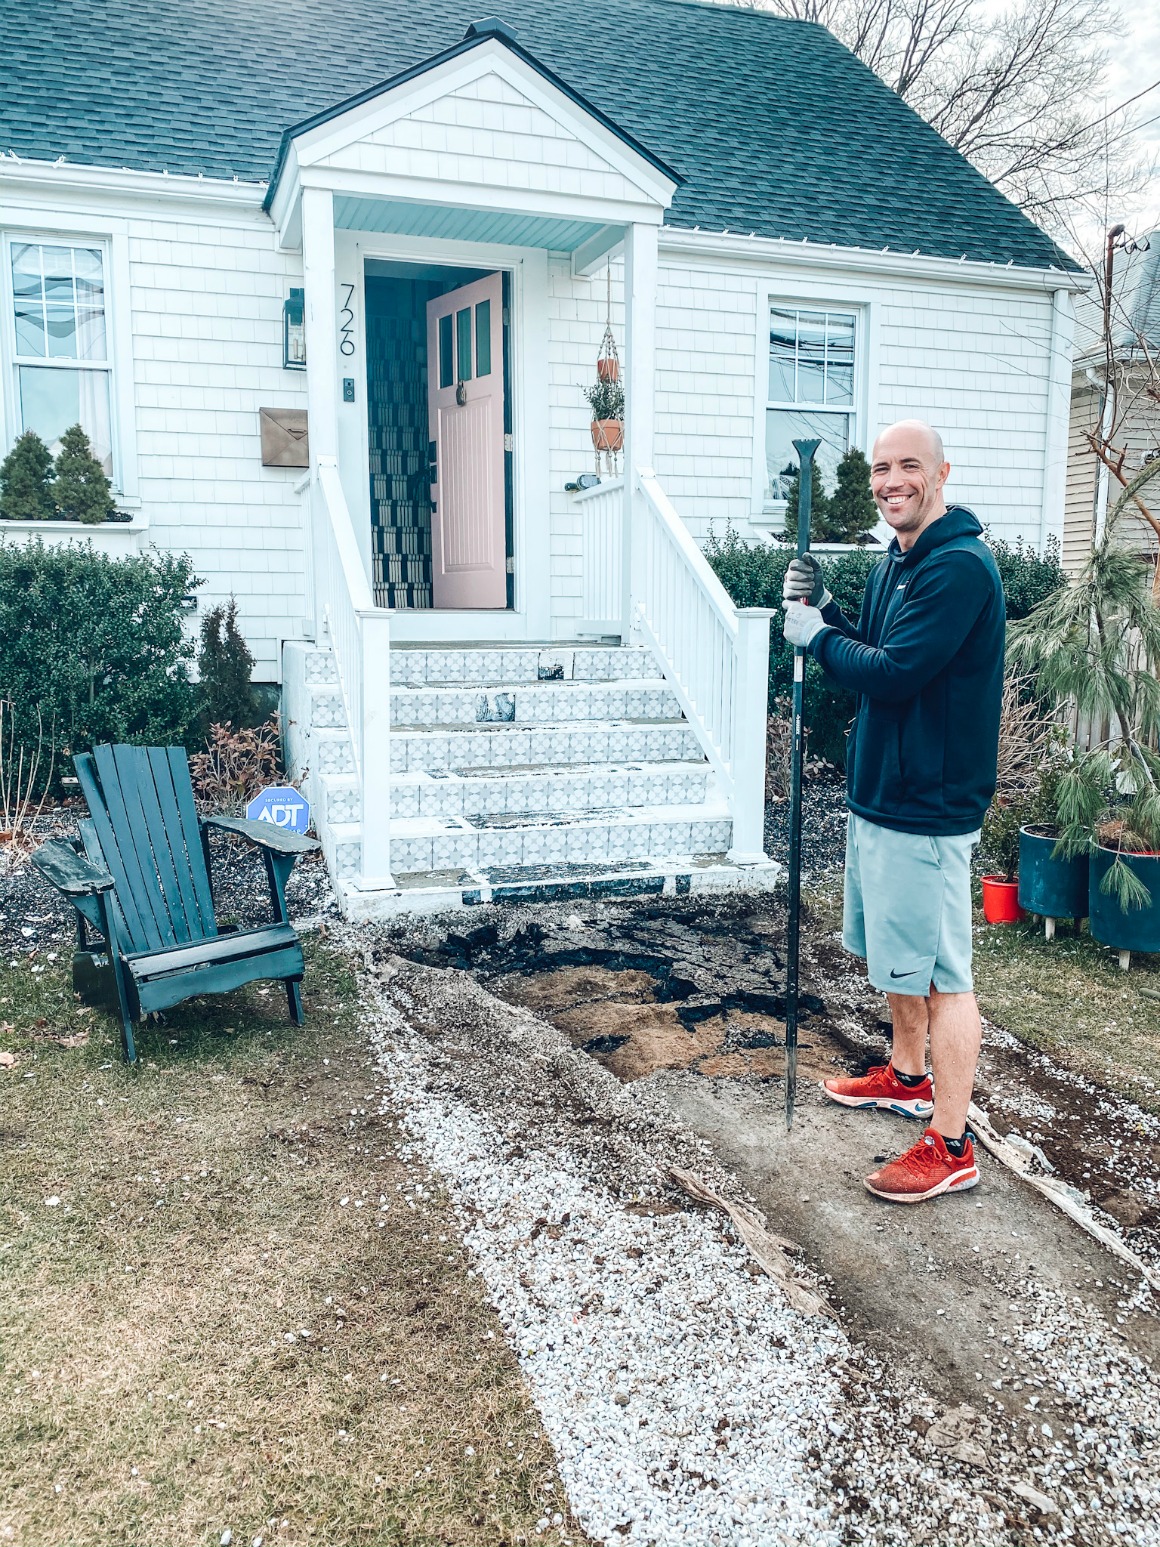
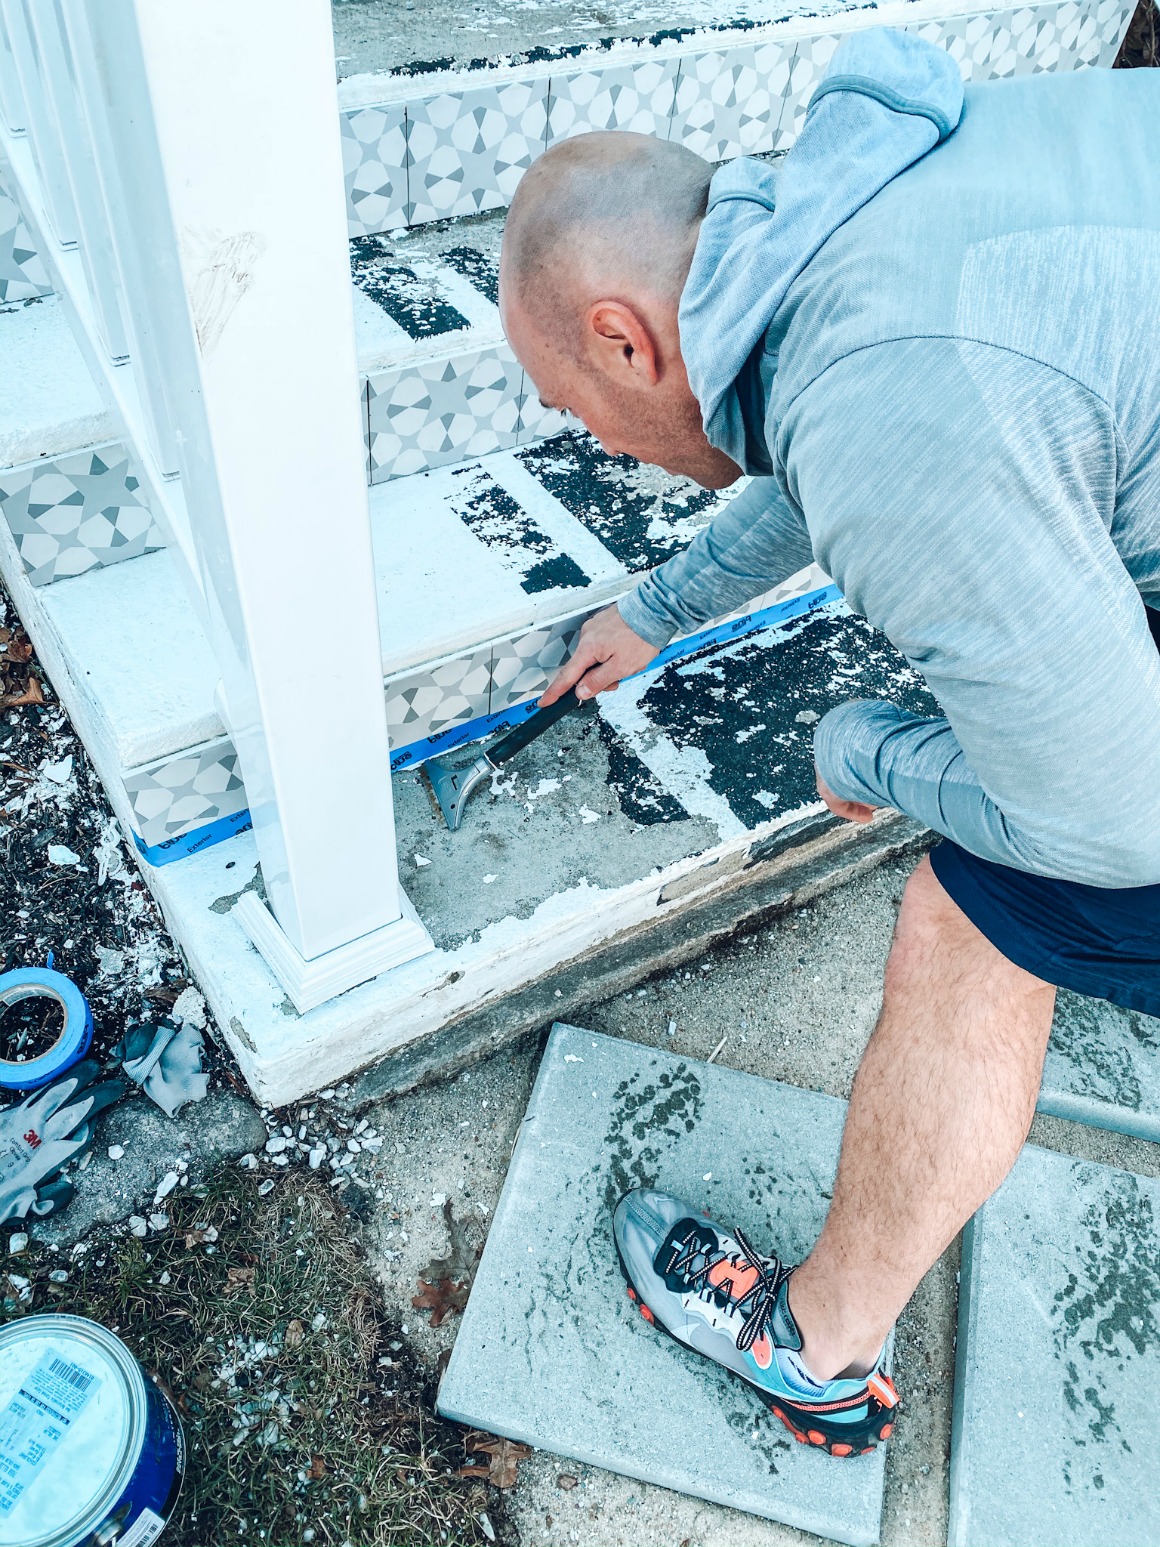
Step 1- The first step was to remove all the rocks from our previous walk-up and create a cleaner edge. We decided to use the width of our porch as the width of the walkway, Kevin used a string to create the edges and removed the grass in that area. (He also sanded off the old paint on the cement steps and power washed them to paint those again).
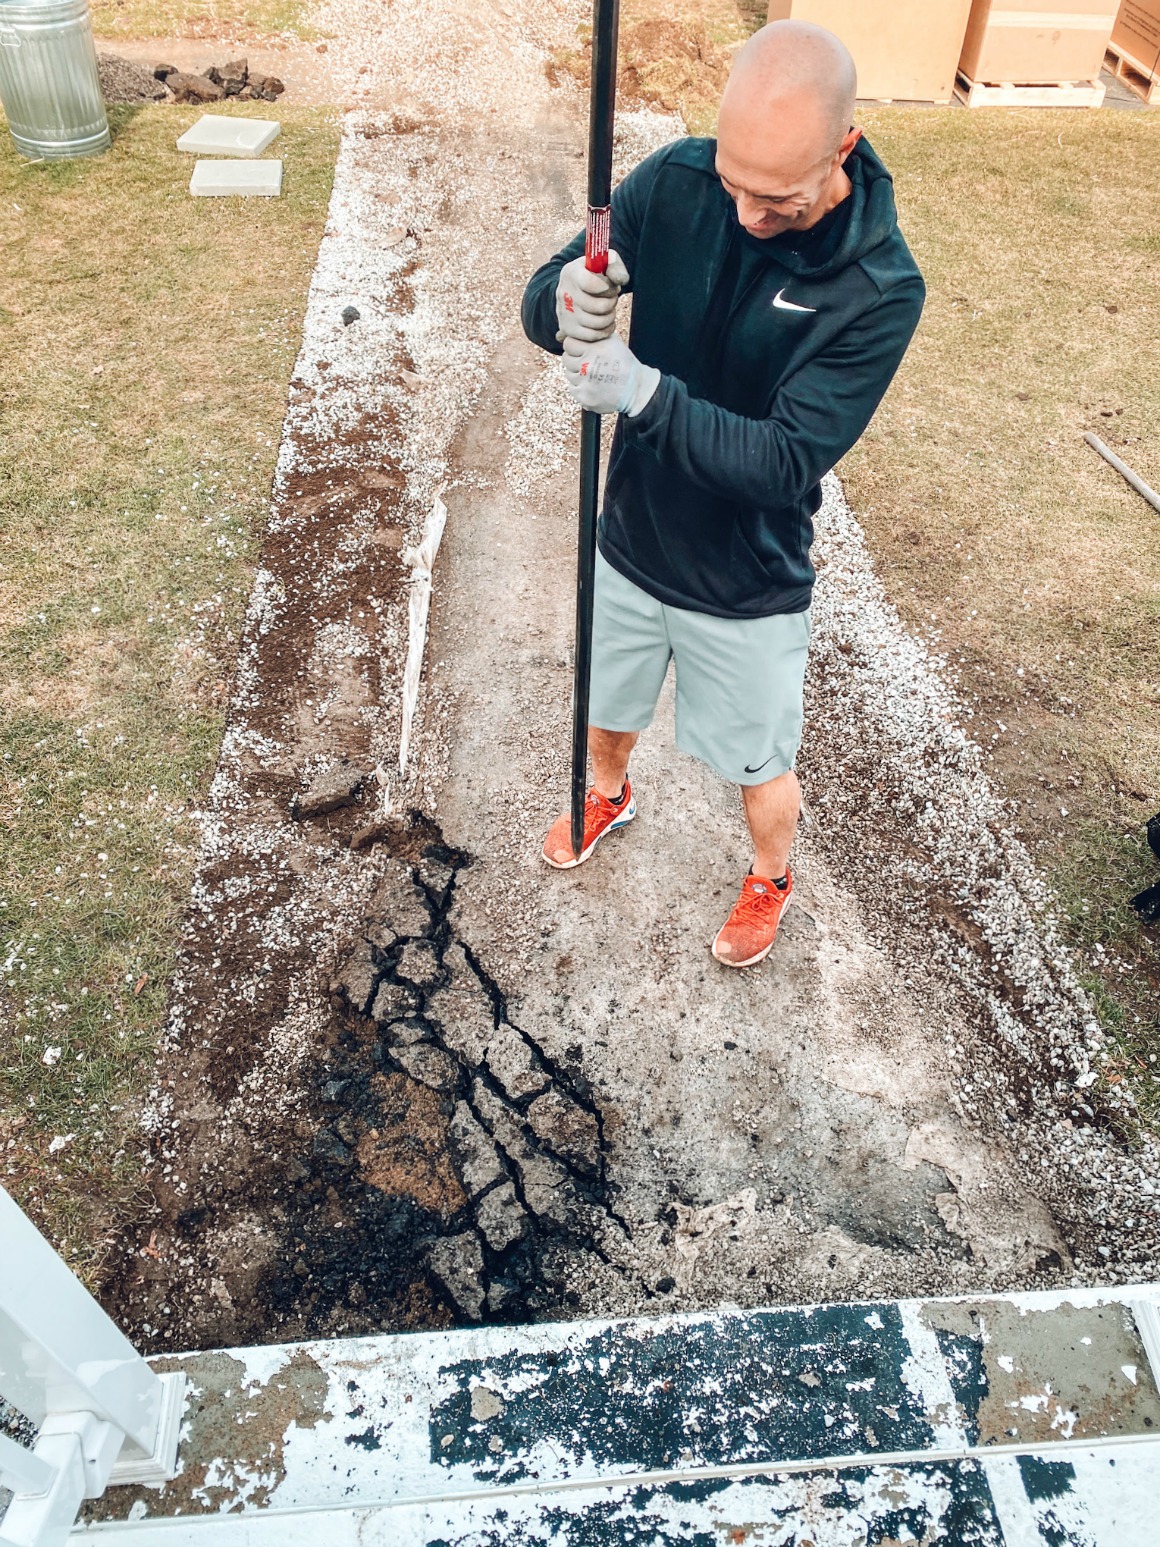
Step 2- He realized that the old asphalt walkway was underneath and the look I was going for wasn’t going to work with the asphalt there, so he broke up the asphalt underneath and removed all the rocks and asphalt. I imagined that to be much harder that it was- I thought he was going to have to use a jackhammer! Nope, he just used a long pick to stab the asphalt and break it into smaller pieces.
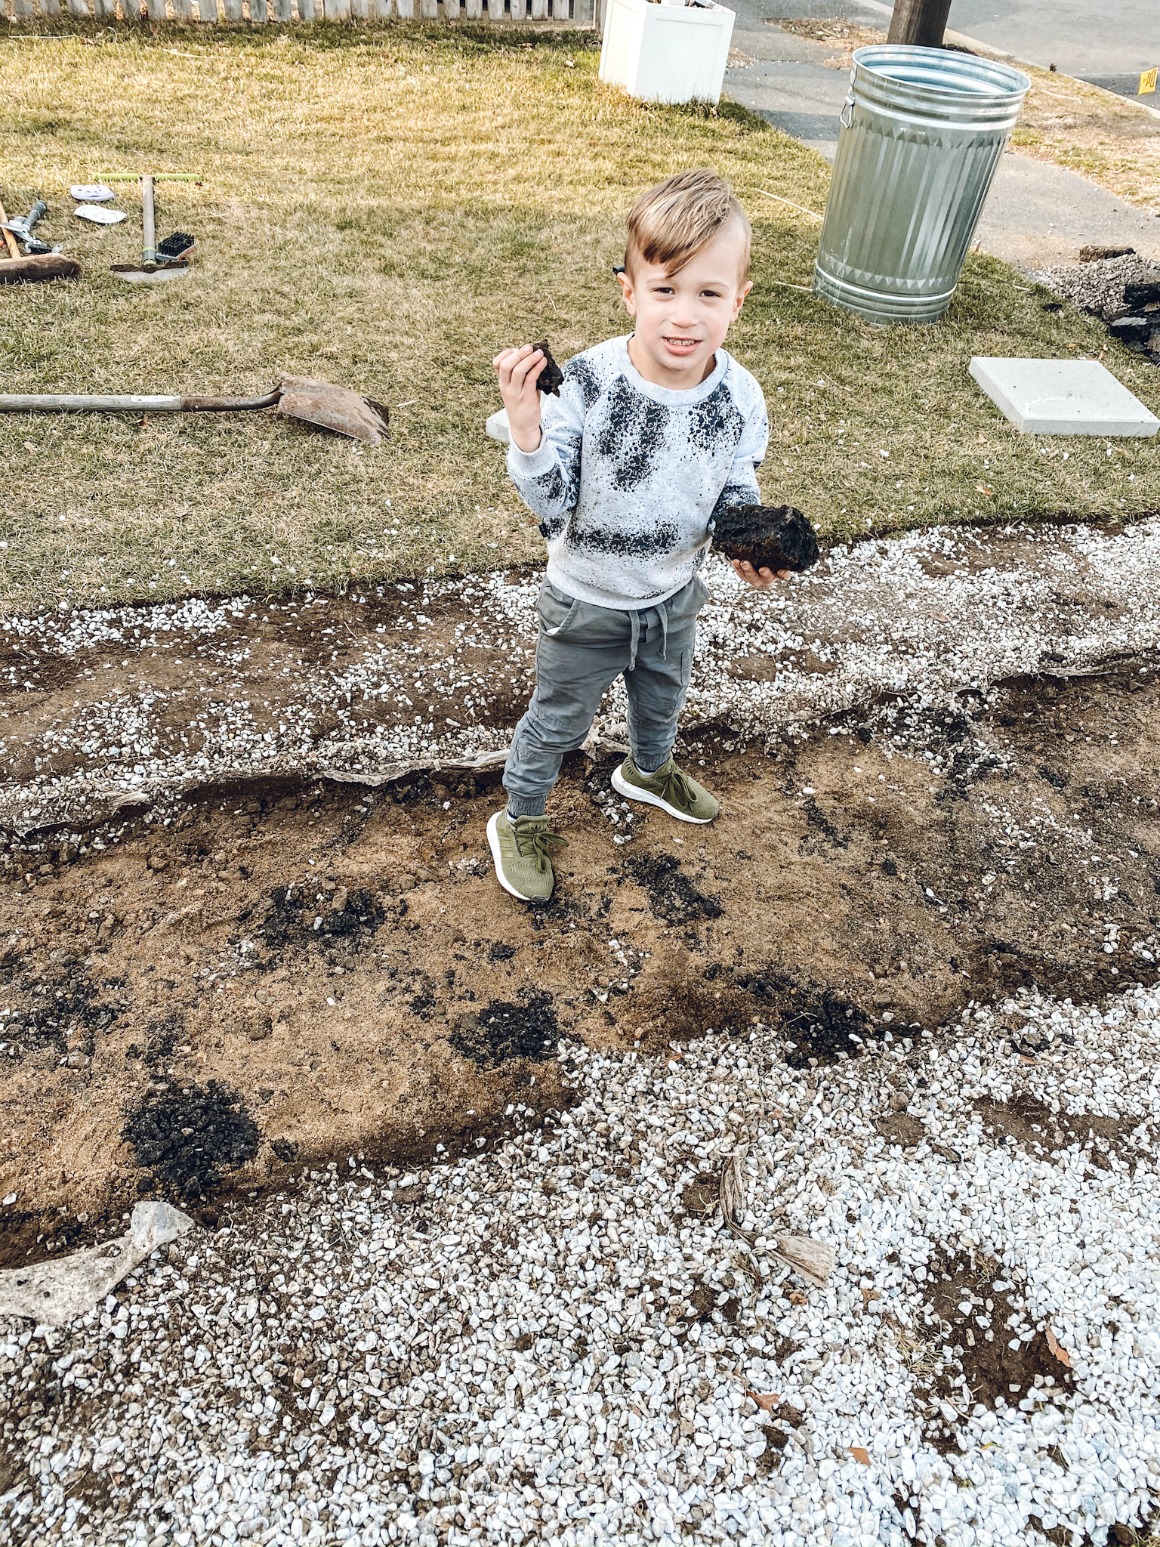
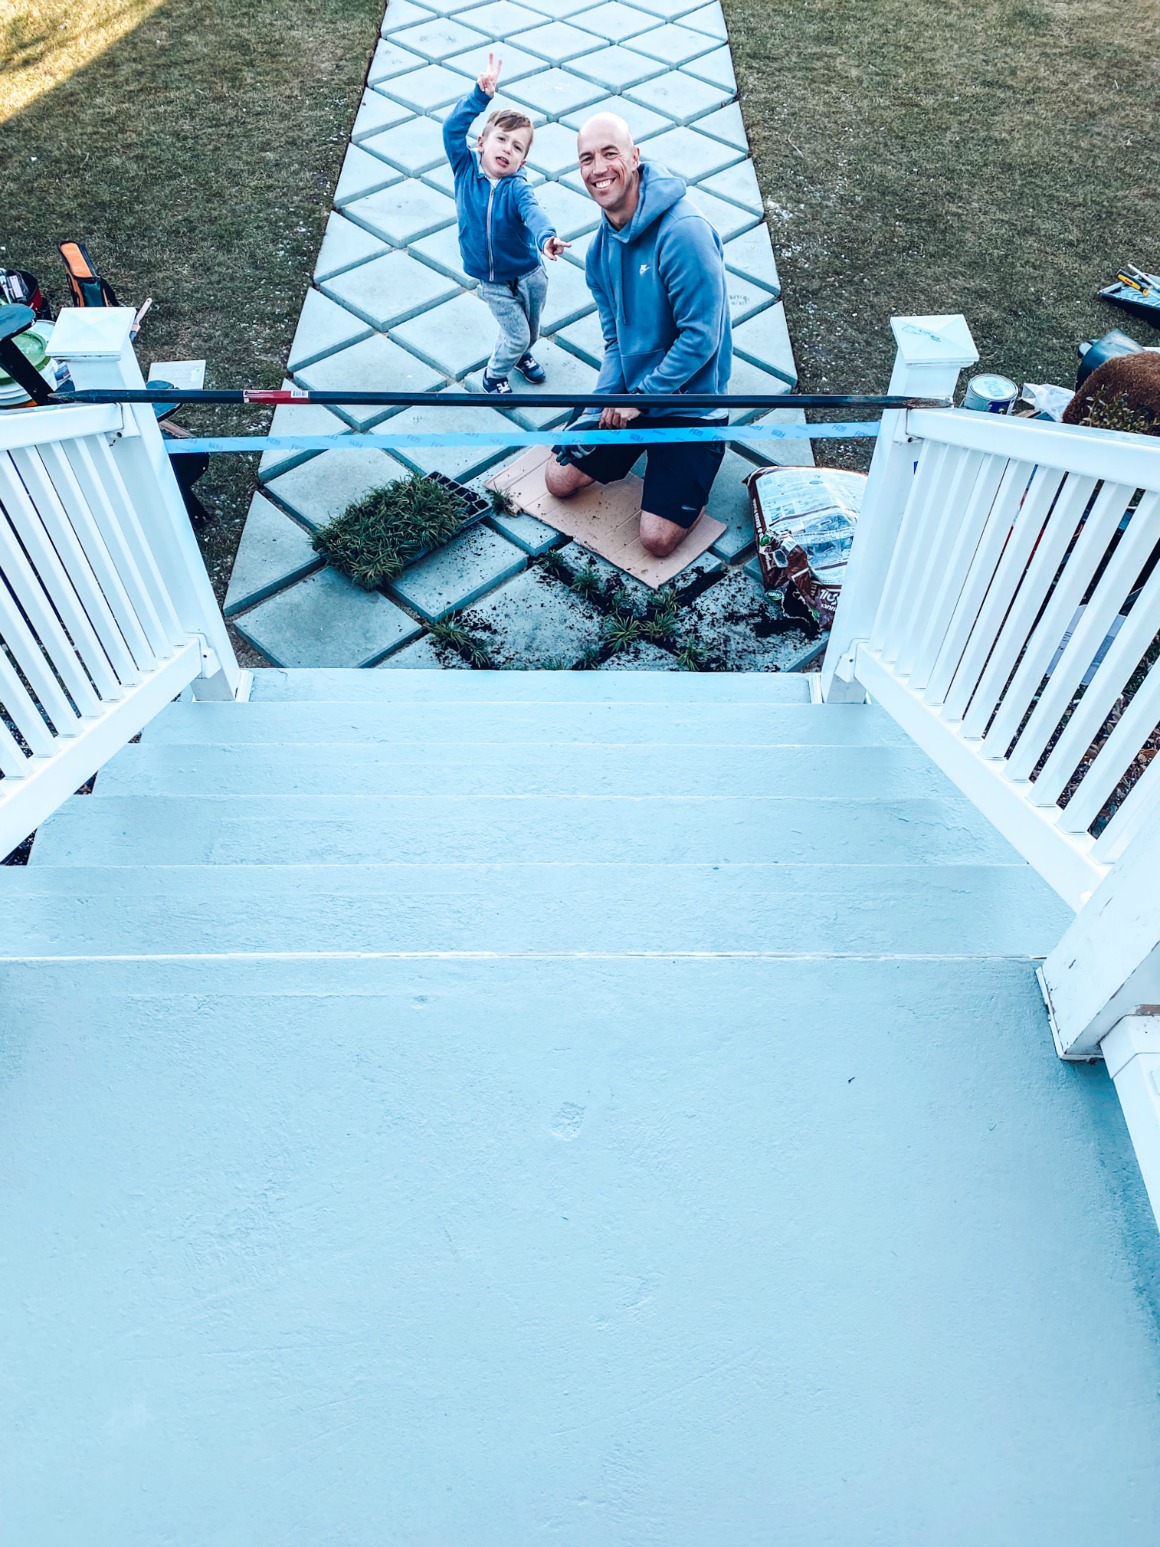
Finn and I helped a little bit too:)
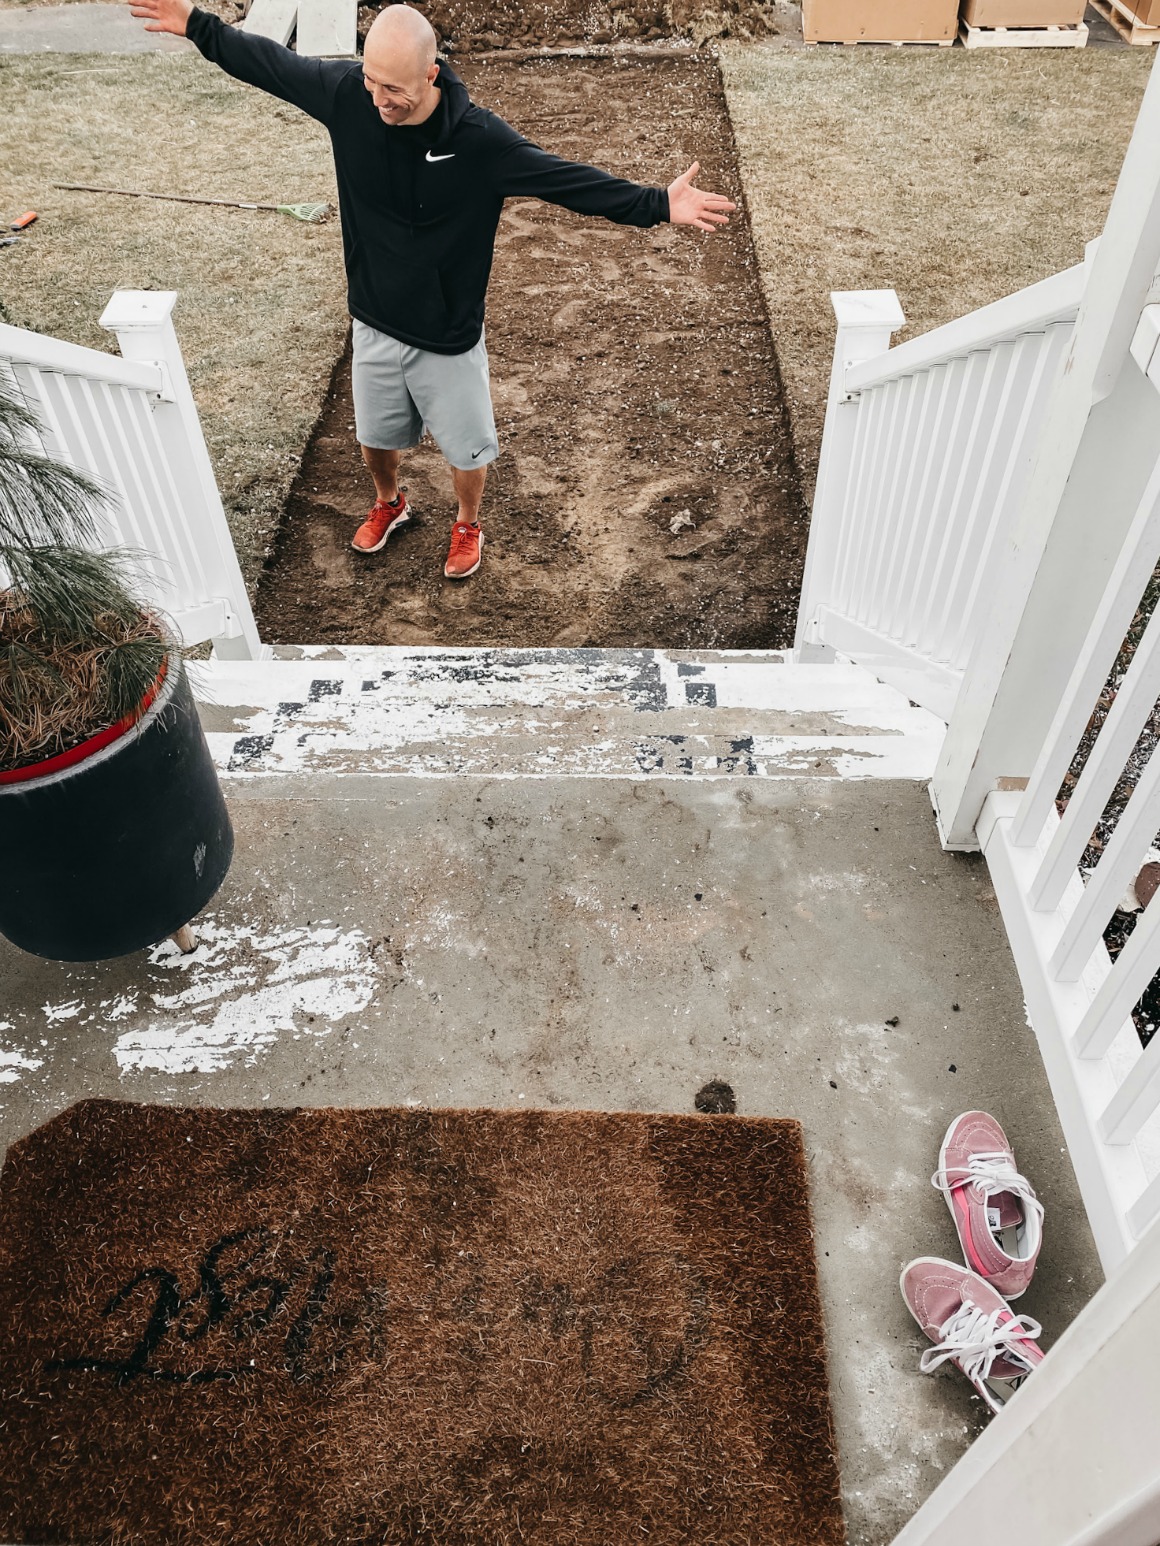
Step 3- He did a quick leveling off the dirt and decided that he was going to lay down some weed protector, it would help provide a good base for the sand and the leveling on the pavers.

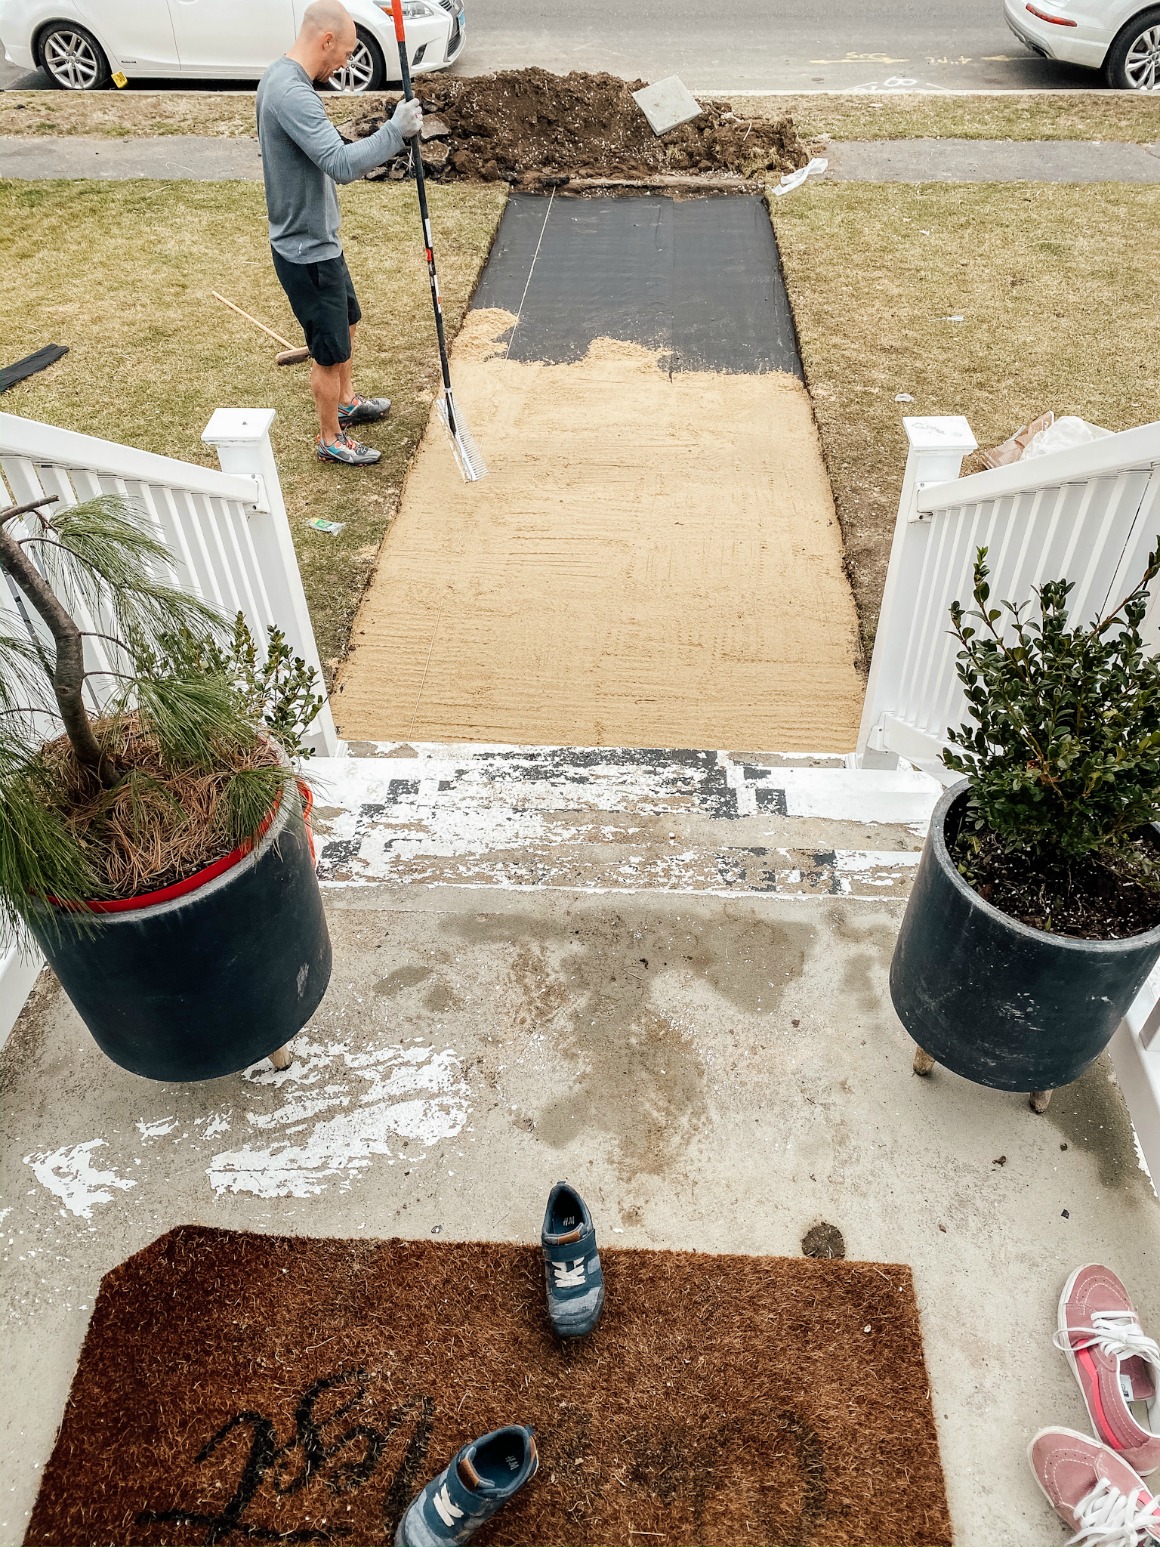
Step 4- He set two leveling lines from the bottom of the porch to the sidewalk, he then poured the paver sand. He leveled it by hand to the lines that he set, he then used a tamper to compact the sand. He added more sand where it was needed after he compacted the sand.
Wanted to show that he did scrap off more of the old paint. It had bubbled in some spots because the last time we painted we didn’t let it dry long enough before walking on it (give it two days to dry). He was able to paint the steps again because it was over 45 degrees. Kevin painted the steps in Sherwin Williams Ellie Gray in Porch & Floor Enamal Paint and added some anti-slip powder in it (from Sherwin Williams).
Step 5– It was then time to place the pavers, we used these 16 x 16 concrete stepping stones from Home Depot, they are cost effective and still have nice look. He placed them in a diagonal pattern. He used a measuring tape to get the correct distance in-between the pavers, after he laid the full pieces he had our contractor cut the pavers in half for the edges with a large saw.
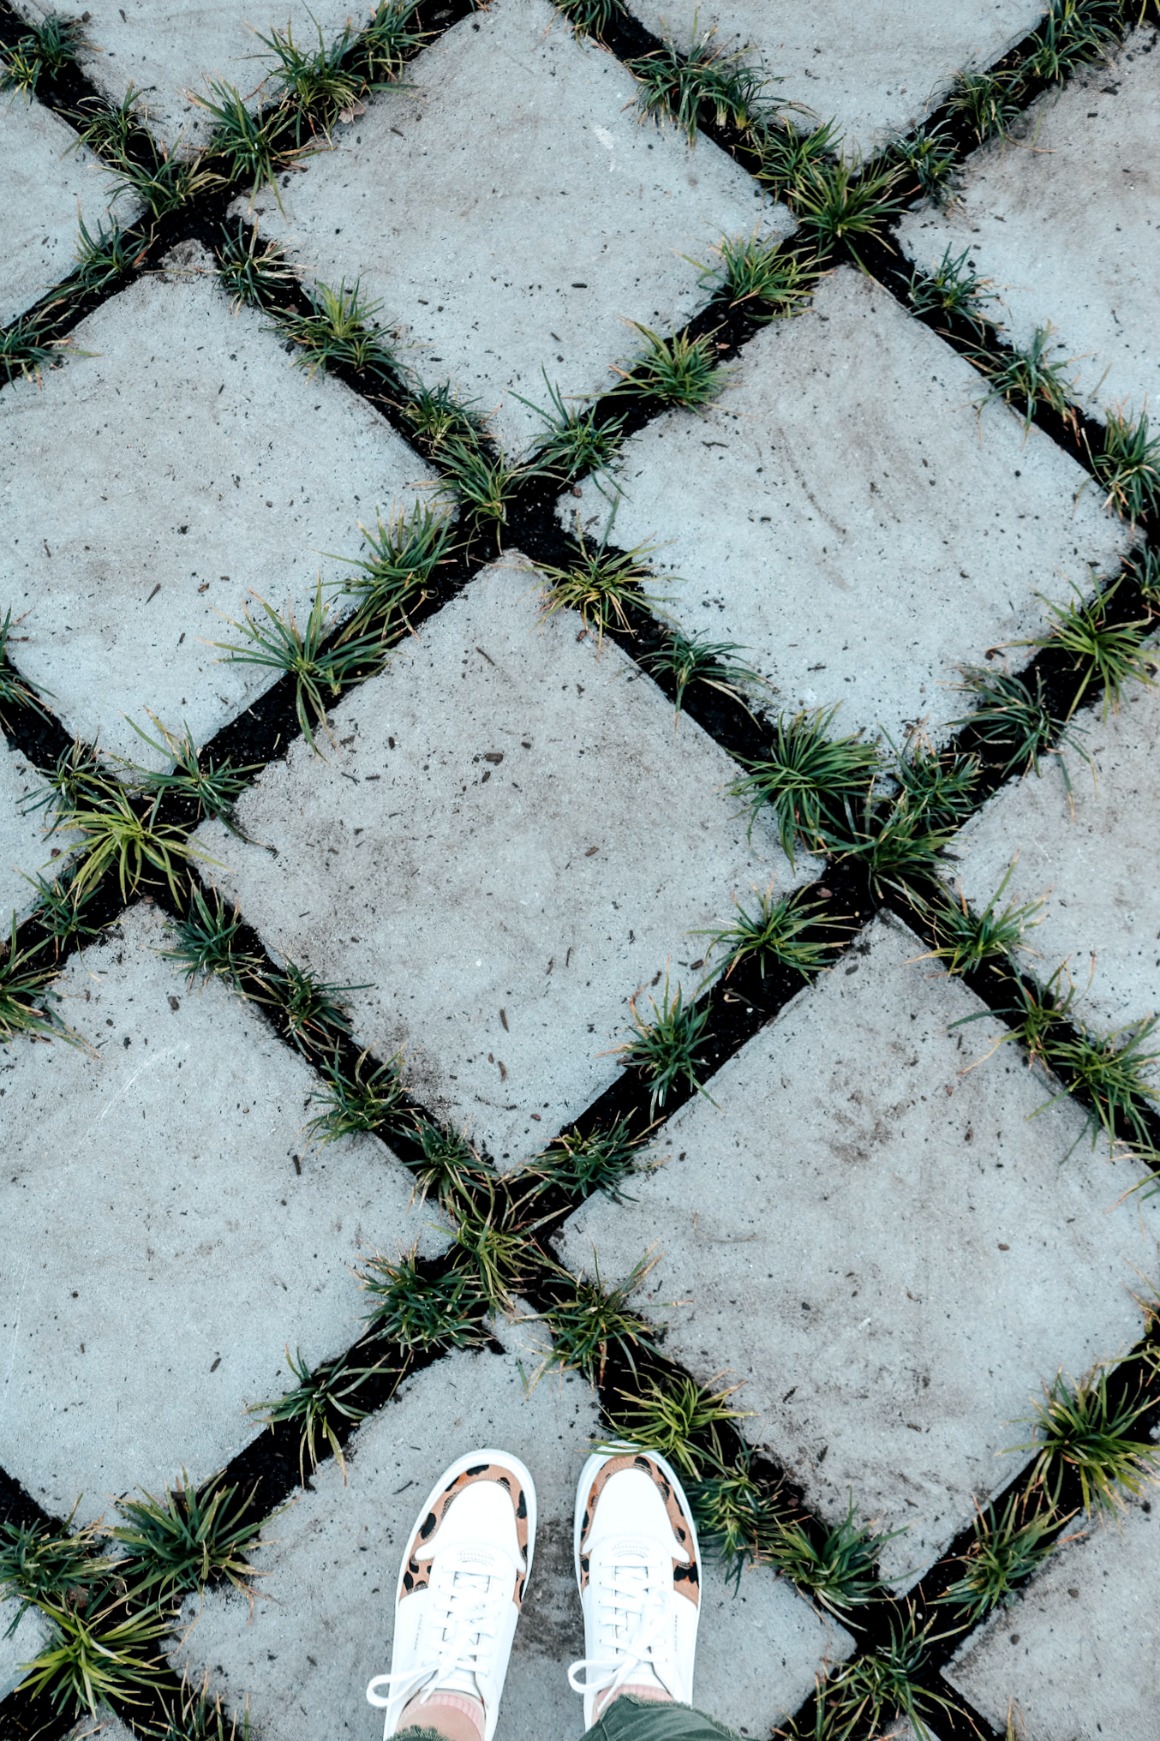
Step 6- After the Pavers were placed he was deciding what to place in-between, the initial thought was to cut pieces of Sod and lay them in-between the cracks (Which still may happen) However he wasn’t able to find any sod this time of year, so he decided to go with Dwarf Mundo Grass from Amazon! We are skeptical that it will survive until Spring but if it does it will look so pretty.
Step 7- He bought Sod and Turf soil and poured it over all the Pavers, sweep off the excess and was left with soil in-between all of the Pavers. From there he planted the Dwarf Mundo Grass. The grass was pretty expensive, he bought around 5 flats to finish the entire area. When planting he made sure to really compact the soil on top and around the plant to prevent runoff. We shall see how it looks in a month. If it doesn’t fill out then we will cut sod to go in-between each stone.
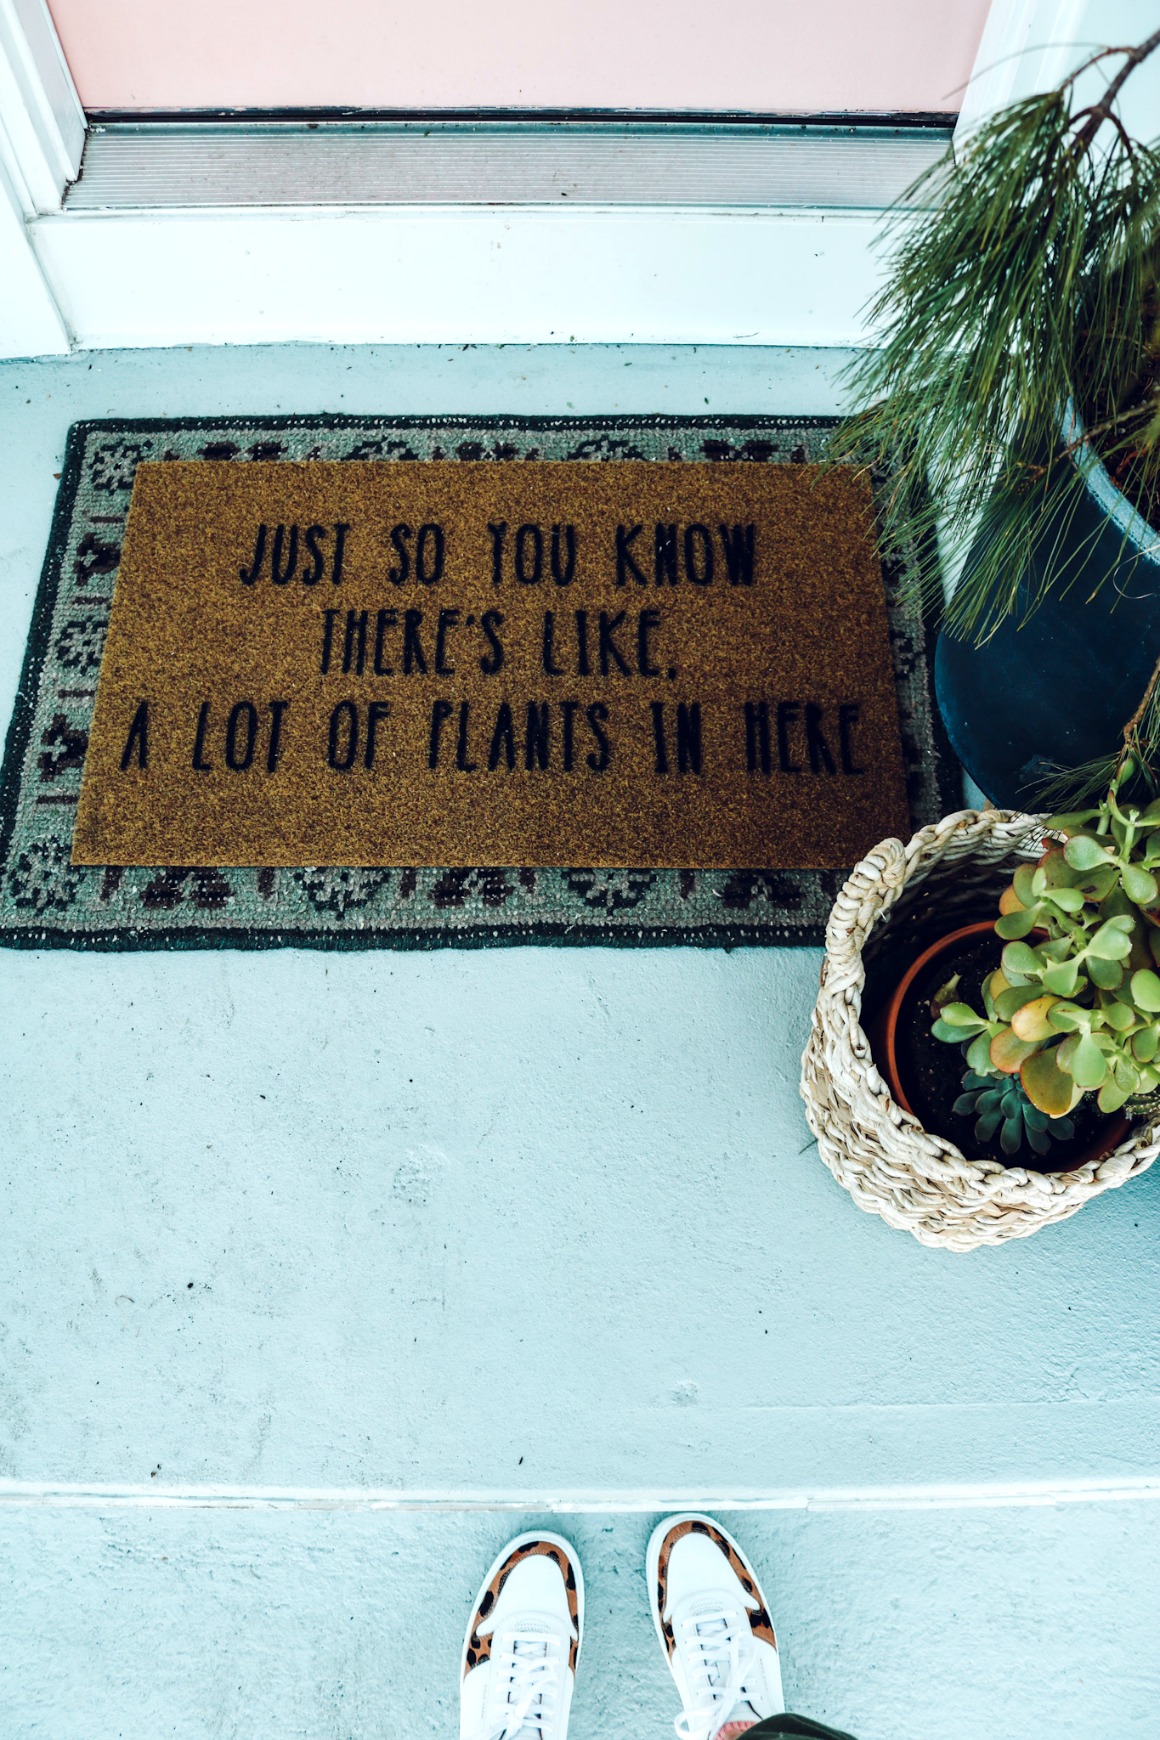
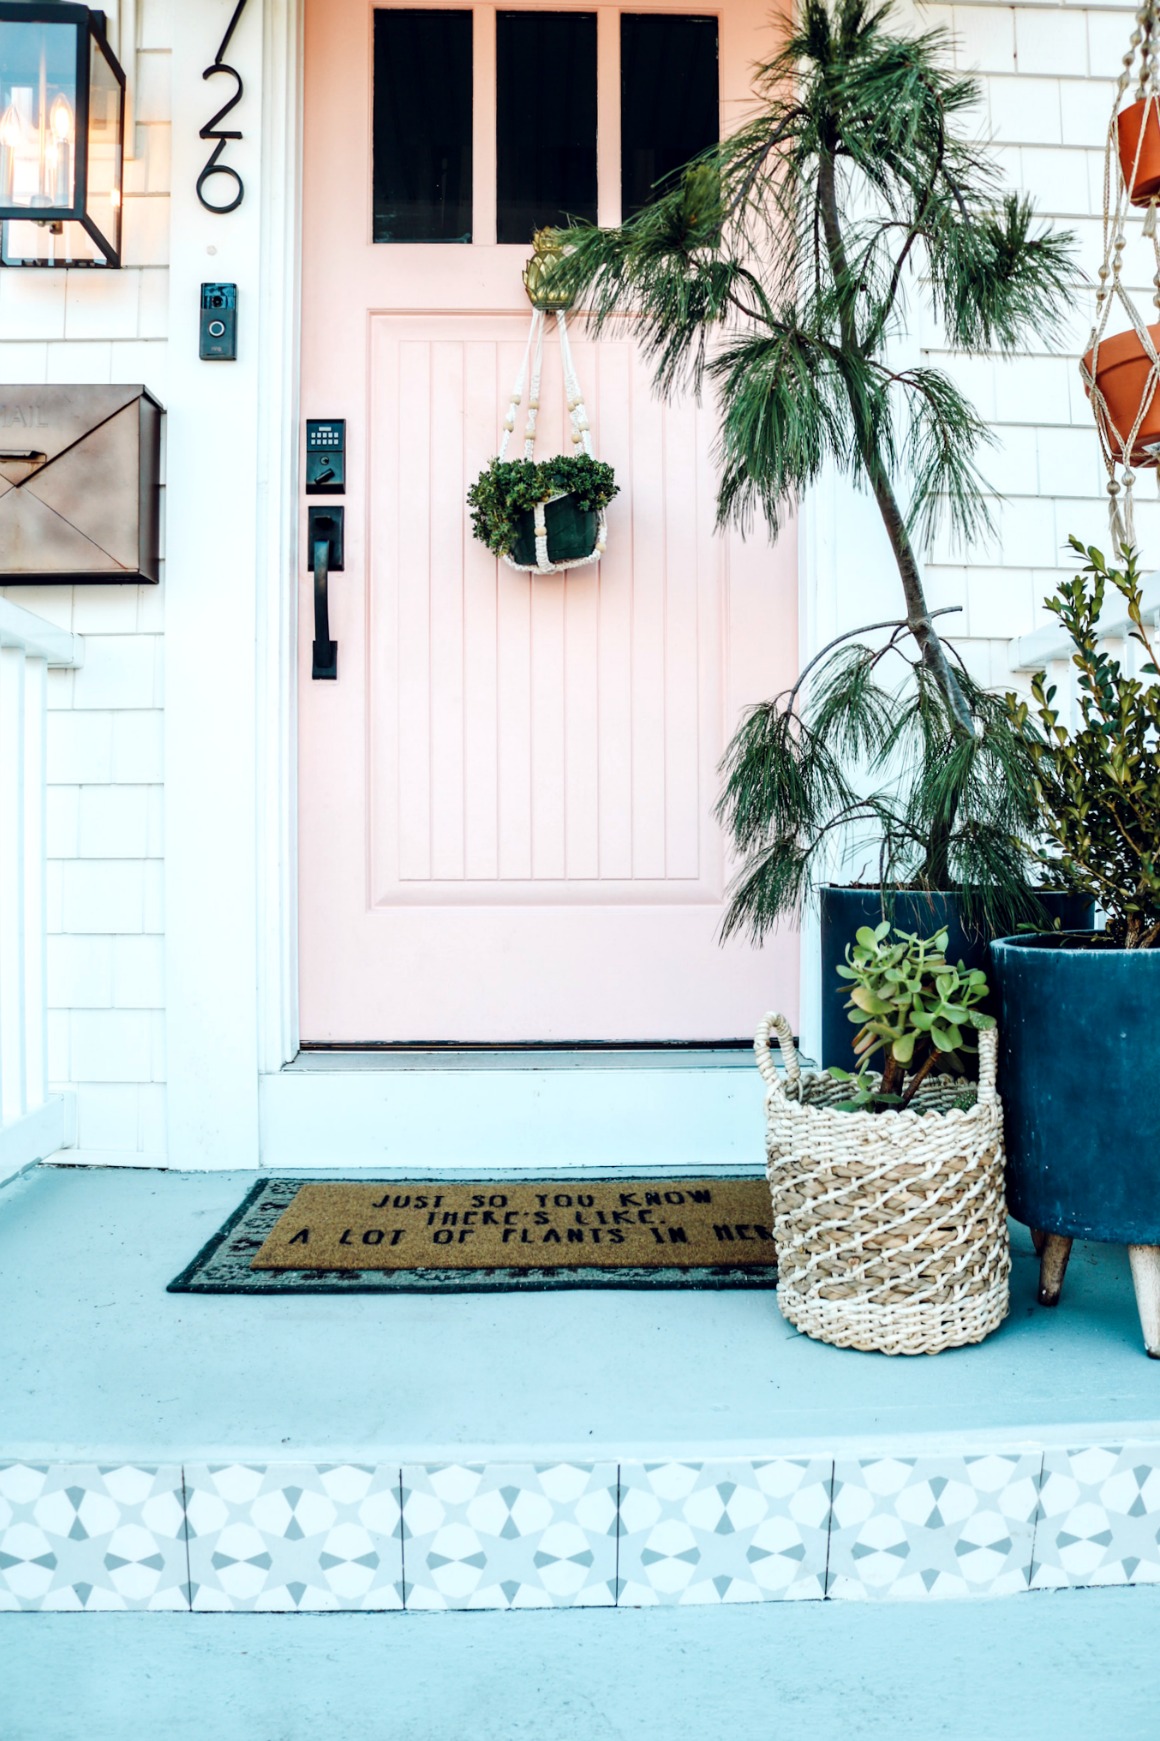
Love my new doormat “Just so you know there are a lot of plants in here” (find it HERE), I did layer it over an older rug that I had, it felt too small and think by itself.
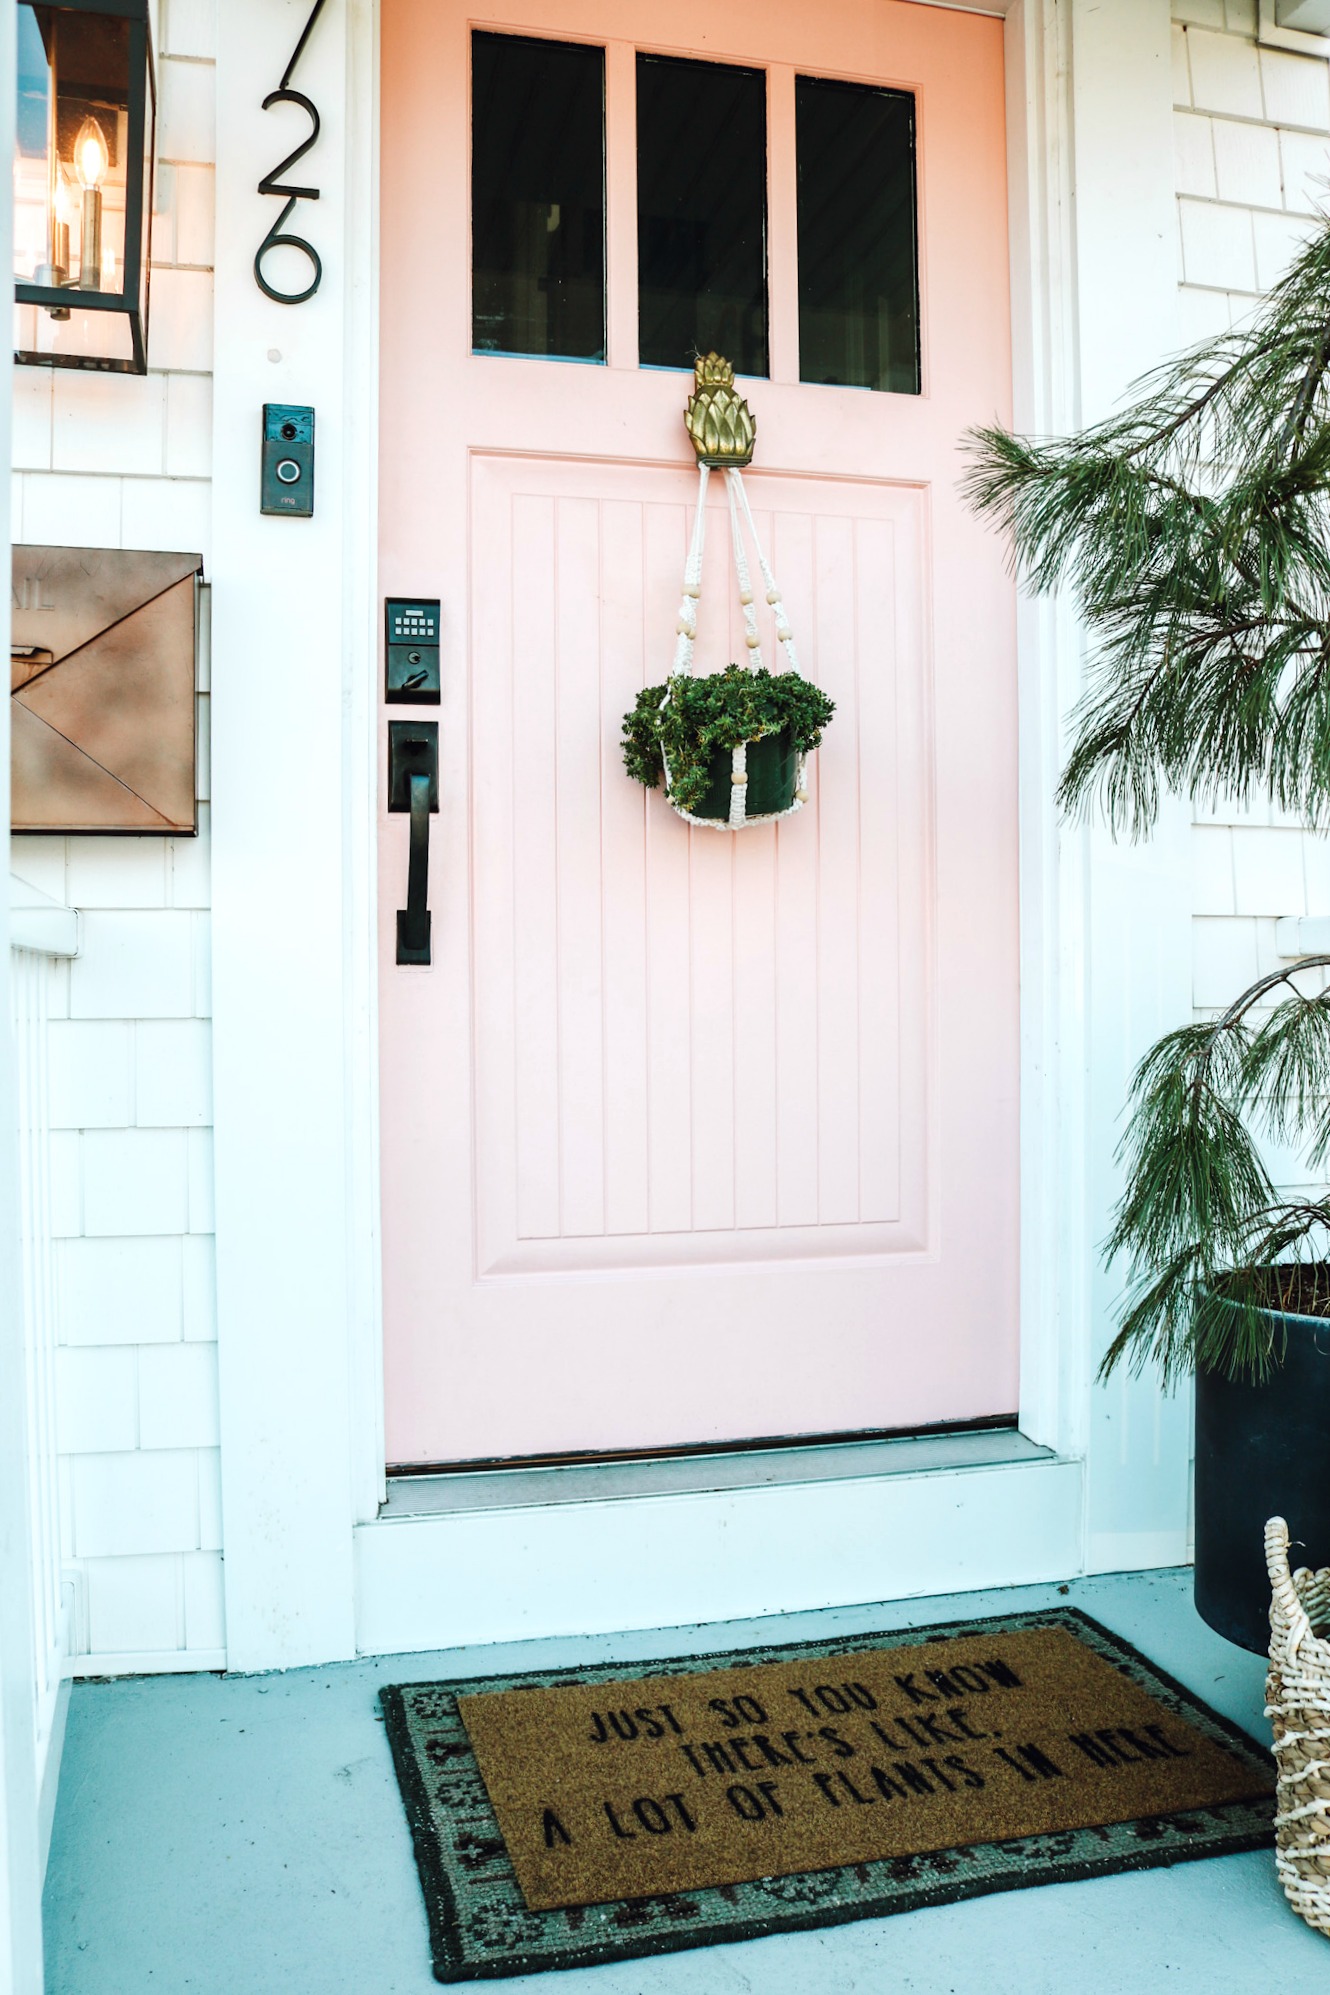
I used one of my macrame hangers to hang a plant on the front door! Such an easy thing that anyone can do. I just looped some twine around the macrame holder to hang it over the door knocker. You could do this over a nail too!
Ok who is ready for spring?? I hope that gave you some inspiration to give your home some curb appeal!!!
Click on an image to shop the post-


Wow! Very nice!