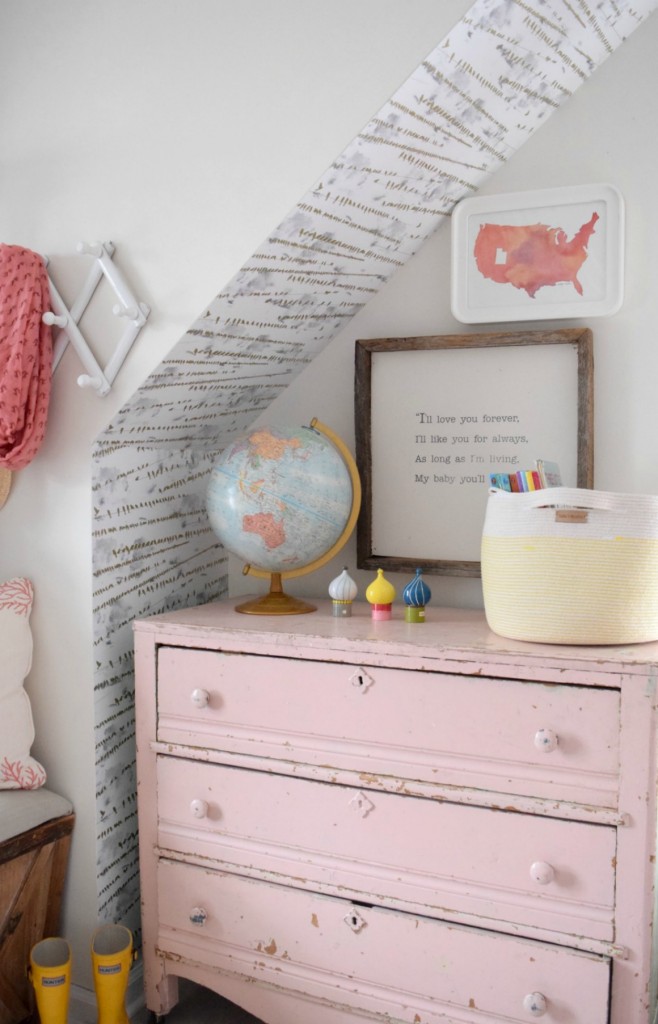
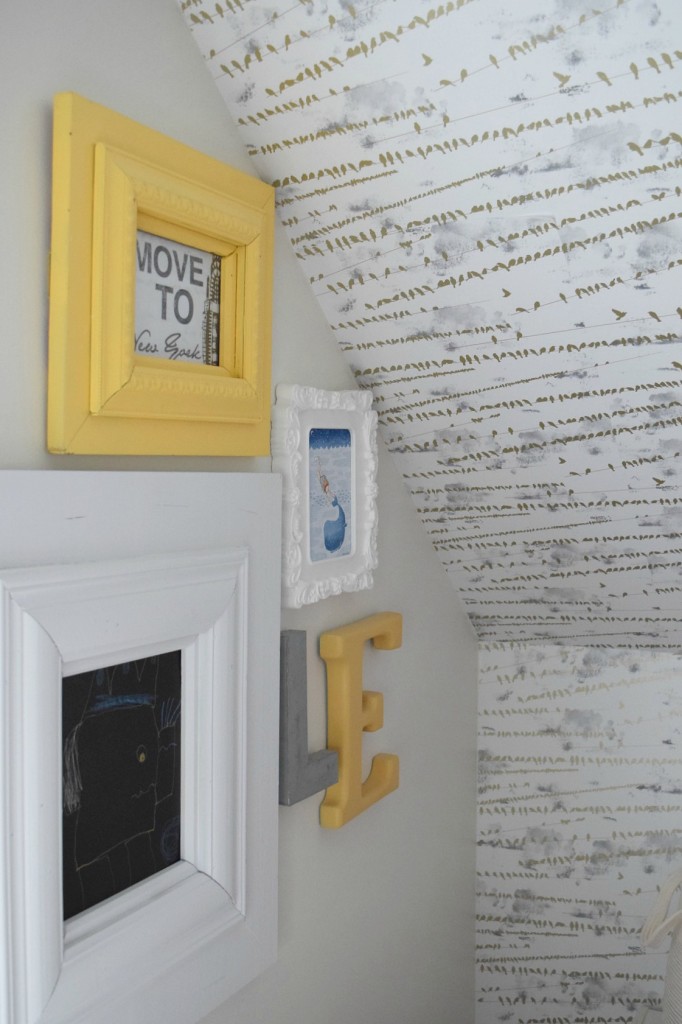
Our 1950’s cape cod home, is tiny but it makes up for it with a lot of built in charm. I love the pitched ceilings and the angles in my daughters bedroom. I knew that I wanted to do wallpaper right away when we moved into the home in January of 2015. I also know my strengths and weaknesses, hanging wallpaper is not a strength. But I knew that I could easily do temporary wallpaper. It just has a sticker on the back, it is so simple to apply. I had worked with the company for clients before and I knew from experience I loved the end result.
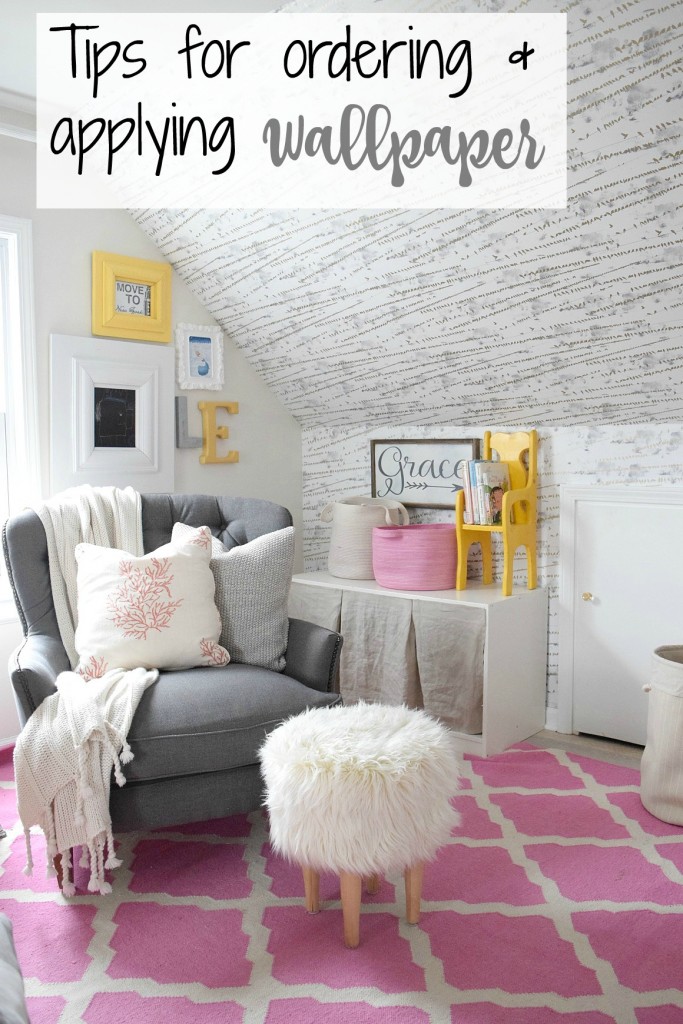
I get asked a lot if applying this wallpaper was hard. I thought I would share some things I learned through trial and error!
Installing Temporary Wallpaper Tips and Tricks-
- Get a sharp razor blade and several of them! My old walls are far from straight or perfect. And with the razor blade you can easily take off excess wallpaper that is too large for the space.
- Do not peel of the back of the sticker all at once. Apply small sections at a time, and roll the back off as you go.
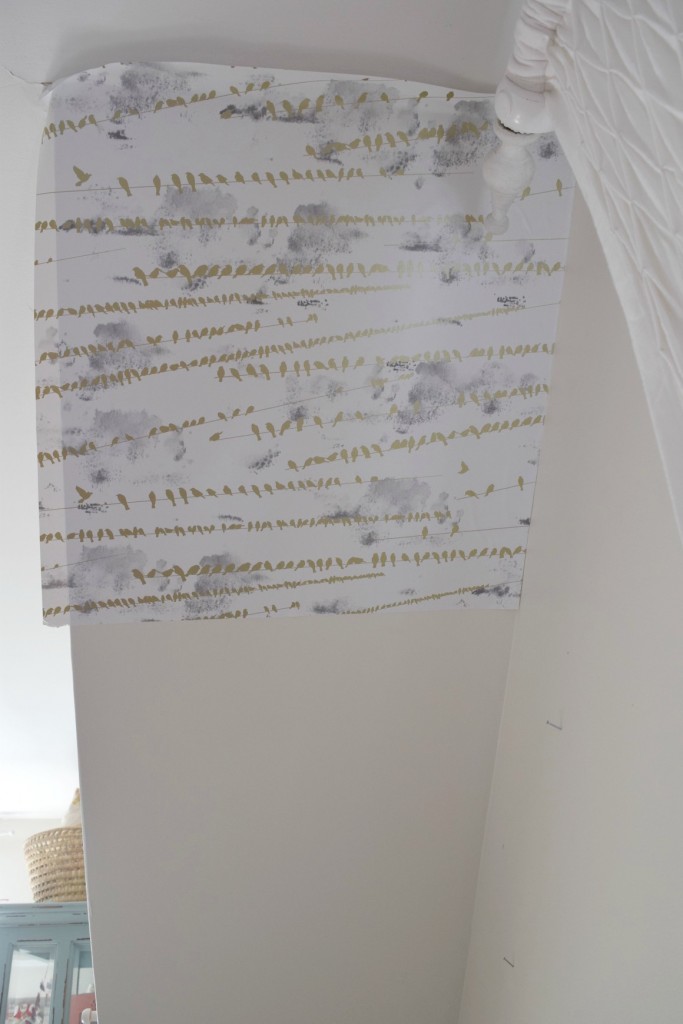
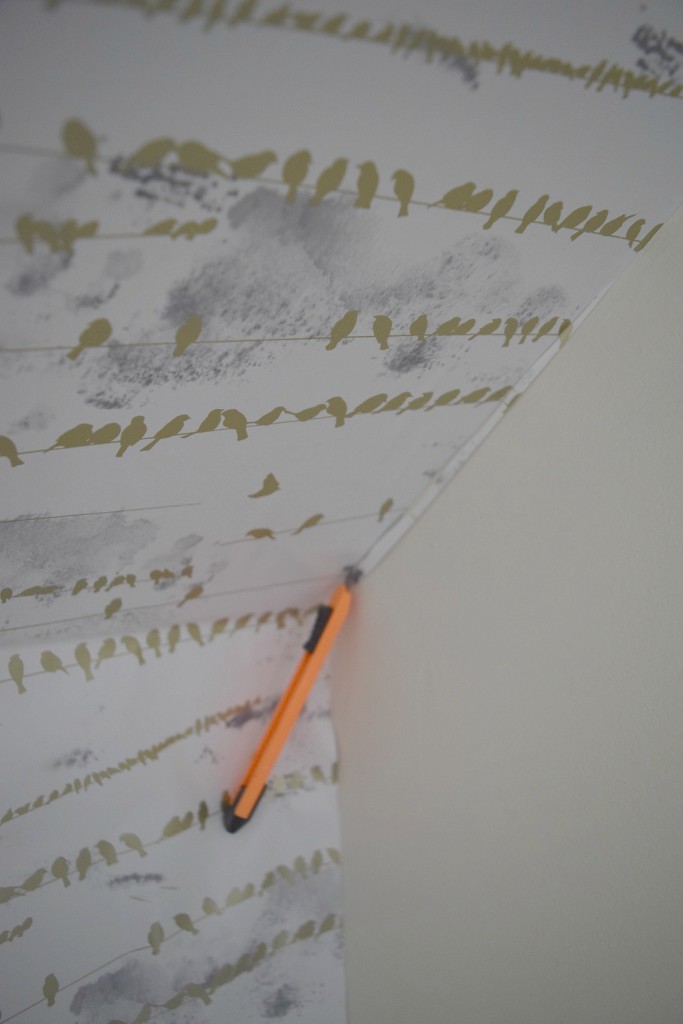
- Do not cut the wallpaper before. Always apply the wallpaper FIRST. This shows how it was too wide for the section of wall I was putting it on. I just peeled off the sticker and stuck it right to the wall. It was much easier to trim it once it was on the wall. This picture also shows that it was not lining straight up on the wall. I just cut it with the razor blade then matched up a new piece rather than fighting with it. You can’t even see the seam.
- It wasn’t laying flat when I was trying to get it tight to the wall. Again, I just cut it right in the angle of the wall and started fresh. I made sure that it was flush against the wall as I went down.
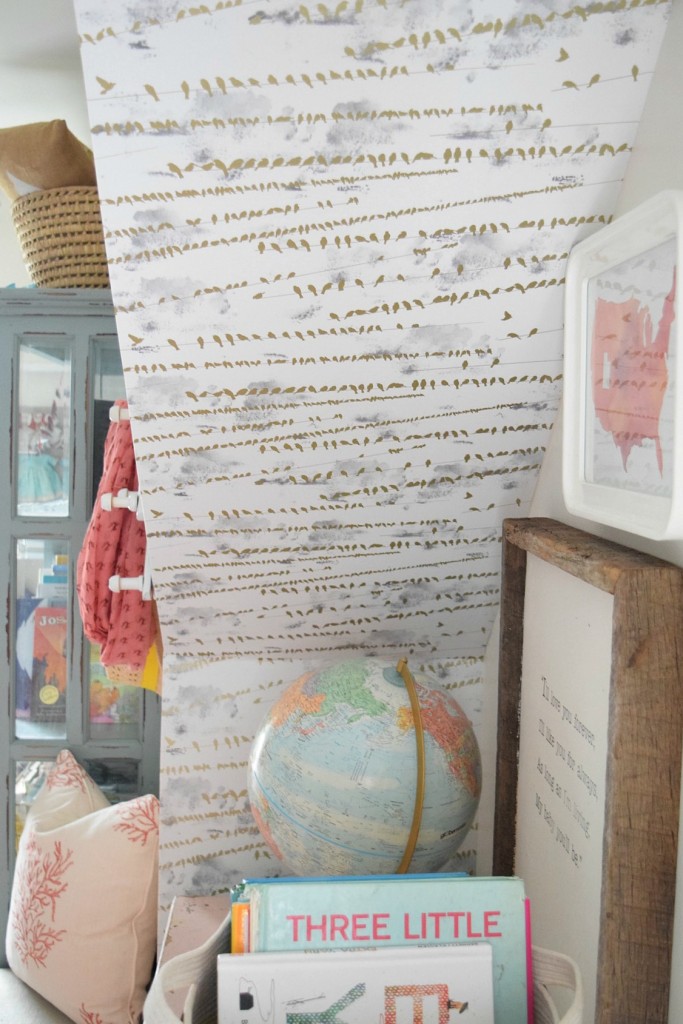
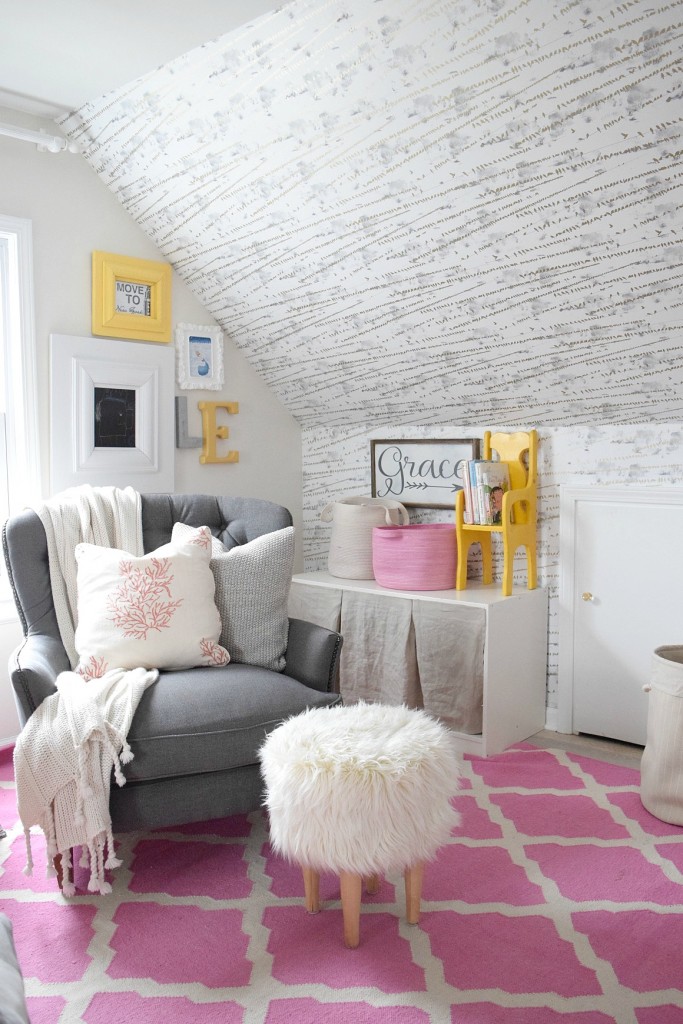
This is how it turned out and it was very easy. The sticker is very forgiving. I pulled it off several times and reapplied if it was bumpy or not laying straight.
When you apply it to ceilings you have to be aware that it cannot go on textured ceilings or walls. My ceilings are all smooth so it was easy to apply. If you know when you are building your home that you want wallpaper on the ceilings make sure to tell your contractor not to do texture on the ceiling. If you already have texture you would have to have it smoothed out, and that is a pretty big project.
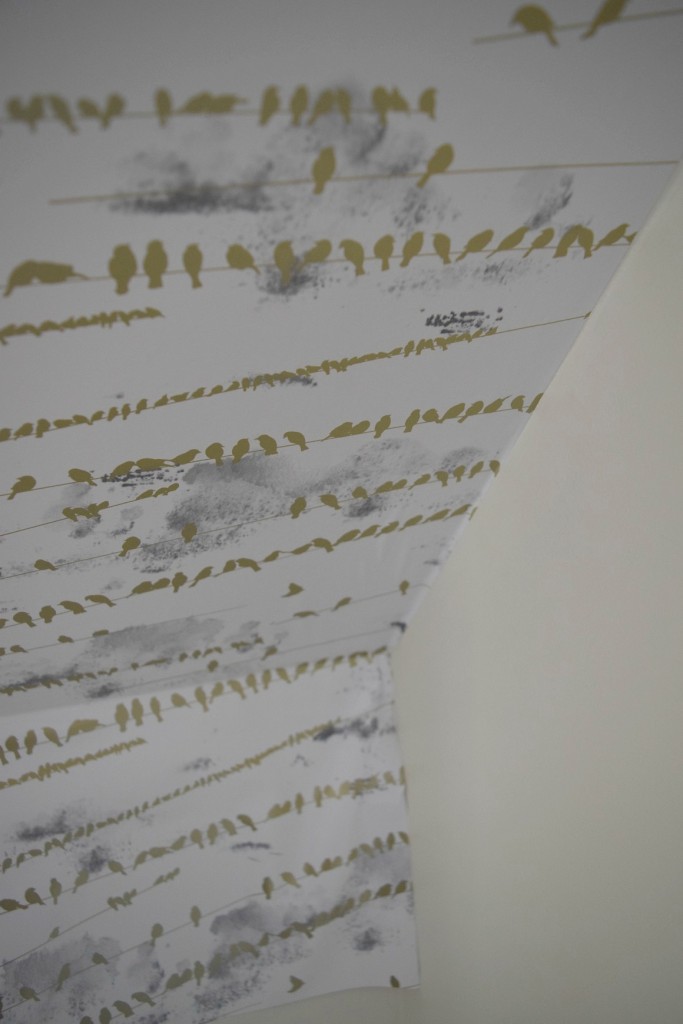
This shows another wall where I had to match up the corner. I did cut it in several spots that you don’t even notice. In my opinion it was better to have a little seem than a big bump or uneven wallpaper.
Be aware of the pattern repeat. And that you need to match up the patterns. I put up my first strip then I held up where the pattern matched and then took of the back and placed it so the pattern matched. I trimmed the top after.
You can find my exact wallpaper HERE and scroll through some of my favorite below (click on an image to shop it).

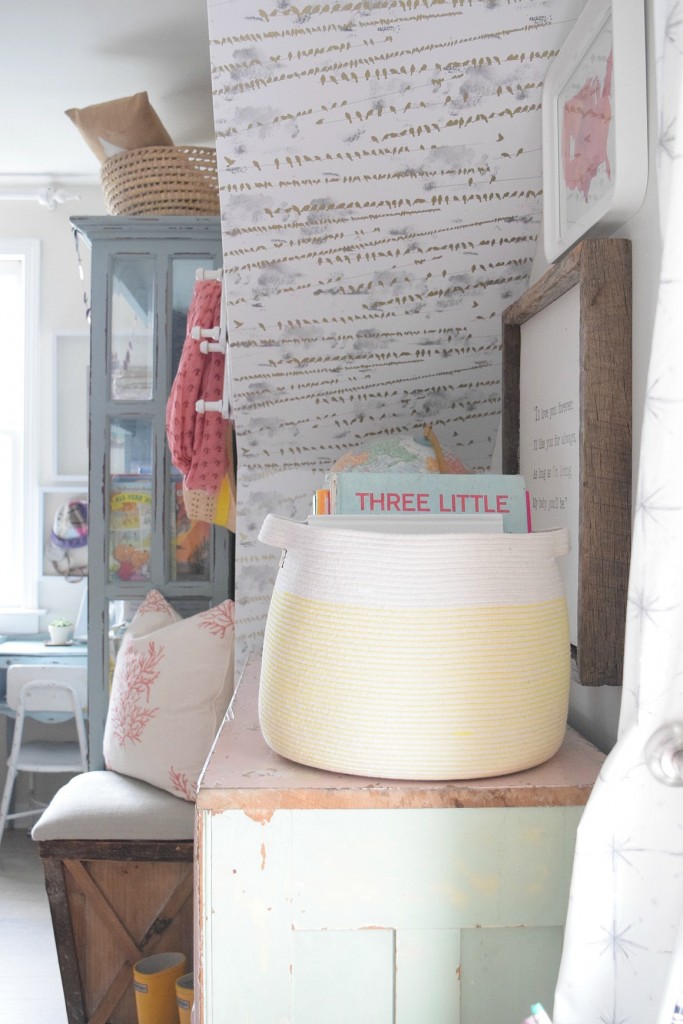
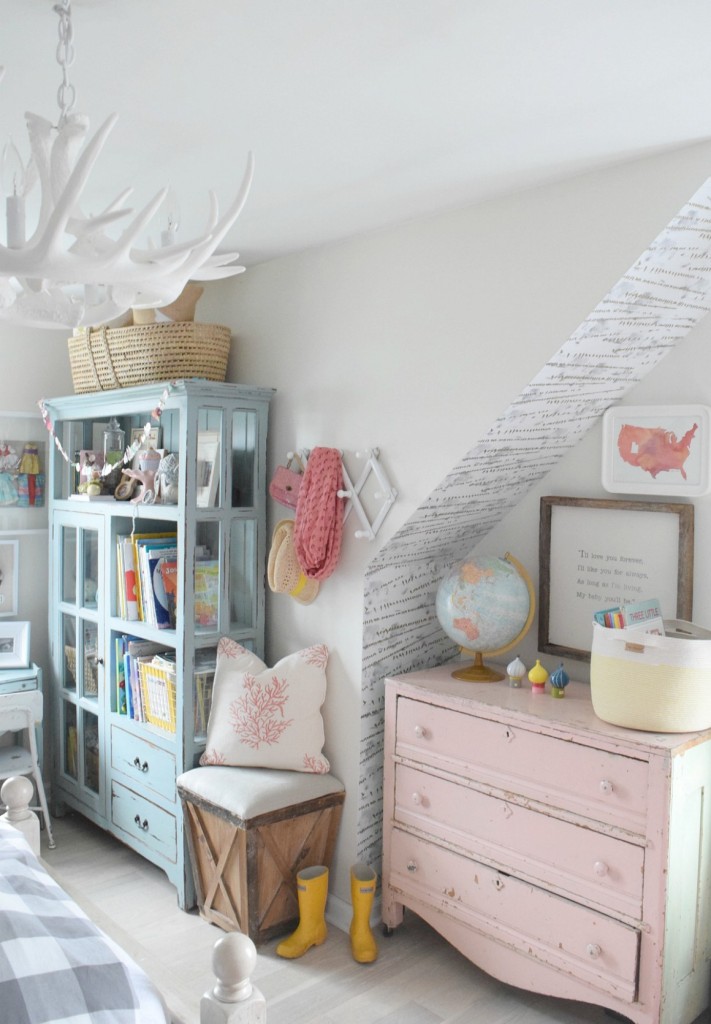
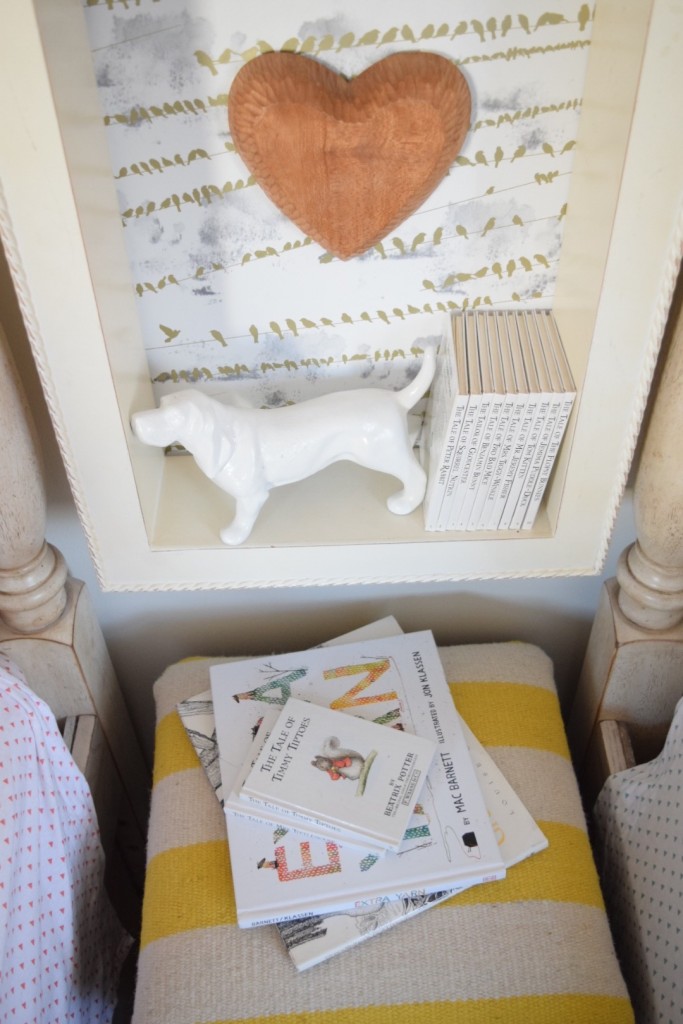
The best way to measure for wallpaper is- to look at your walls in sections. This online calculator is very helpful, you can find HERE. Most online calculators don’t factor in the pattern repeat, but that one does. Be aware that sometimes when you order wallpaper it could only come in a double roll. So if you are doing a small section you might not want to do a wallpaper that only comes in a double roll. If you have a lot of weird angles and cut outs it might be worth it hire someone to hang the wallpaper, and a lot of times if they are going to hang it they will come measure the space for you. Better to order more than you need then have to try and order more later and it doesn’t come from the same dylot. You can you use extra for wrapping paper or put in a small section, like I did below-
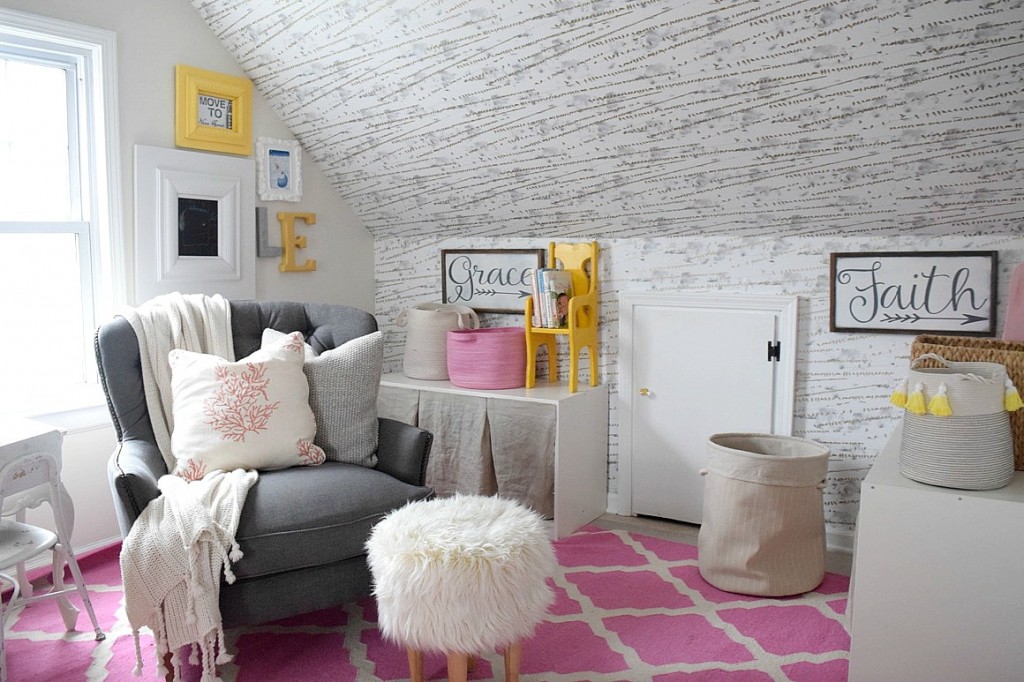
You can shop the rest of my daughters bedroom HERE


great post girl! you did a very good job ! Love her room!
thank you so much!
Such a great room! I would love to know the source for the grey chair. Exactly what I need for my daughters room.
Thank you!
Thank you so much! I found that at Home Goods. I know that Classic Home Furnishings makes it too!