We have guests a lot. We LOVE it. It is one of the ways we stay connected with our family who all live a few thousand miles away. I have posted about how we operate guests in our small cape before, but I have always felt like we could do a little better in Finn’s room. Although his trundle-style daybed was nice, when our guests came, it would take up the entire room. The final nudge to switch up the sleeping arrangements in Finn’s room came when his bed was a little damaged in our basement flood during renovations.
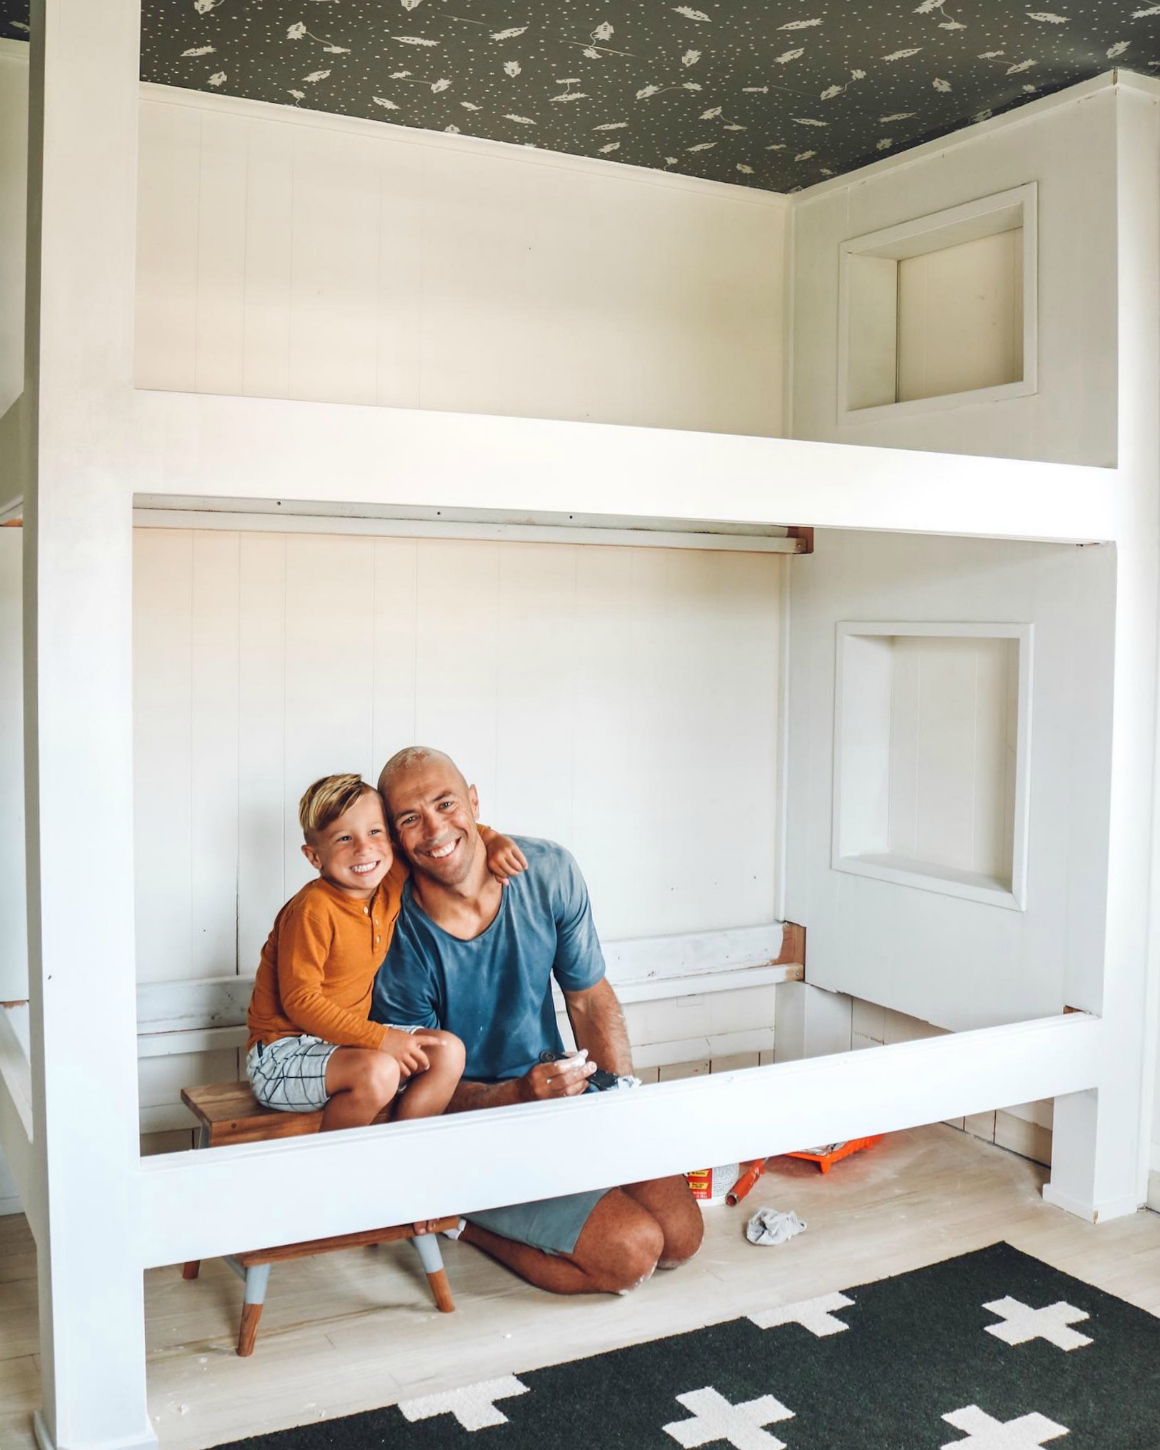
Bunk beds have gotten a major upgrade lately with a minimal custom look and sleek modern lines. Who wouldn’t want this in their room? Kevin was totally on board with this project (although he’d never made something like this before) and he completed the building in a couple of days!
Step by Step DIY $500 Built in BUNK BEDS
1- Get your shopping cut list together. Many big box stores will cut boards for you, but if you are looking to build your tool supply, see this post.
2- Lumber, Kevin purchased all of the wood from Home Depot. The frame consisted of (4) 2X6, (2) 2X4, (4) 4×4, (4) 2×2. We used Primed MDF Boards to skin the posts and window.
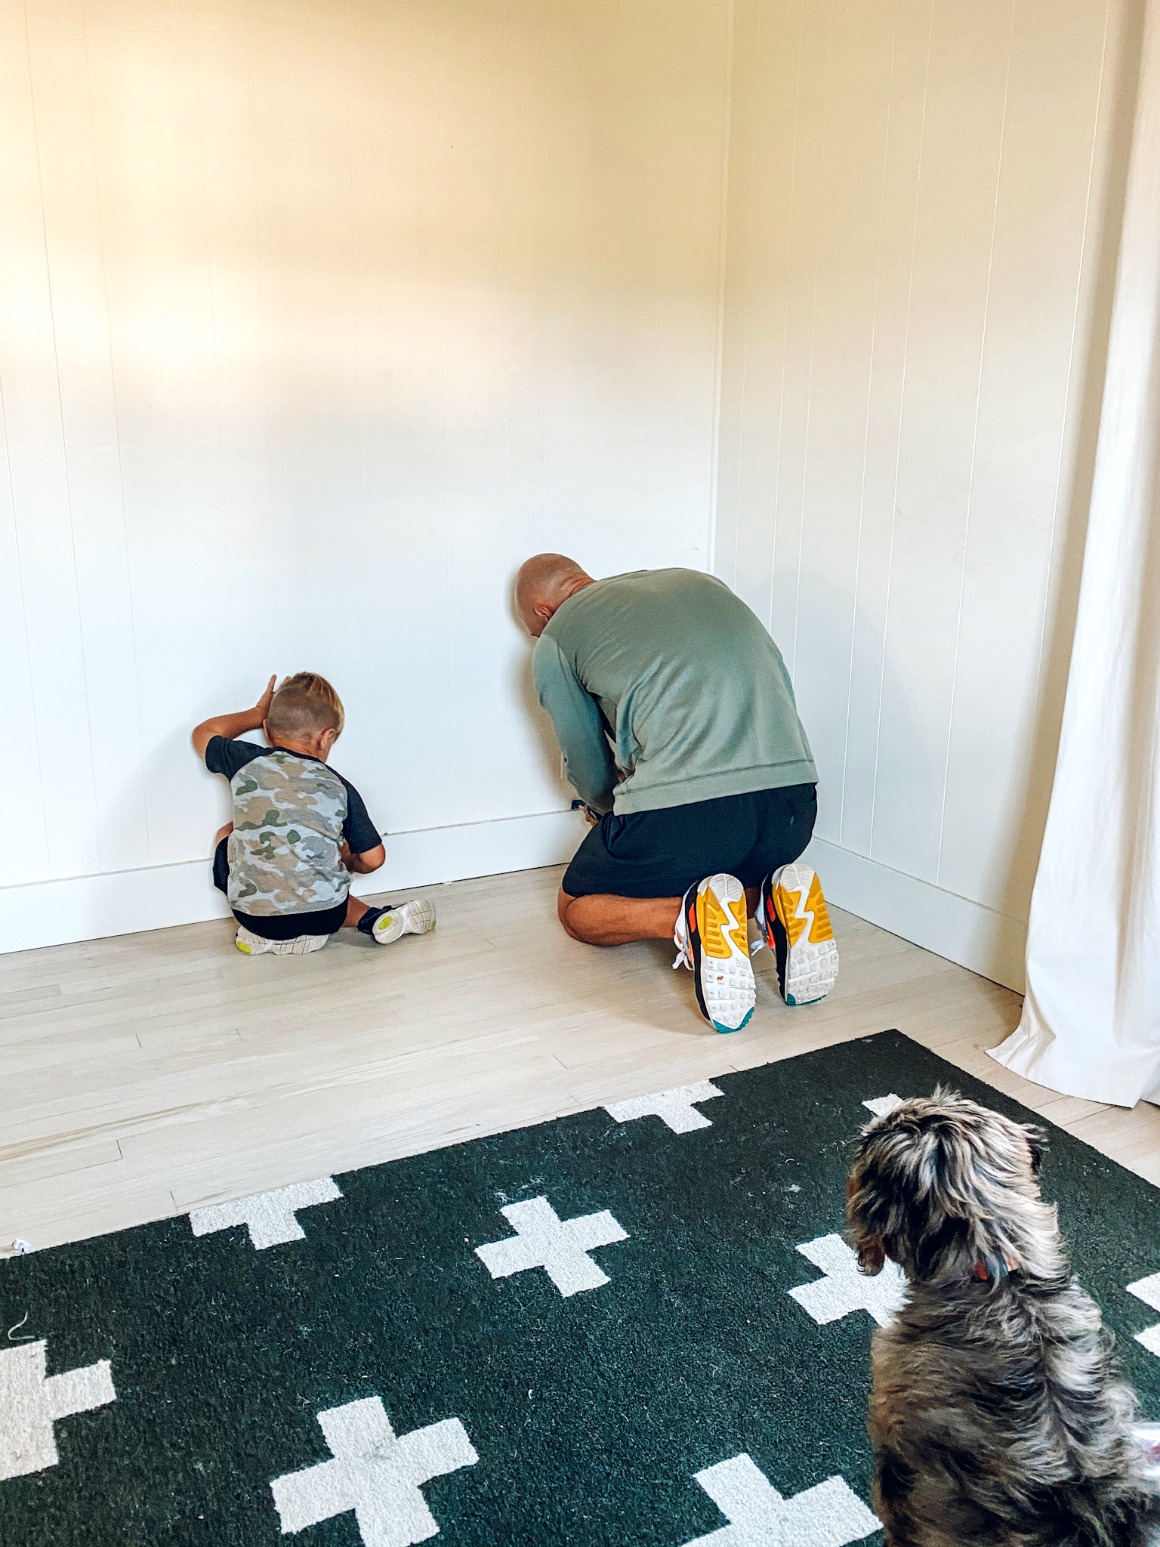
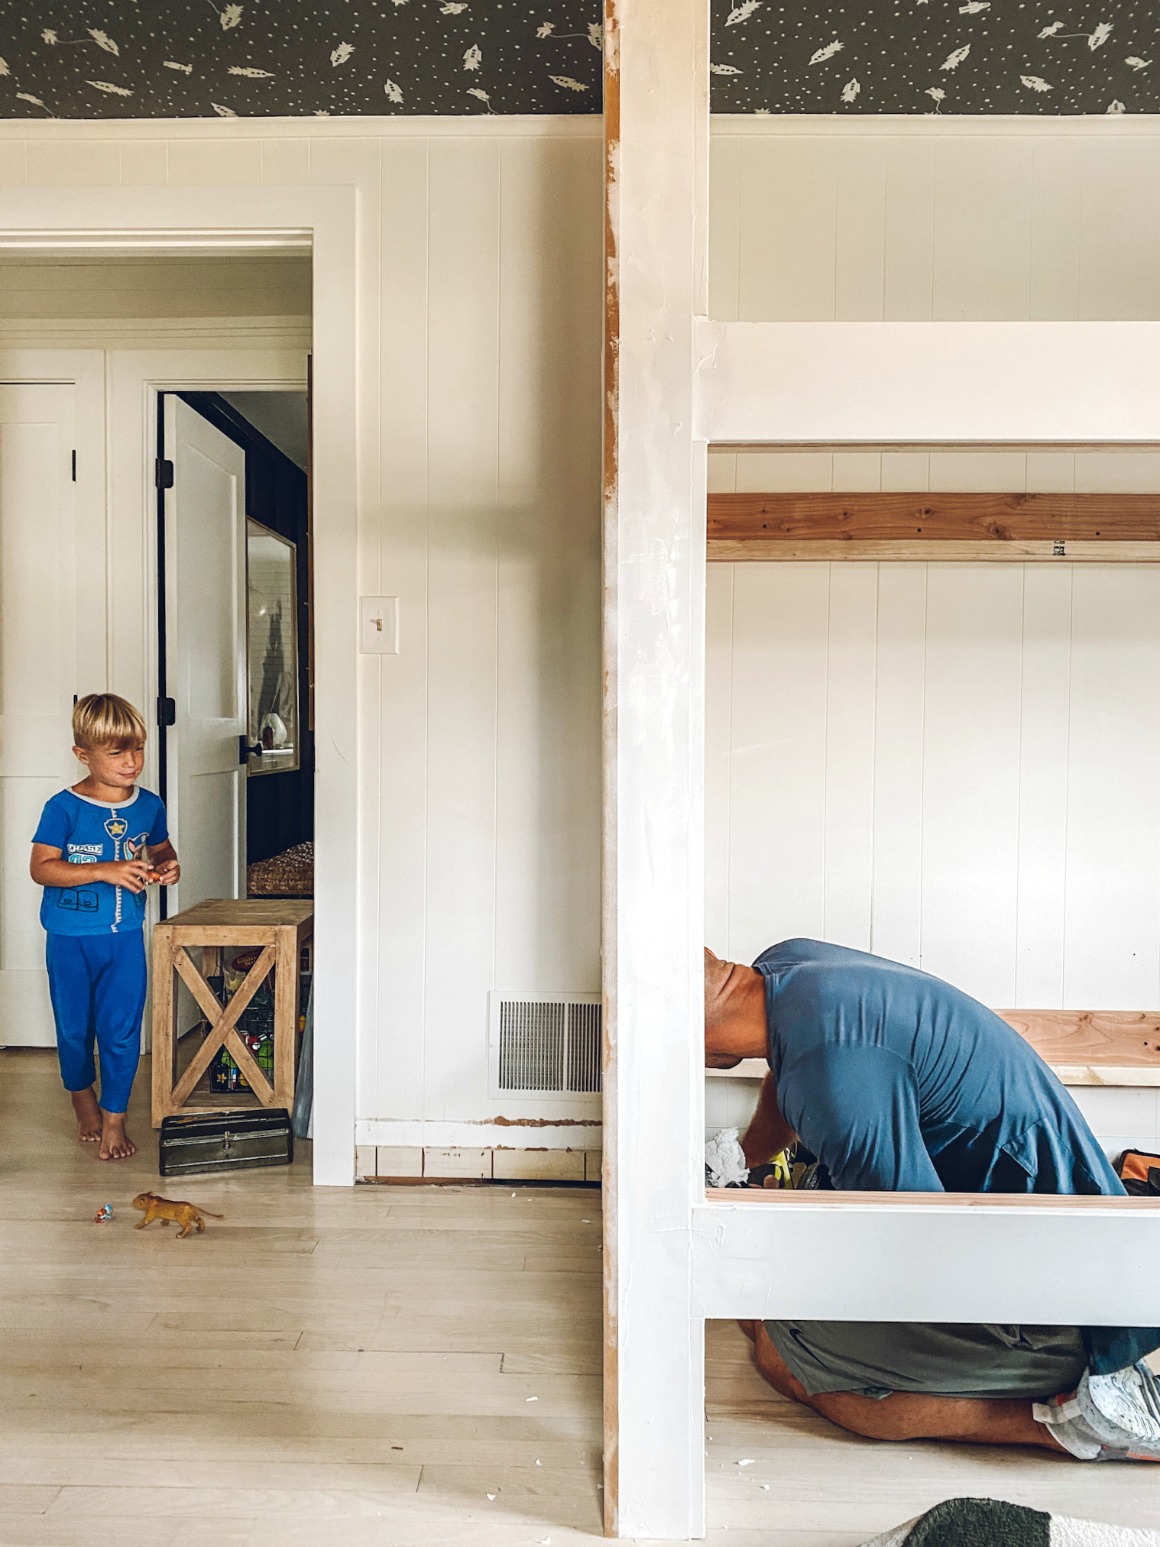
3. Clear room and remove baseboards (Noah was the project manager).
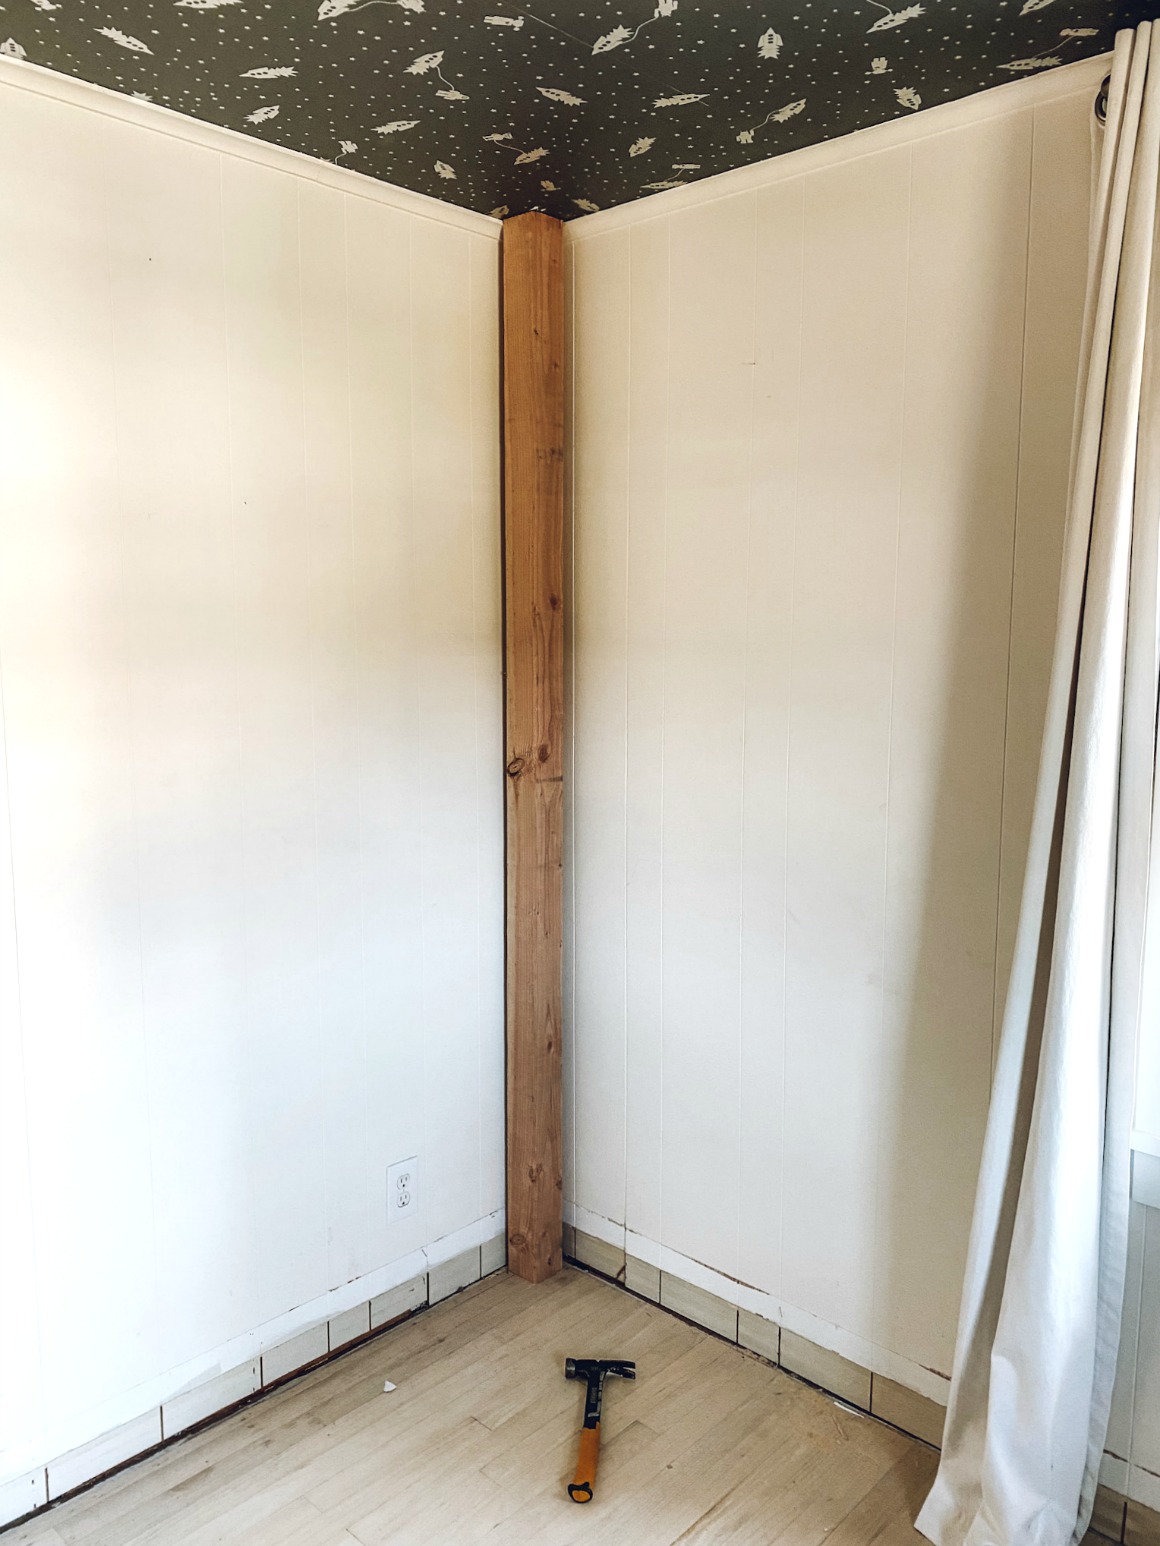
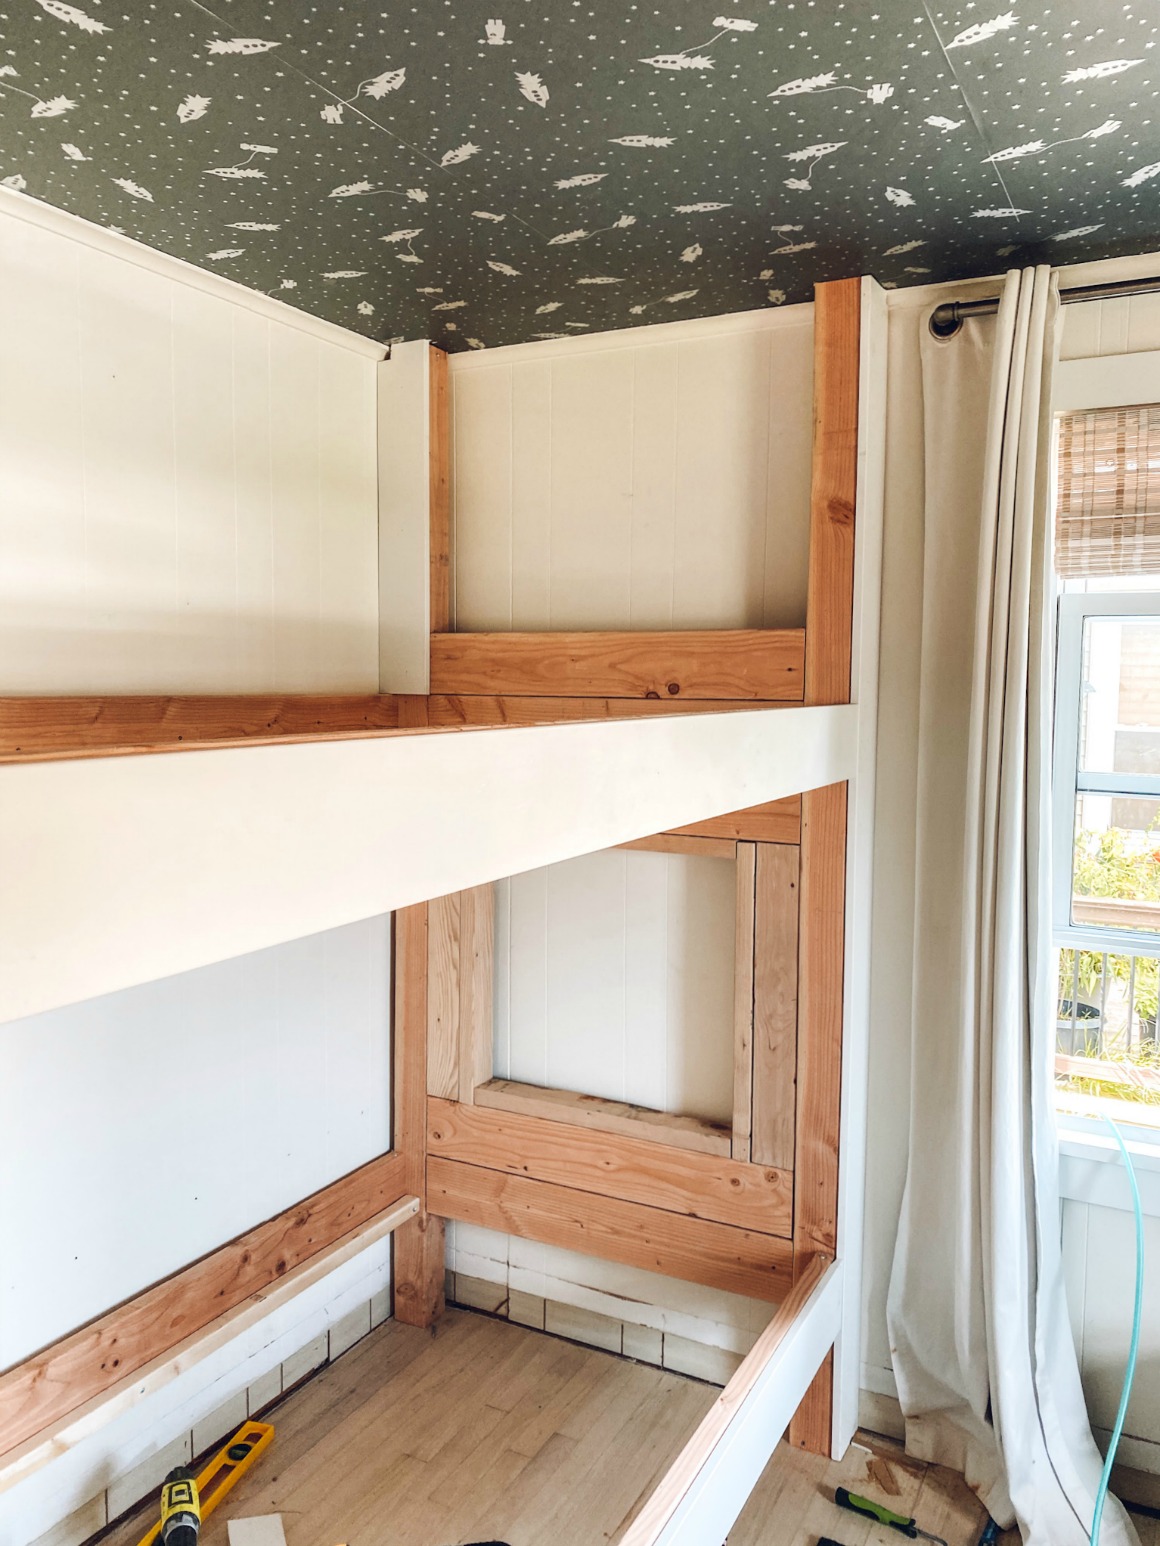
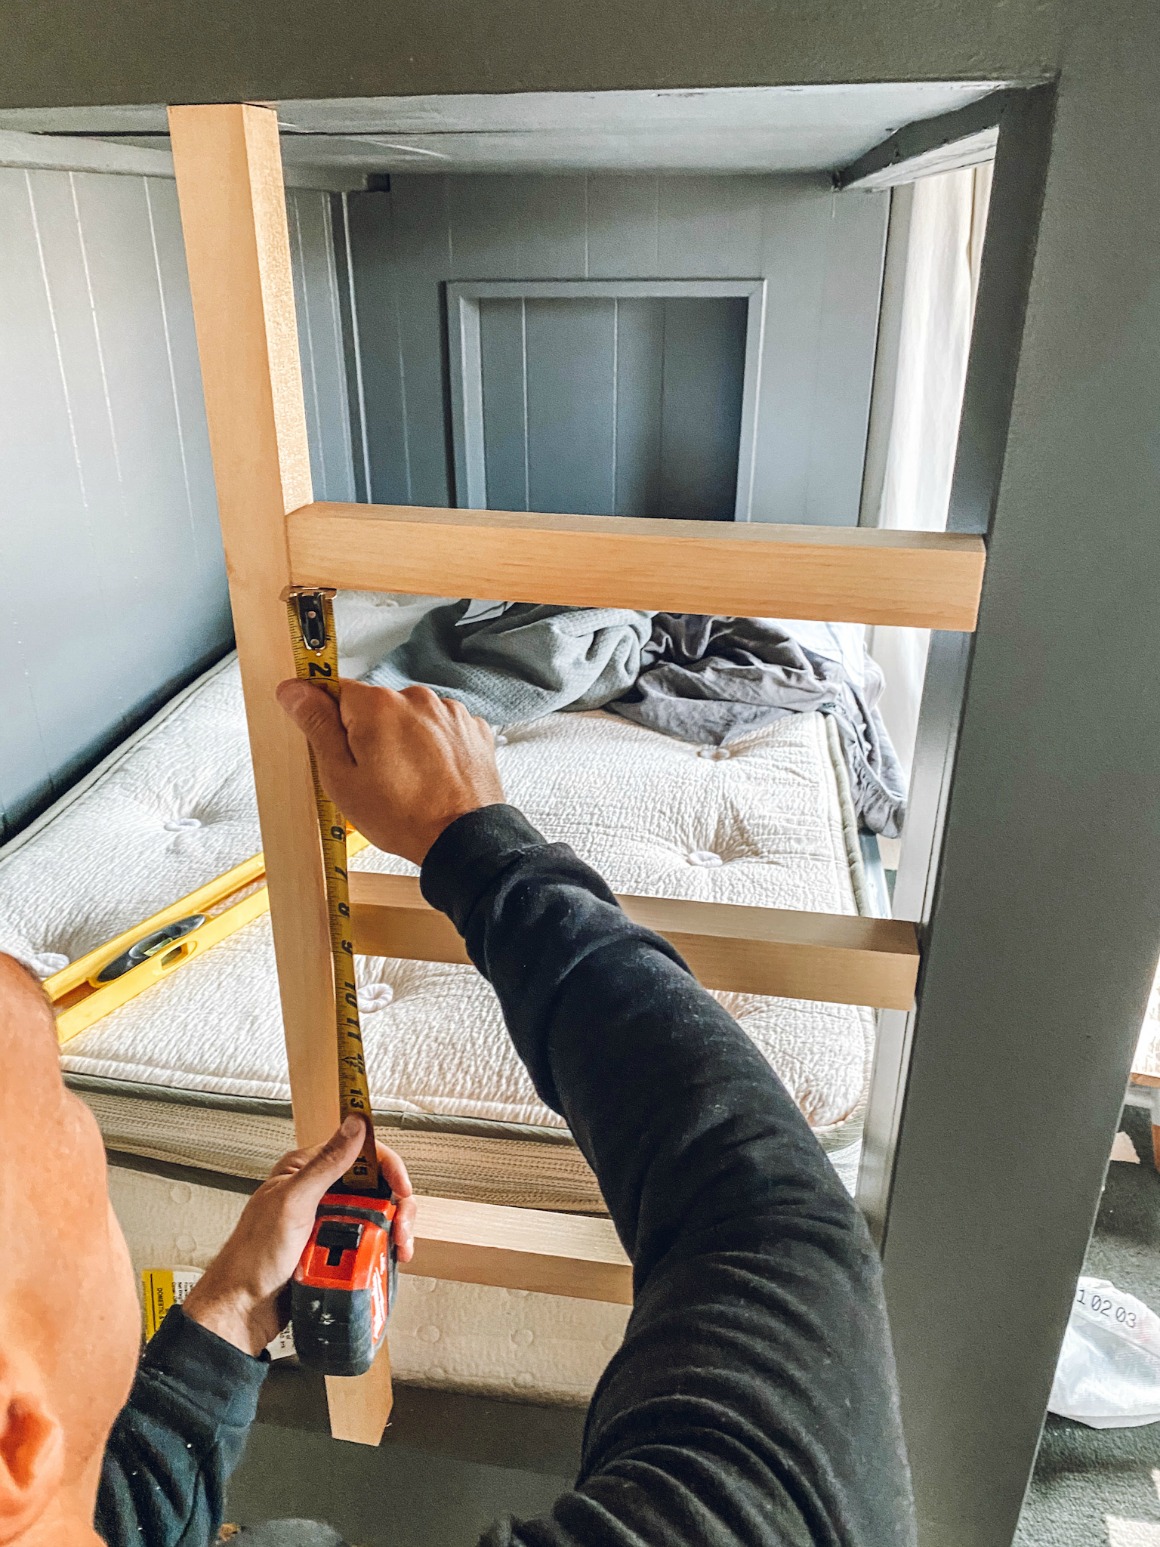
4. Secure 4×4 to ceiling and floor. We used 3” screws, however, you could used a framing gun. When setting your base post make sure to have measured your mattress to determine the length and width of your frame.
5. When cutting your post, make sure you measure to ensure a tight fit, Kevin used a hammer to get them into place.
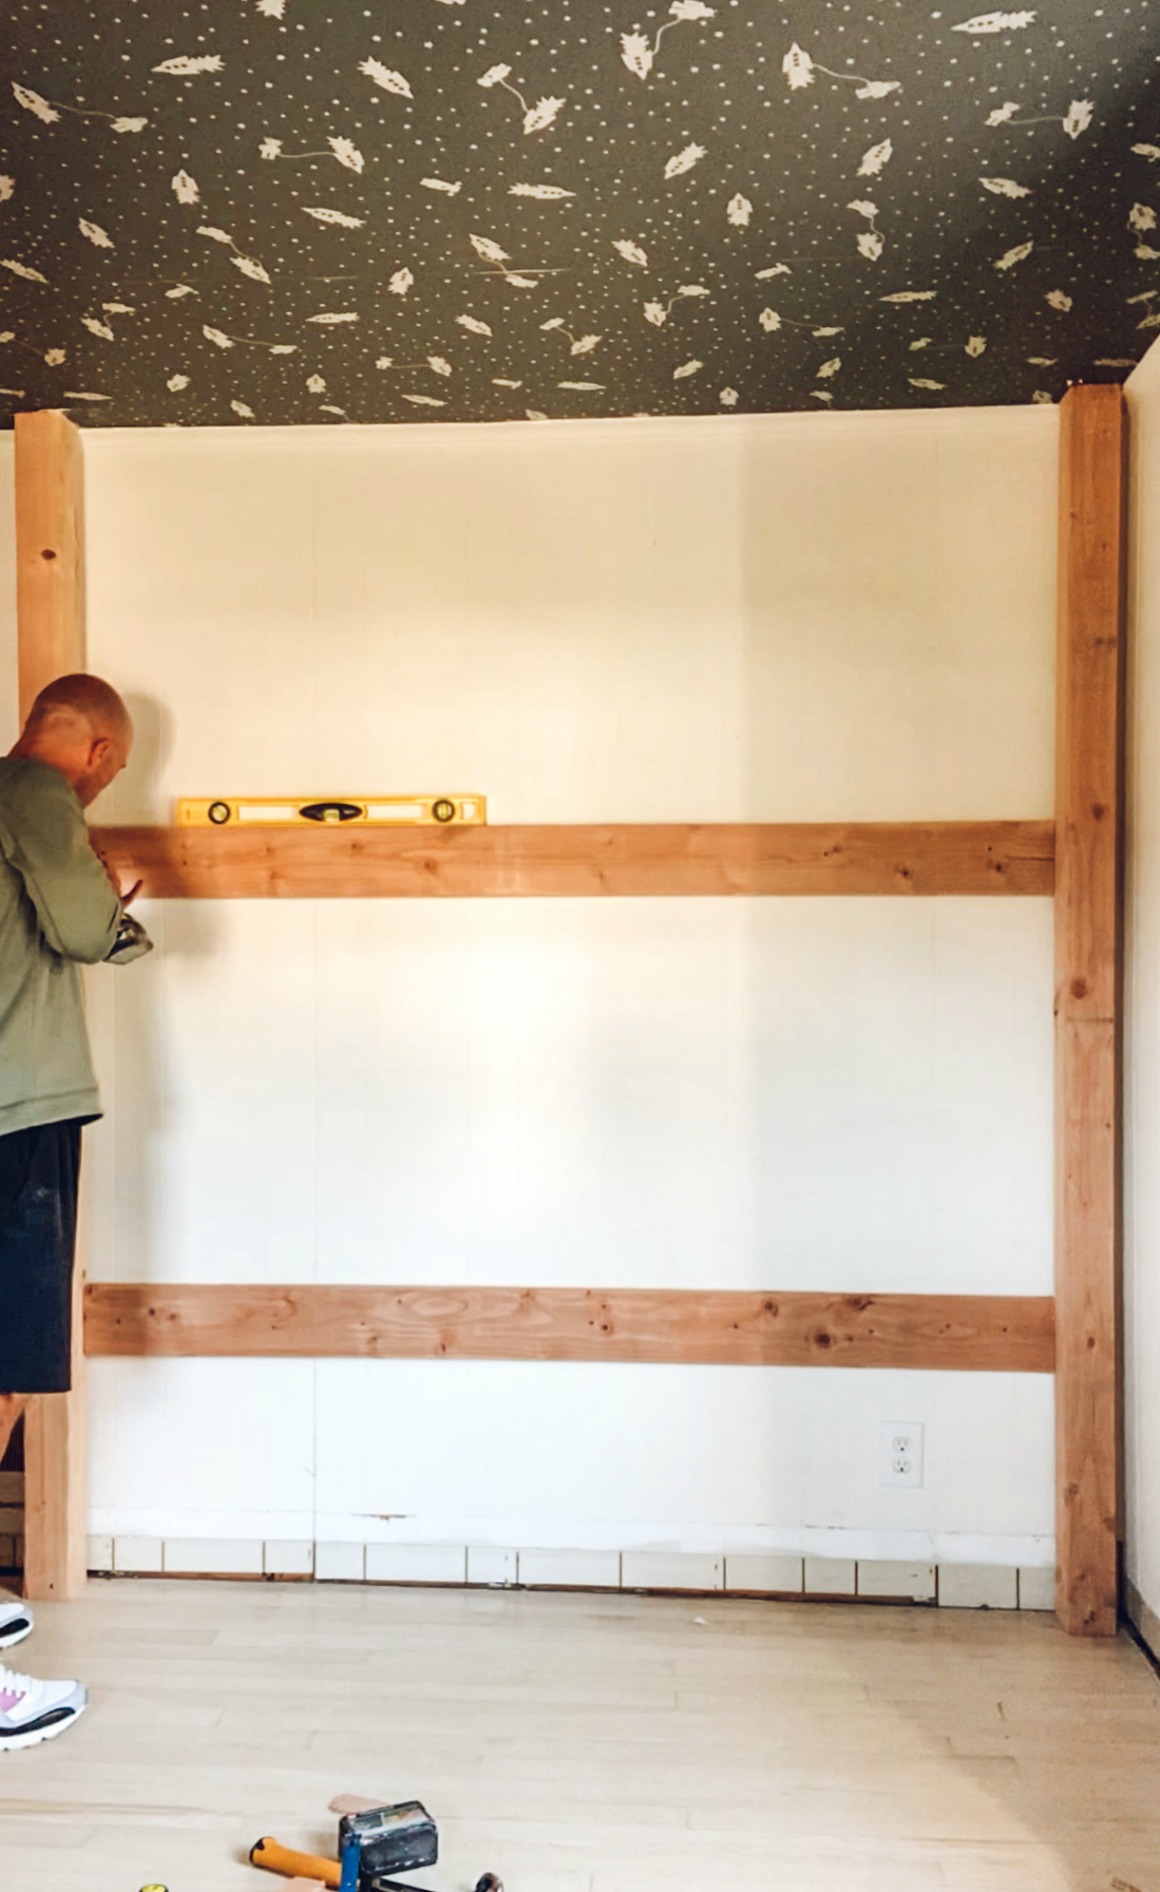
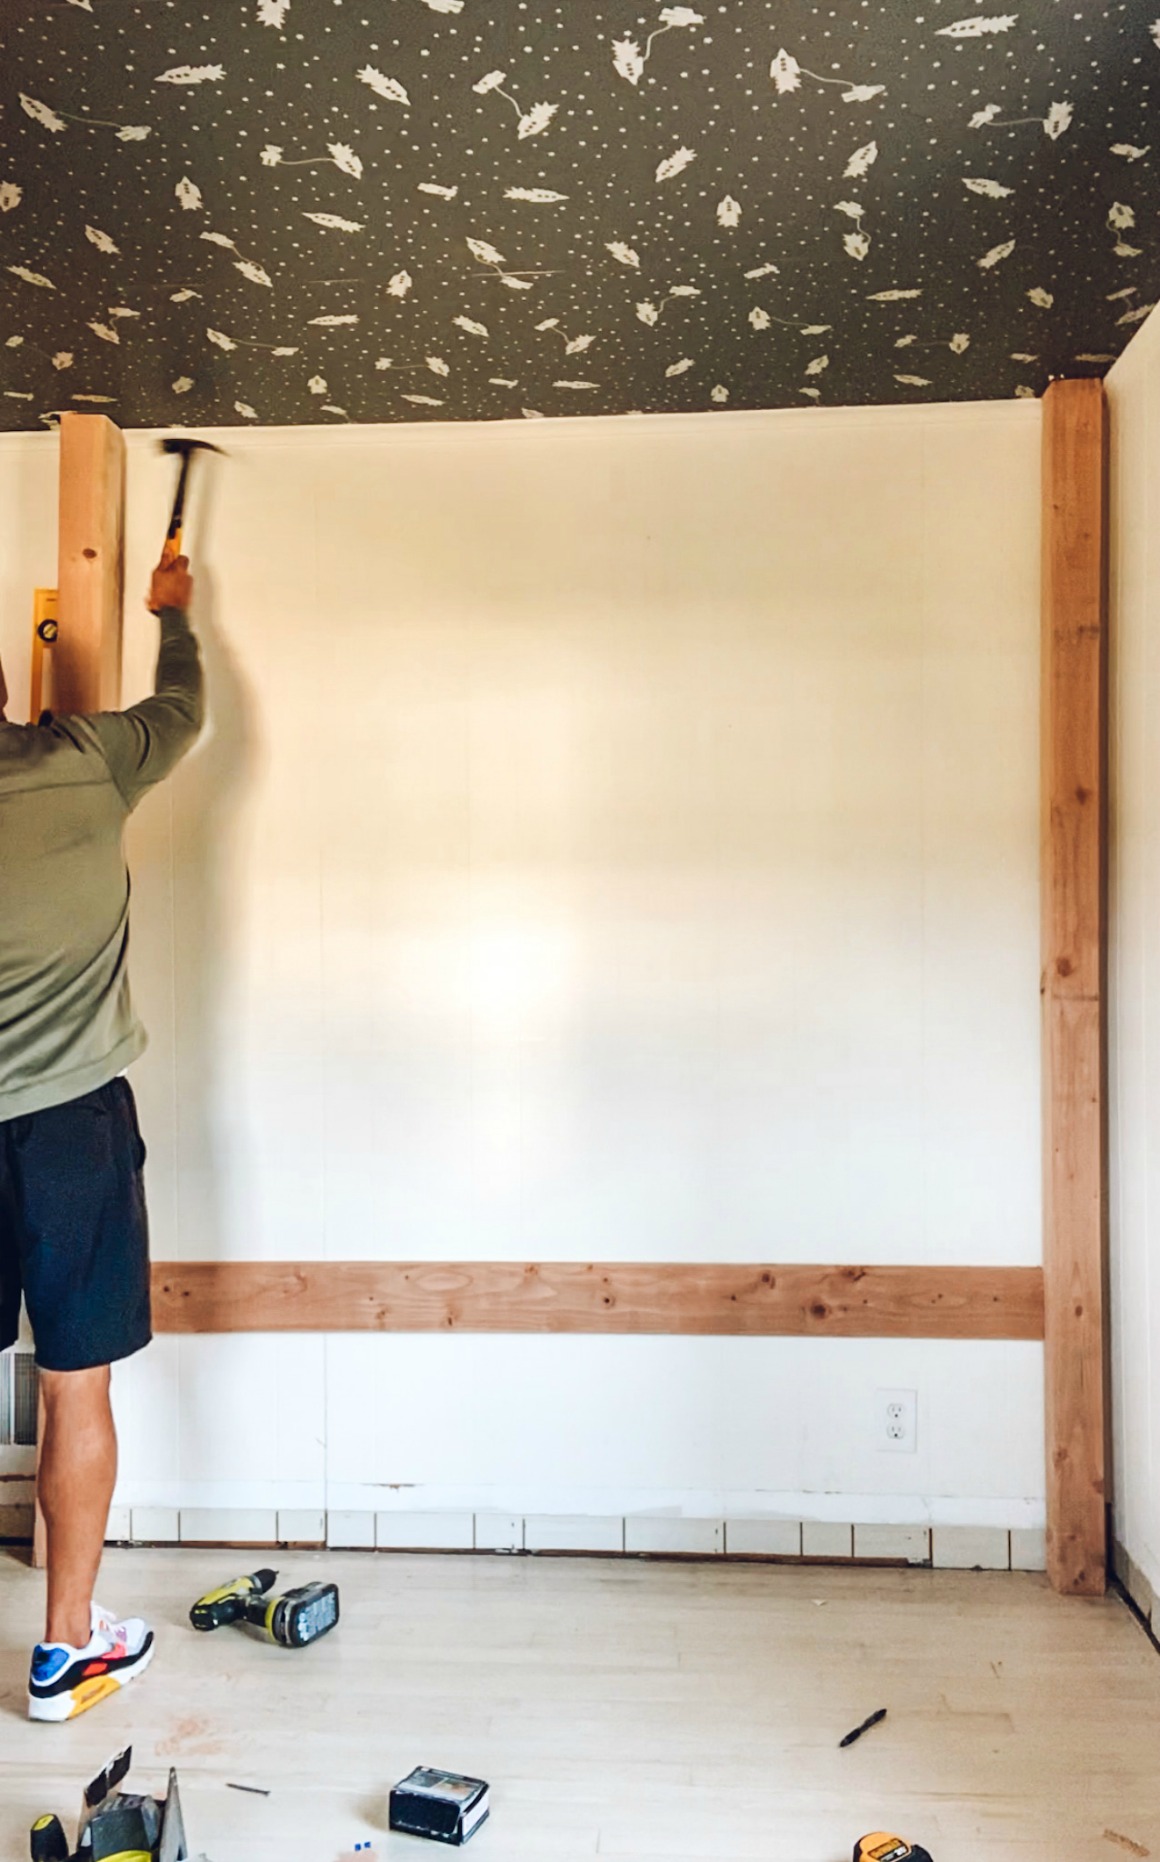
6. Mark out the studs on your wall and screw in your two cross beams to the wall and then to your posts. Remember the bottom of the 2×6 cross-section will be where your mattress will lay. We have very short ceilings (just under 8′) so we did have a slightly larger gap between the bottom bunk to top, then the top to the ceiling. We wanted to be able to sit up right on the bottom bunk and to have storage under the bunk.
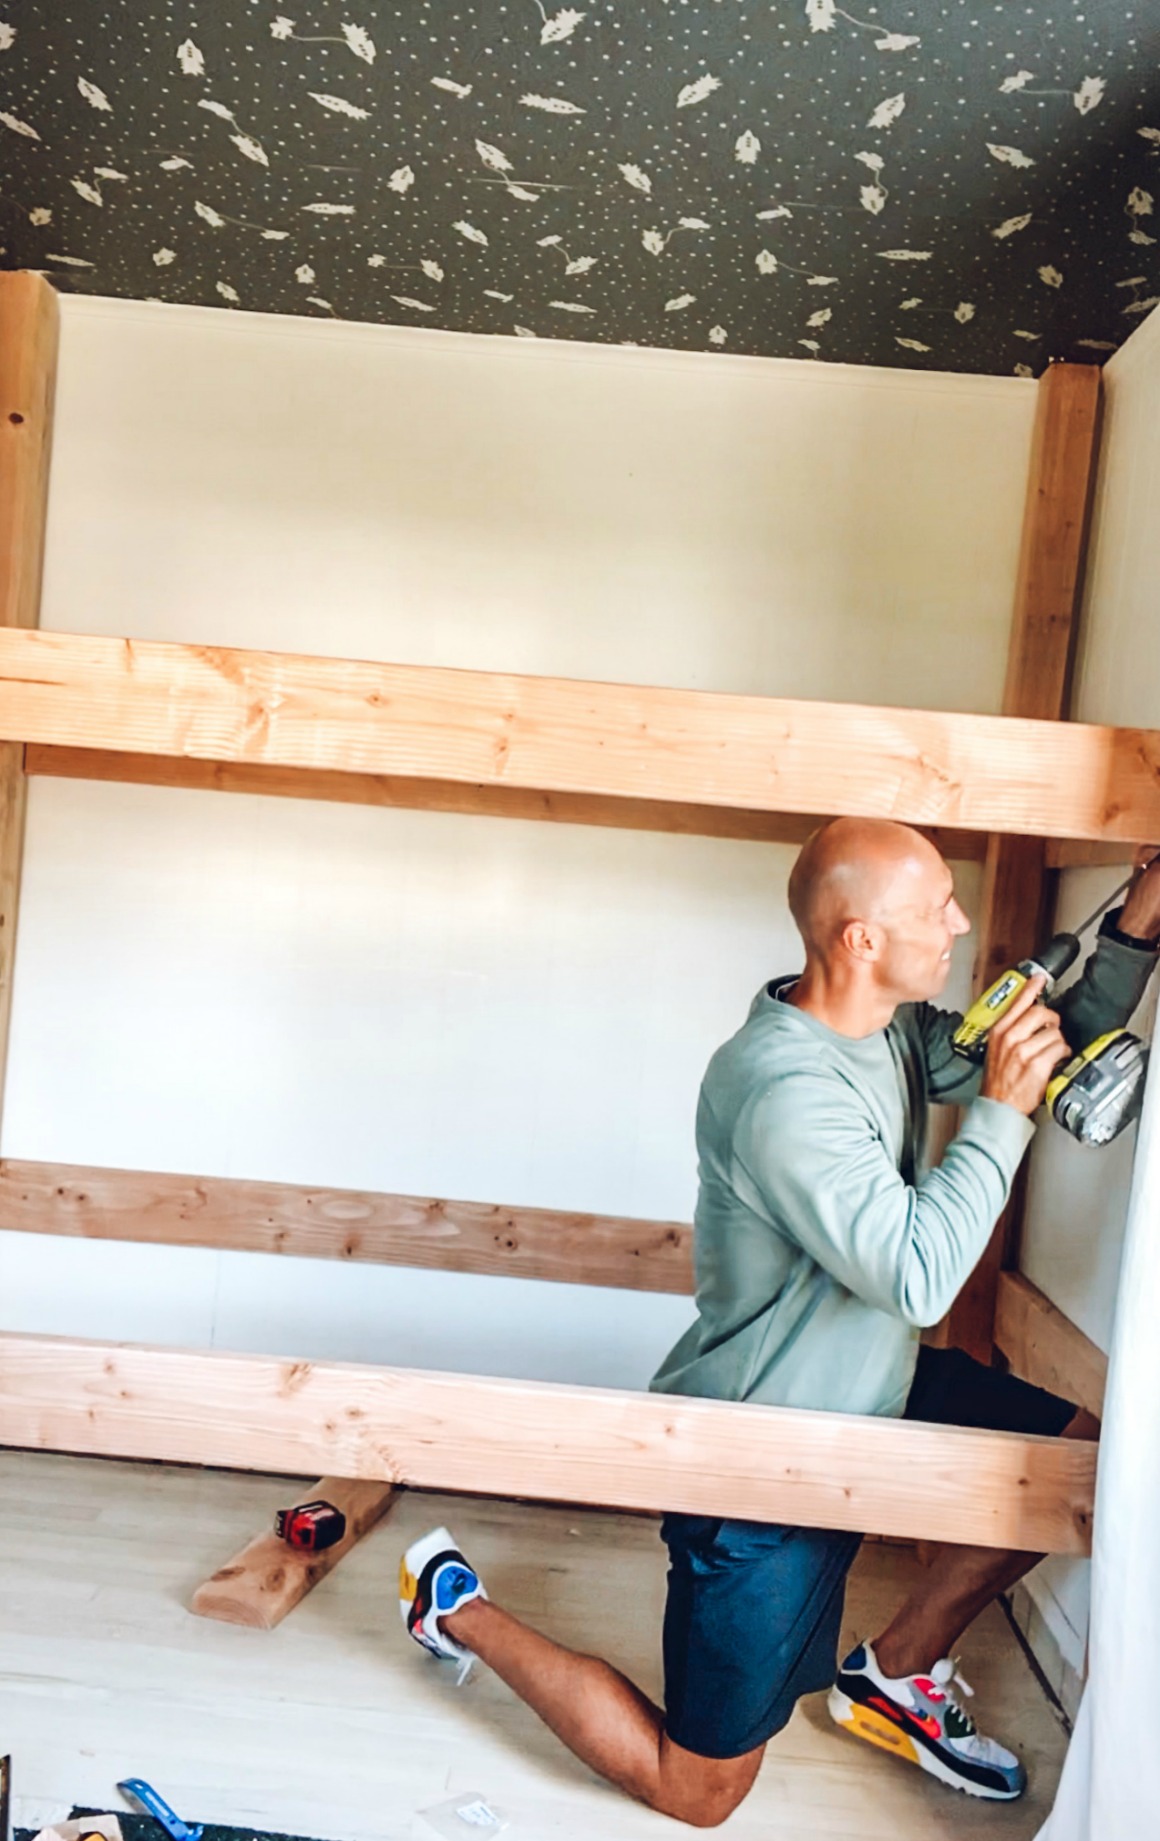
7. Continue with your head board and foot board 2×6 cross-sections.
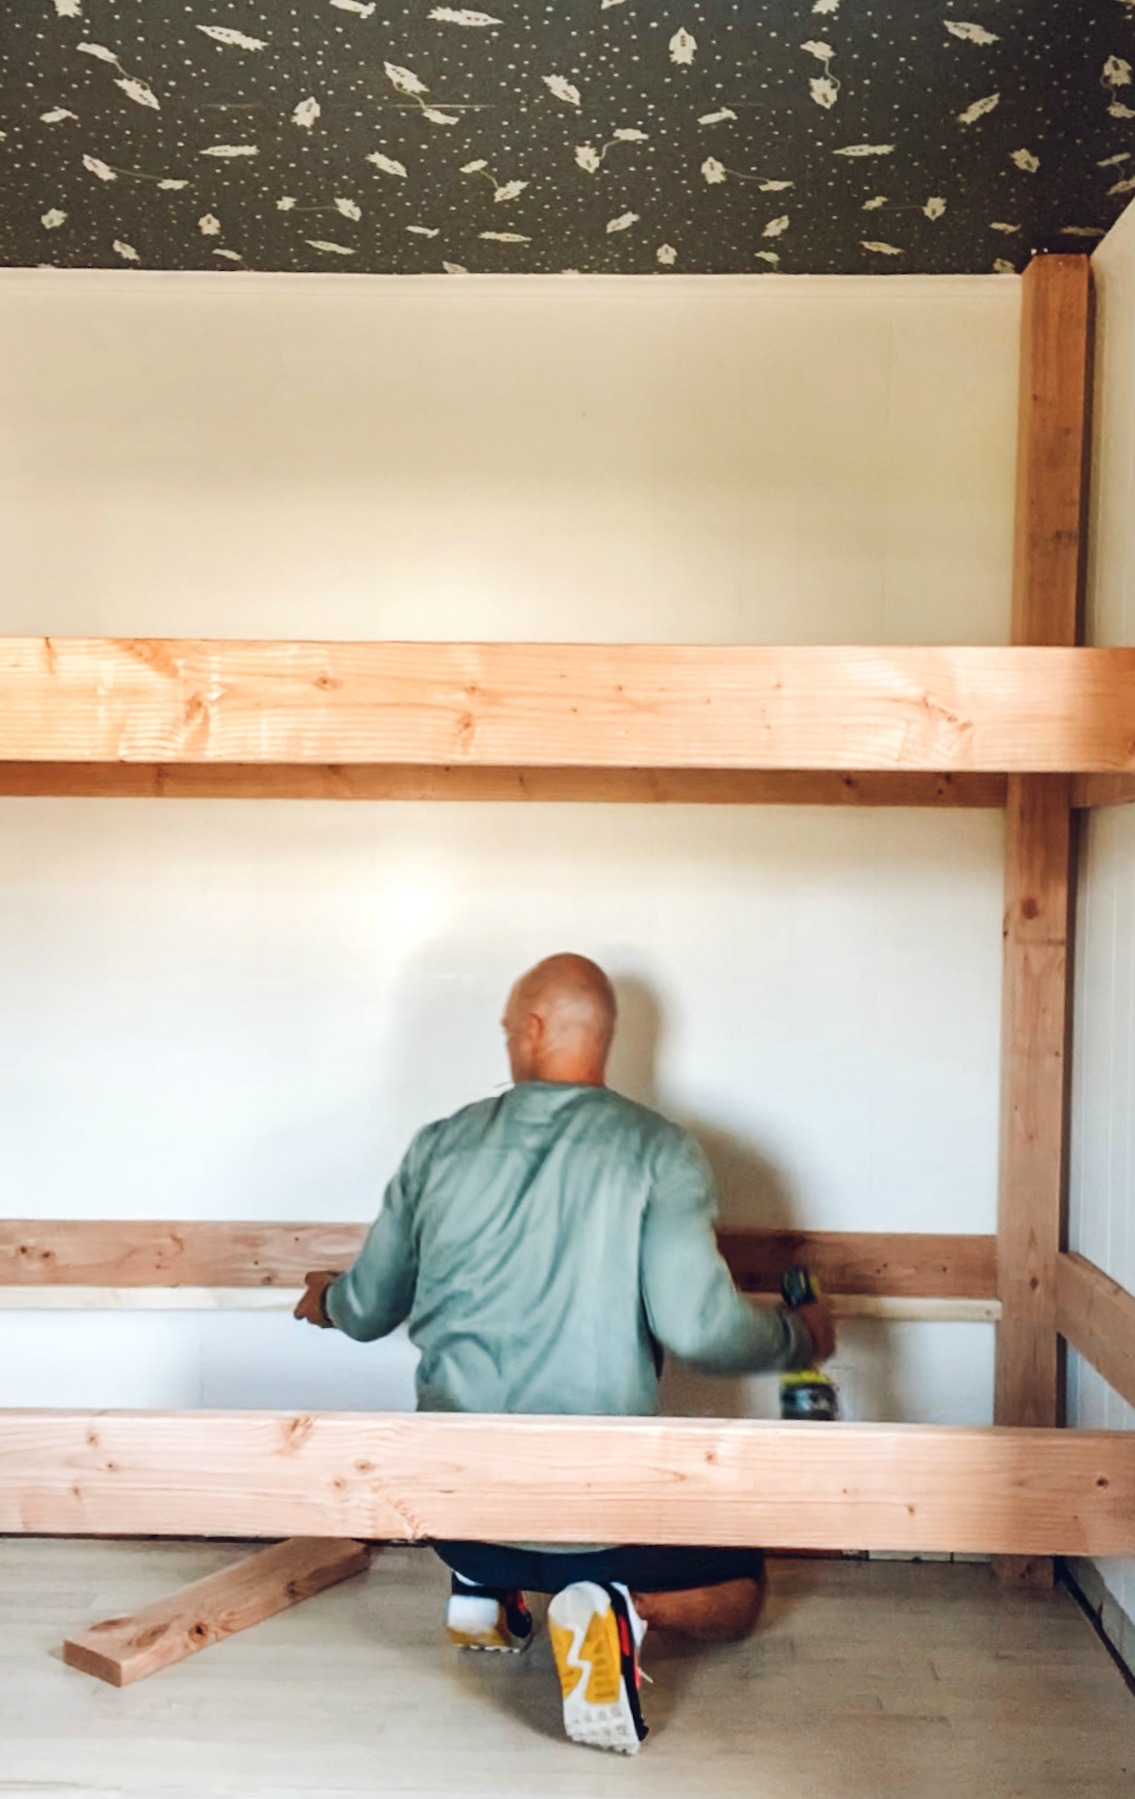
8. Once completed you will add your 2×2 boards to the bottom of the 2×6 to allow a ledge for the mattress to sit and a place to screw in your mattress supports.
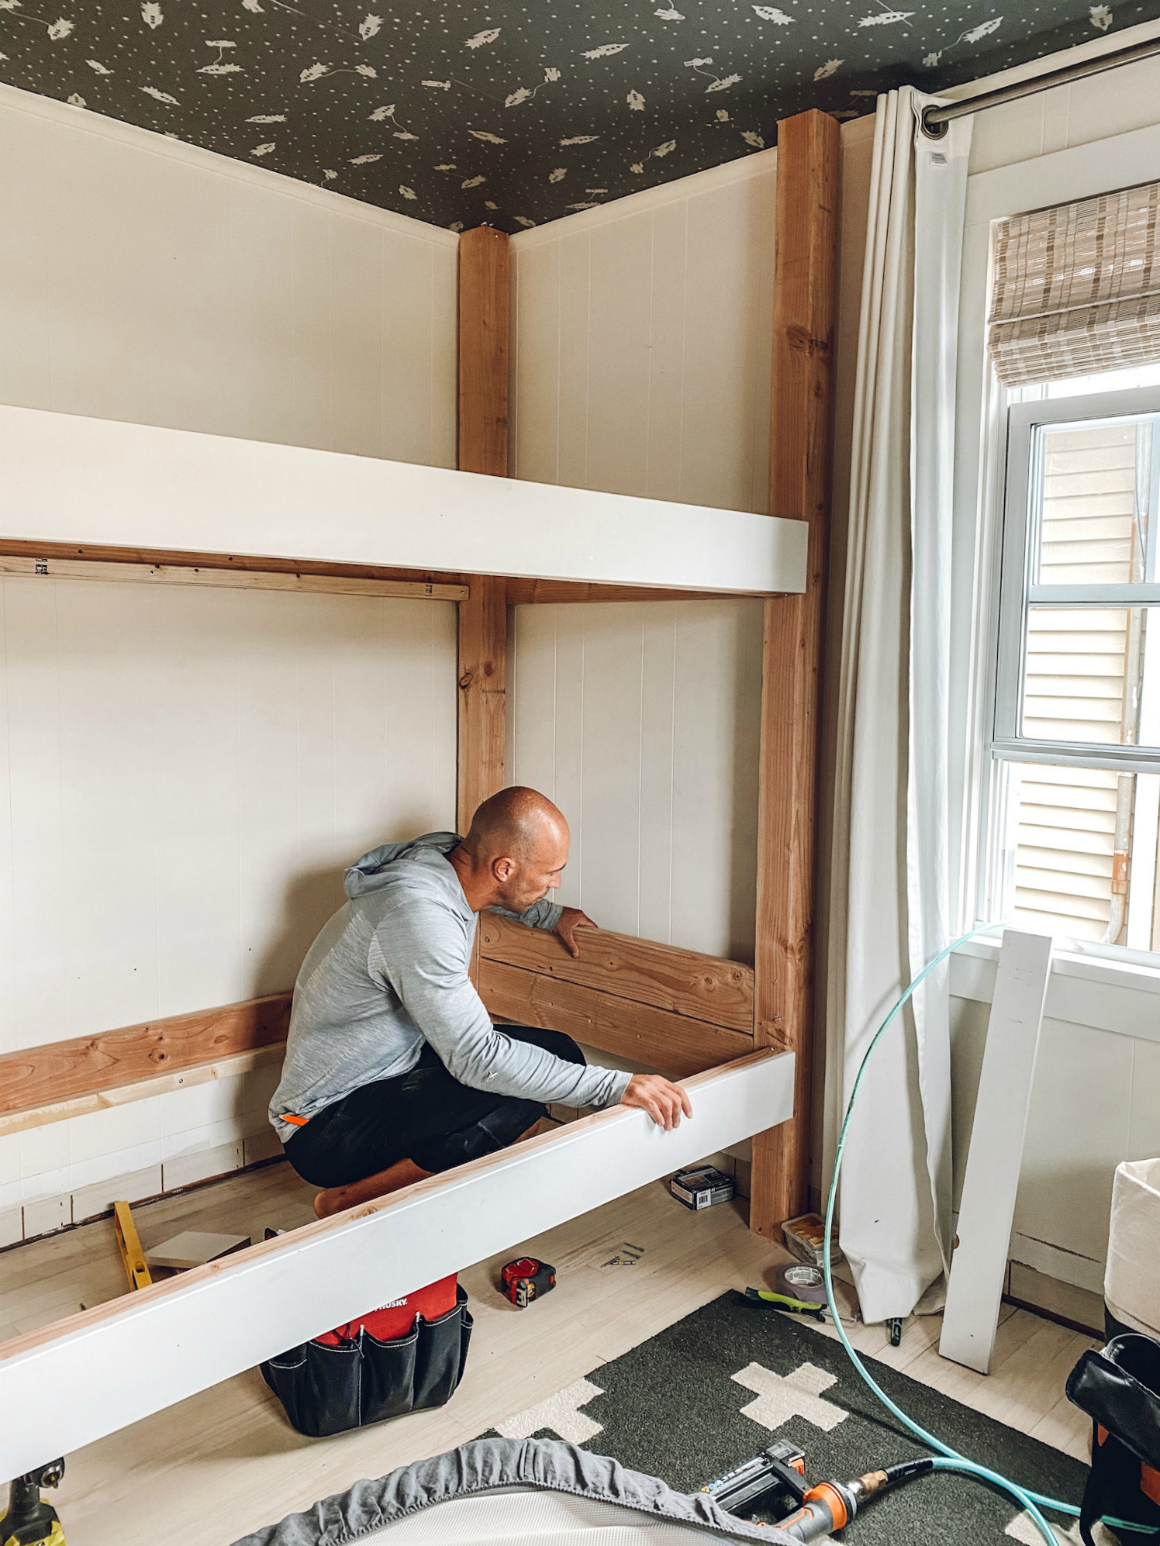
9. Once the frame is in place use MDF to skin the frame. Use 45 degree cuts on corners when possible to limit the amount of putty and caulking that is needed. This is a similar process to when we built our banquette seating in our kitchen.
10. I really wanted some built in shelves for a drink or books, so we framed them in using 2×6 and 2×4’s and skin them in MDF.
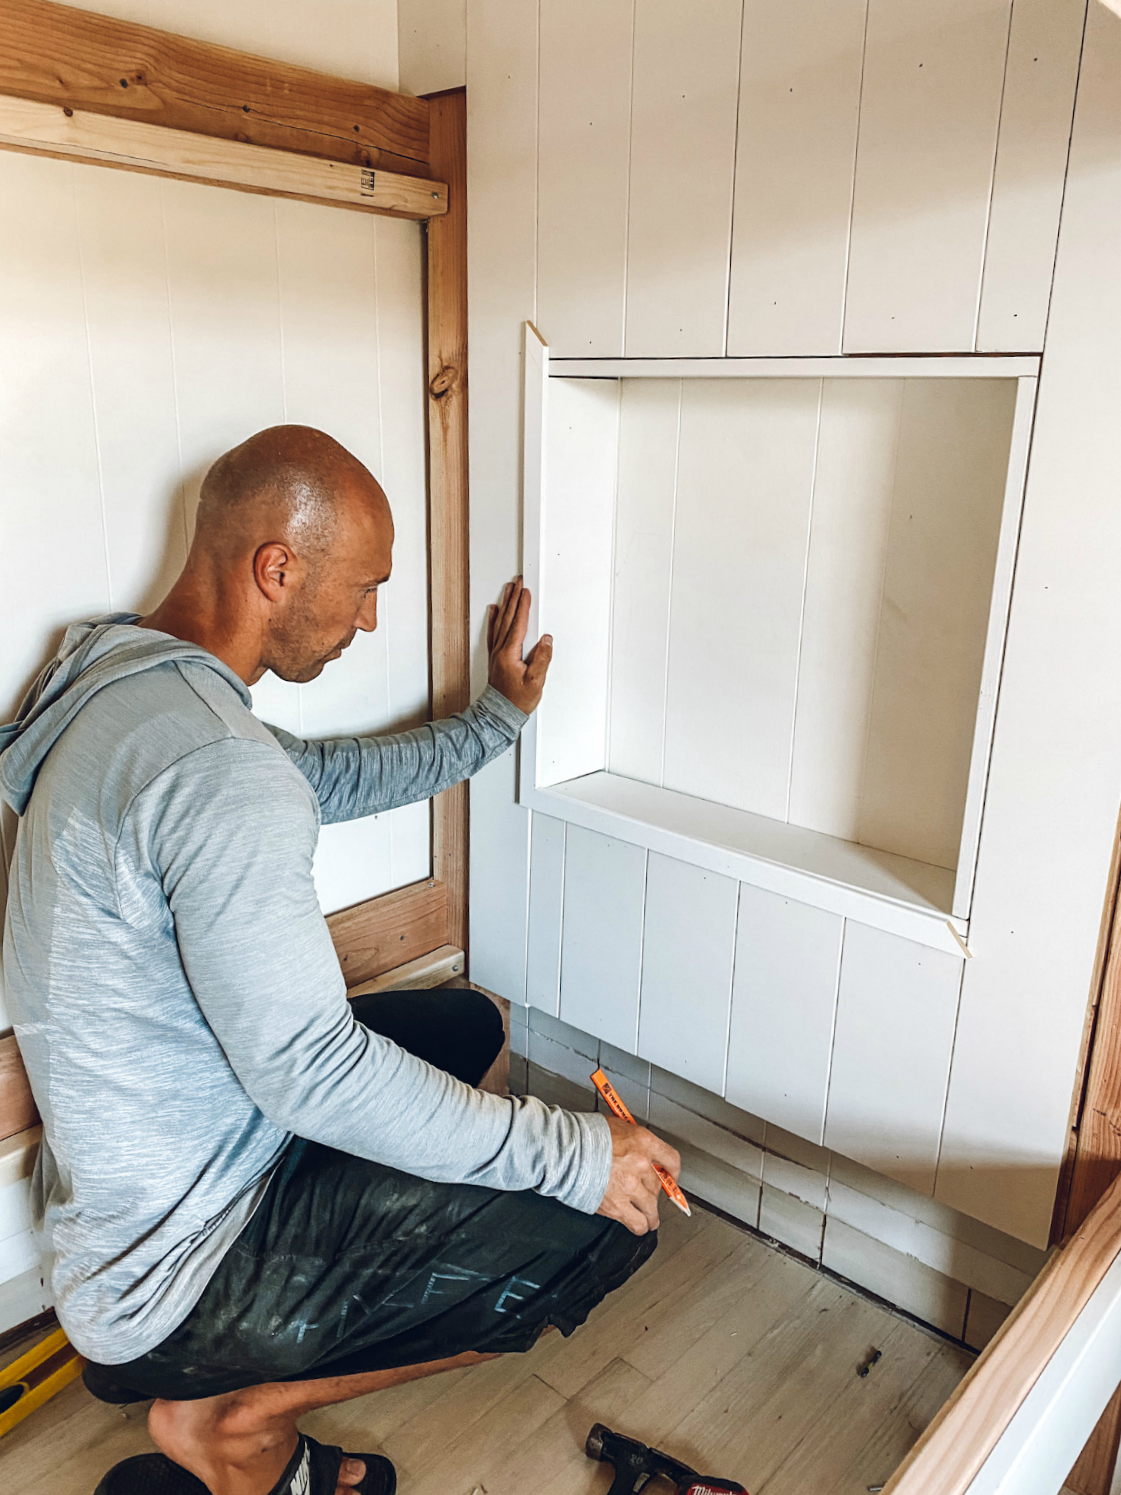
11. Kevin then added some trim to tie in the shelves and clean up the edges.
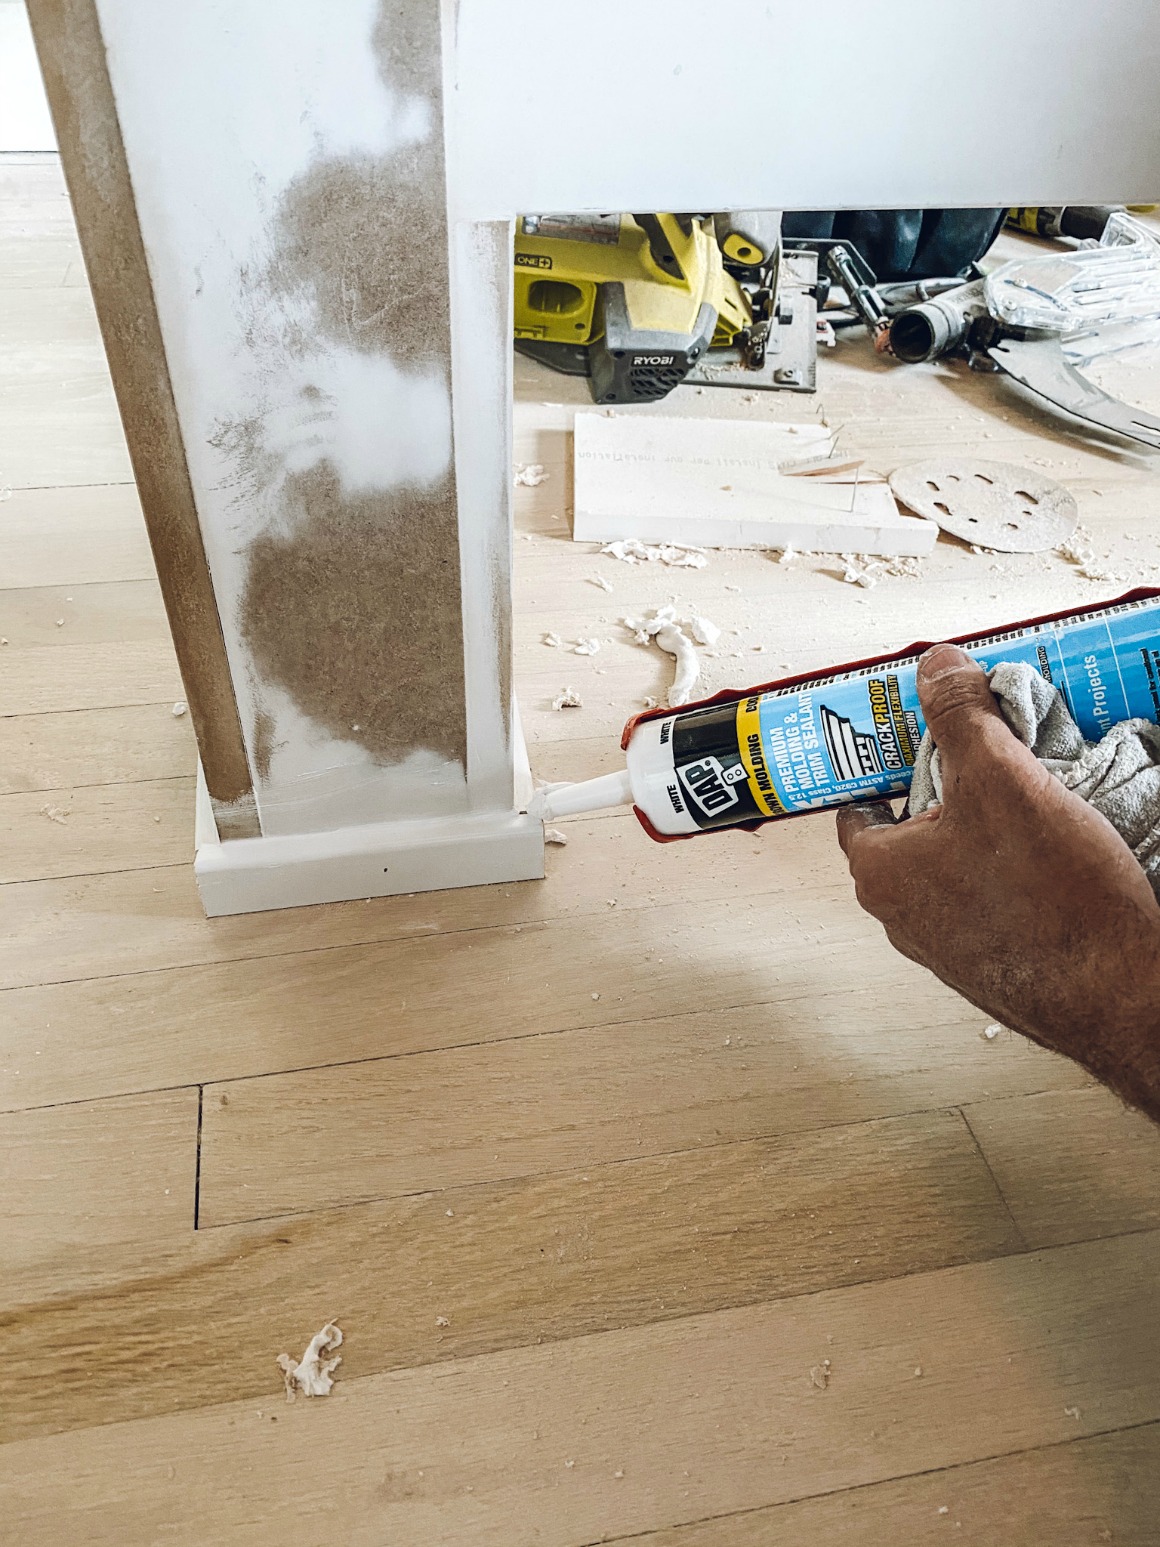
12. Once you have skinned everything use caulk and wood putty to feel in all your nail holes and any gaps, follow this by sanding using a rough grit sandpaper. Then apply caulk and wood putty a second time where needed and sand the entire bed with a smooth grit paper.
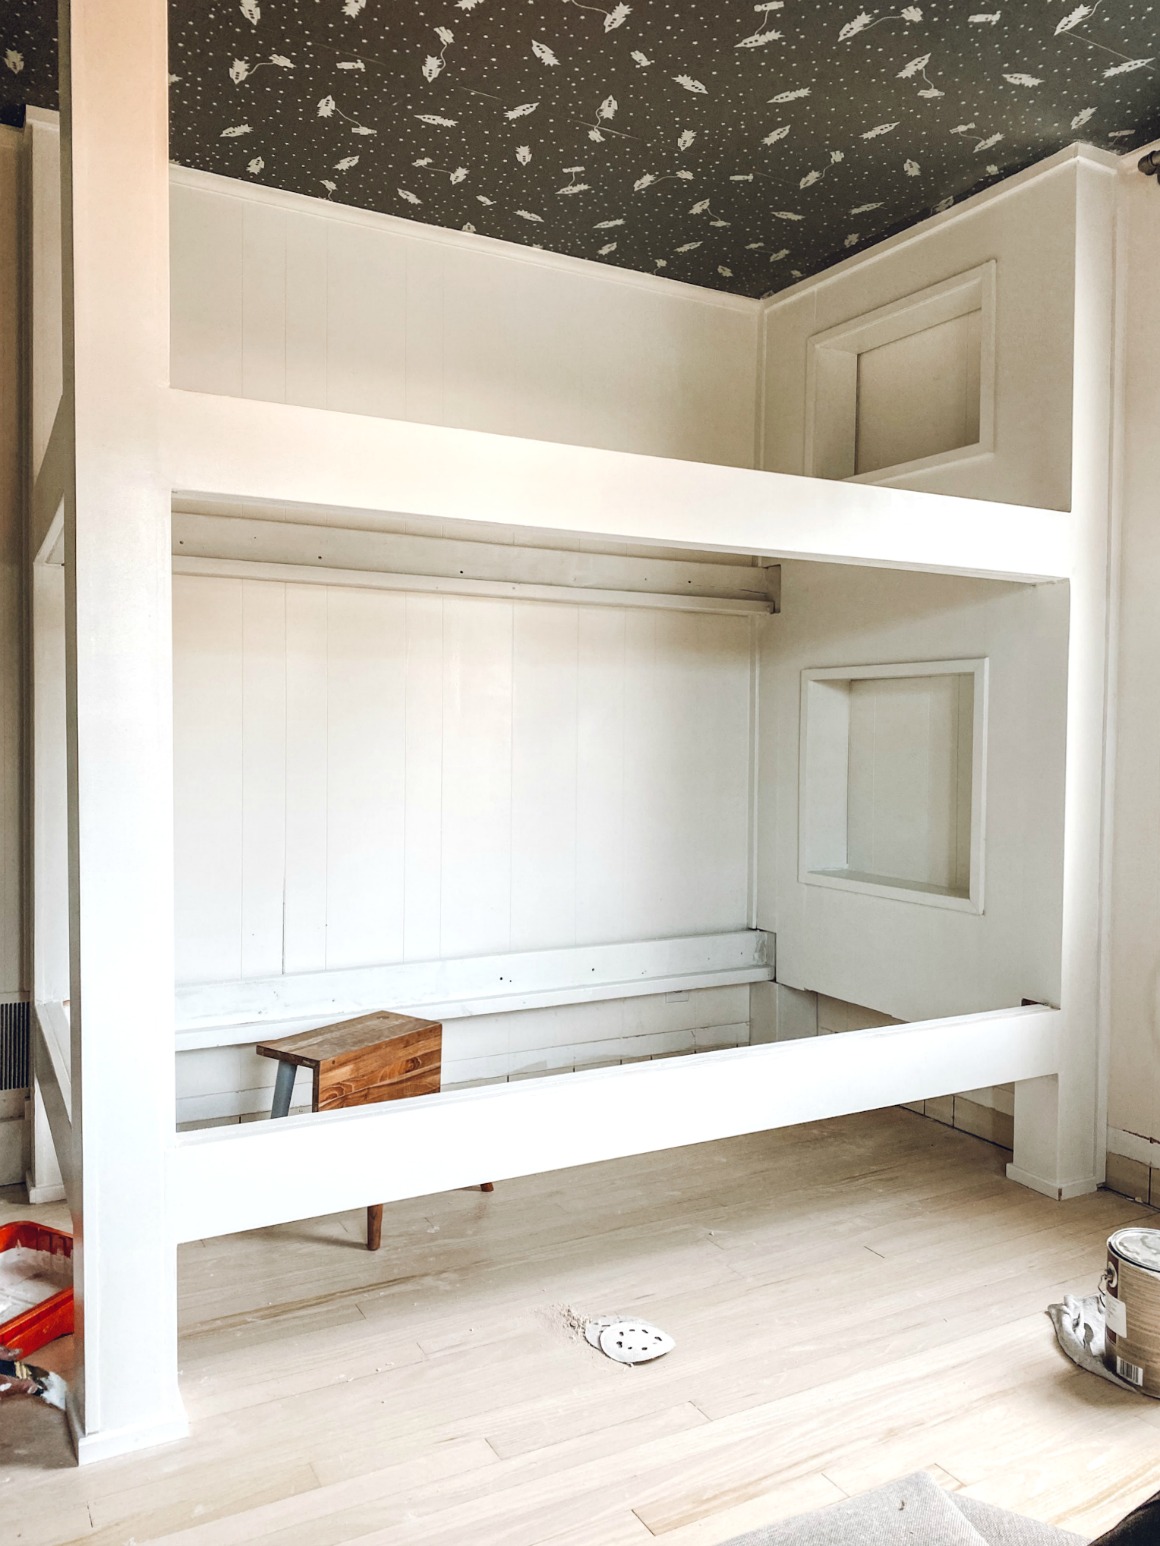
13. We then primed the bed before painting, Kevin did 2 coats just to make sure. We then painted the bed in Grey from Benjamin Moore…. Actually we painted in Bright White first and then decided to go with Grey. Above you can see it painted all in the white.
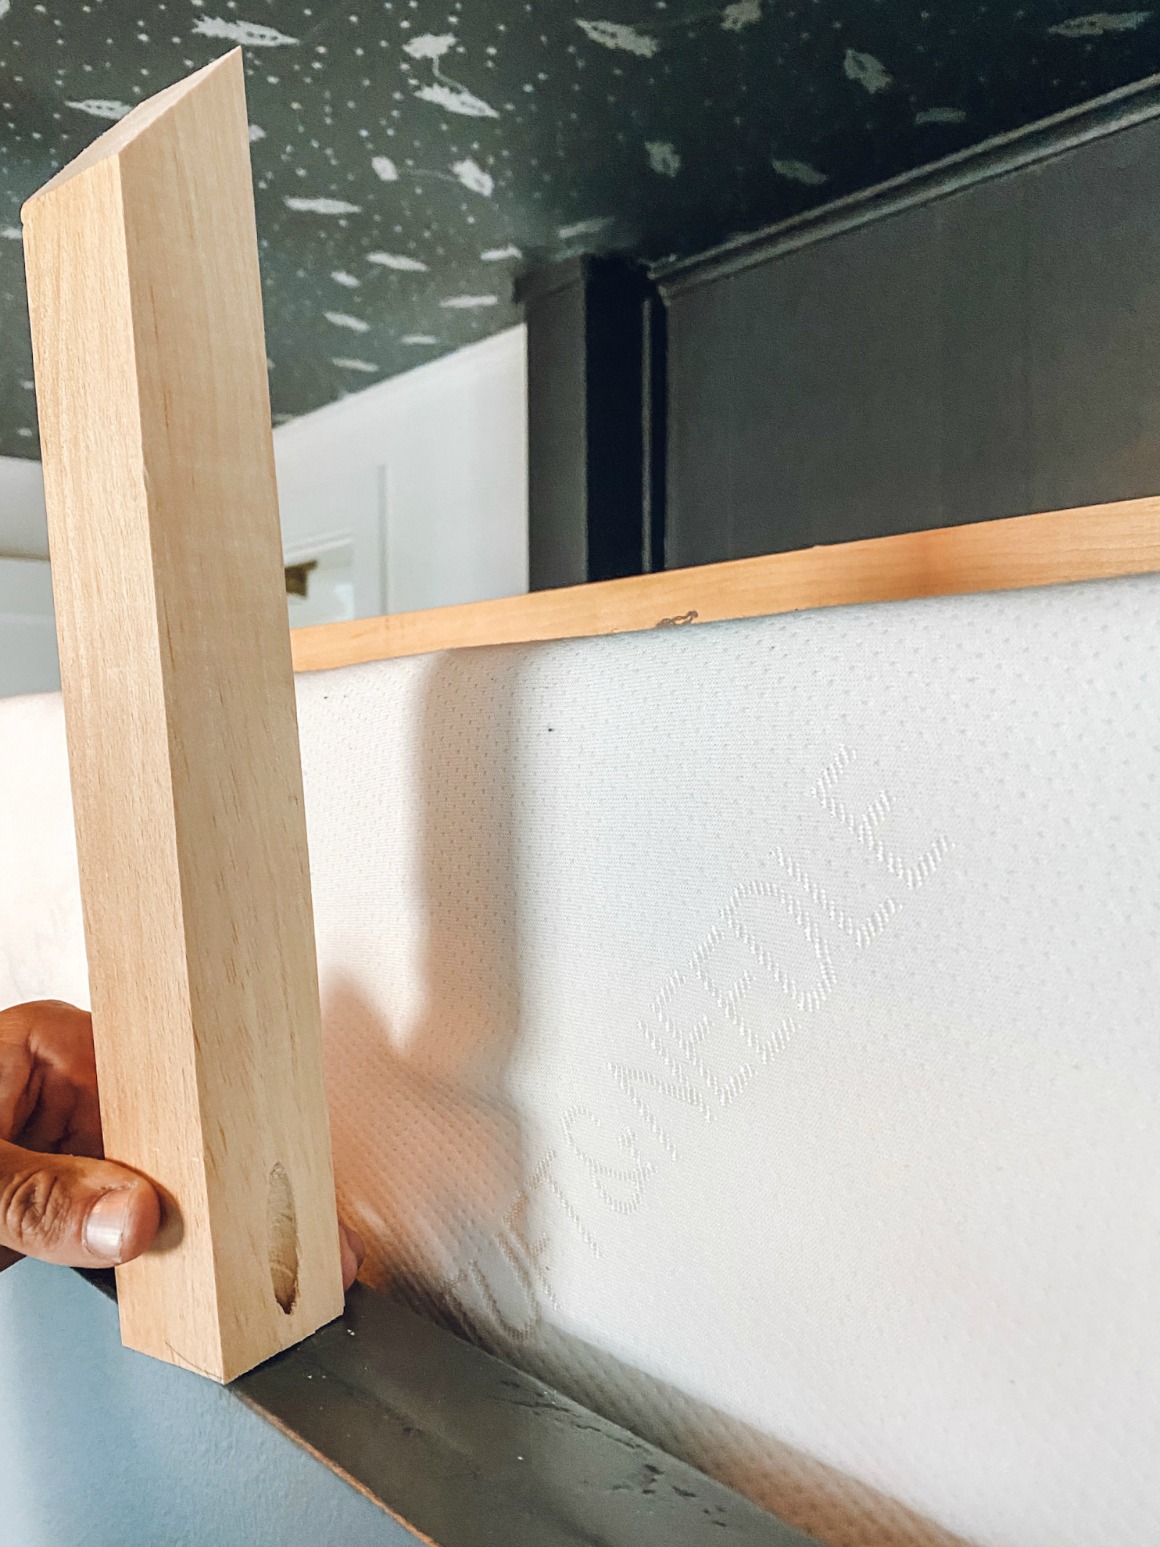
14. We decided to make our own ladder, it’s much cheaper and we didn’t have to wait for a ladder to come in the mail. We used 2×2 Select Pine, then screwed and glued it to secure the ladder to the bed frame. Before we attached it to the bunk bed we stained the wood in a white wash stain.
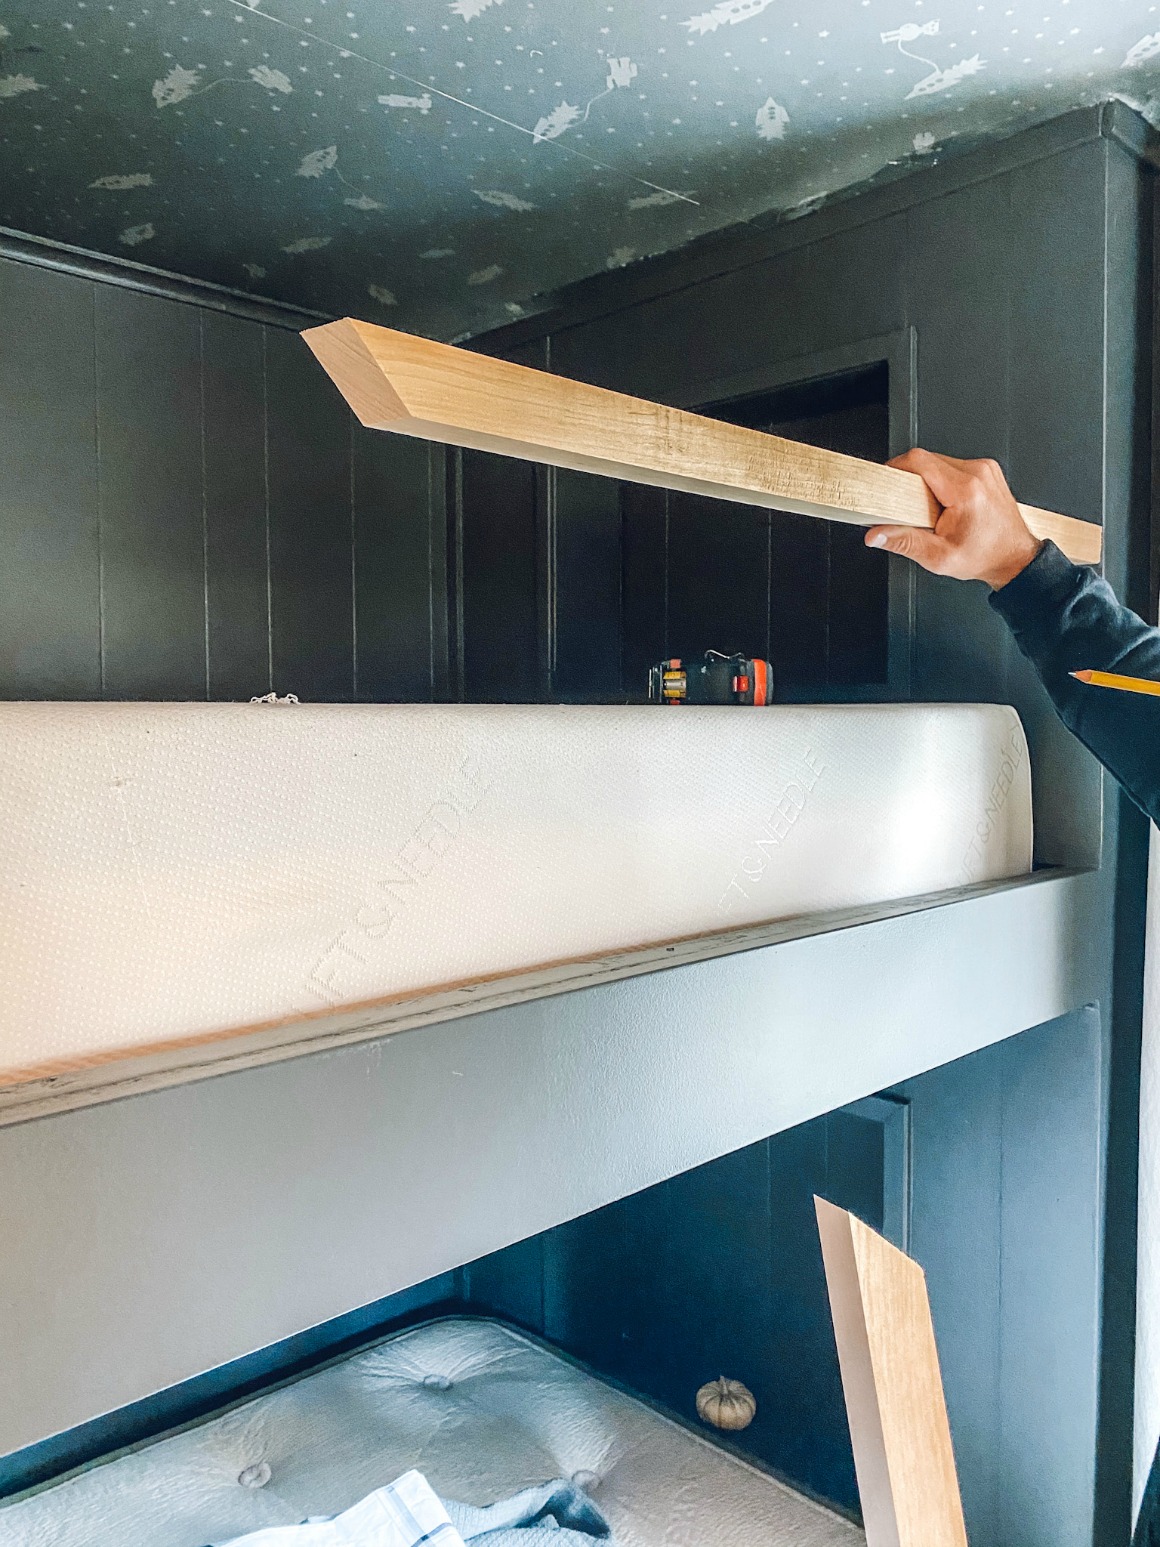
14. For the railing we used the same 2×2 select Pine, used 45 degree angles and secured it with glue and screws as well. He did use a Pocket-Hole Jig to hide the screws for the rails and the ladder.
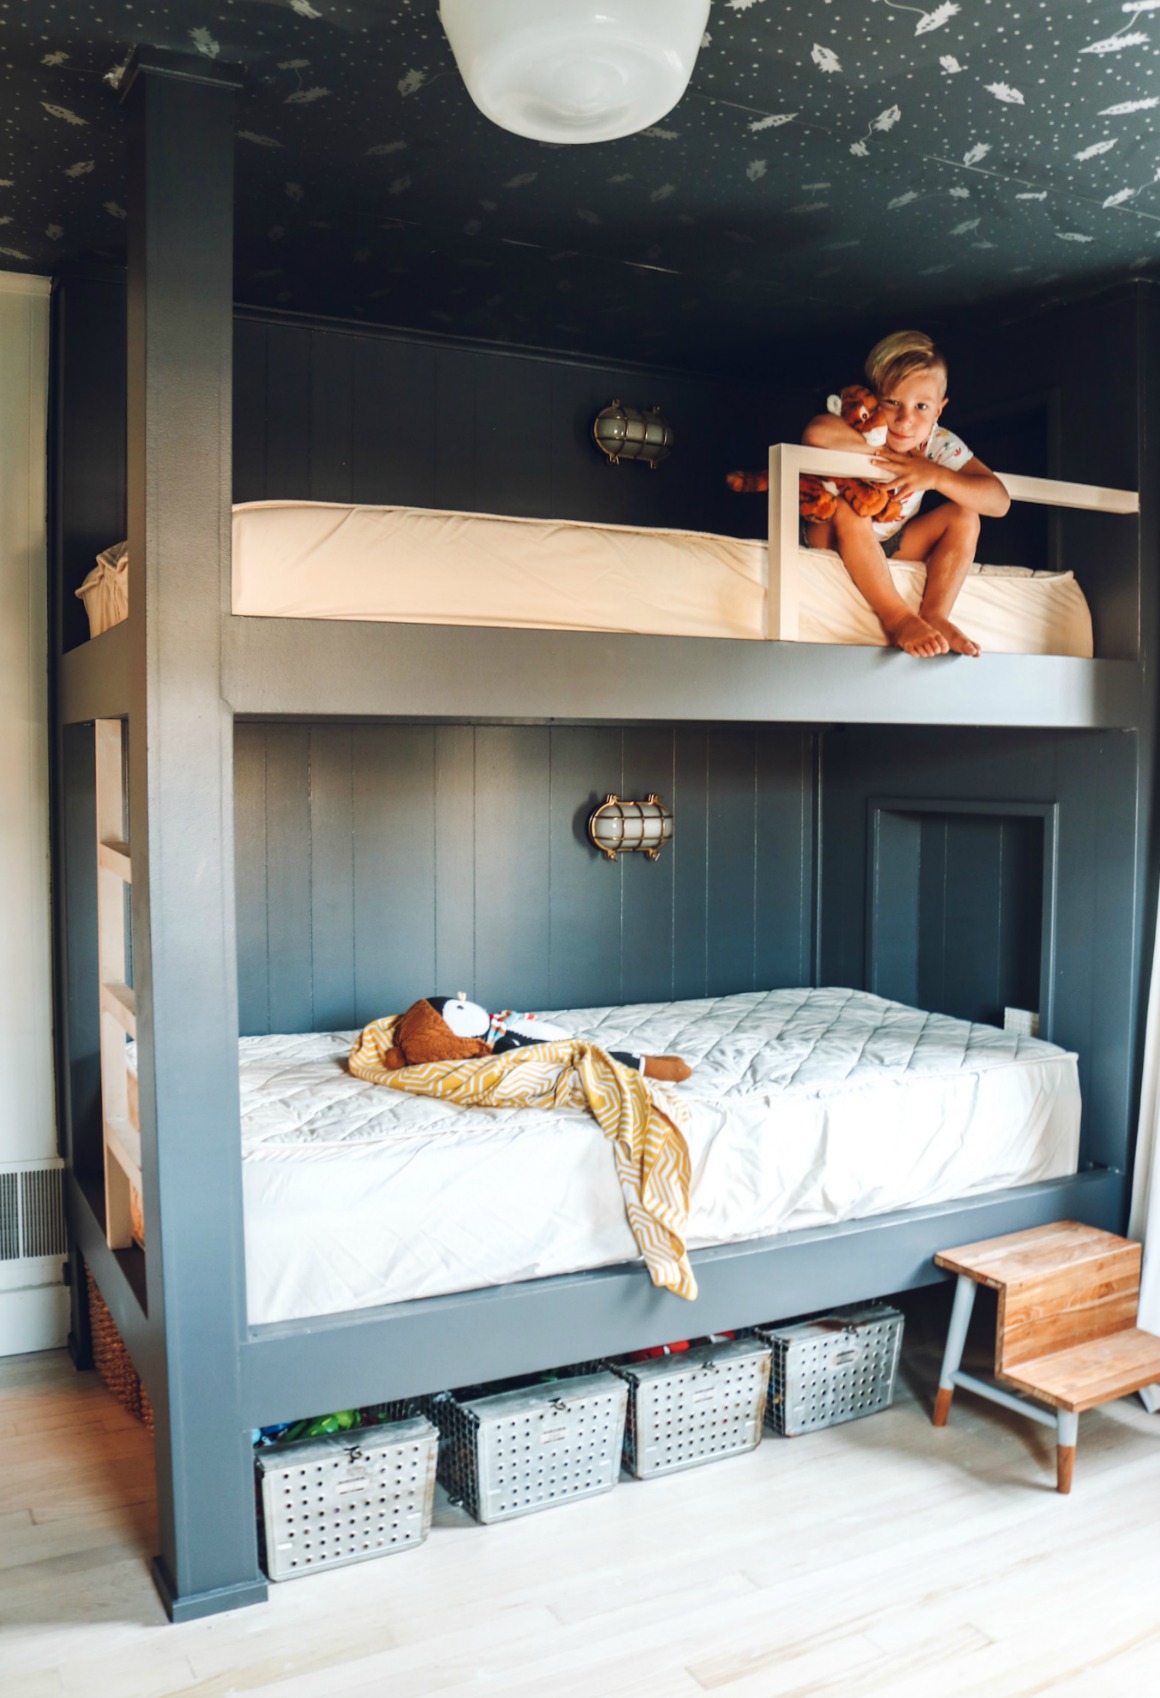
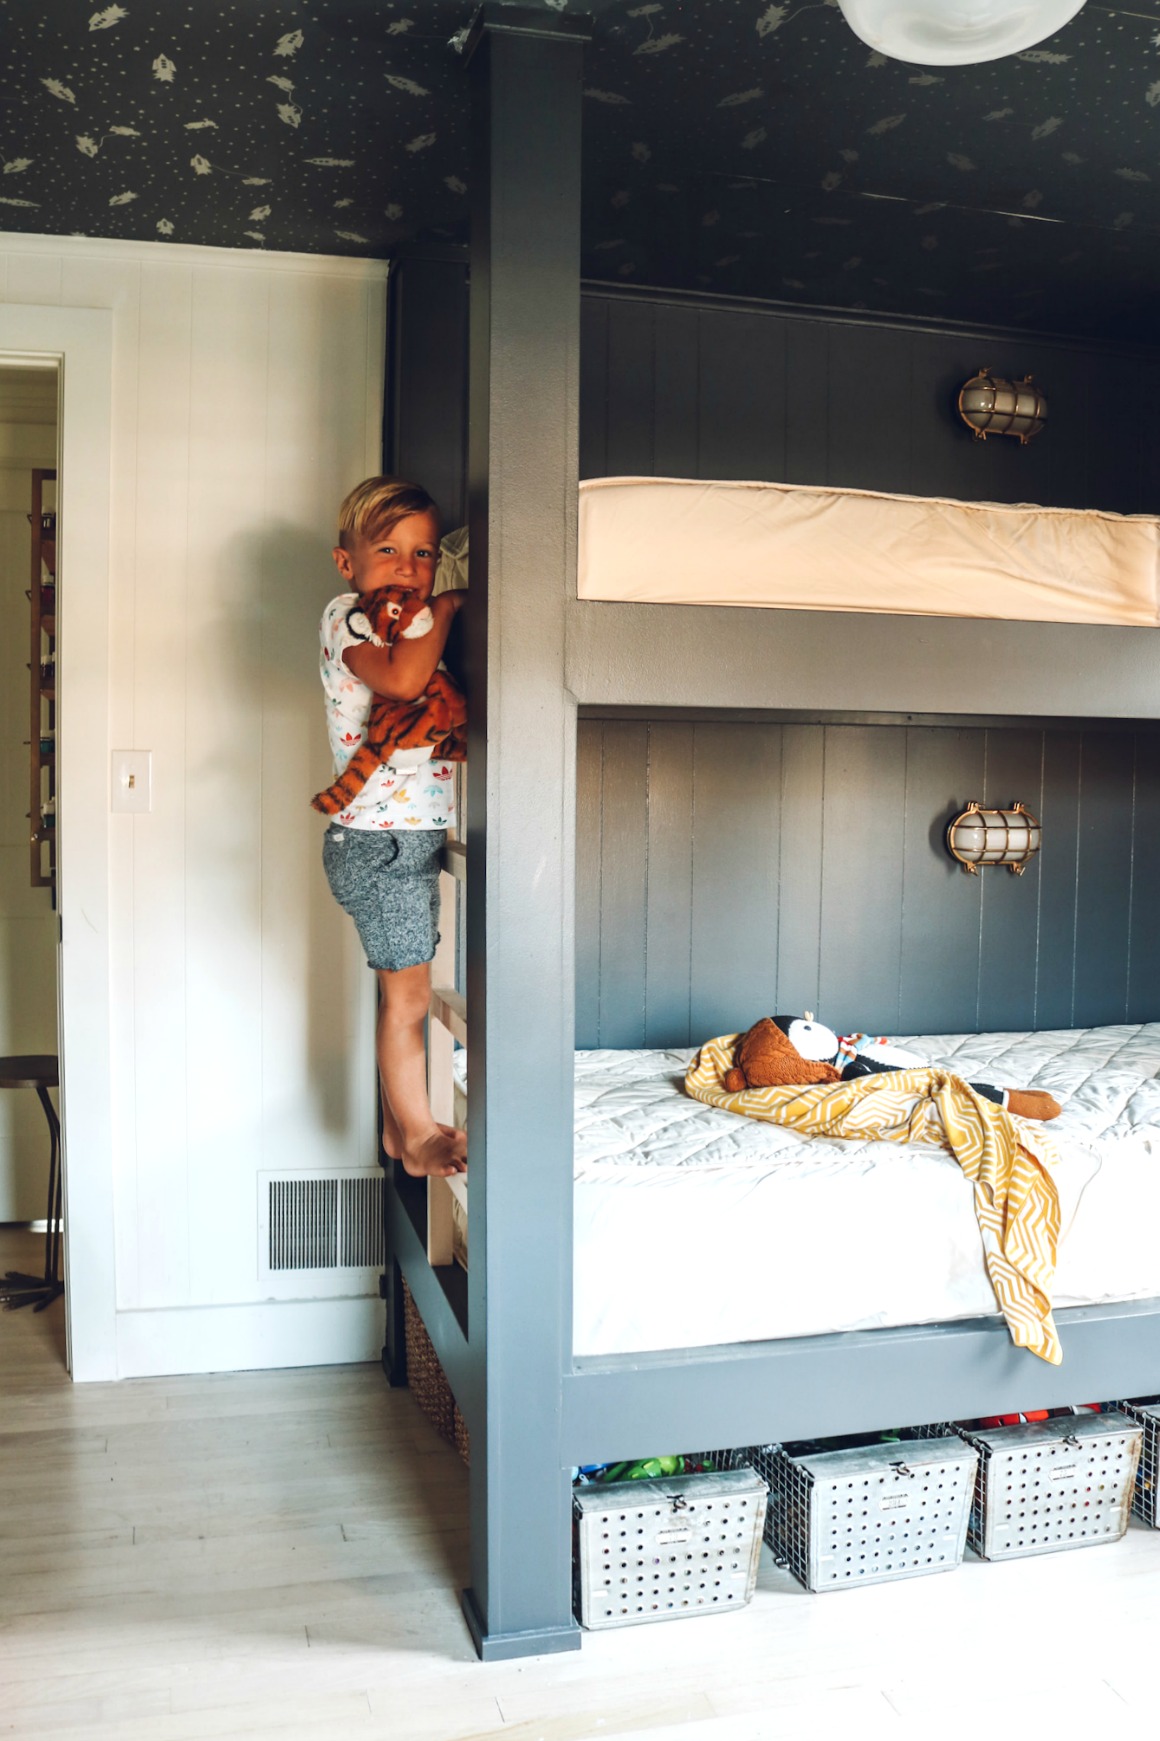
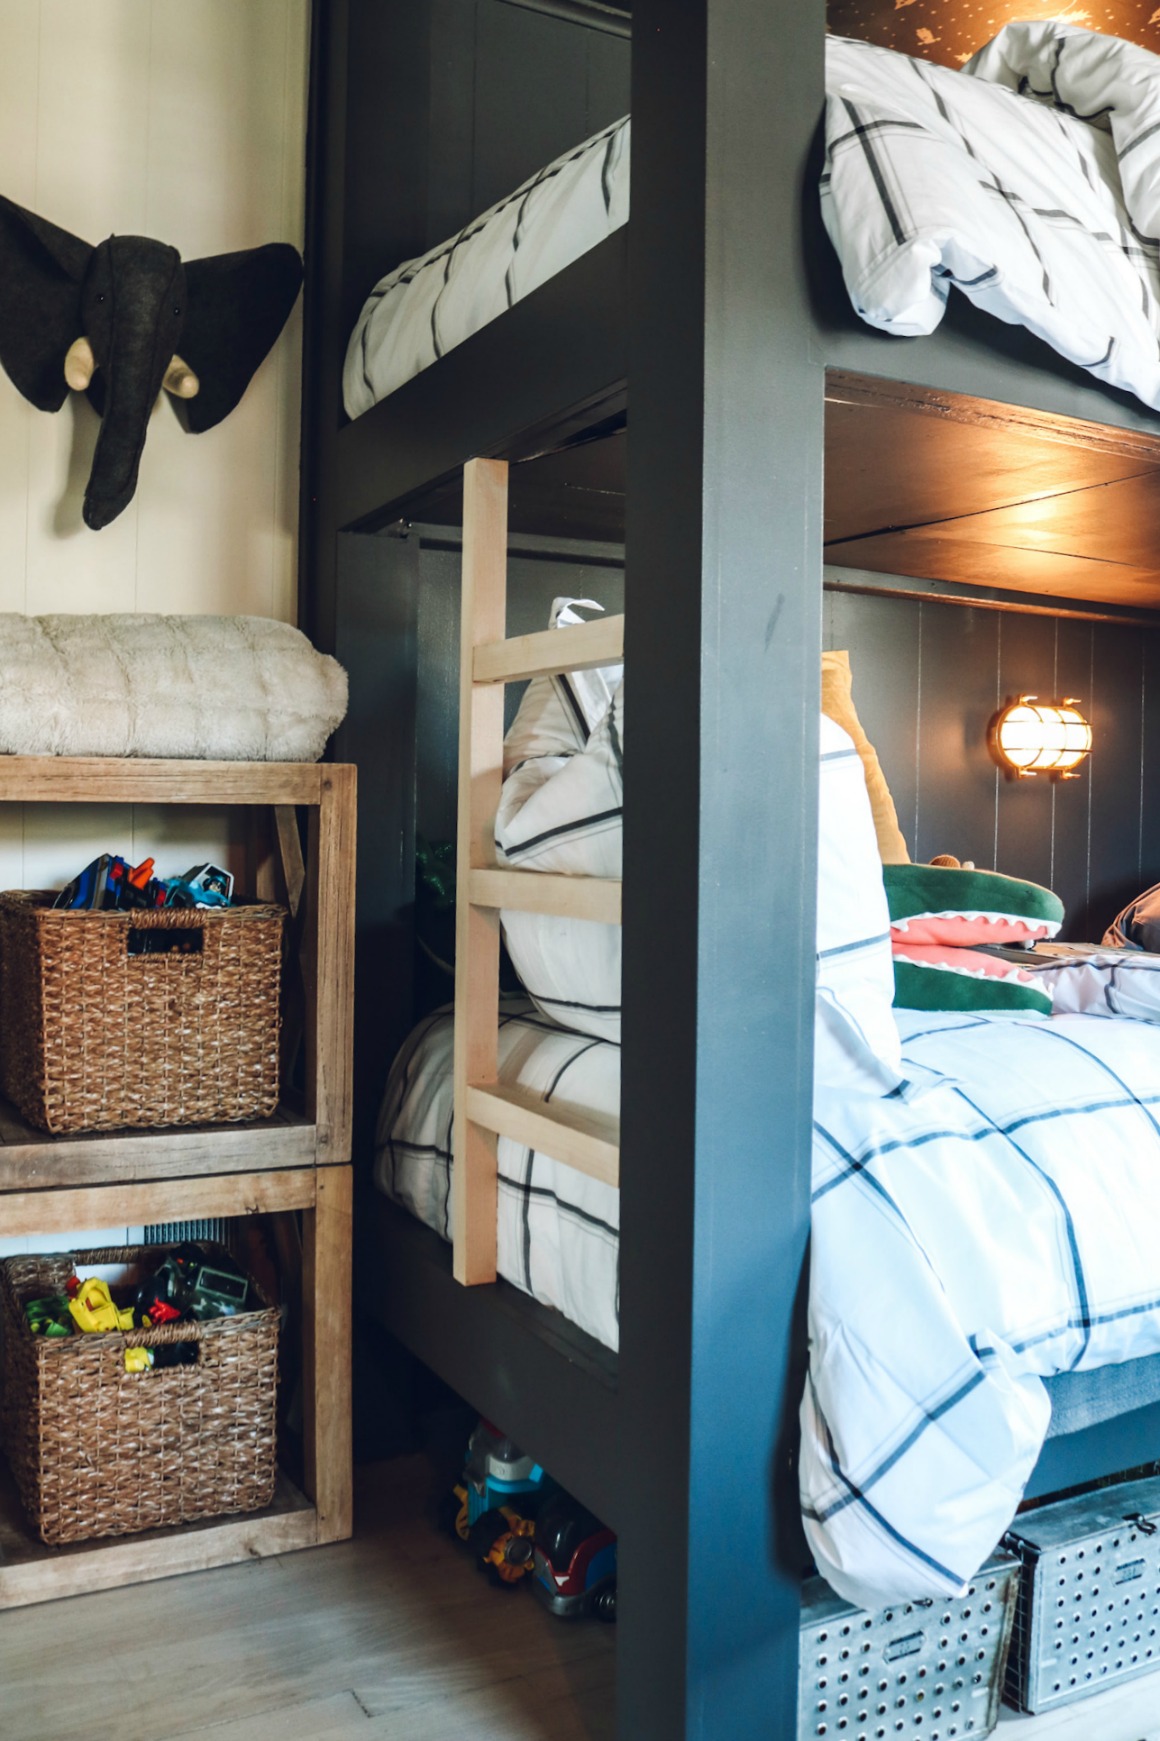
Finn absolutely loves it!!!
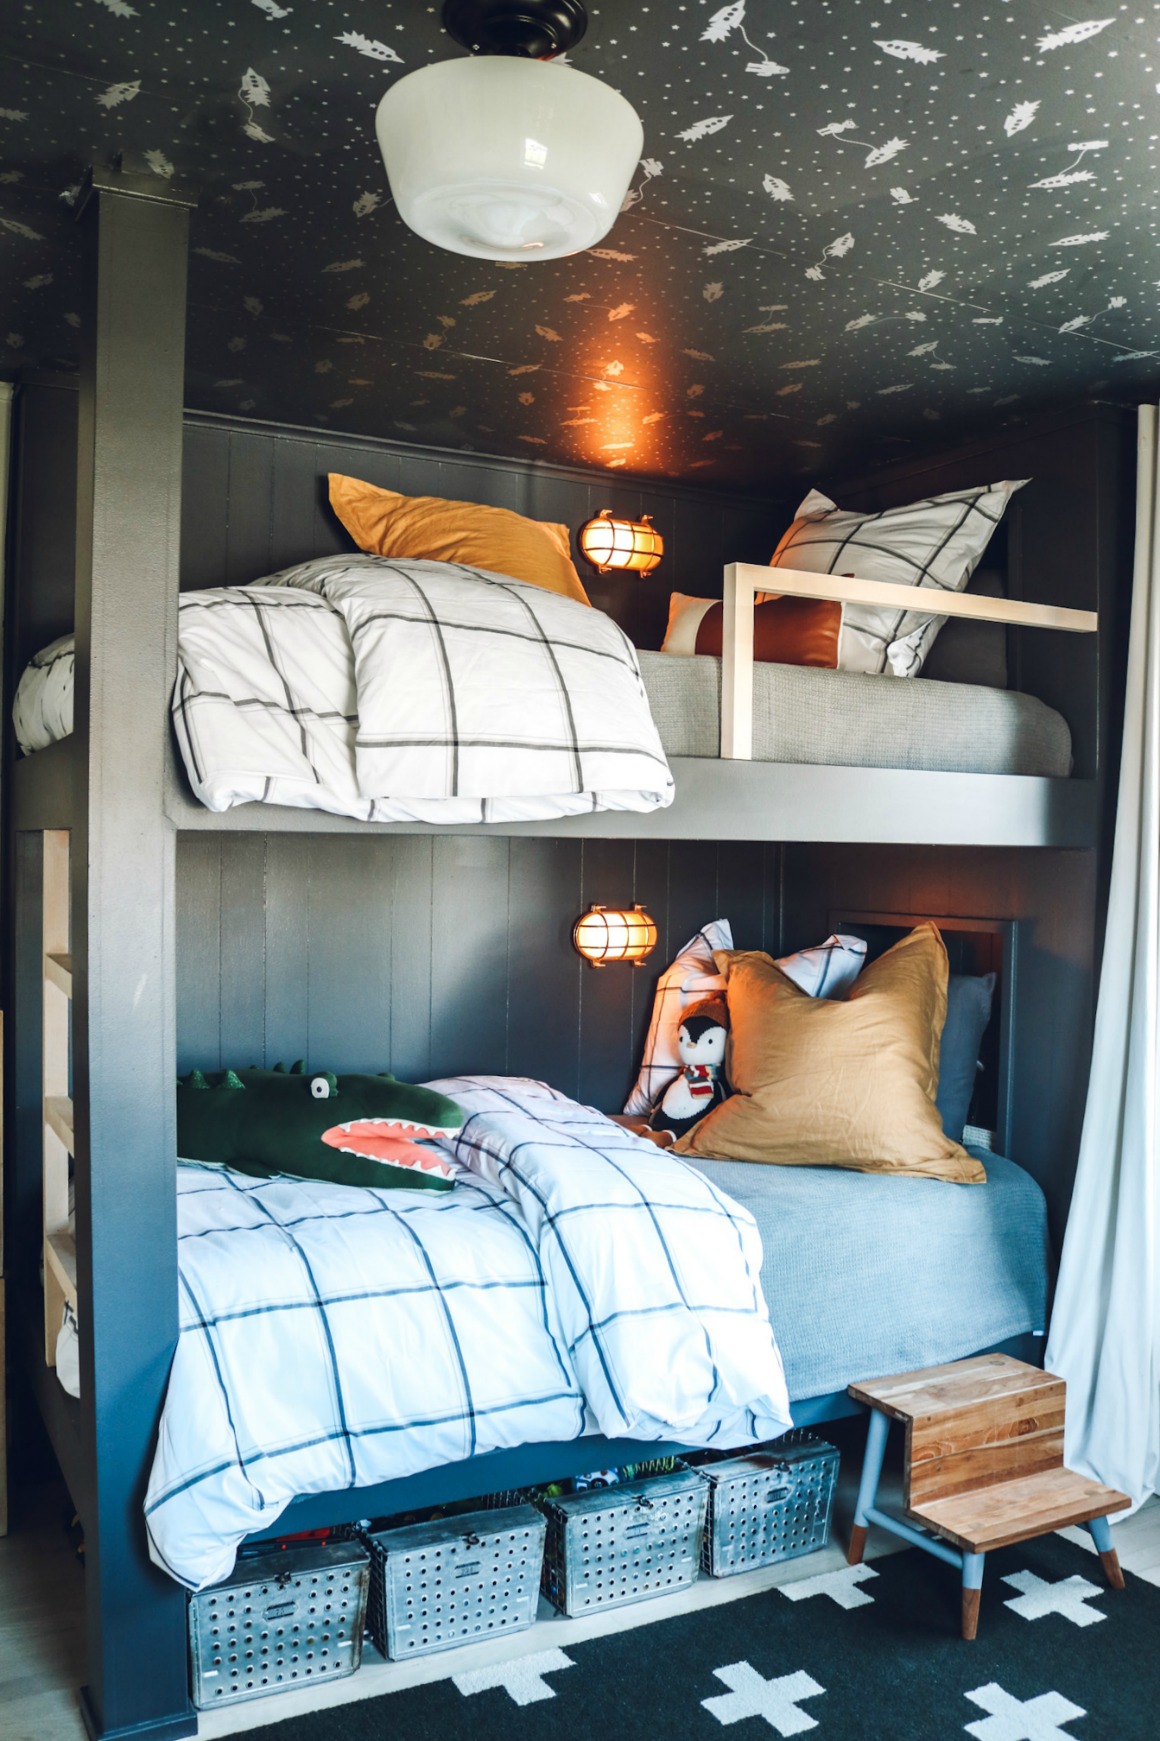
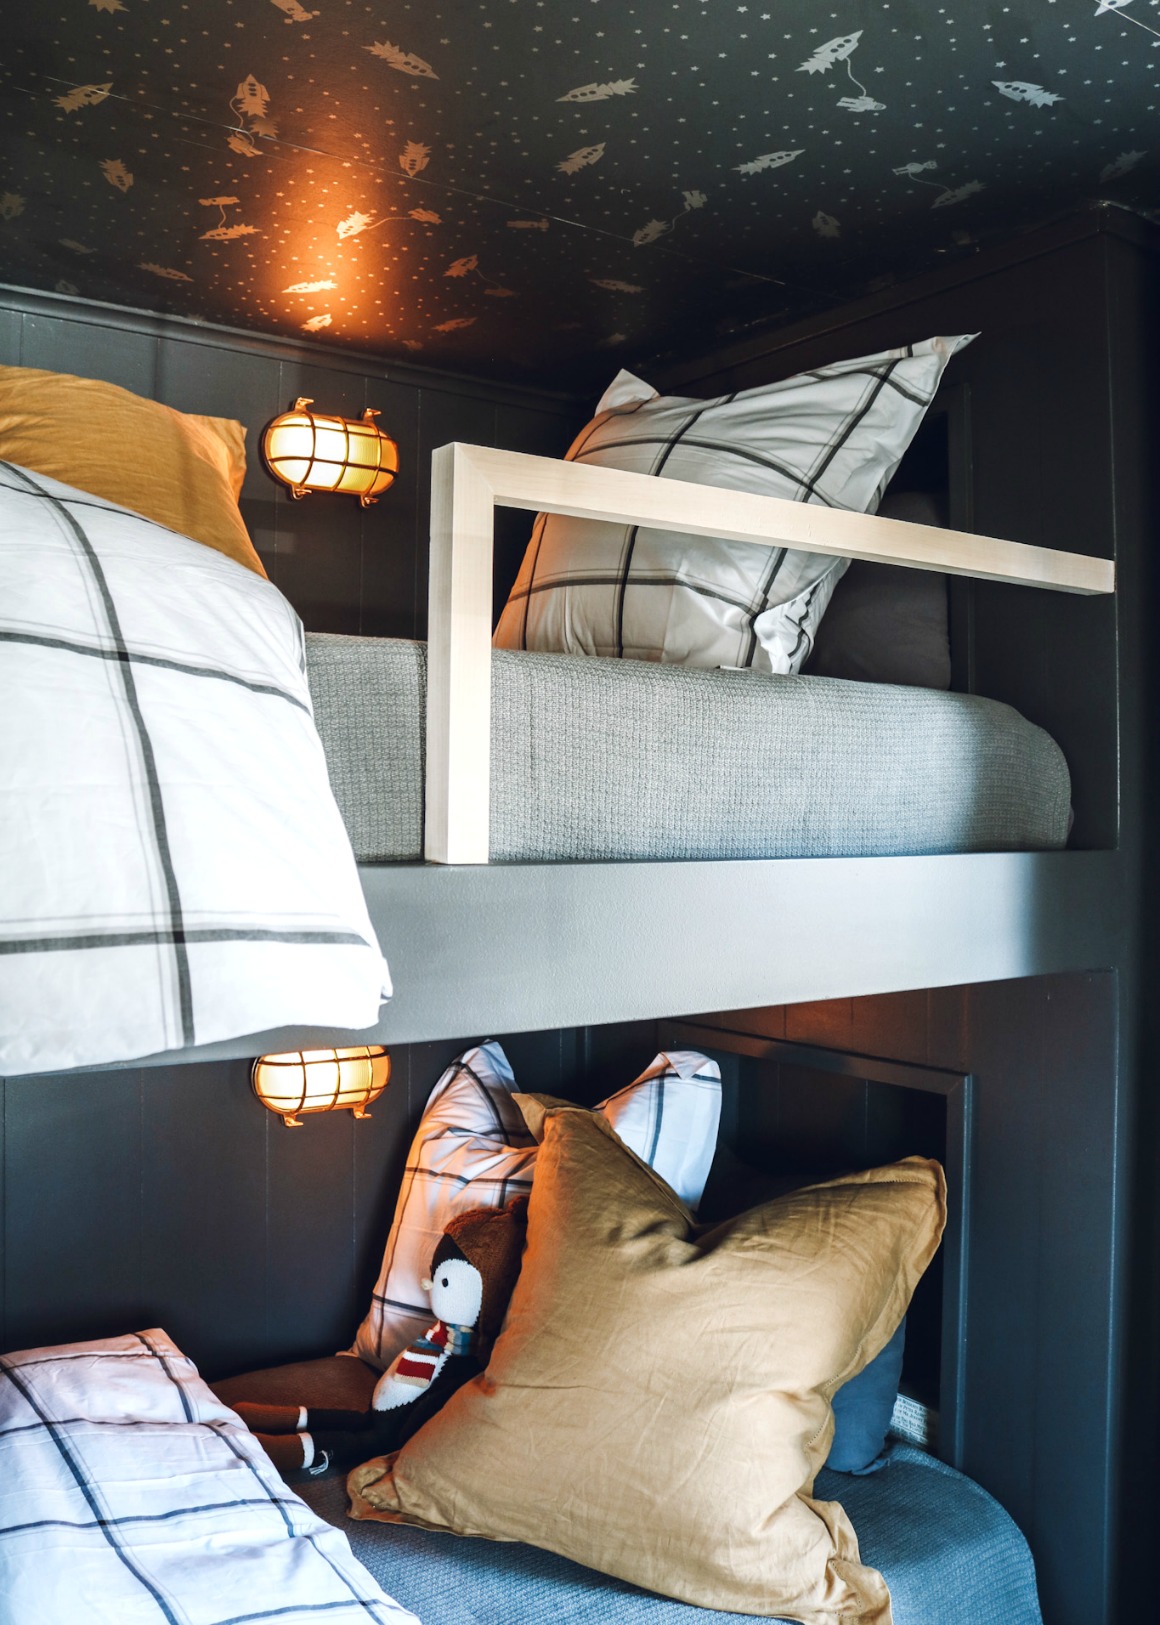
We did have these bulkhead lights hardwired, because we knew they would be on a lot! The bunk beds can feel dark without them on, I noticed once we added the lights Finn climbed in his bed to play more, it seemed more inviting to him.
Answers to common questions-
- Spacing on top bunk- The top bunk will be slept in about once a month. So rather than have a lot of space on the top bunk, we made sure the bottom we could sit up straight. Their is no “rule” for the bunk bed height on top, do what works best for you is my motto!
- Under bed storage- we wanted some sort of storage for toys under his bed. There are a lot of ways to achieve that! We decided to use these vintage locker bins that we had, I like the look of them. Another option would be to build drawers or order drawers on casters.
- Side rail– I had a couple questions on the safety of the side rail. Again this is up to each person and who is sleeping in it. We feel the size works well to secure Finn who is 4 years old. We could also stack a euro sham leaning against it if we wanted too. There are a lot of ideas online if you want to add more rails.
Bedroom links-
- Bedding
- Bulk head light
- Rug
- Step stool
- Non-toxic organic mattress
- Hemnes IKEA Dresser (came painted that color at the time)
- White Glider Chair– (we have had for 12 years) find similar here
- Window treatments– bamboo shades, curtain rod, blackout curtain panels
- Floor Mirror
- Mini Bookcase
- Find more on my shop our home page here
For a master list of all of our Tools for home projects and DIY like this, see this post!

Thank you so much for the detail, pics and this inspiration! We are hoping to do this for our boys room soon!