
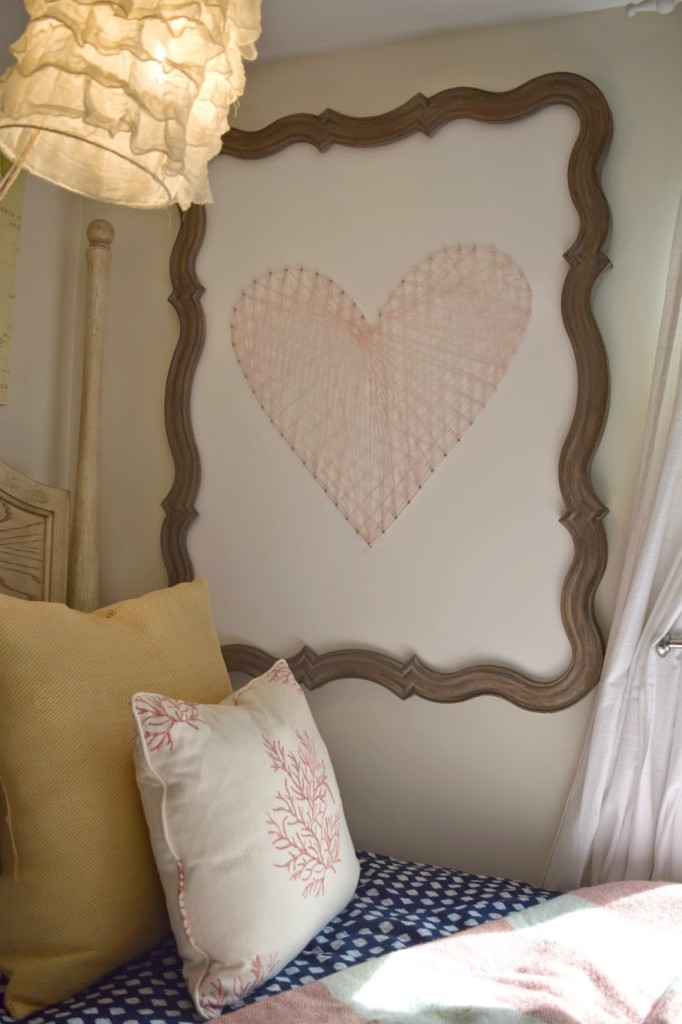
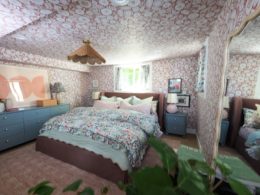
I have been admiring this string art projects for some time now. They looked overwhelming and a little hard to tackle. I needed something large for this wall and thought I would give the string art project a try, so glad I did!
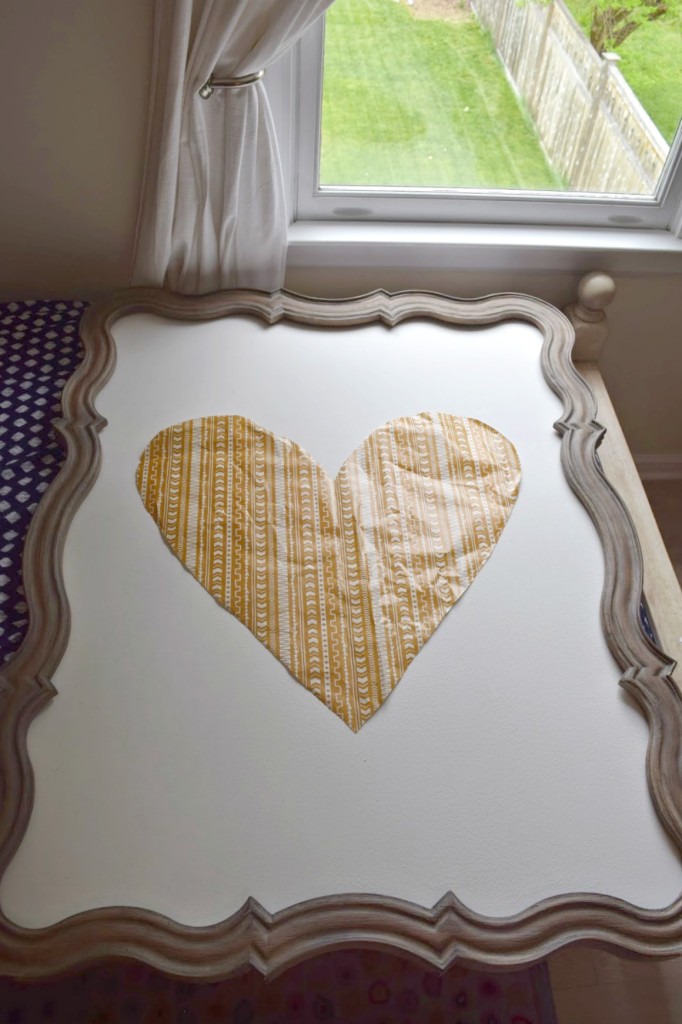
I got this frame for a great price, it used to have a mirror in it that broke. I painted the board that was already in it white. Then started my string art project. Trace whatever shape you want onto a piece of paper. I used wrapping paper so it was large enough. Then trace it with pencil onto the board.
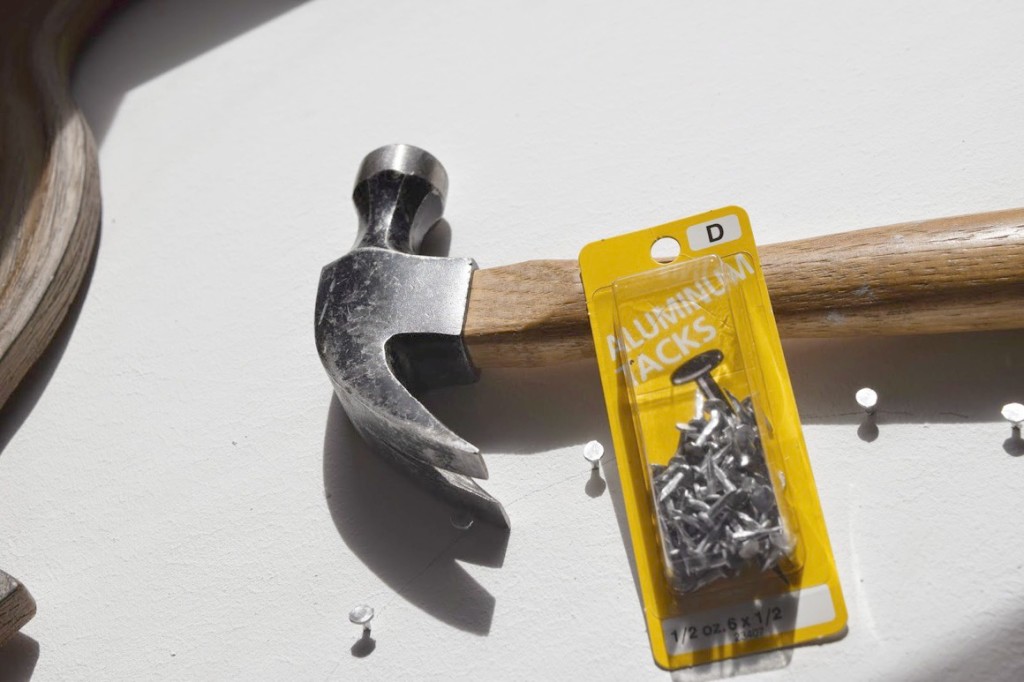
I found these aluminum tacks at a local hardware store. I liked the head versus a regular nail. You need to use a nail with a head to get the string to stay on. They are not as strong so they kept bending when I tried to hammer them in, not to mention they are really short.
I used a longer nail to make a hole and get it started.
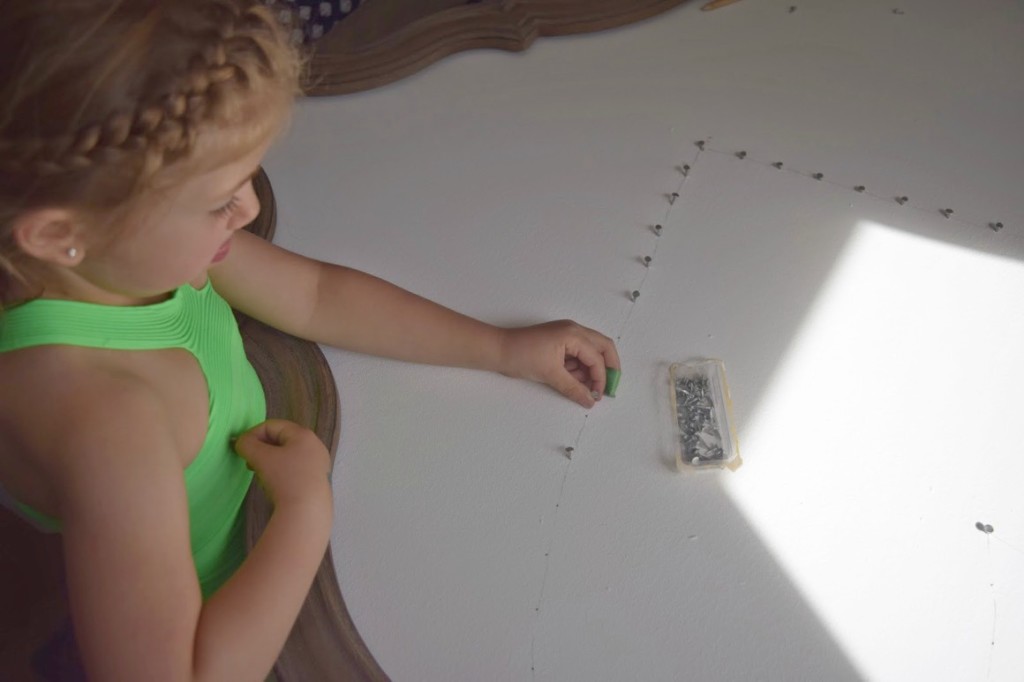
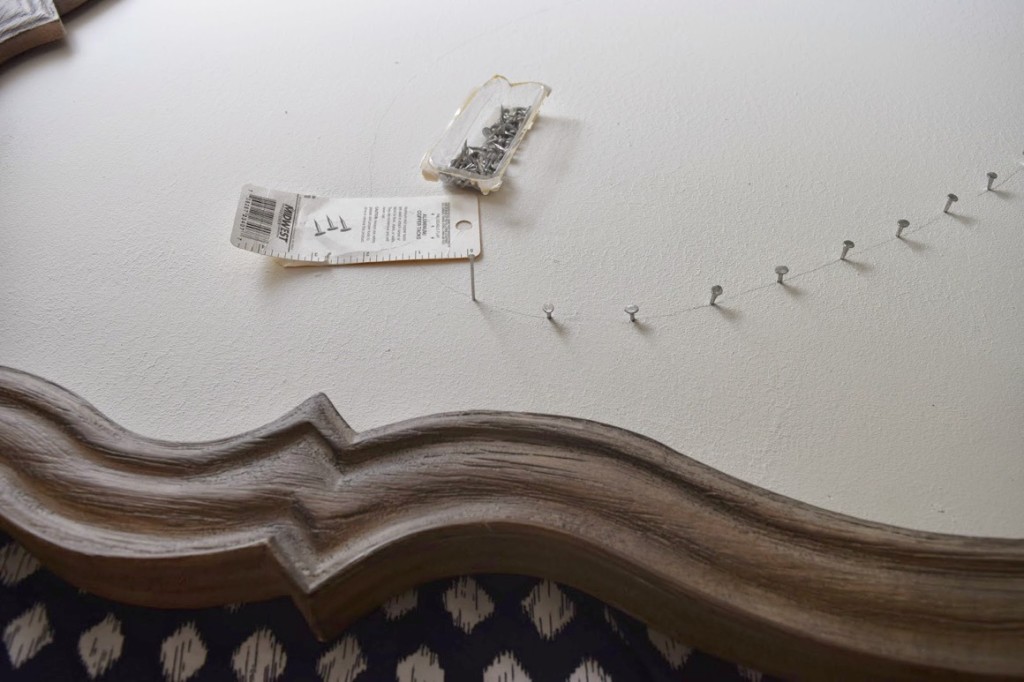
Then Lola followed behind me and stuck all the tacks in, she loved helping. I followed her after and hammered them in.
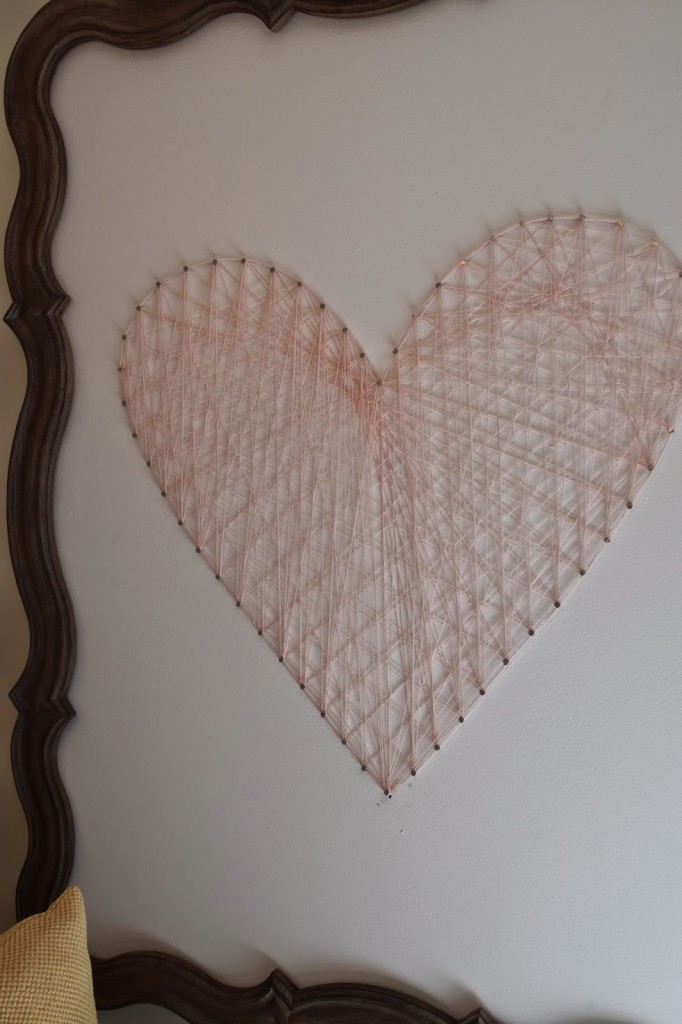
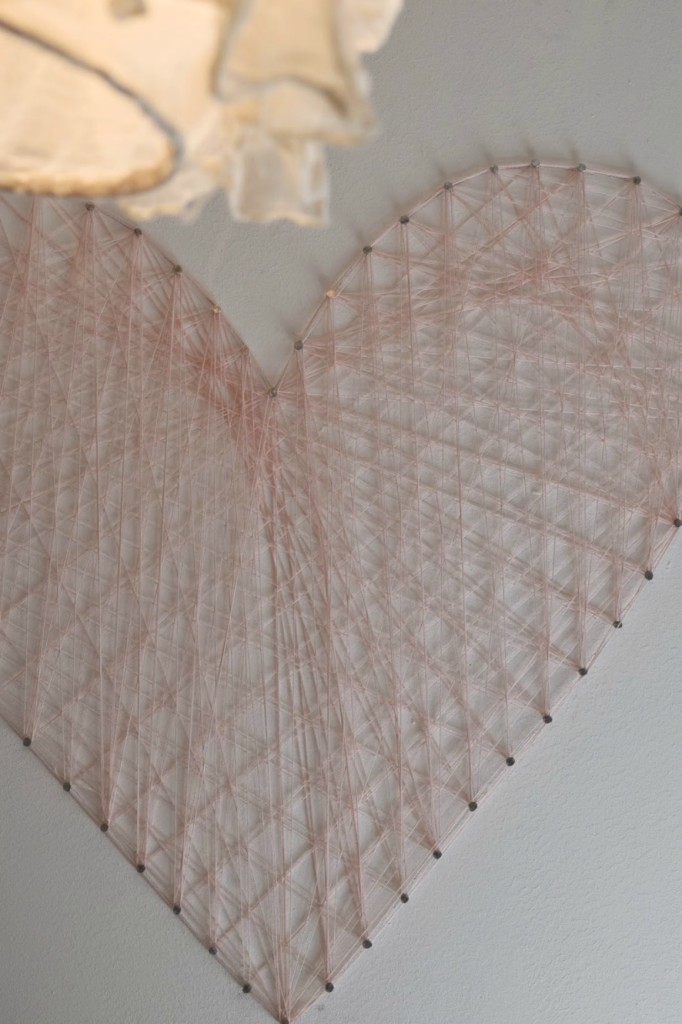
Then the fun part. Tie a long piece in a knot around one of the nails, leave a long tail that you can tuck in behind a pattern. Start weaving the string in any pattern you like. I just started and went with it. I outlined the entire boarder with the string at the end to make it look finished. I had my string already that I got at Wal-Mart years ago. I liked that it came on a large bolt.
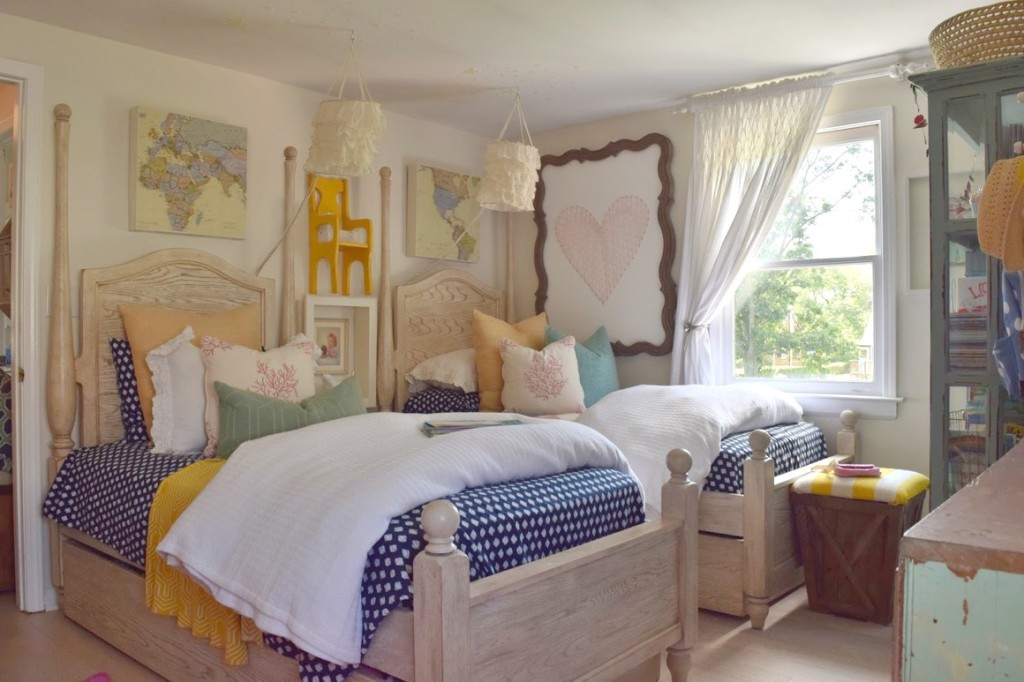
See more pictures of my daughters room and a tutorial on the map art above their bed in our Utah home HERE. And check out the changes I have already made to this bedroom, keeping the string art of coarse HERE. Remember you can click on a photo to PIN to your Pinterest account to save for later! You can follow me on Pinterest HERE.
Don't Miss Any of the Fun!

Join my newsletter subscription and get a chance to get your design question answered LIVE or on the blog!

So cute!! Love the heart and the subtlety of the color it adds!!!
Woo hoo! I love your bigger pictures. I should have told you how. Sorry I didn't.
The string project is so sweet and it's neat that you two did it together. 🙂