Creating a cozy home–especially with new construction or with a renovation– is really in the finishing details. I wanted these details to come together in a way that felt like they’d been here all along and also be unique and modern. These small particulars can be overlooked by so many, but I get asked about them all the time–which makes me so happy! So I thought I would just do a blog post dedicated to all the “house details”! From the exact shiplap, doors, door hardware, paint and more! Let me know if I missed something!
(Curtain rod HERE and Curtain Panels are older, similar HERE)
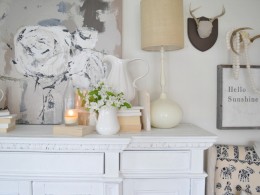
New Entry Piece-
We did add a new entry piece! I have the other one still and will put it to good use. Find our new piece HERE). I really loved the wood color and simple look to go with our new lighter floors. And it is rare to find a piece of furniture this size! So I hurry up and got it!
Molding-
For our main floor, we felt like a traditional crown molding was too much for our shorter ceilings and small room. I opted for this skinnier molding to top off the board and batten look and had it painted the same color as our trim- Sherwin Williams Pure White. The firs layer of trim our contractor installed is 2 1/4″ thick then he layered a 1 1/4″ piece on top. Really simple but works great to finish our room off.
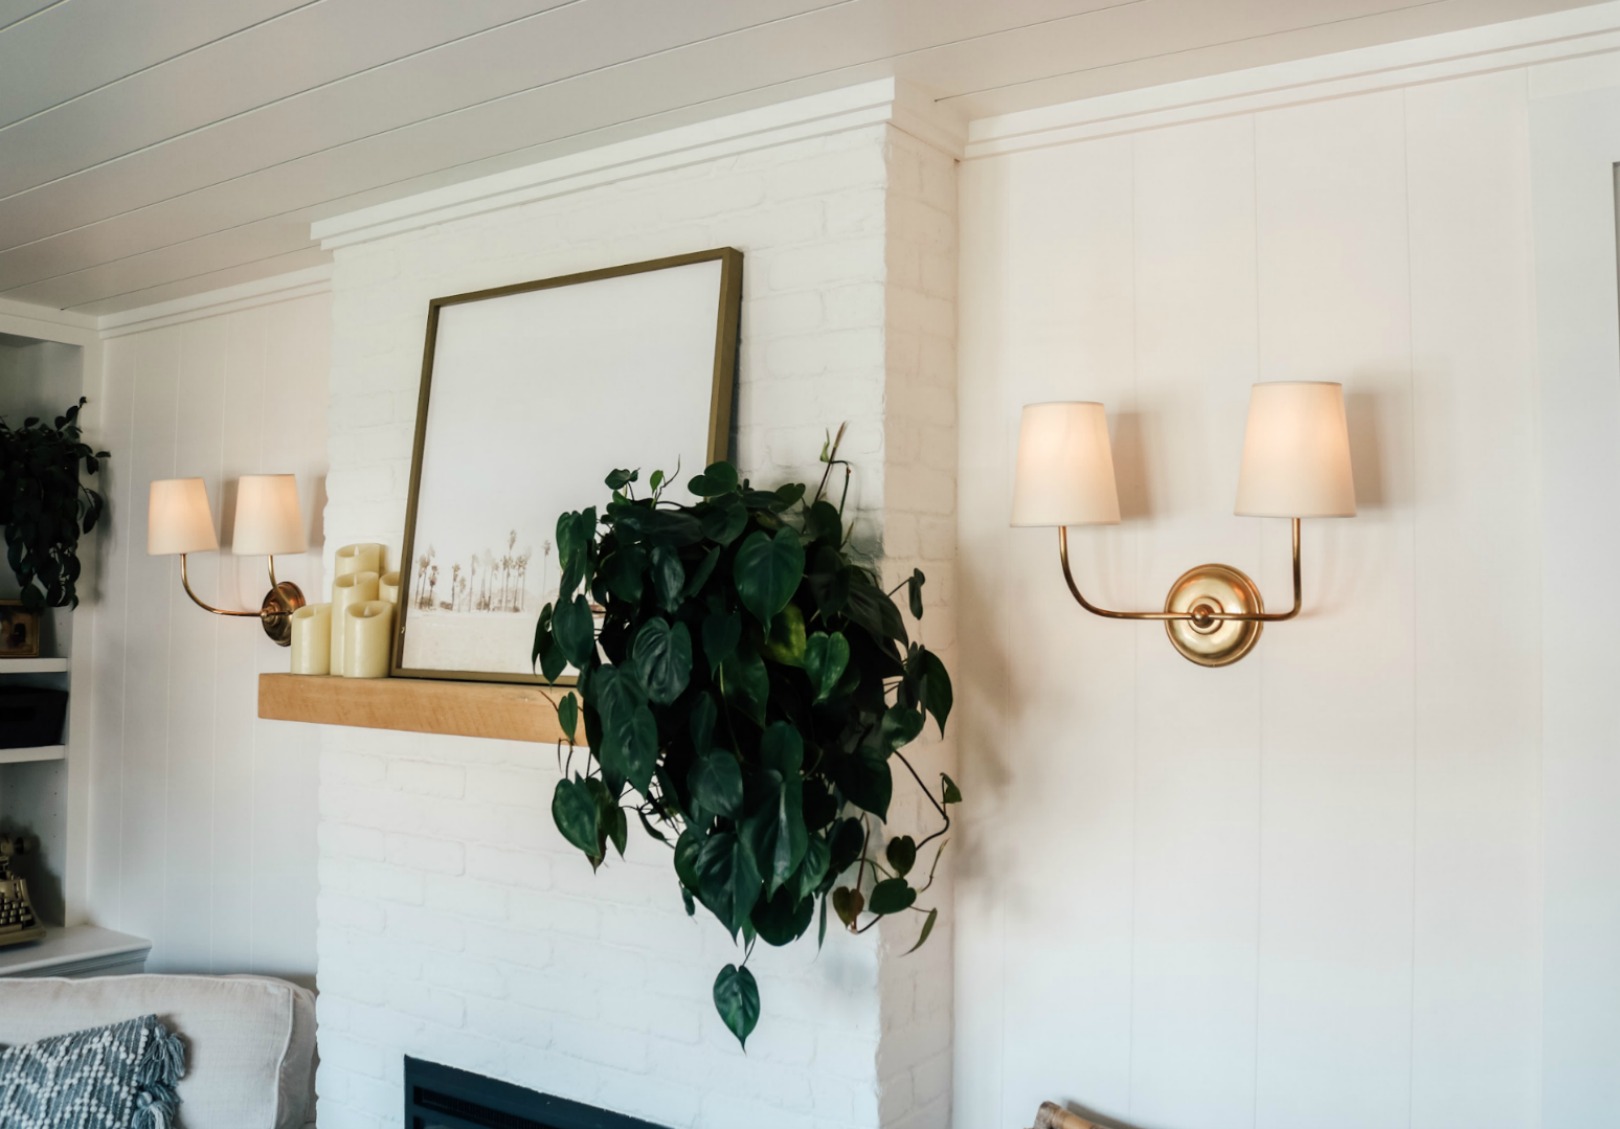
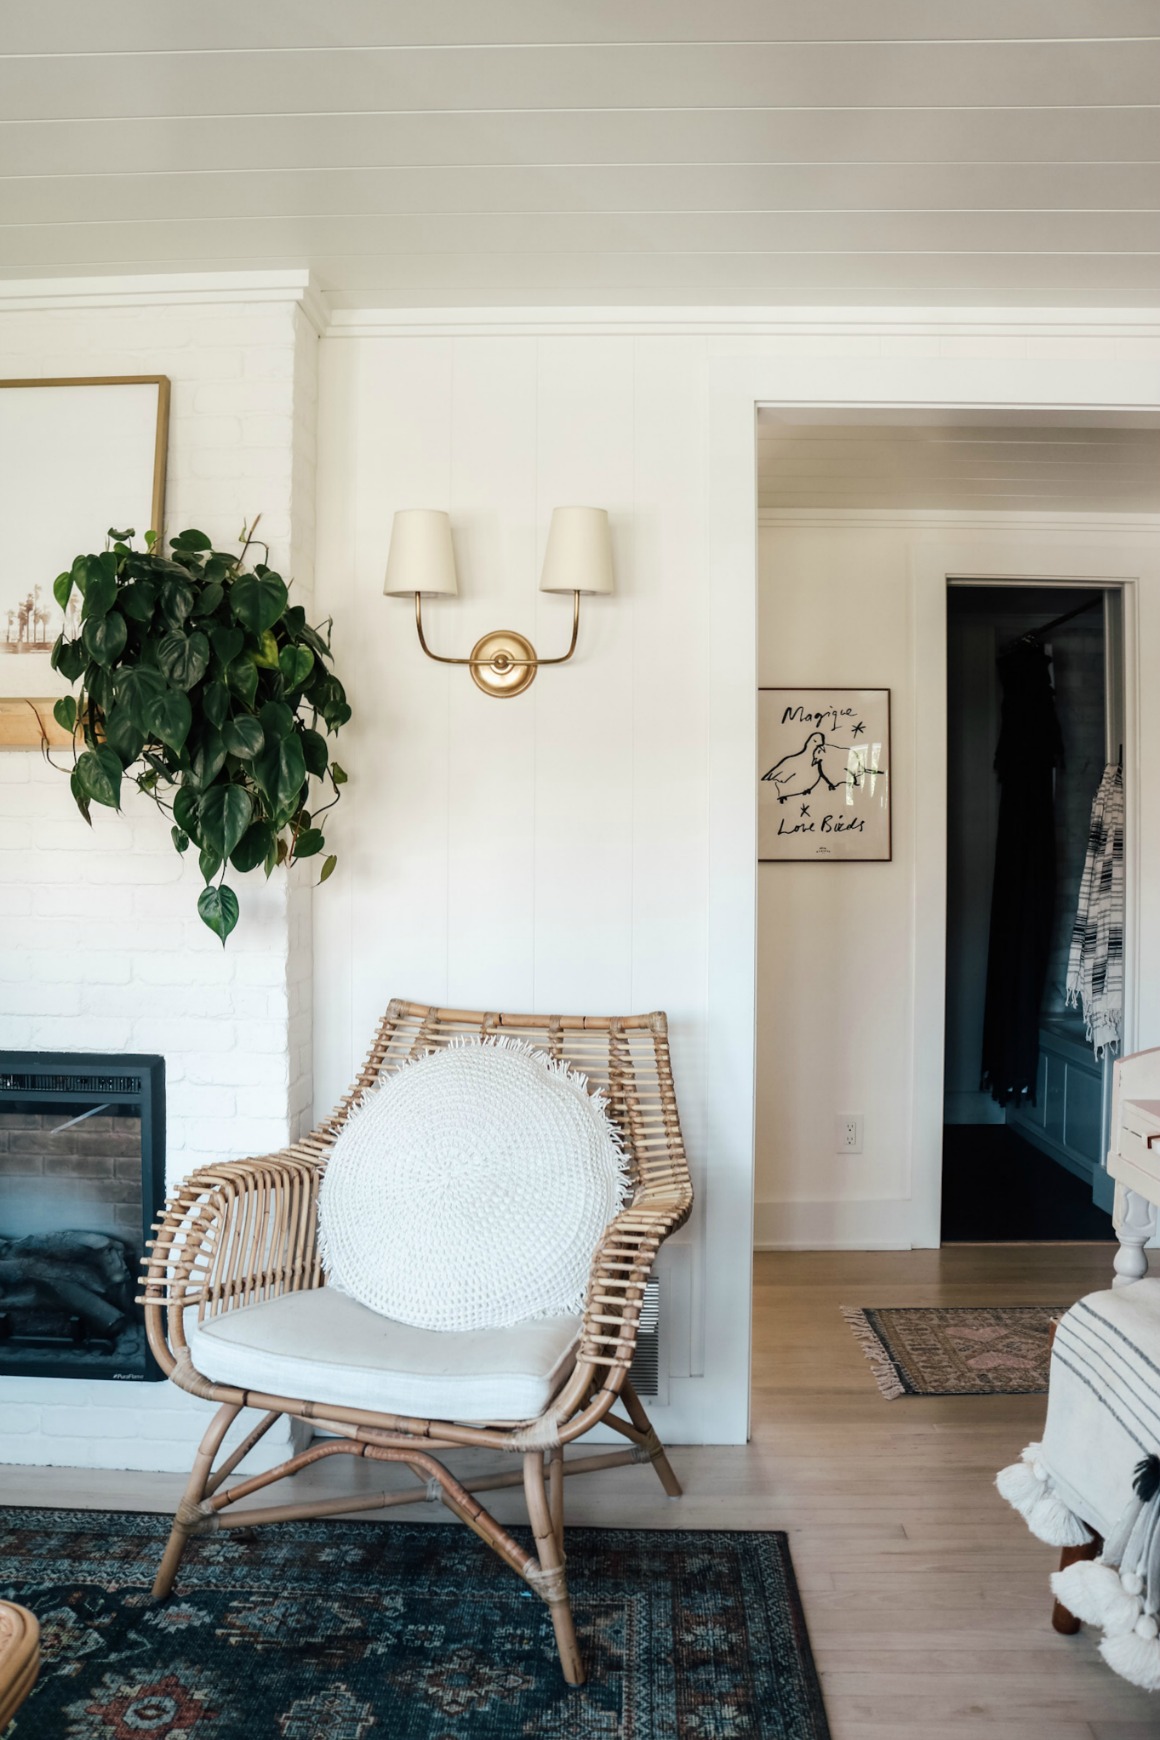
Wall Sconces-
And I wanted to share our new wall sconces! I haven’t shared them on my blog yet. We did hardwire them (hired a professional) and they are on a dimmer. You can find the wall sconces HERE and a more affordable version HERE. I really liked the simplicity of just wall sconces on either side of our electric fireplace. Art always felt too busy and we have no overheard lights, so this was a great solution.
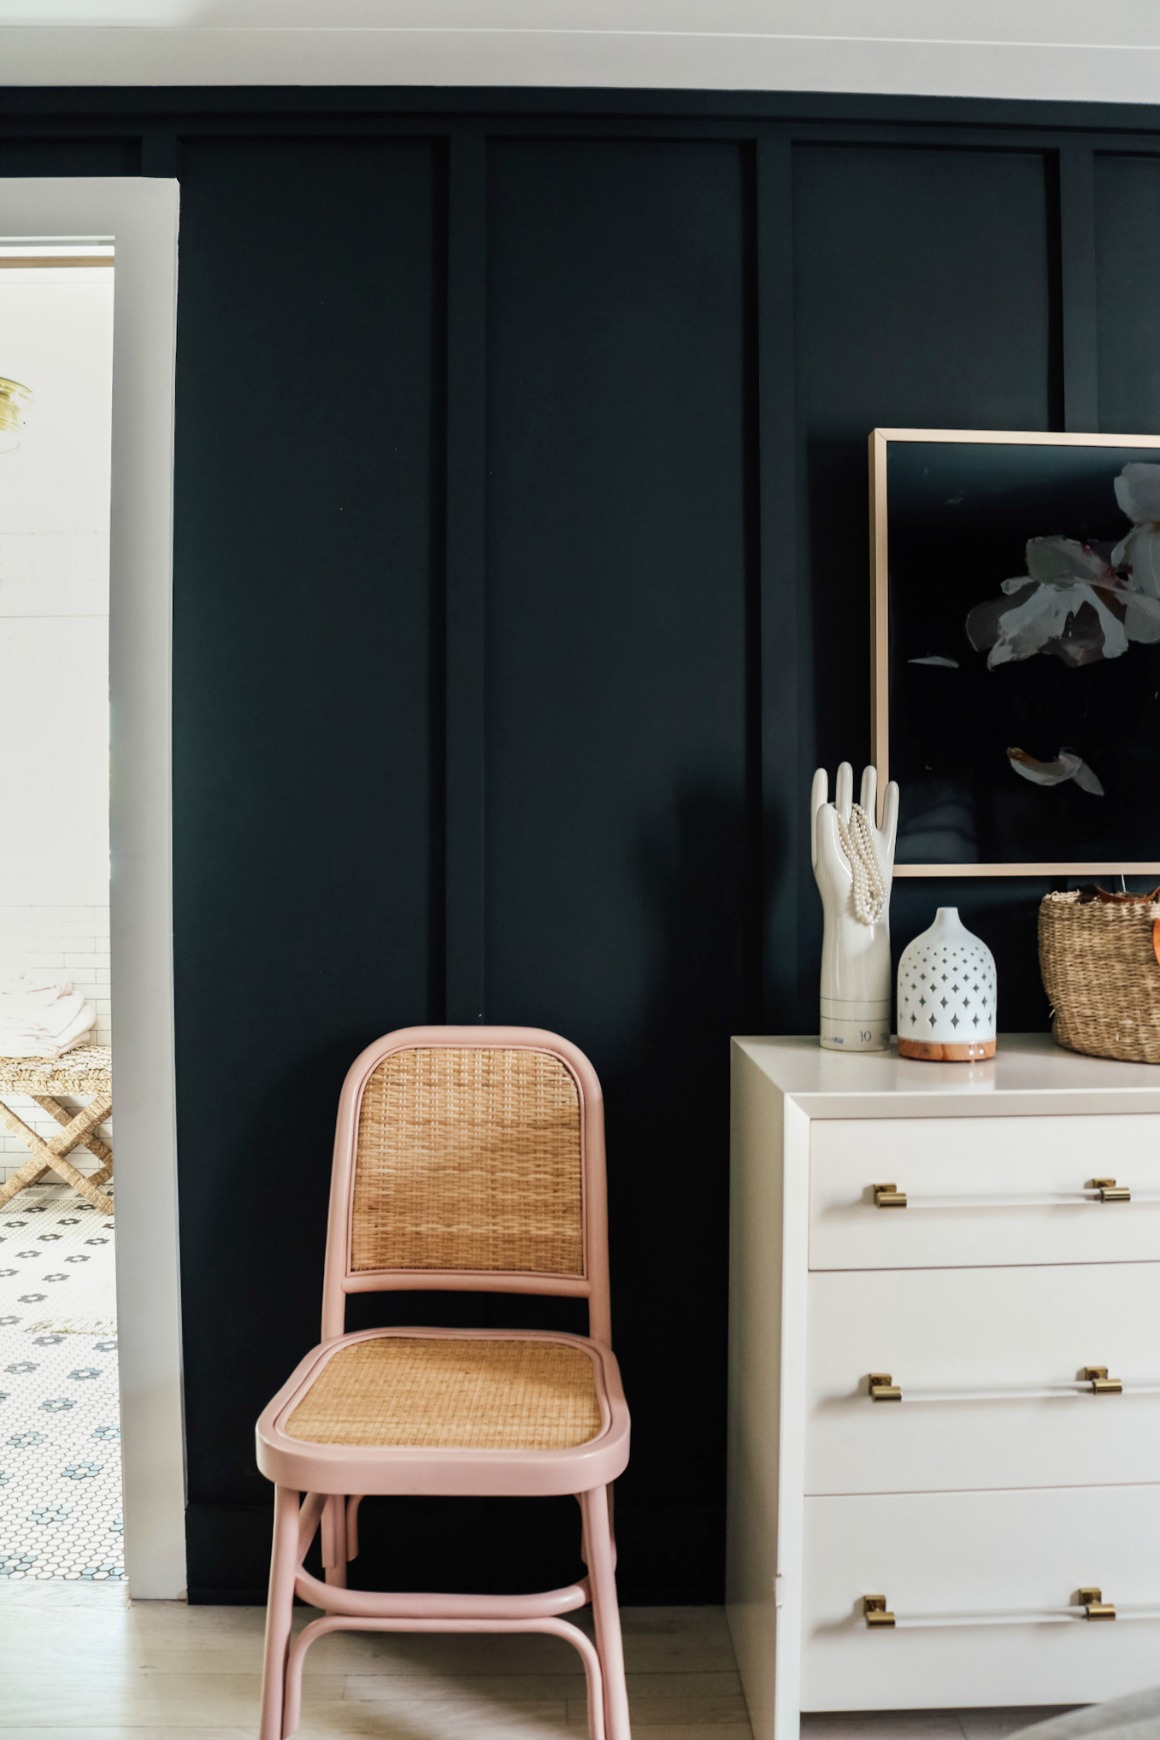
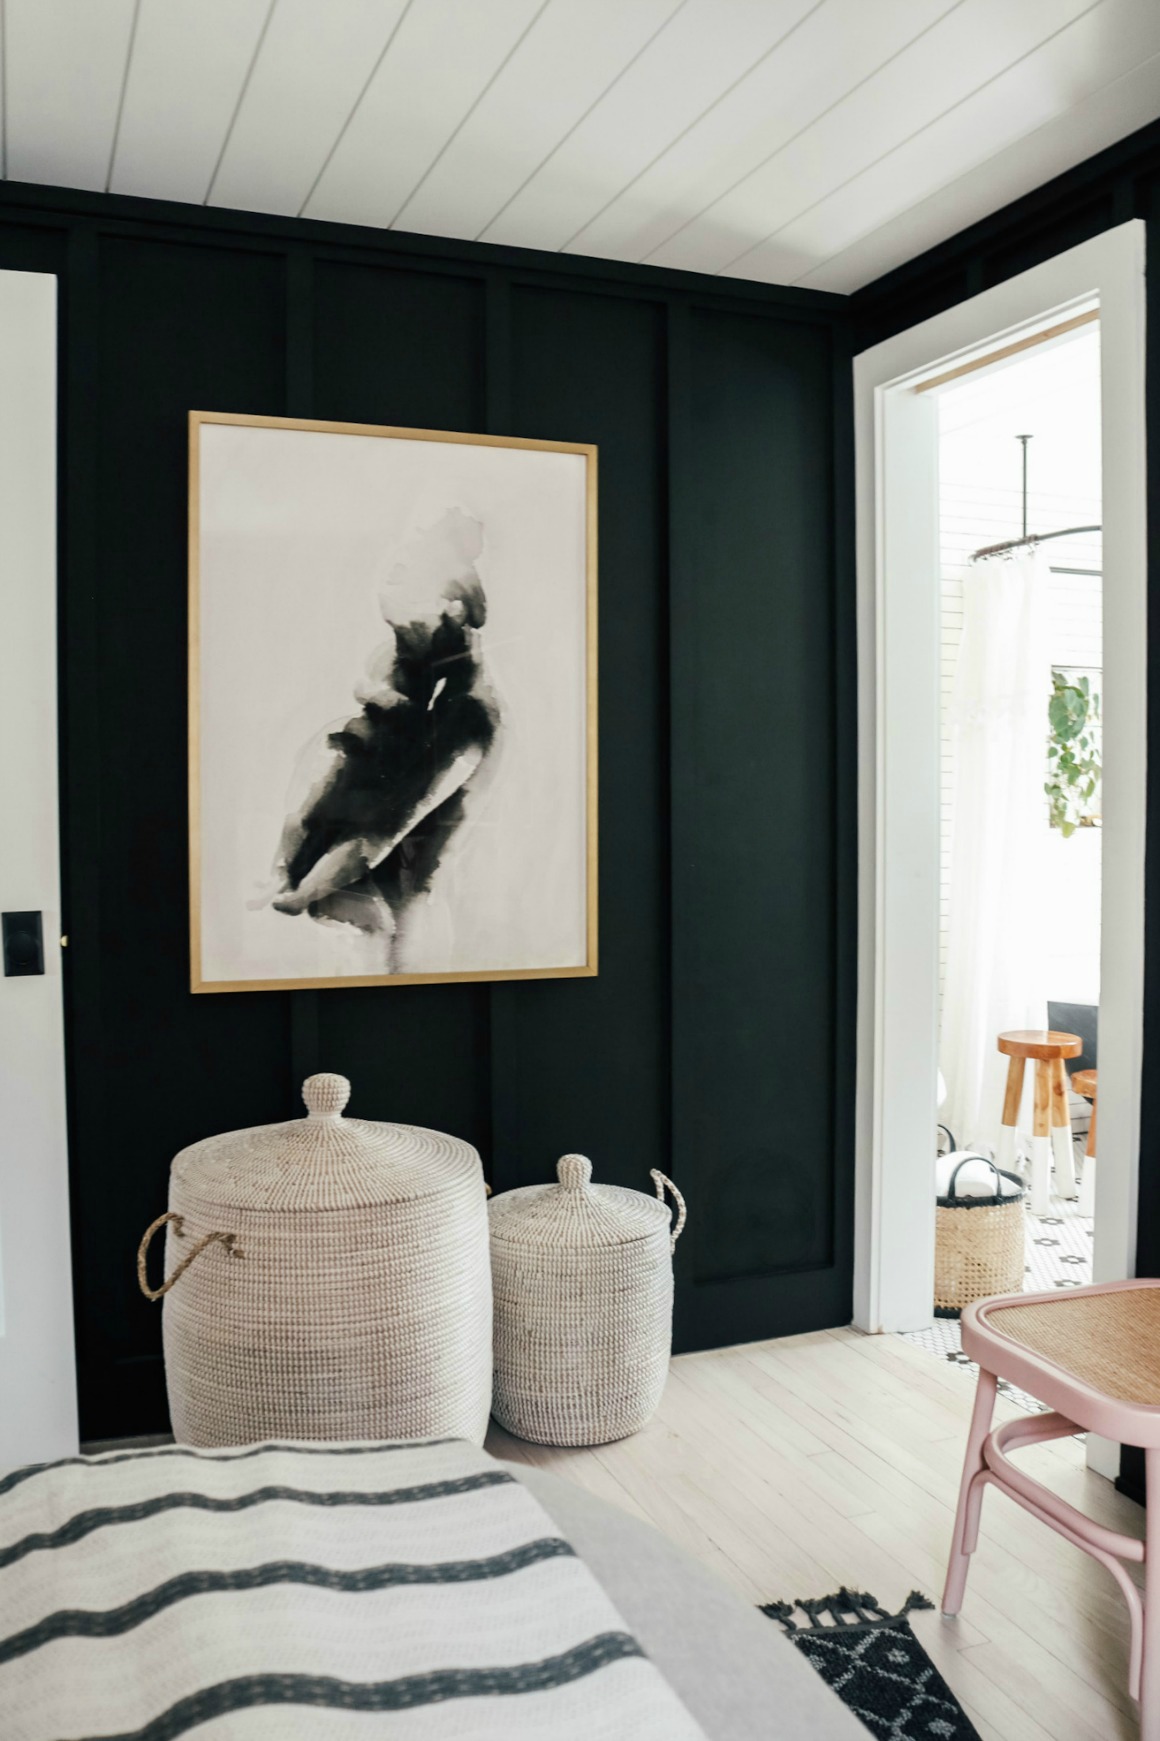
Board and Batten Walls in Master-
We painted the molding the same color as the walls in our master because the board and batten basically die into the molding. The trim we used is 2″ thick and it is 16″ in-between each piece. Walls are painted in a flat finish- Tricorn Black from Sherwin Williams.
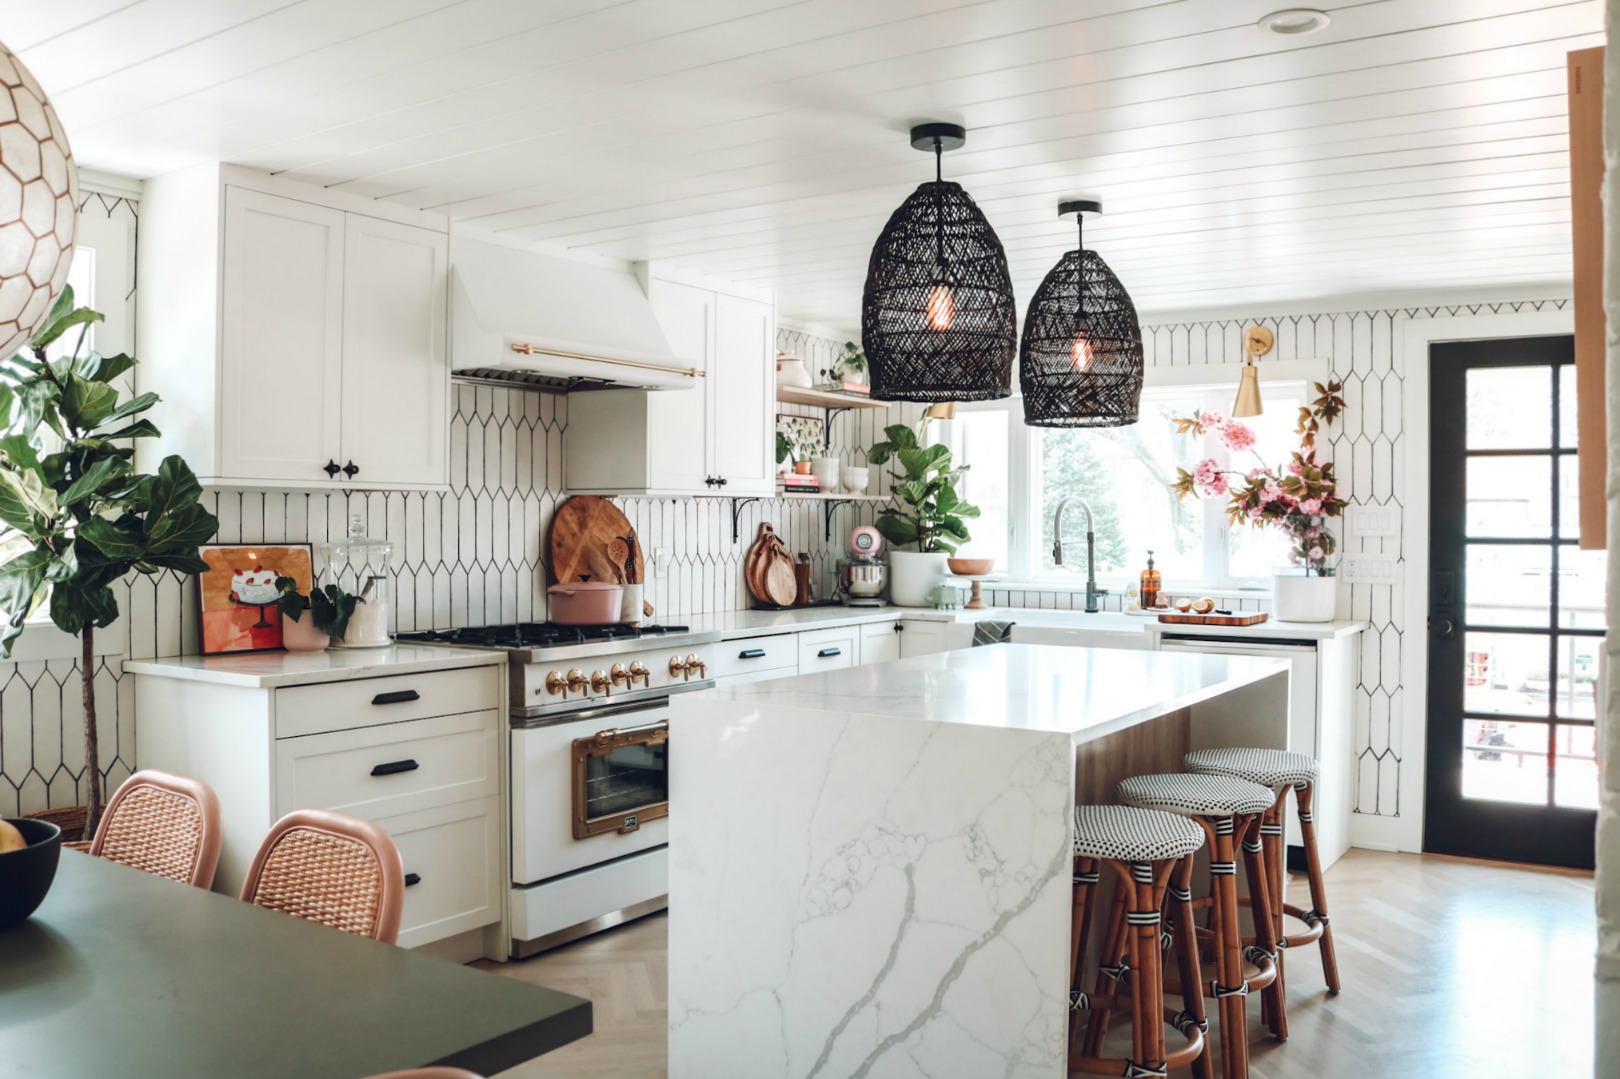
Shiplap Ceiling-
I knew that I wanted this look and cozy vibe in our kitchen, but once it was installed, I knew that it needed to be taken down our hallways and into our master bedroom, bathroom and closet too. Then it went into our family room! ha! It’s eye candy, for real. Our Shiplap is this 7″ wide and is tongue and groove. It was purchased and installed by our contractor, so I don’t have tips and tricks for installation, but beside the obvious “gravity working against you” issue, it installs similarly to shiplap on the wall. Exact size is- 3/4 in. x 7-1/4 in. x 8 ft, our Contractor got at a local shop, I did see on Amazon HERE. (Home Depot has Primed Shiplap with the tongue and groove that is 5″ wide HERE– we used this on our built-in banquette HERE).
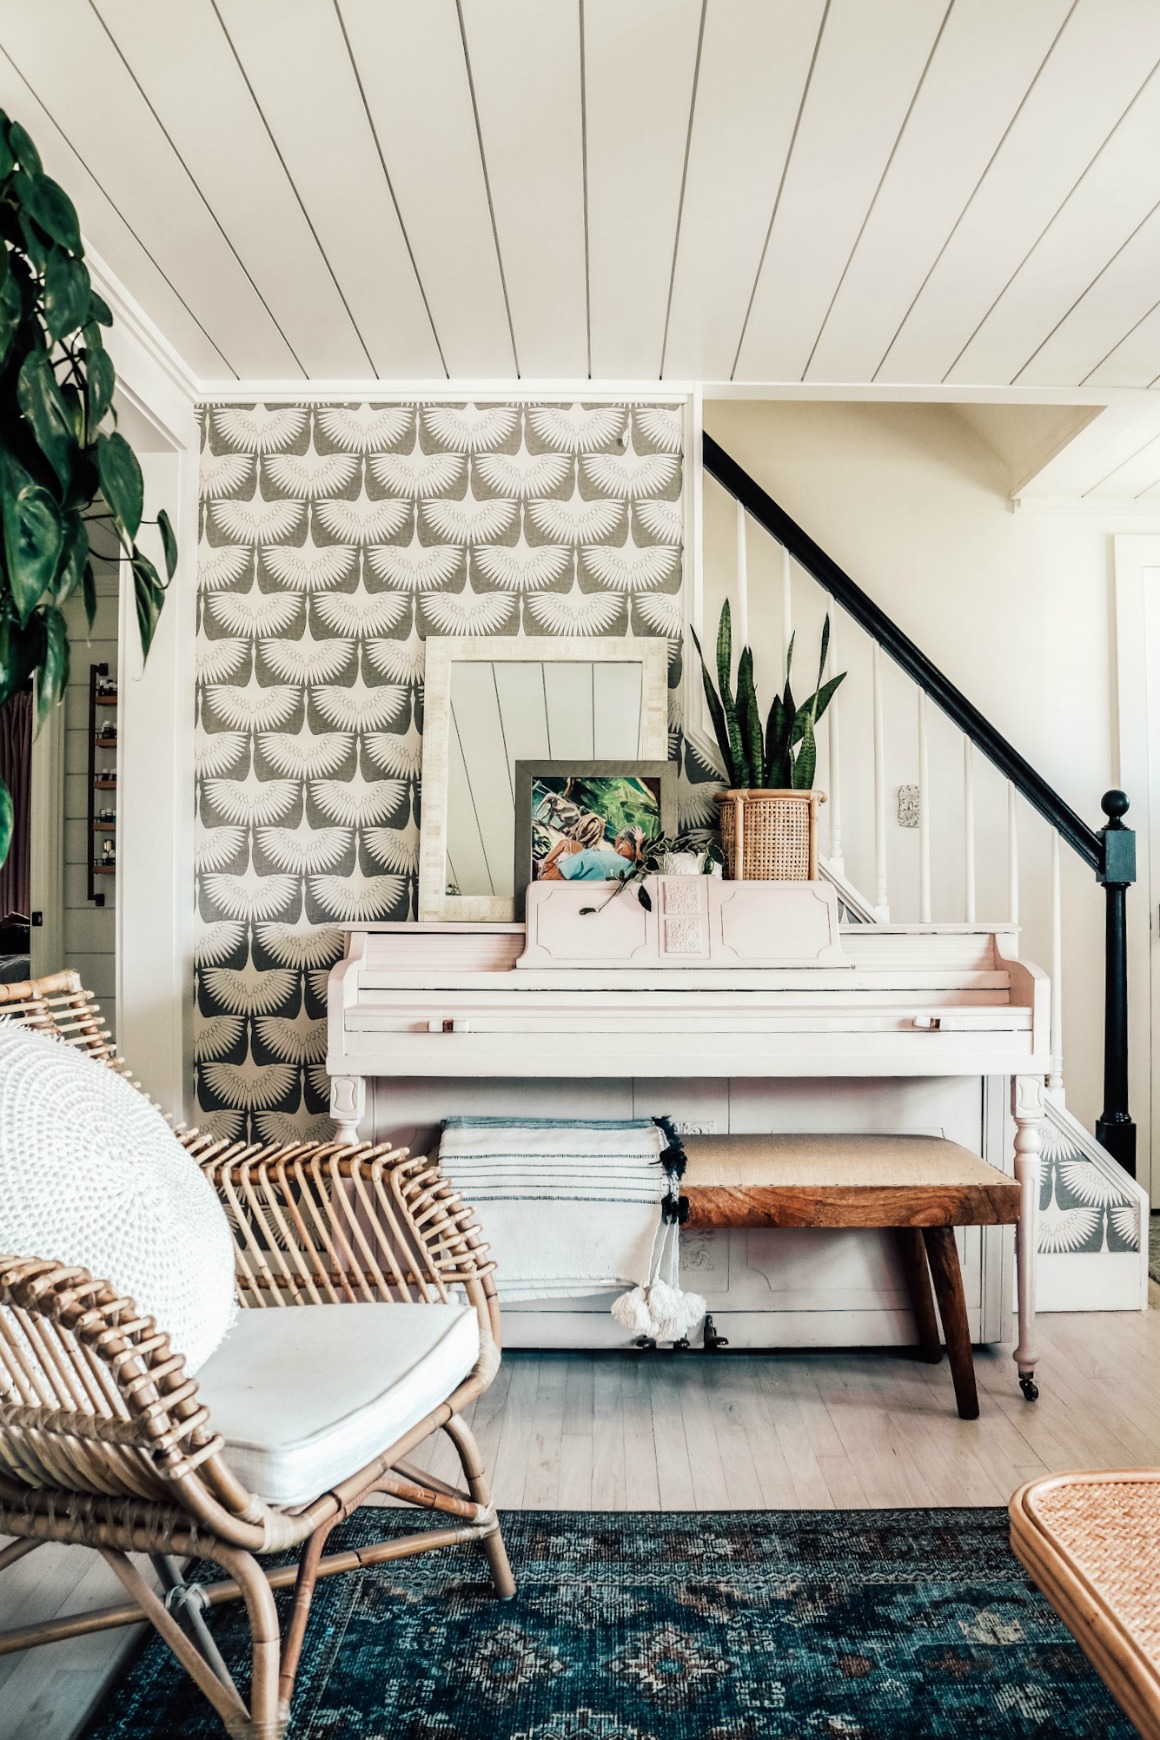
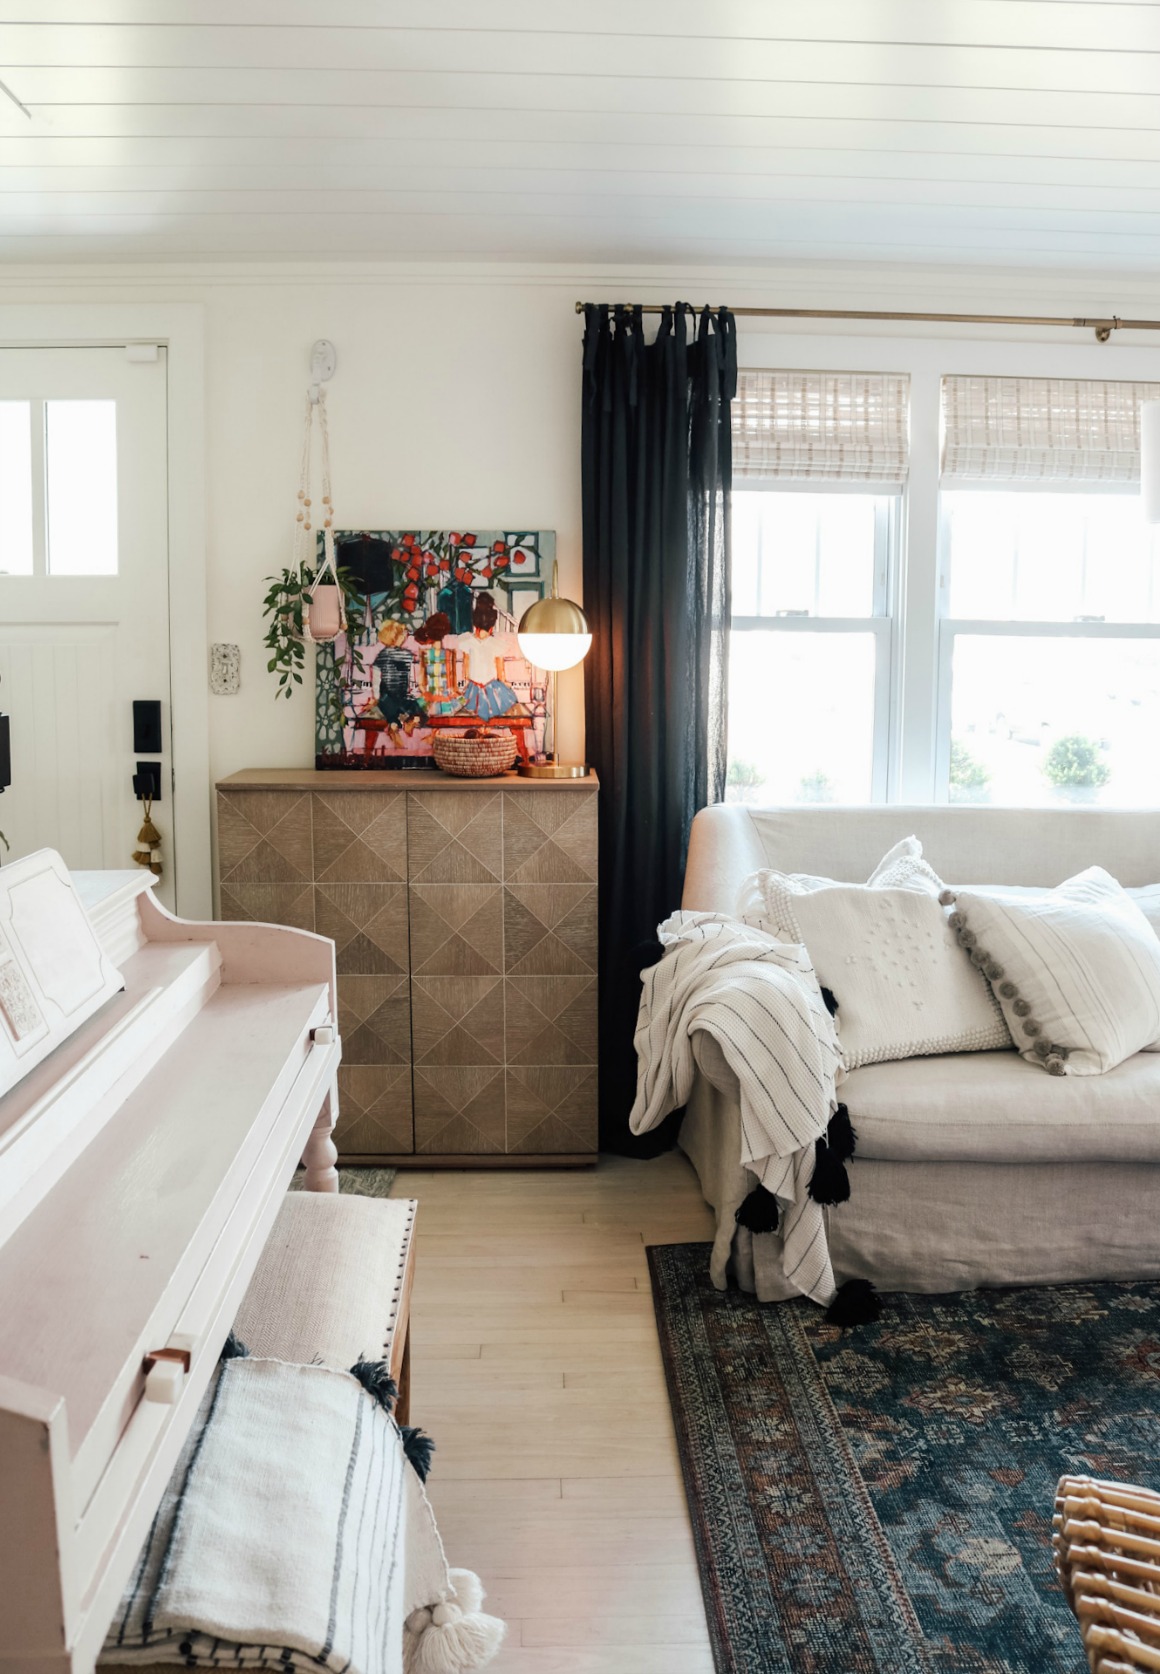
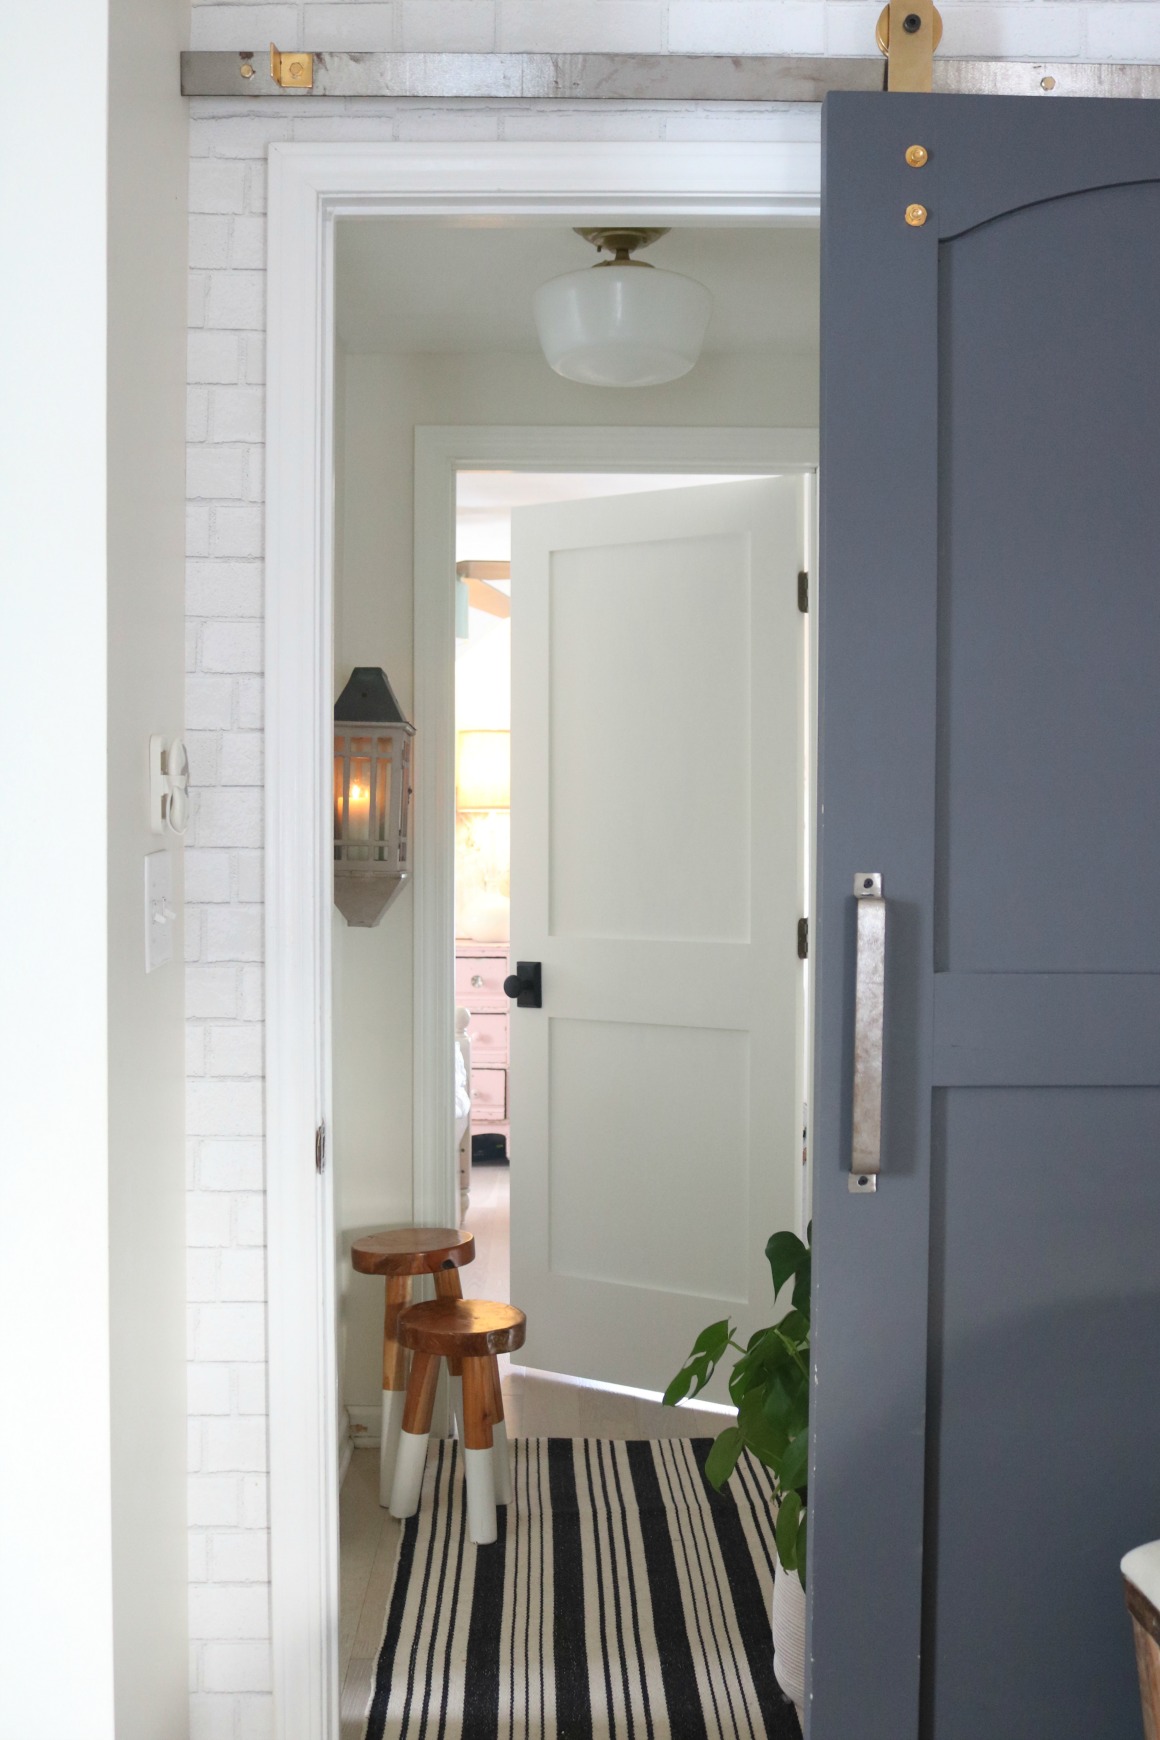
Wallpaper on the wall HERE details on painting piano HERE and we did paint our Railing in Tricorn Black
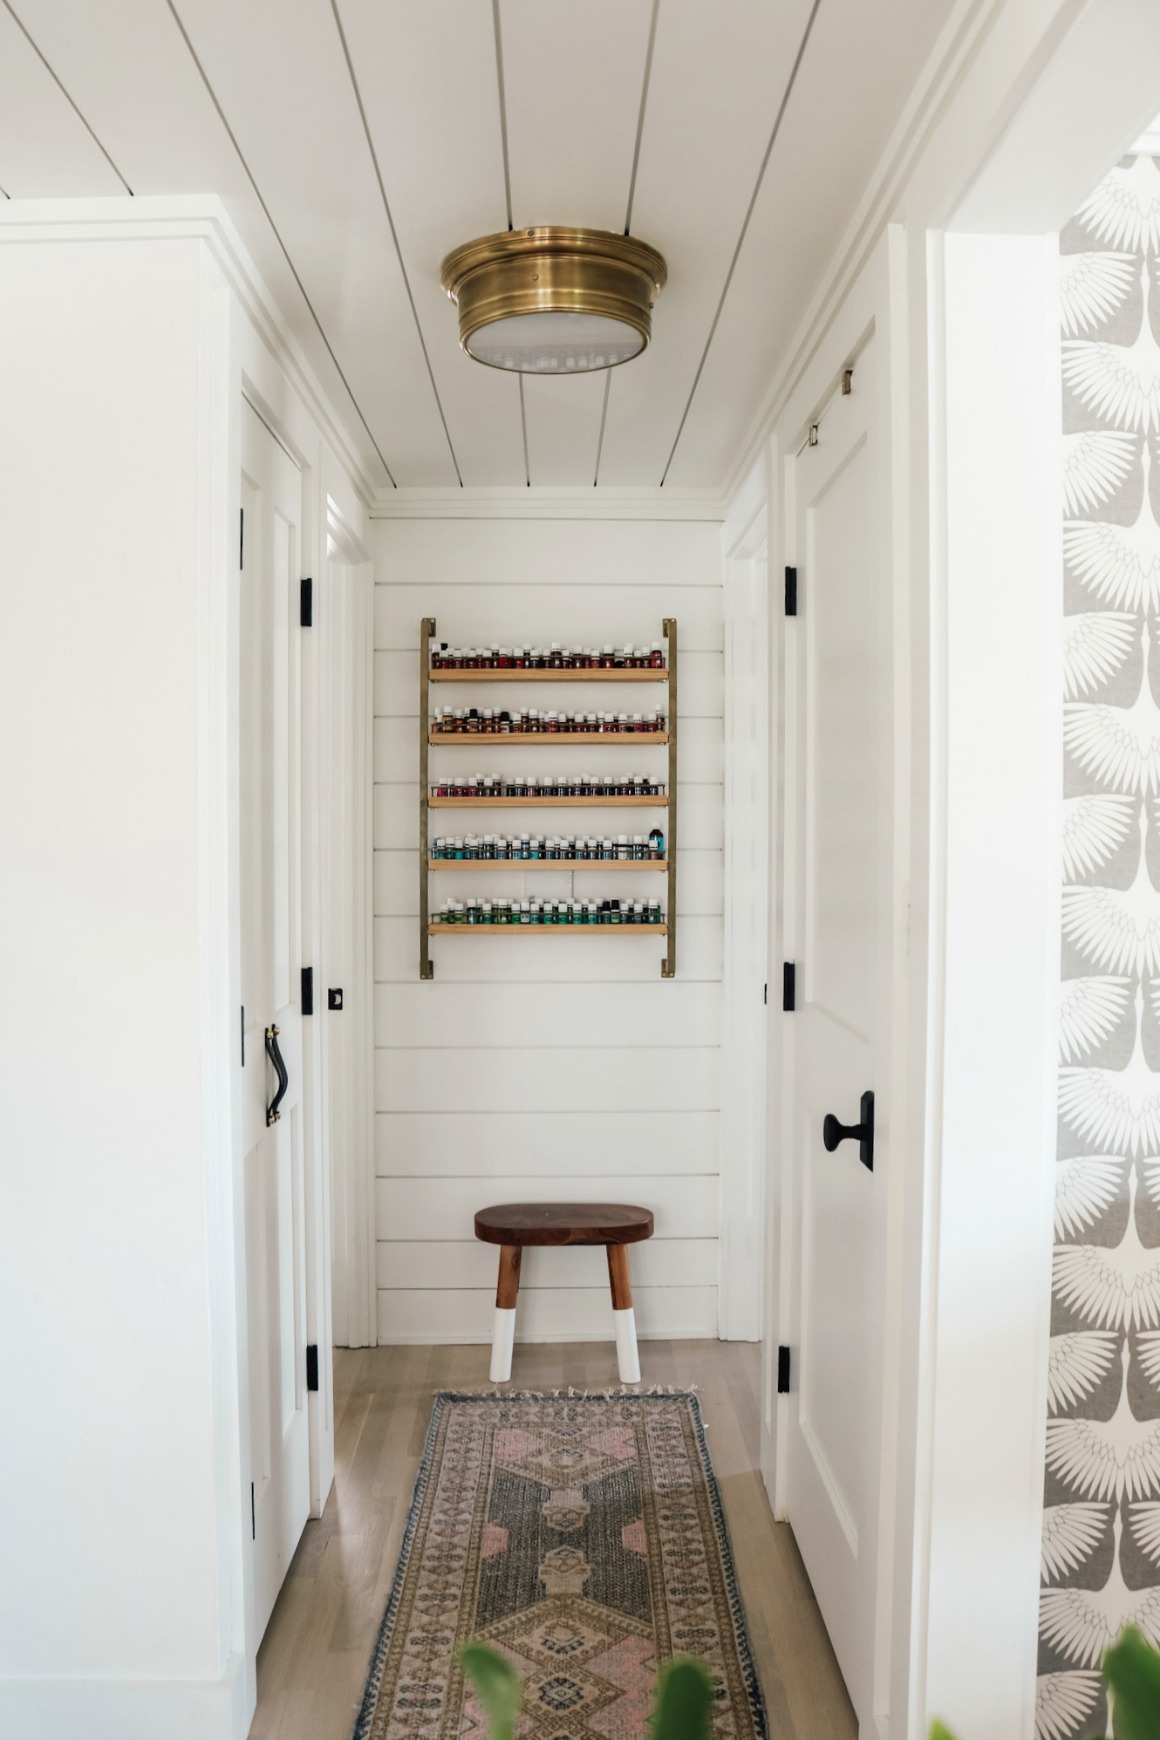
Our essential oil rack is from HERE and hall runner is from HERE

Closet Doors-
When opened our entry to the kitchen up, we gave up our built-in storage unit in our hallway. That put a lot more pressure on the closet that stayed where it was. I made it a little more practical and pretty by using these french doors instead of one large door. It’s crazy how a little detail like this makes a big difference! It’s still a skinny hallway, so instead of traditional doorknobs, I used THESE 8″ leather pulls as hardware. The doors were ordered from West End Lumber and are called- double door 2 panel molded shaker doors. PS- find our ceiling light HERE.
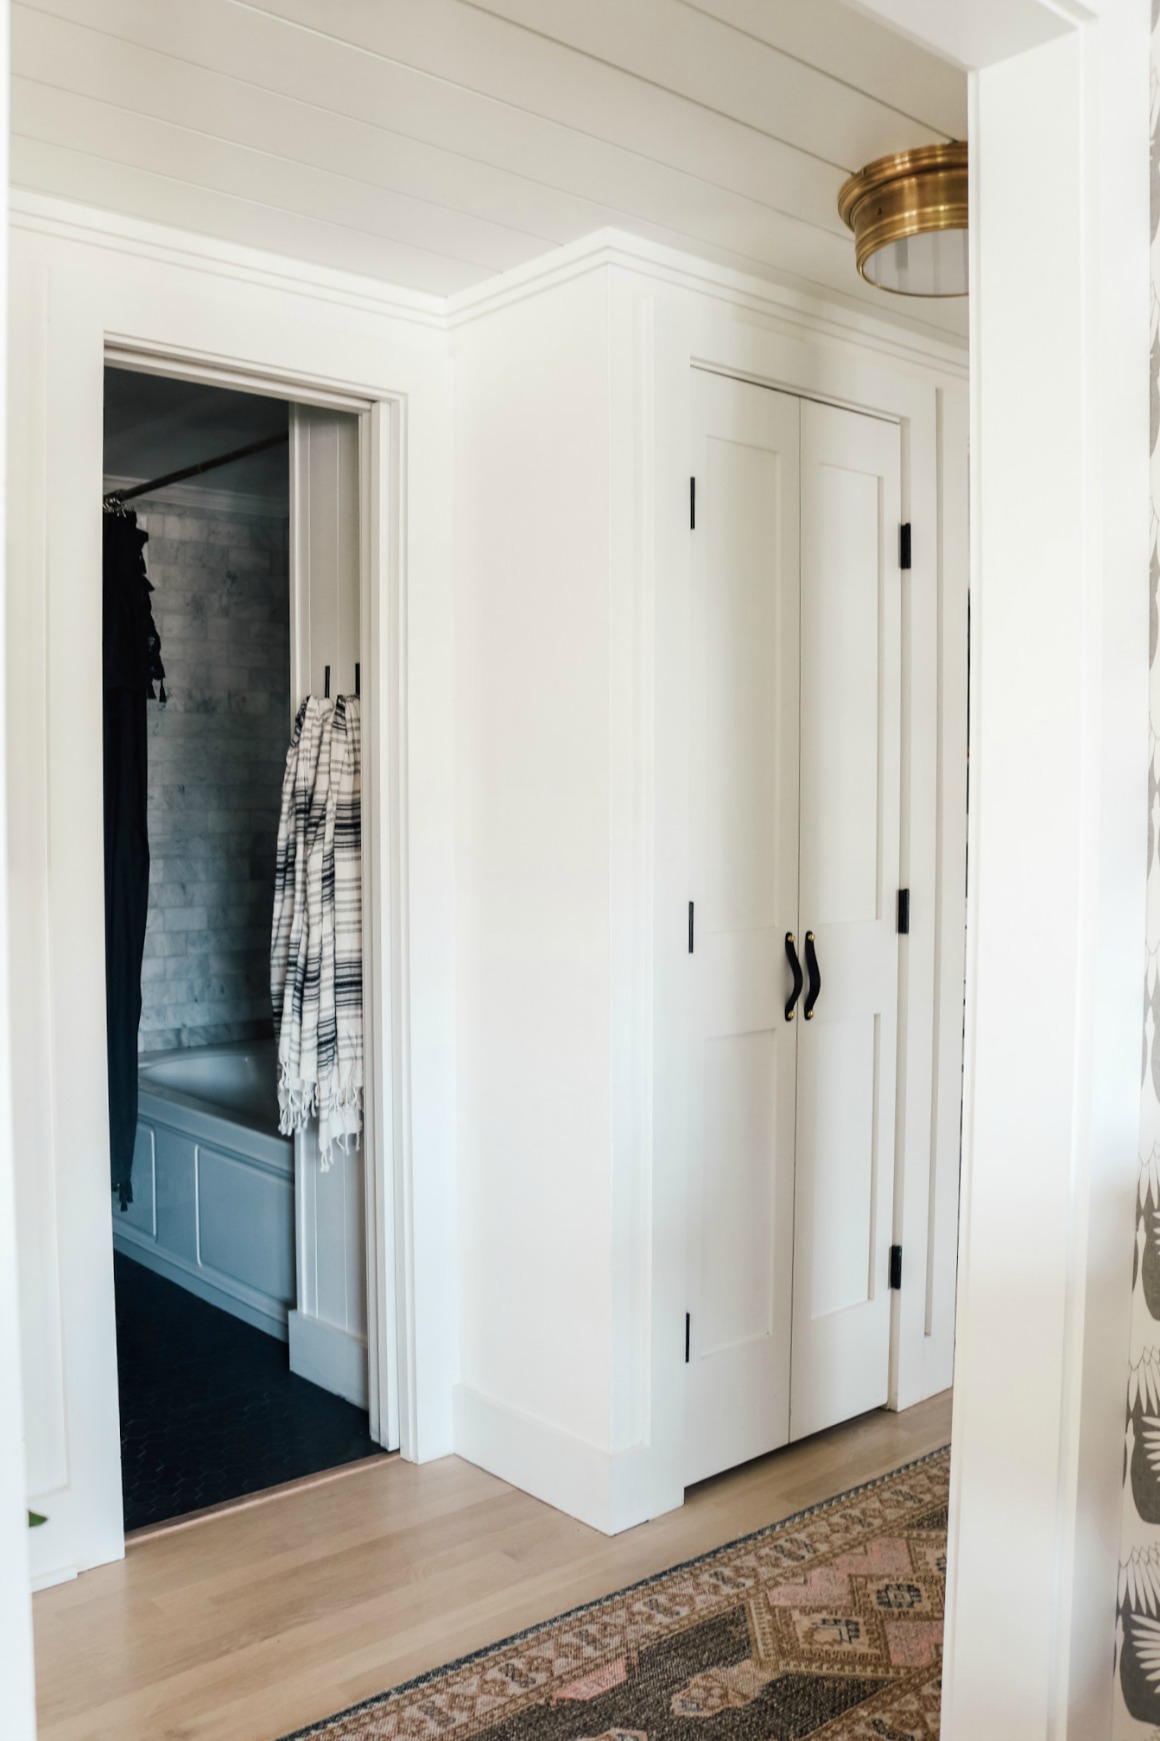
Pocket Doors-
For our hall bathroom, master bathroom and master closet, we opted for pocket doors. These can be tricky to install, if you aren’t already creating new walls, etc, but since we were, it was a must-have for our smaller space! Simply by installing a pocket door, I get more usable wall space that I can decorate! The pocket door hardware we used is THIS (no photo….still need to install!).
Doors and Door Hardware-
We have THESE door knobs. We started with upstairs and now have them on every door. Our doors were ordered locally thru West End Lumber. I found a similar door HERE from Home Depot. We paid about $550/$600 for the door and the labor to change out one door and put the hardware on (that was when we just had the doors replaced upstairs so you have an idea on price).
Paint-
In my small home, I like to keep a cohesive feel by keeping the paint consistent throughout. When we first moved in, we painted our whole home by ourselves (mostly Kevin), top to bottom before we even moved anything inside! Nothing makes a place feel new like a can of paint!
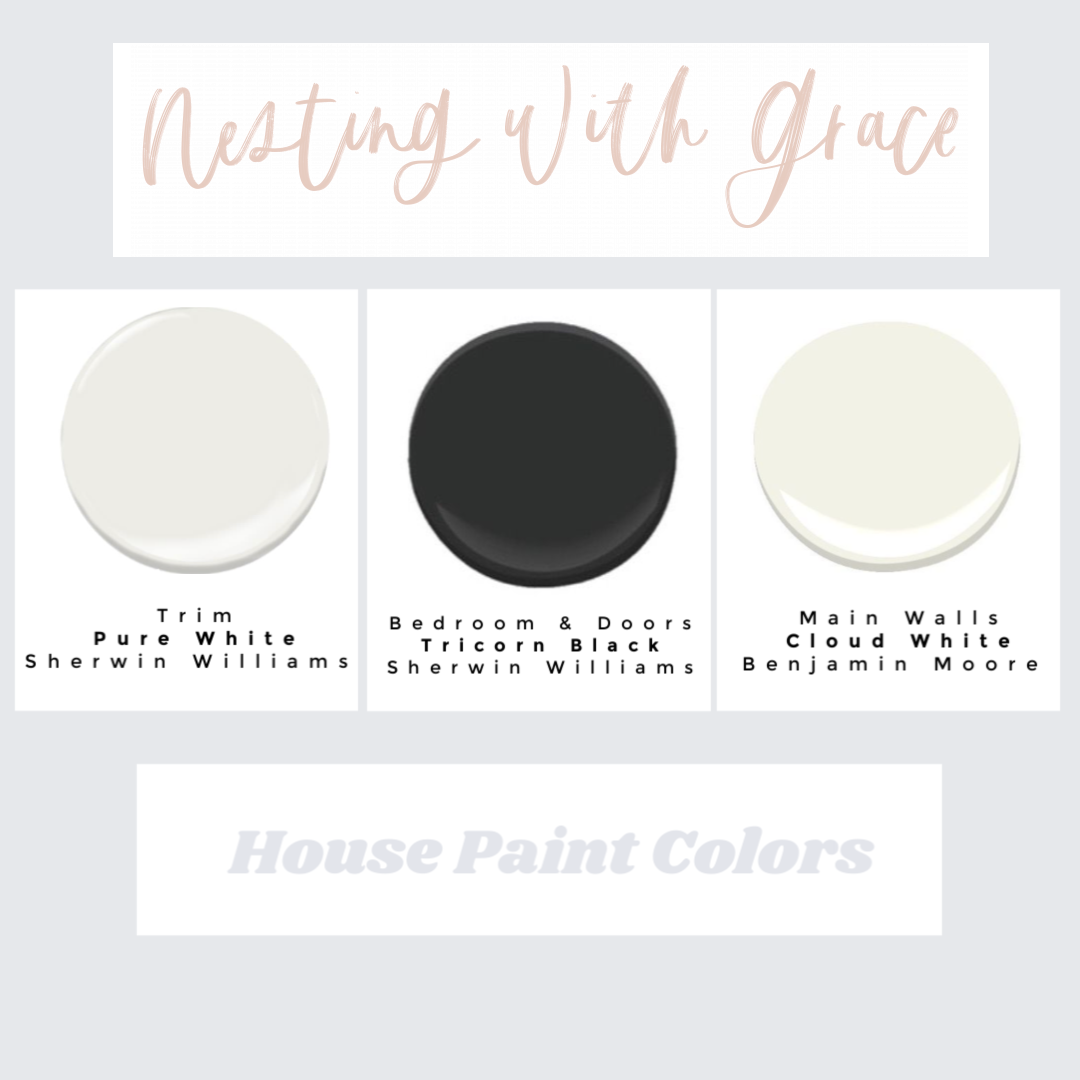
FAQ about paint:
- What are my paint colors? Our new bedroom is painted TriCorn Black from Sherwin Williams. I used a flat finish for our bedroom walls because I didn’t want any shine in the still-small room. I used the same color for my Banquette, but there I did a semi-gloss sheen so I could wipe it down easier.
- Old Master Bedroom Color? Prior to our remodel, we had a dark moody master bedroom, so I wanted the same feel. It was Benjamin Moore Gray (that’s the name.. just gray). Also in a flat finish.
- What is your favorite white paint? The rest of our home is Benjamin more Cloud White (my all time favorite warm white) in a Satin/Eggshell finish. Prior to the remodel, our home was painted Benjamin Moore Cloud Cover (which was a little creamier).
- Should your trim be the same as the walls? Our trim and molding is all painted Benjamin Moore Pure White in Semi-gloss. Again, this is for ease of cleaning and also to have a little difference between the whites.
- What about the ceiling? I typically like a flat, white paint for the ceiling. As part of our remodel, however, we did a planked ceiling, so we had these painted in a satin finish. Again, Benjamin Moore Pure White.
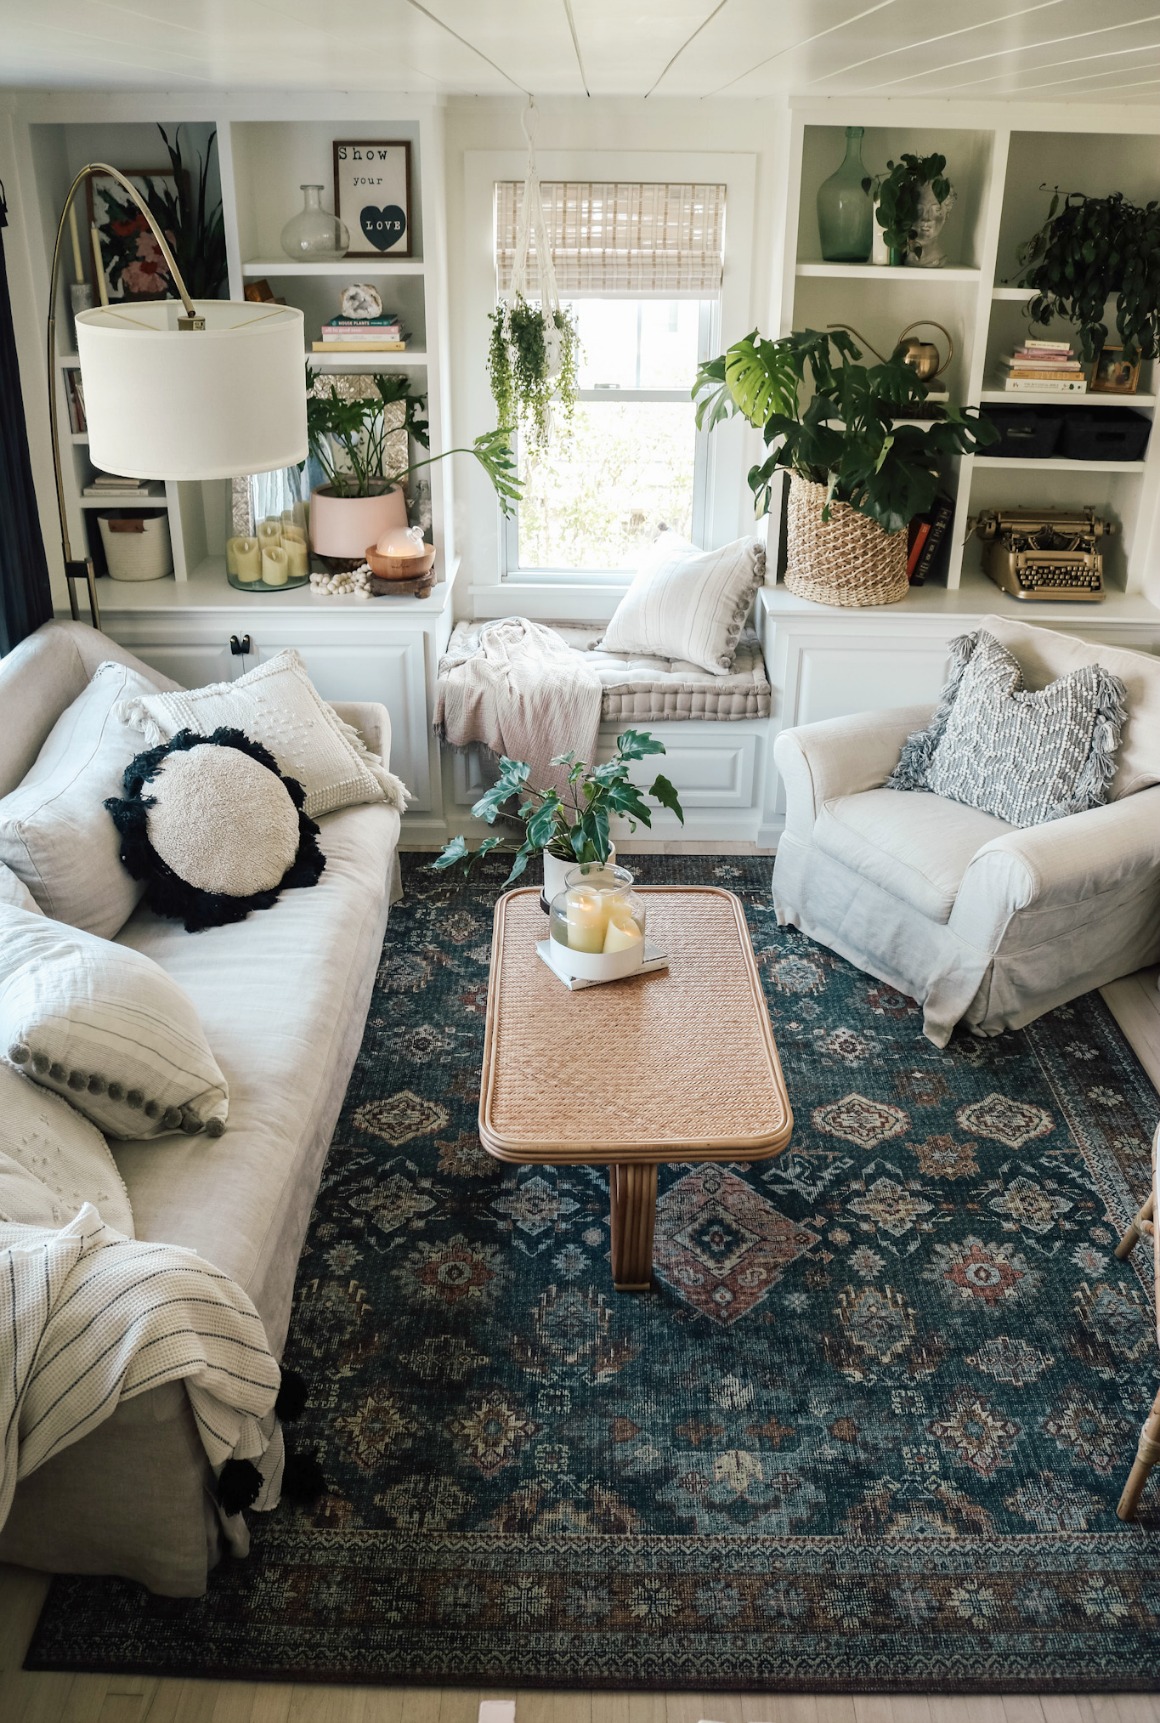
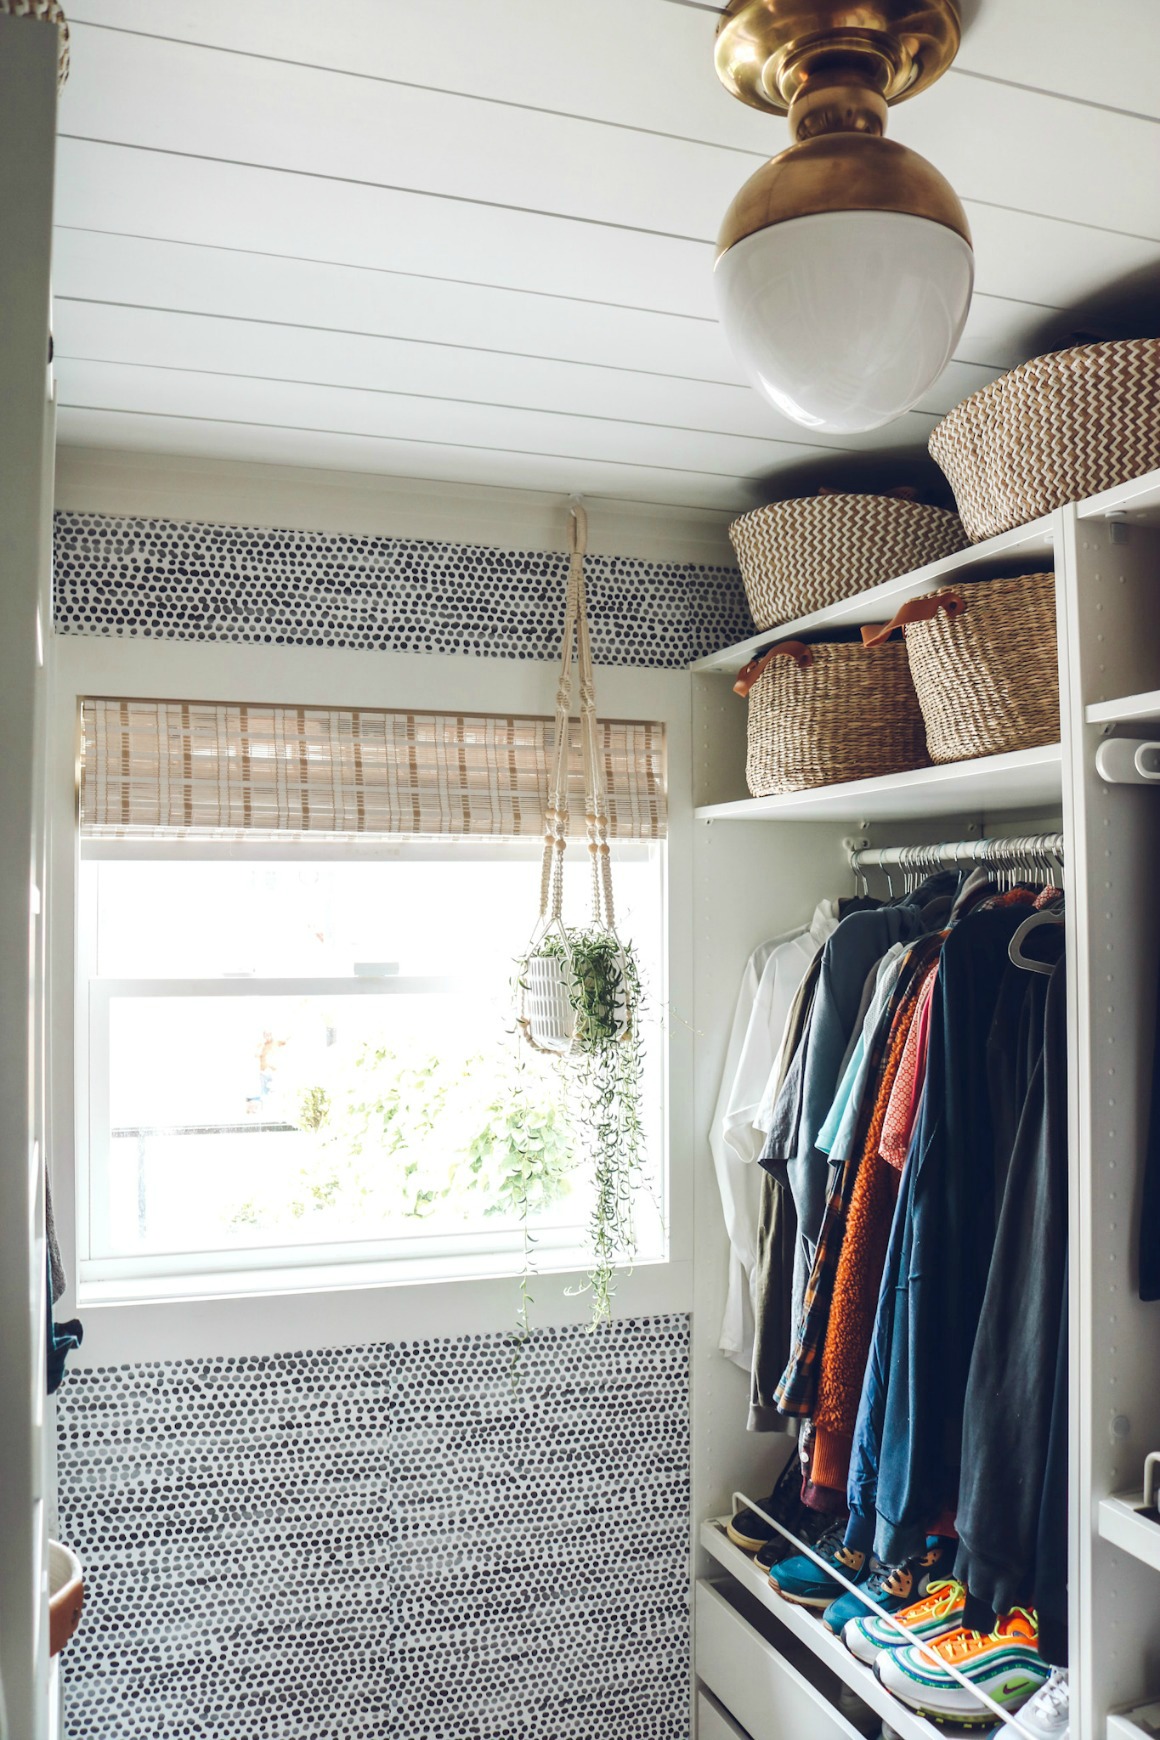
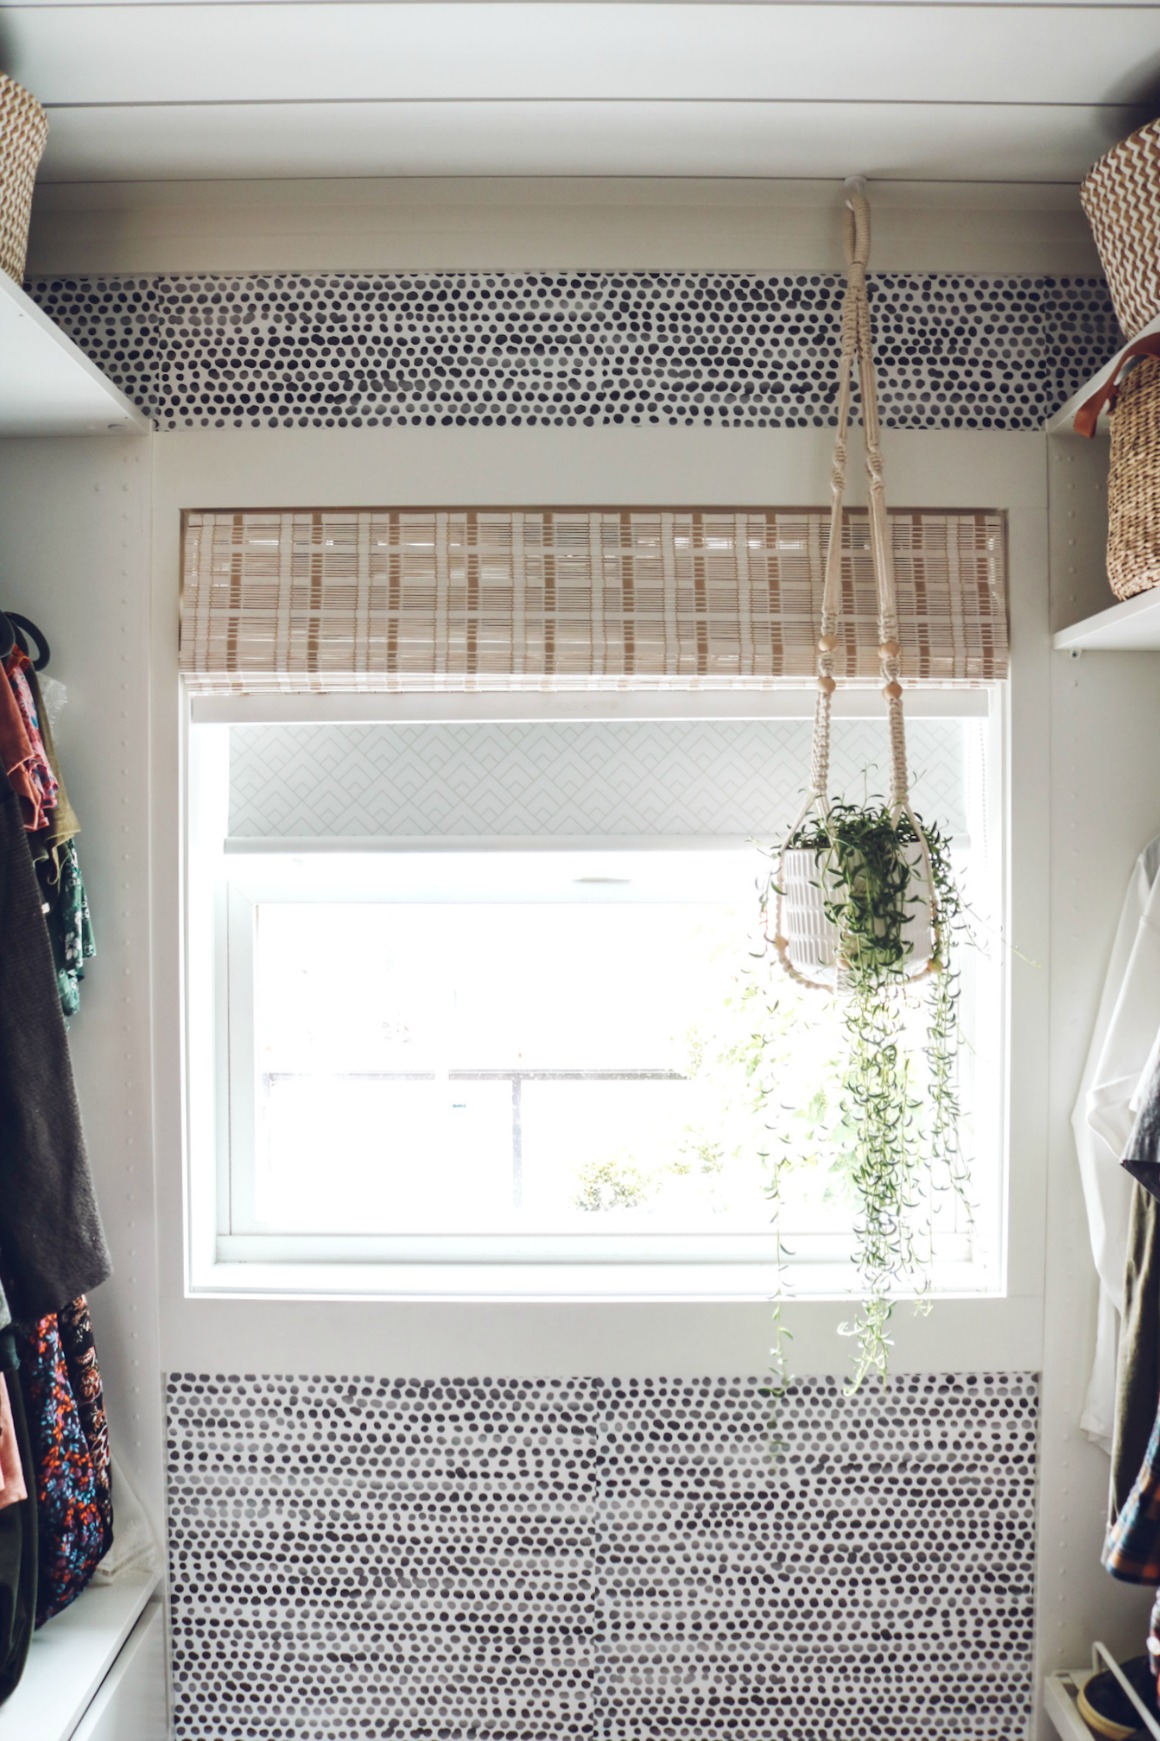
Woven Shades-
THESE affordable shades are tried and tested. I have not only used them in my home for years, but often install them in the rooms that I get to make over for friends and family. One of the big reasons I love them is the texture that they add to a space. They look great all the way up, pulled down, paired with a curtain panel, or just alone! I also love that they are cordless which is not only aesthetically pleasing, but so much safer than blinds with cords. These are available in many colors, but throughout my home, I use the whitewashed color. I did add THESE (those show out of stock- THESE look identical) roller black-out shade behind the woven shades in our master closet and master bathroom, because these rooms are right off our deck and if someone is sitting out there….they get a show! With the roller shade and the woven shade you need 4″.
FAQ about Woven Shades–
- Can you see through them? — These are light filtering, so when you are up close, you can see through them. For this purpose, I will sometimes pair them with a blackout roller shade behind them for more privacy or light control. (Find blackout roller shade HERE also info above)
- My window is too wide for the largest size? –I have found that if you pair two blinds side by side it works nicely and saves you money from having to get custom shades!
- How do you shorten the shades?- I don’t! I just bunch them at the bottom when they are pulled closed (which isn’t often). The bulk of the full the length look cute on top when fully open. All my windows are shorter than the length of these shades.
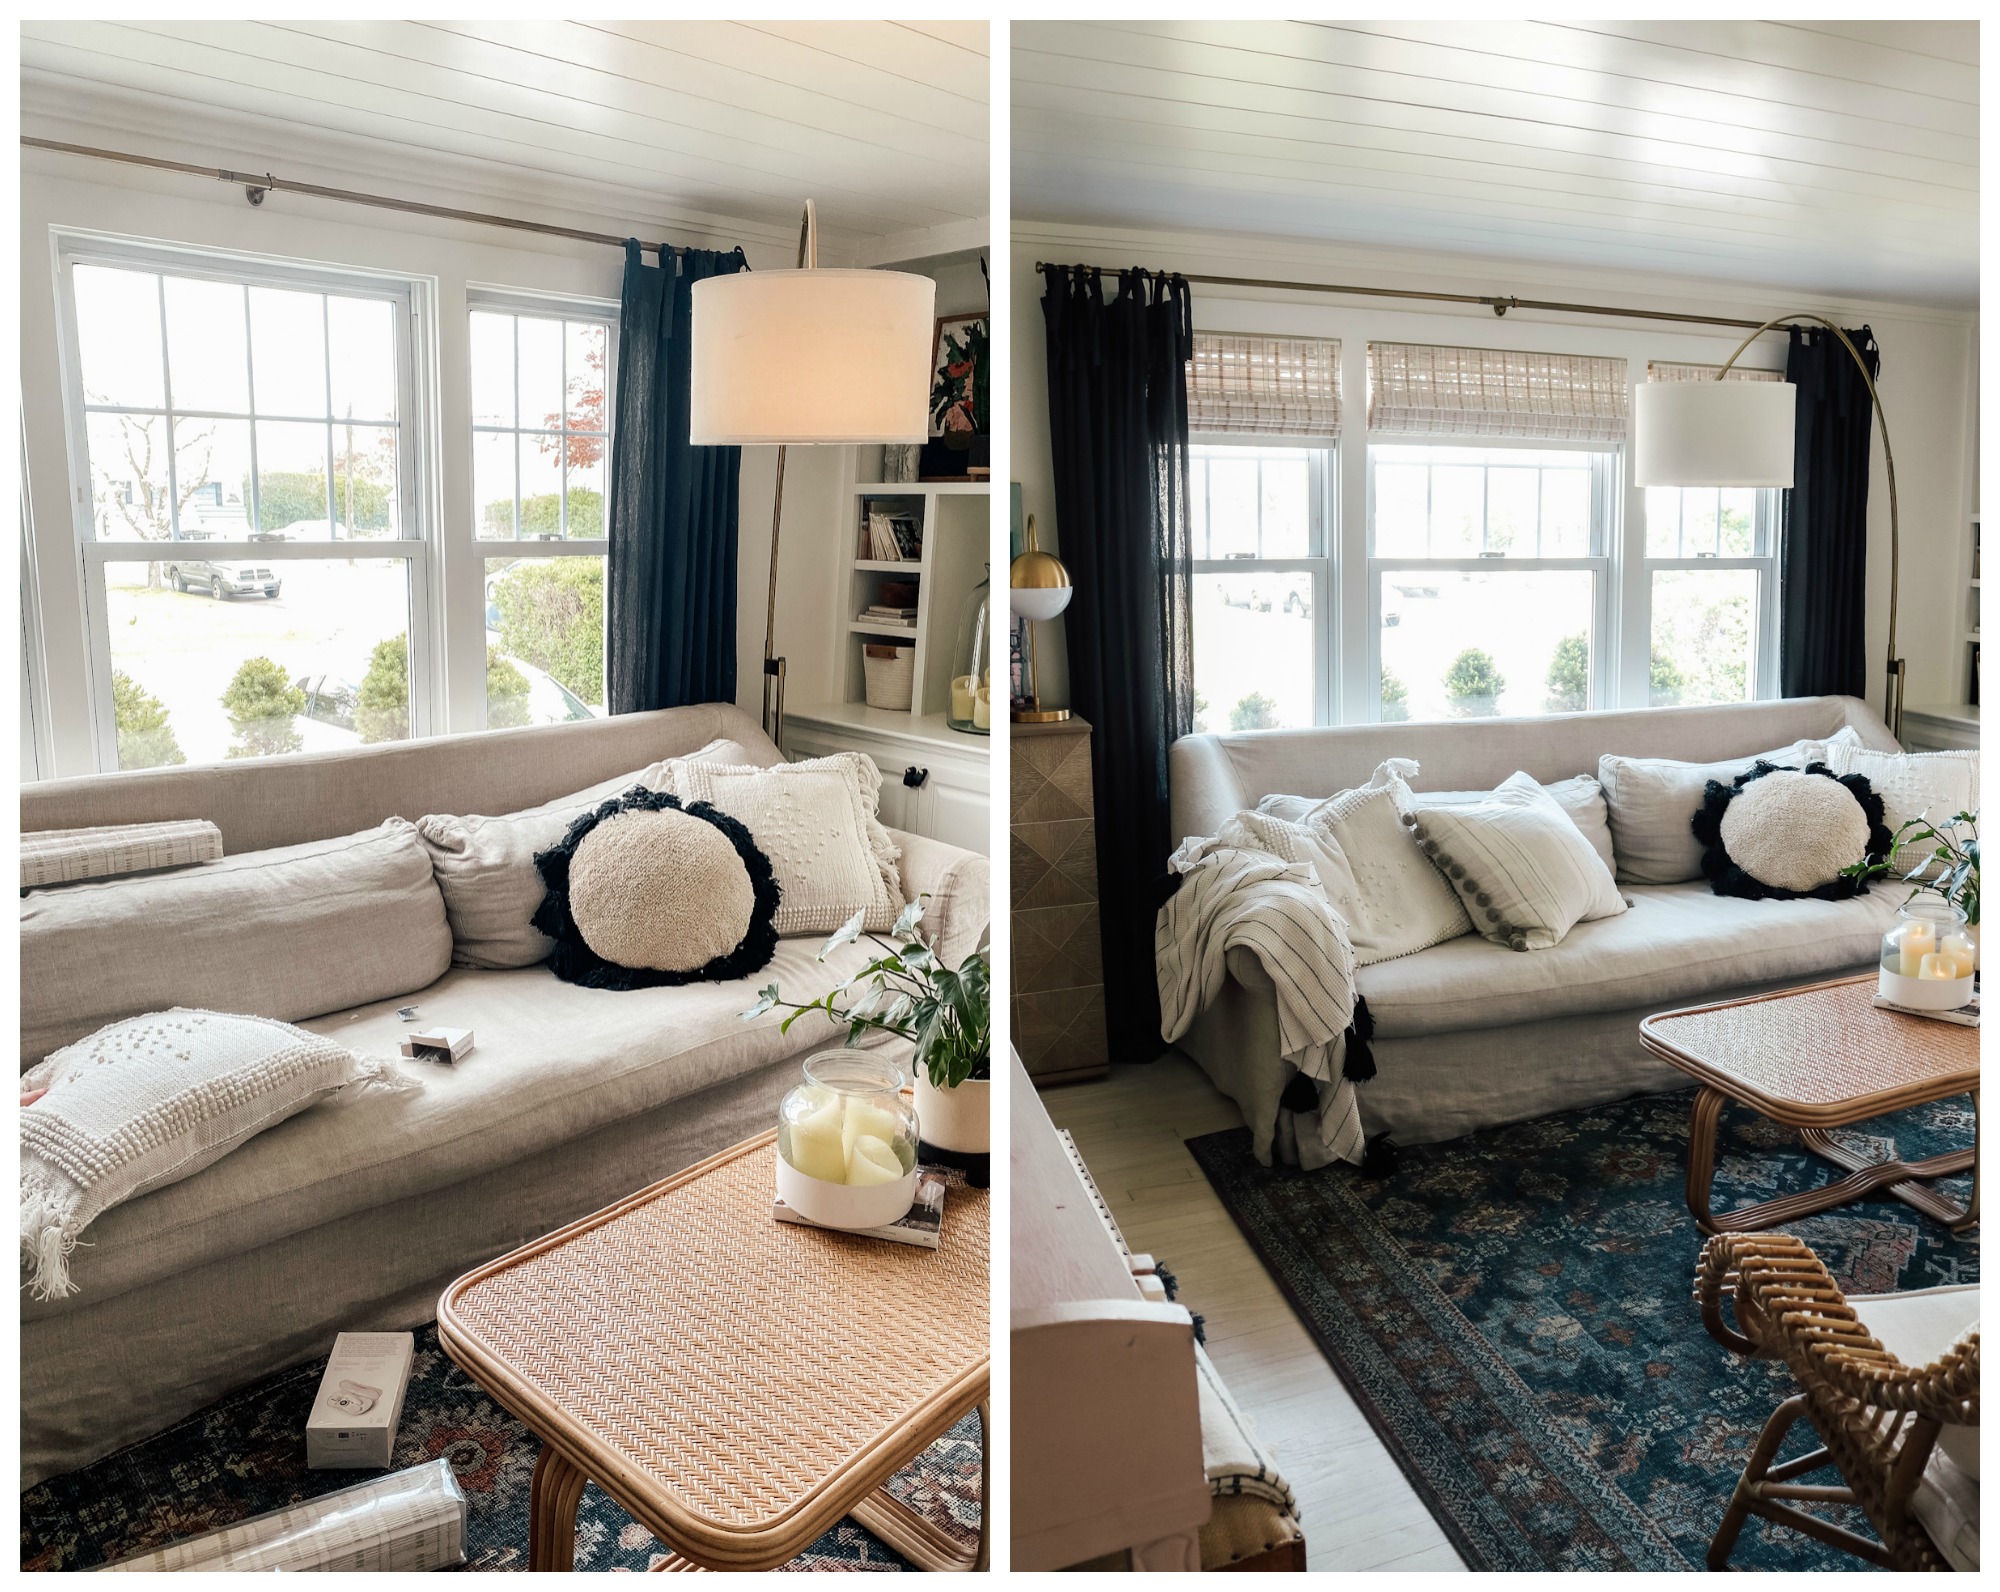
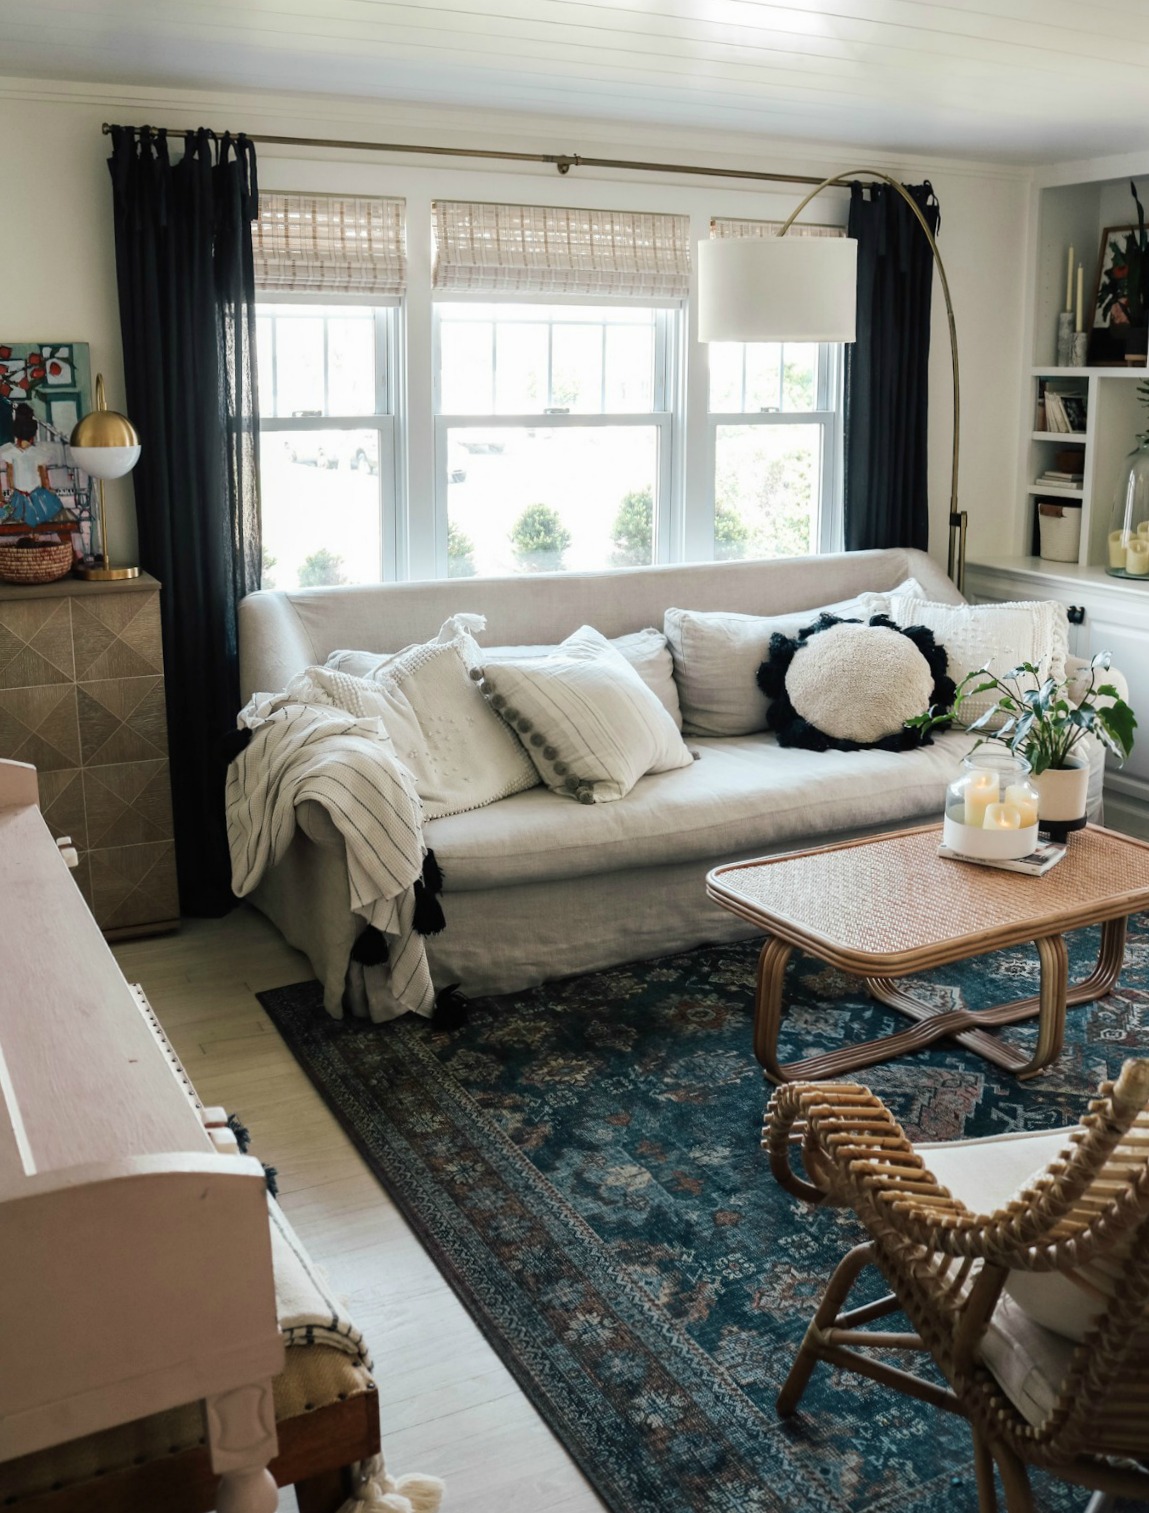
You can see how much woven shades add to a room…before and after!
Wood Floors-
We sanded down our old red oak floors and bleached them, find all our wood floor details HERE. Also we added new herringbone floors in our kitchen. (Details about our kitchen HERE).
You can Shop our Home HERE and all the rest of the details there!