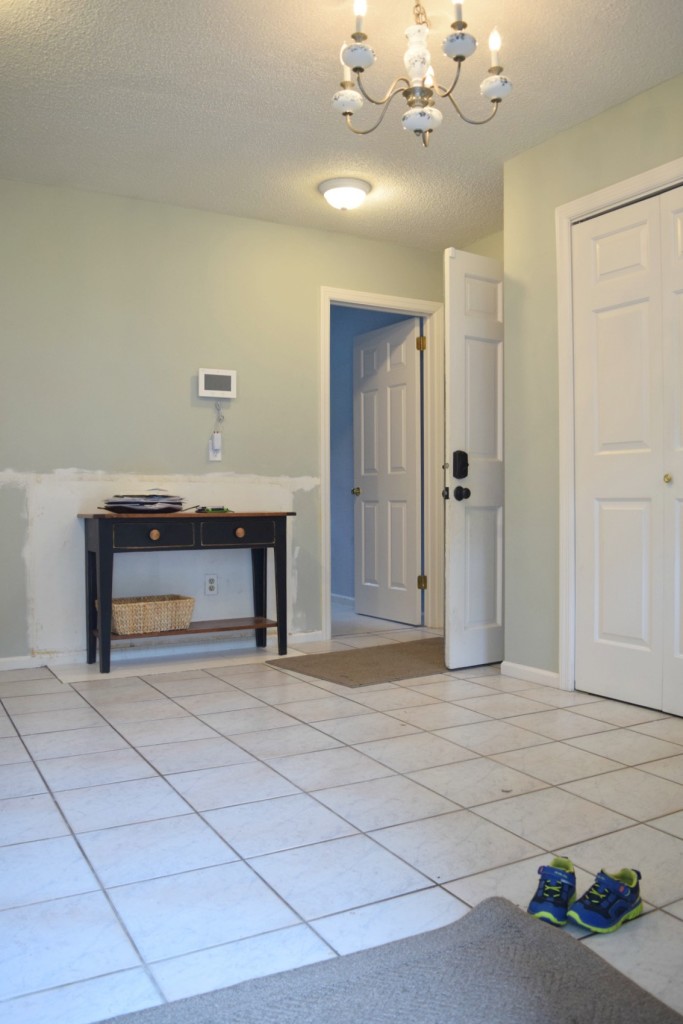
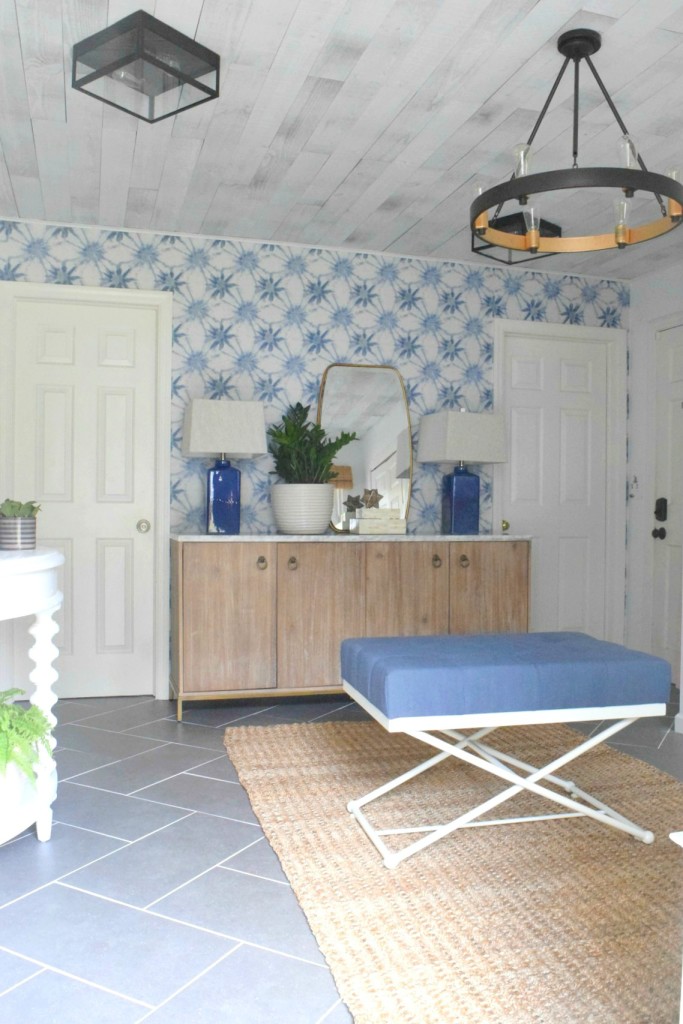
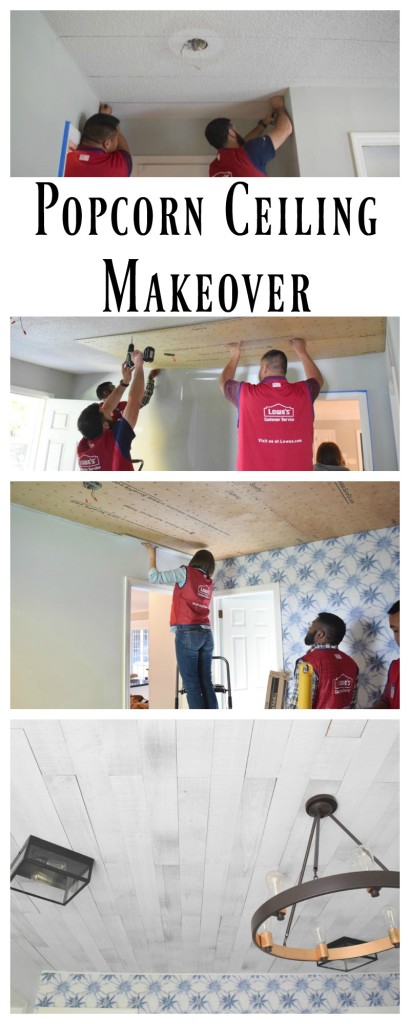
I promised to share more details on the ceiling in the Mudroom that I just revealed on Wednesday. (You can see the full makeover HERE). I had not planned on doing the wood planks on the ceiling. But everything changed once I saw the ceiling in person-it was a dated popcorn ceiling. Do you say it had popcorn all over it? However you say it- It had to go. We couldn’t leave our Makeover Room for the homeowners with a dated ceiling.
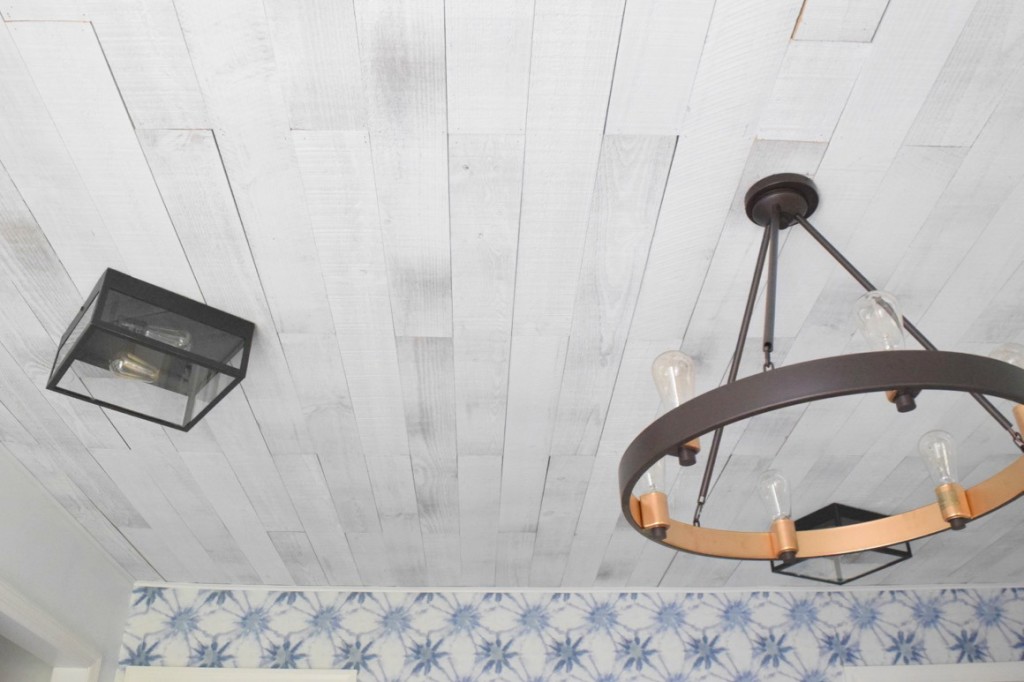
I was thrilled when I found THIS Peel and Stick Wood from Lowe’s Home Improvement Store. I love that it comes already stained in the white wash finish that I wanted for the ceiling. I also like that it comes in a variety of sizes for a little extra charm.
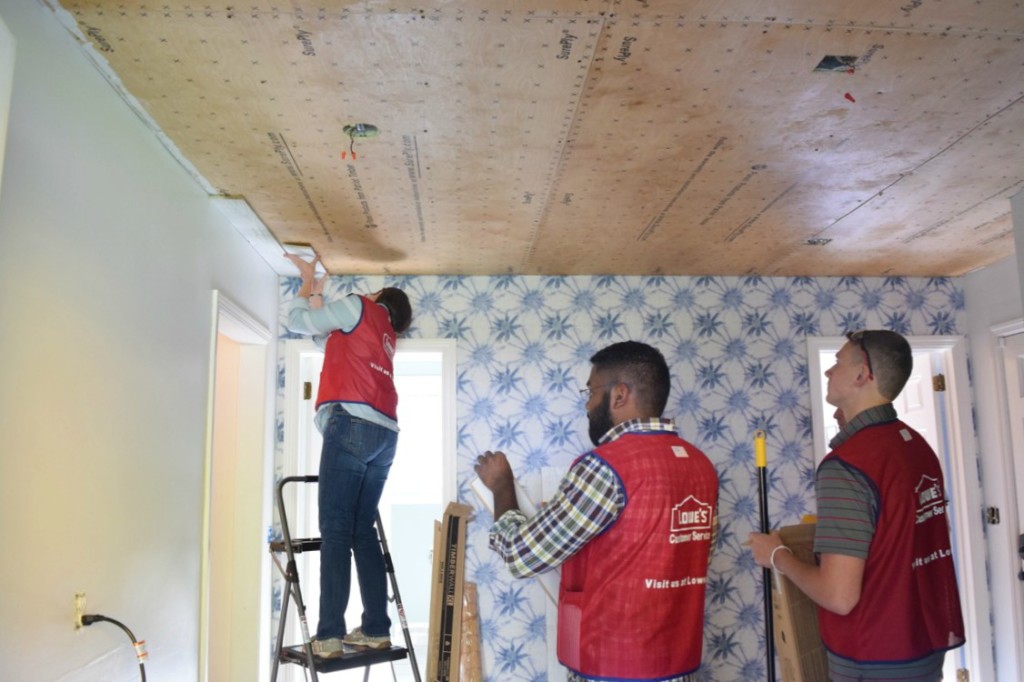
I can not take any credit for the installation. Our Lowe’s team of volunteers saved the day! It was easy once we had all the right tools and knew the best way to keep the wood from falling off the ceiling. Here are the steps that they went through to makeover the dated popcorn ceiling.
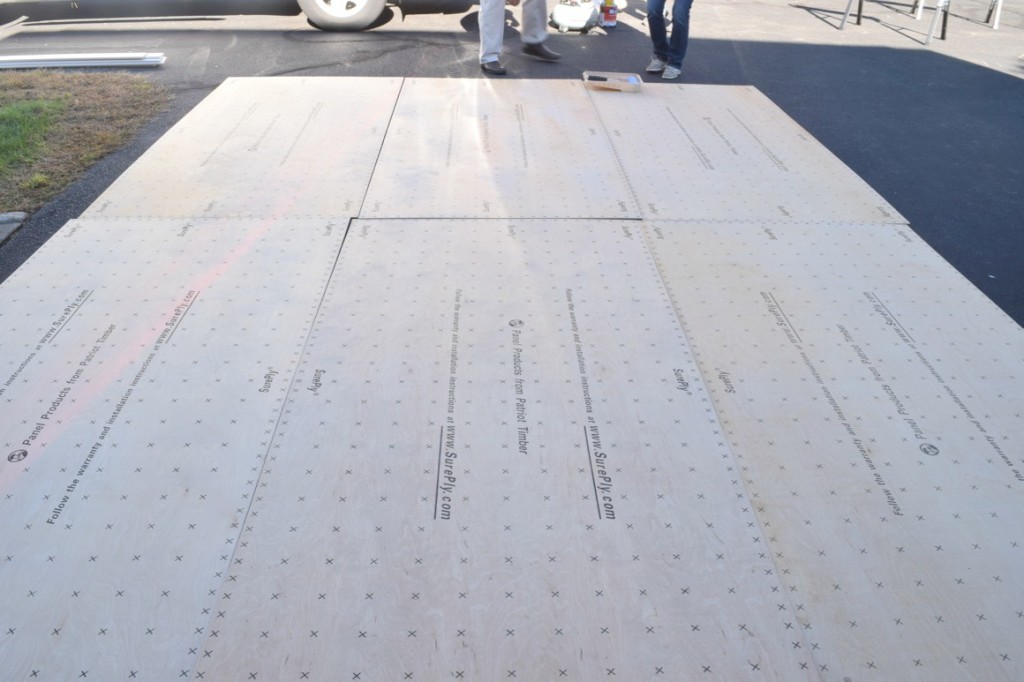
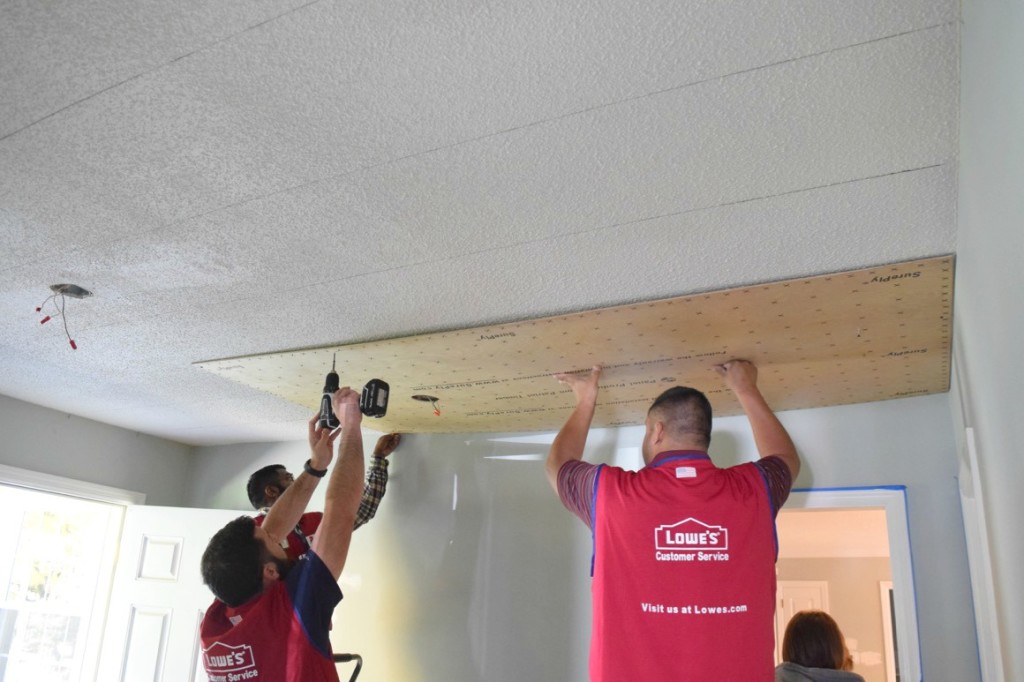
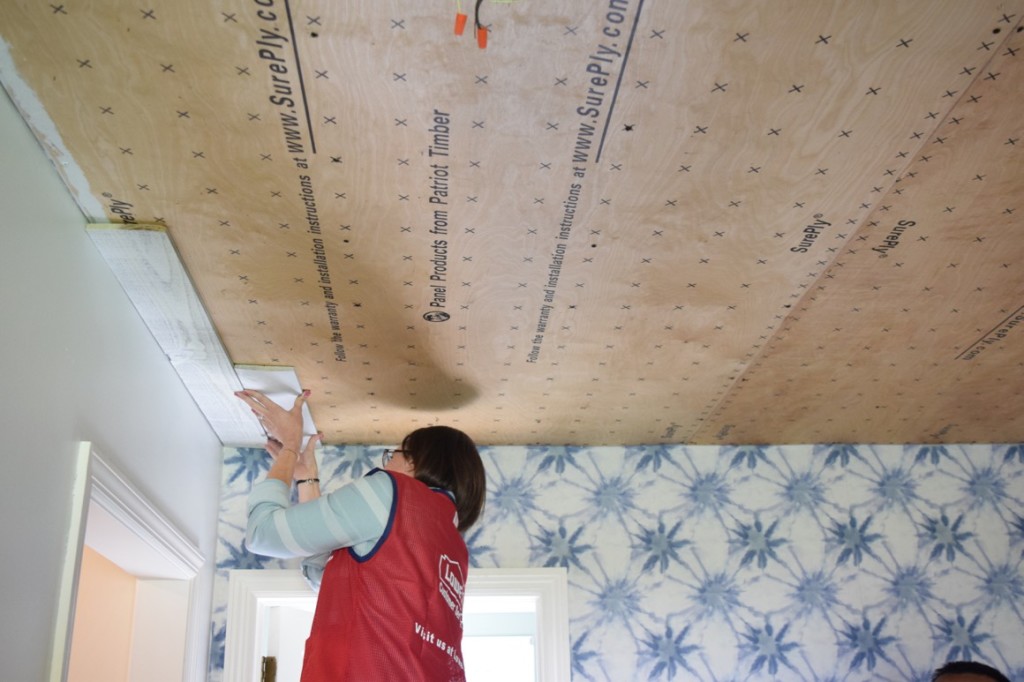
Step #1– Purchase enough Sureply to cover the ceiling. (If you are applying this to the wall this is not necessary). Without the Sureply the wood would not be able to adhere to the ceiling.
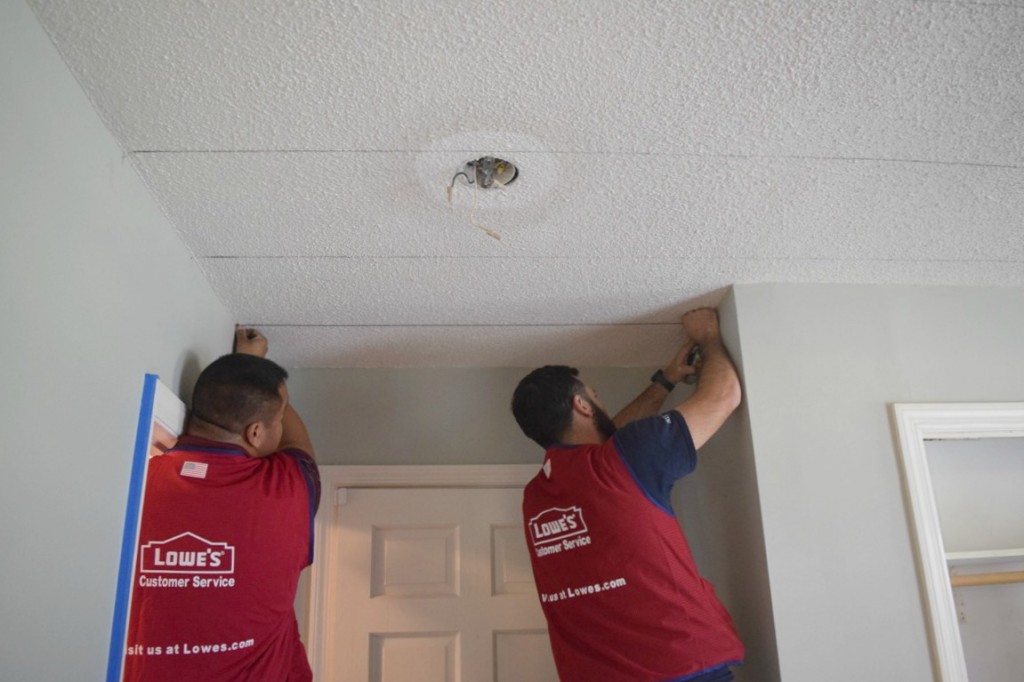
Step #2– Find the studs in the ceiling. (Not the one’s in the red vest;)…had to go there.) The studs are typically spaced 16 or 24 inches apart. A stud finder is best to find the studs. We marked the studs with pencil across the entire ceiling so we knew where to screw the Sureply to.
Step #3– Measure where the light fixtures are and cut out holes for the fixtures.
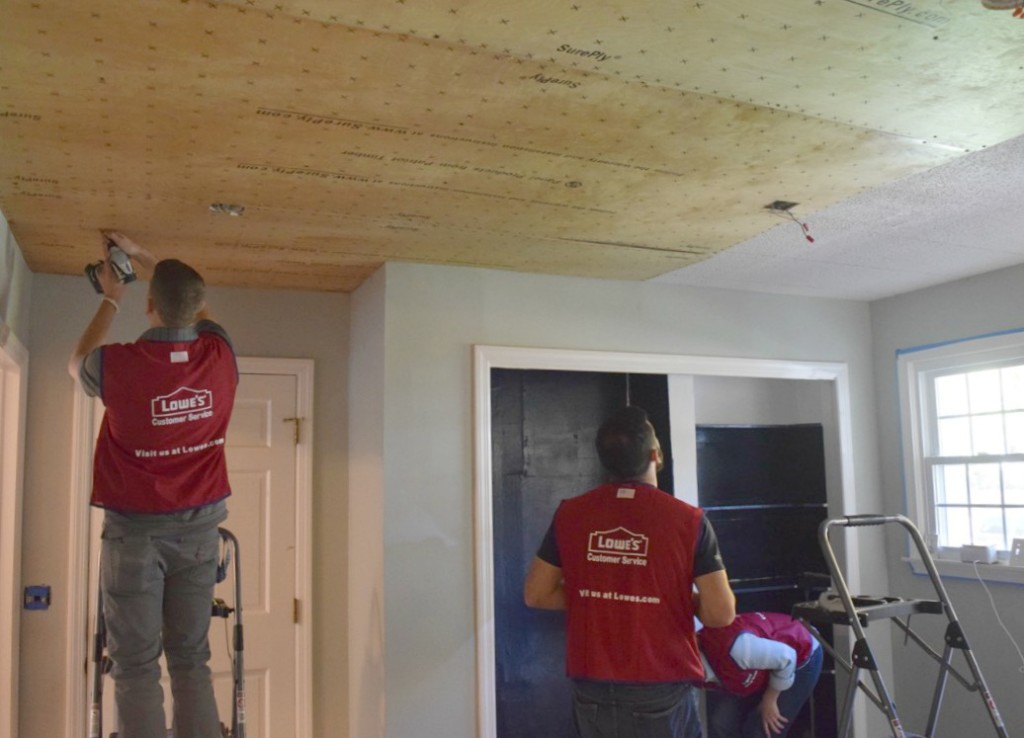
Step #4– Grab some help and hold up the Sureply to the ceiling. Screw the Sureply to the ceiling along your stud line.
Step #5– You are ready to install the peel and stick wood! Since THIS peel and stick wood that we used came in varied sizes. We started every row the same so we had the same pattern all over the ceiling. We finished one row before starting the next. When we got to the end we measured the space left and used a saw to trim down the last piece of wood.
Note– We did use a nail gun to apply the wood even though it is a peel and stick product. We did try it without using a nail gun, let’s just say we needed helmets to be in the room. If you were to apply this peel and stick wood to a wall you would not need to use a nail gun or the Sureply.
I Hope that helped! Leave a comment if you have questions. You can also read THIS post for another option of covering up an outdated ceiling, like I had in my master bedroom.


Love the planks! We are thinking of re-doing a vintage RV, + I was going to investigate something peel + stick for the walls.