I have a simple follow up DIY tutorial from the nursery I shared a week or so ago. This is an easy custom Toy Storage Idea for a kids room or baby nursery. Even think outside the “Toy” label I put on it and use it for a unique rolling hamper in a laundry room or really ANY space that you can think of and need custom storage for. This custom way to organize toys cost under $50 and the original version that gave me my inspiration was well over $125.
A lot of you requested this tutorial from when you saw it on the nursery post and on my Instagram Stories (videos I shared on Instagram) I linked the simple DIY Tutorial Video at the end of the post too. I wanted to first share a couple “Toy Storage Tips” because I think this is a hot topic for a lot of us, especially if you live in a smaller home and or don’t want toys taking over your home.
Toy Storage Tips-
- You don’t need to keep ALL your kids toys within arms reach. In our small home we don’t have space for all the toys. I rotate Finn’s toys every couple months. He has a nice set of big Lego’s and is not into them right now, so I bagged them up and took them to the basement. I also have a bag that I keep in the car of assorted toys that I can easily grab when we go to soccer practice or games to keep Finn entertained without having to remember the toys every week.
- Pick out a couple things they haven’t played with for awhile and donate. Just like clothes! I go thru my girls toys about once a month and especially right after Birthdays and Christmas. You know that trick with the hanger and the clothes? You turn all the hangers in your closet the opposite way then at the end of 6 months the hangers that are NOT turned back around, those are the clothes you donate. What if we did that idea with TOYS?? Maybe tie ribbon around the part they would need to use or put a sticker on them or place them all a certain way and then in a month if they have not moved then you can point out that they have not been played with in this amount of time and it is time to let it go.
- Encourage family members for Birthdays or Holidays to give experiences! Less toys to even have to find storage solutions for (easiest tip ever!)
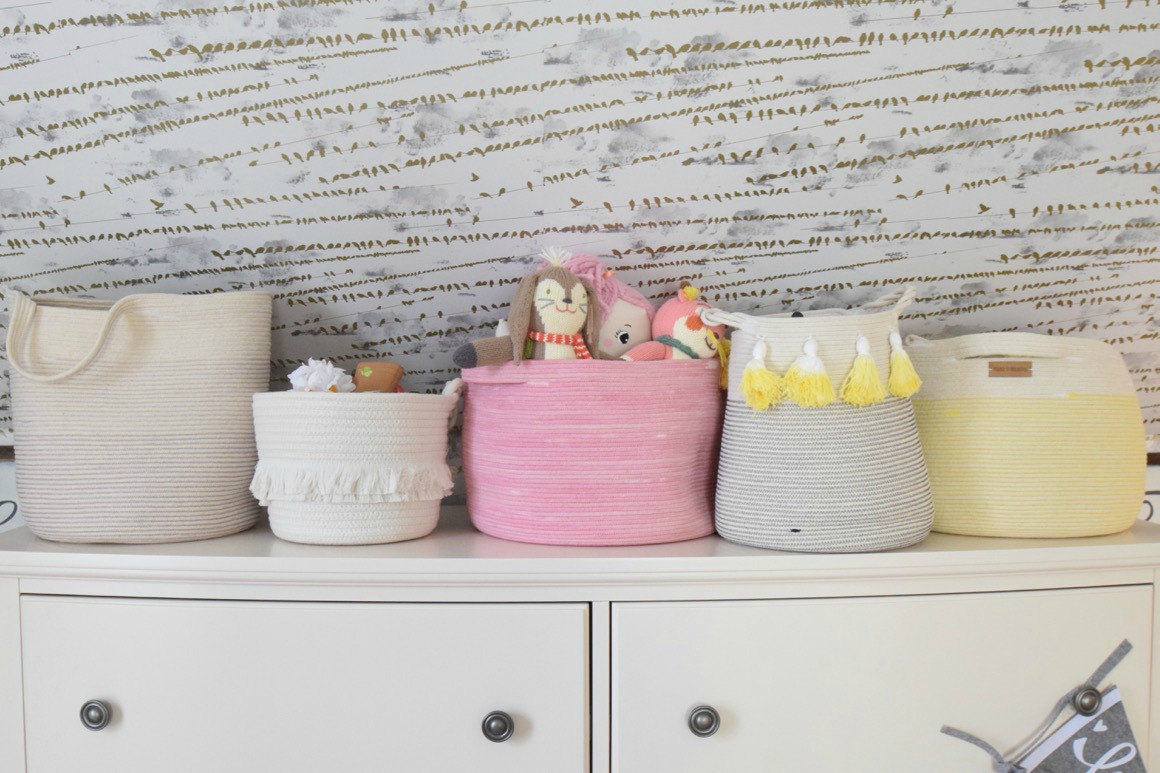
- Group like or similar toys in baskets and bins. Make sure to include your child in the toy organizing. This will help them to want to put their things back, because they created this concept and know where everything goes. Finn, who is 20 months is actually really good at putting things away because I ASK HIM to do it!
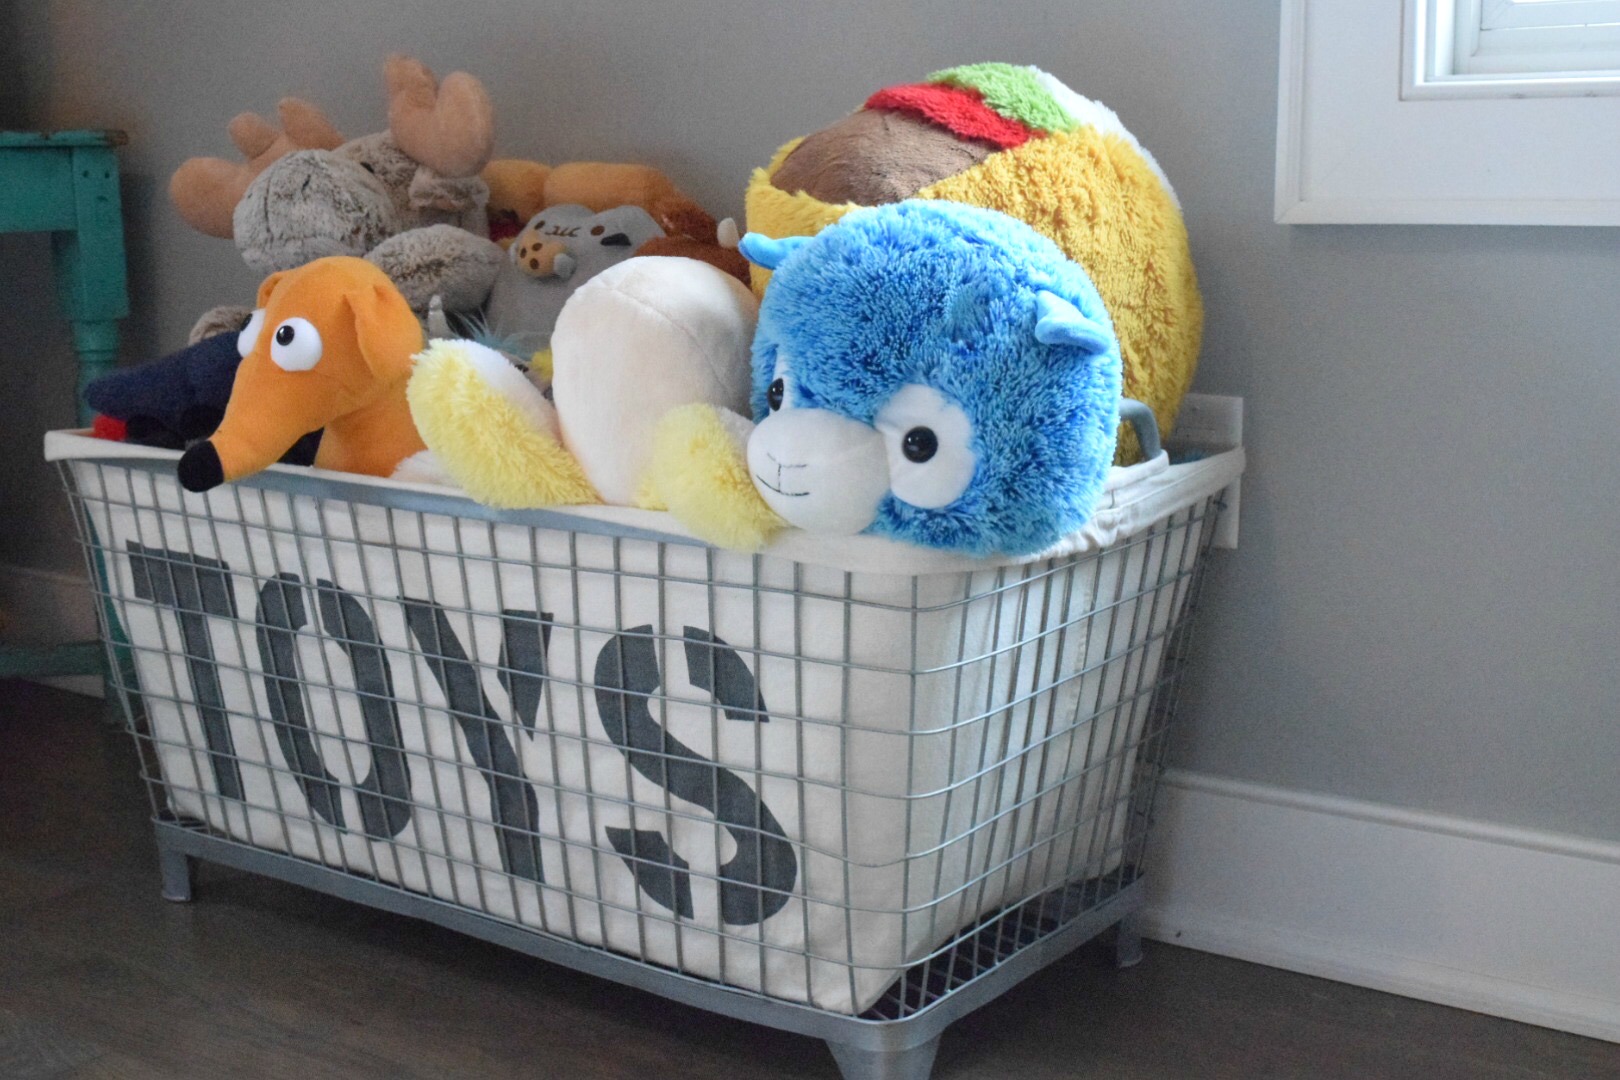
- In the TOY storage bin below- the son collects those stuffed animals. He had A LOT of them- but I have to say they looked really cute displayed in his room. She had them on a big shelf above his bed and desk (see his room HERE). You can decorate with your kids toys- BUT (this is a big BUT) if they are a collection because grouping like things looks less cluttered. I love the ideas of encouraging your kids or finding out what they are really into. My nephew loves the plastic animal figurines, these would look great on a bookcase in an open basket.
My daughter loves LEGOS and if you missed it I found the ultimate Storage solution to all the LEGOS on THIS blog post.
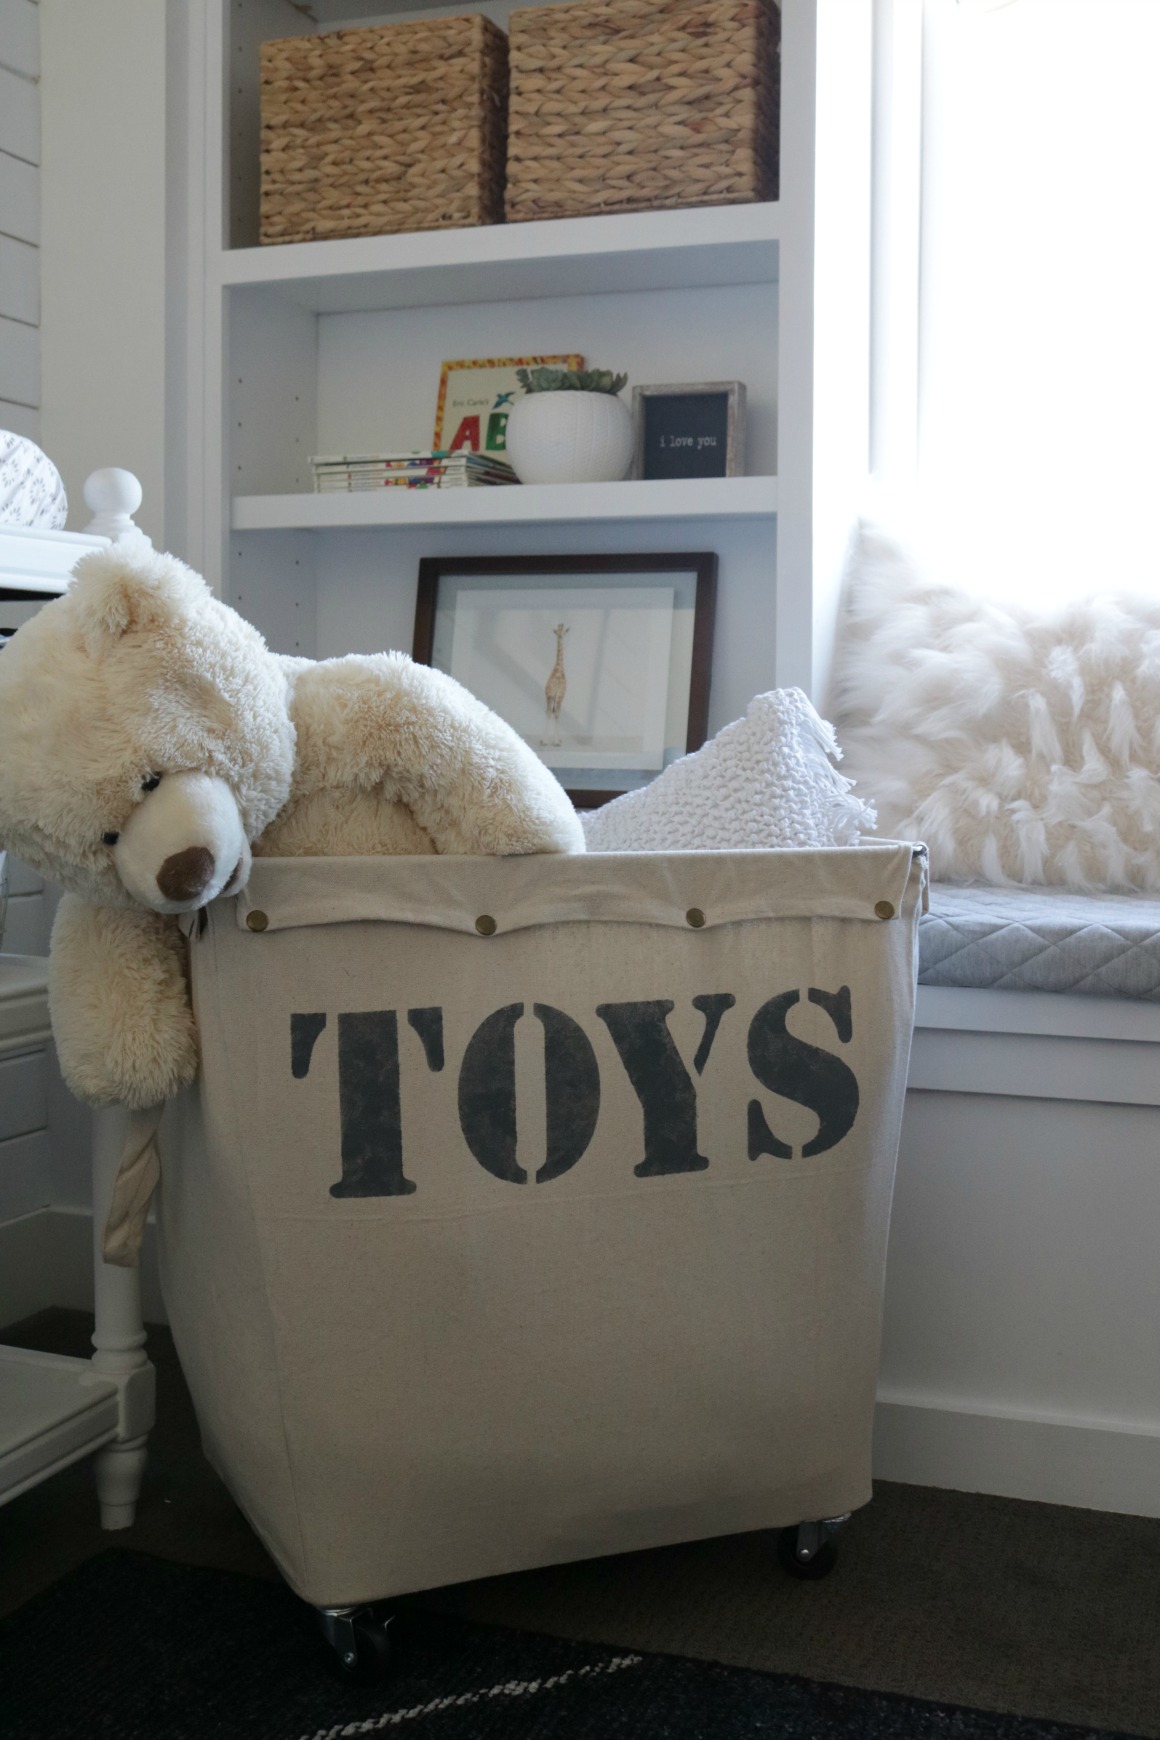
This custom Toy Metal and Jute Bin was my inspiration! Not intentionally. I found the hamper on Lowe’s website just after searching for toy storage solutions. I thought the front looked empty and remembered this Toy Bin I saw when I toured the cutest house in my area. Amazing how just seeing things is like gathering a cabinet full of unique ideas that pop up in your mind at just the right time. (You can see this entire Coastal Home HERE).

Supplies Needed-
- Hamper or a Burlap Bag I used THIS exact Hamper from Lowe’s
- Stencils, I used THESE exact Stencils
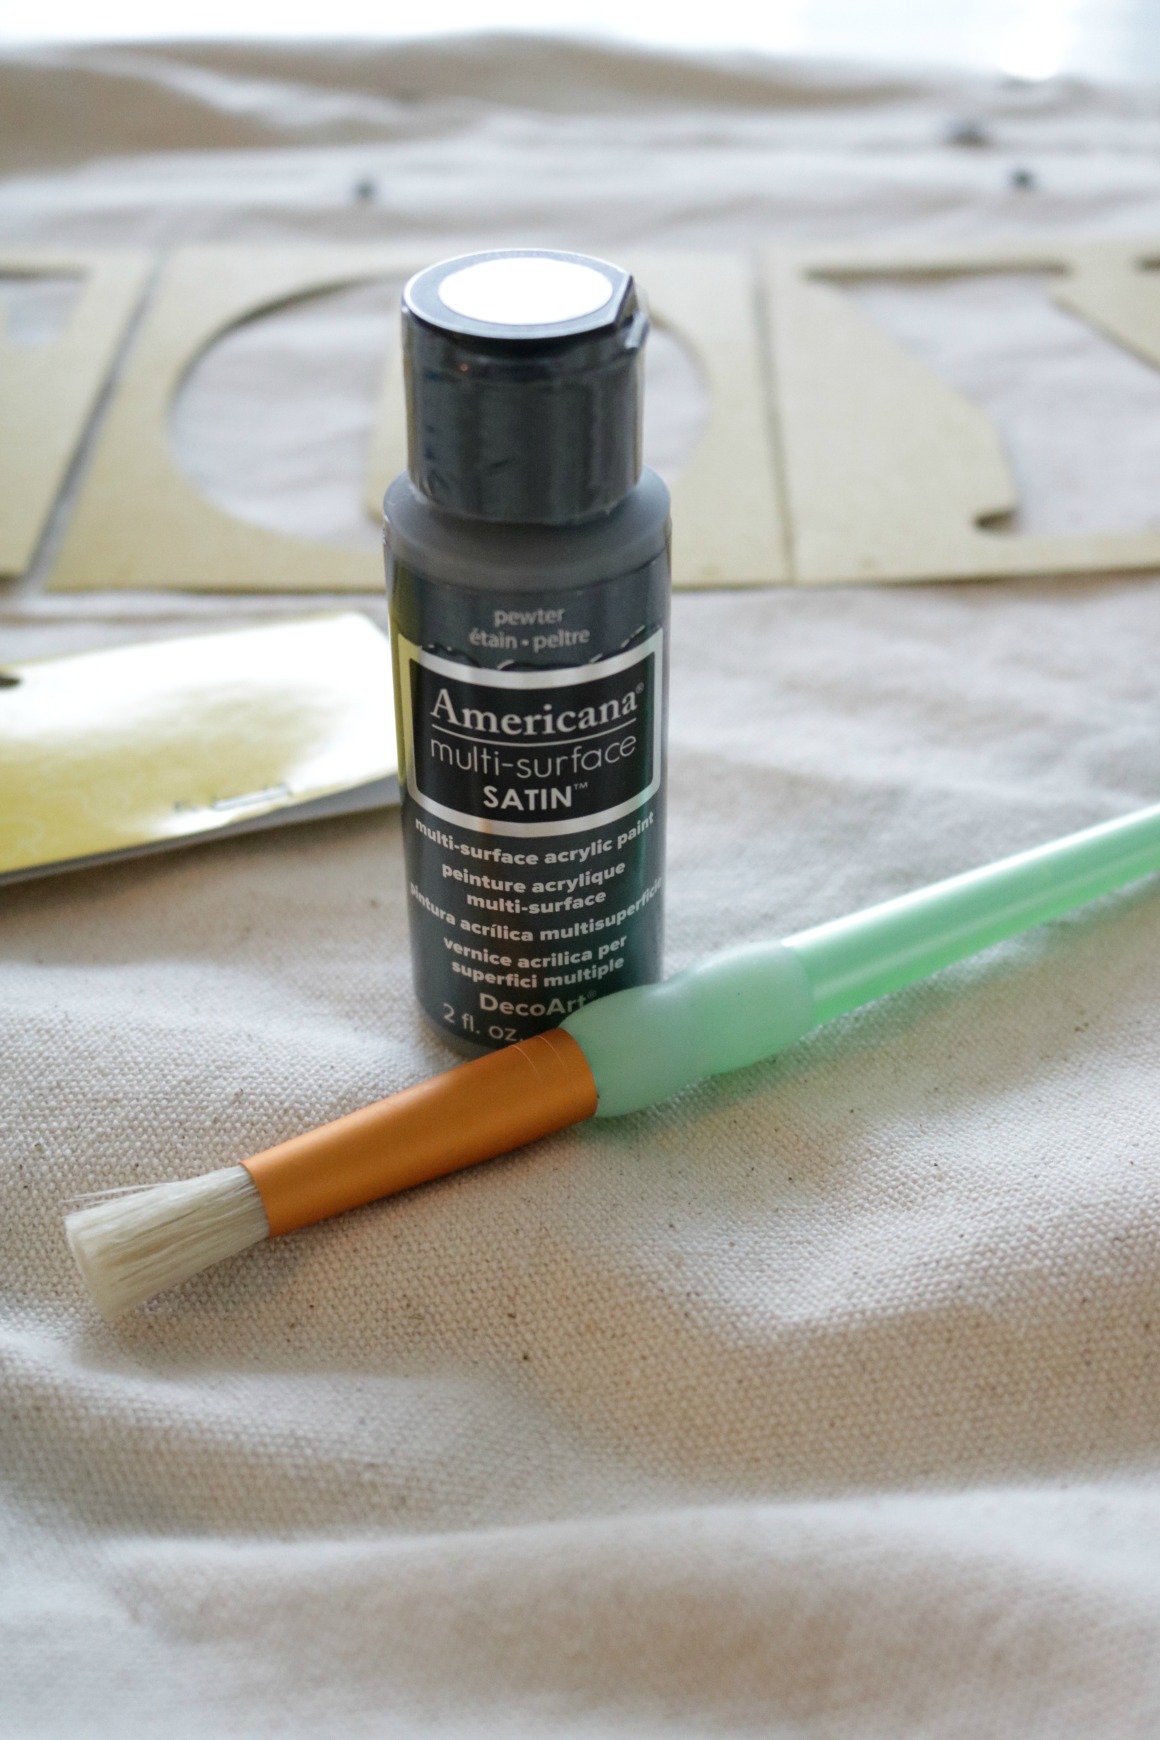
- Multi-Surface Paint (I used color Pewter)
- Stencil Brush
- Piece of Cardboard size of stencil (to layer between inside the bag to protect the paint from bleeding through)
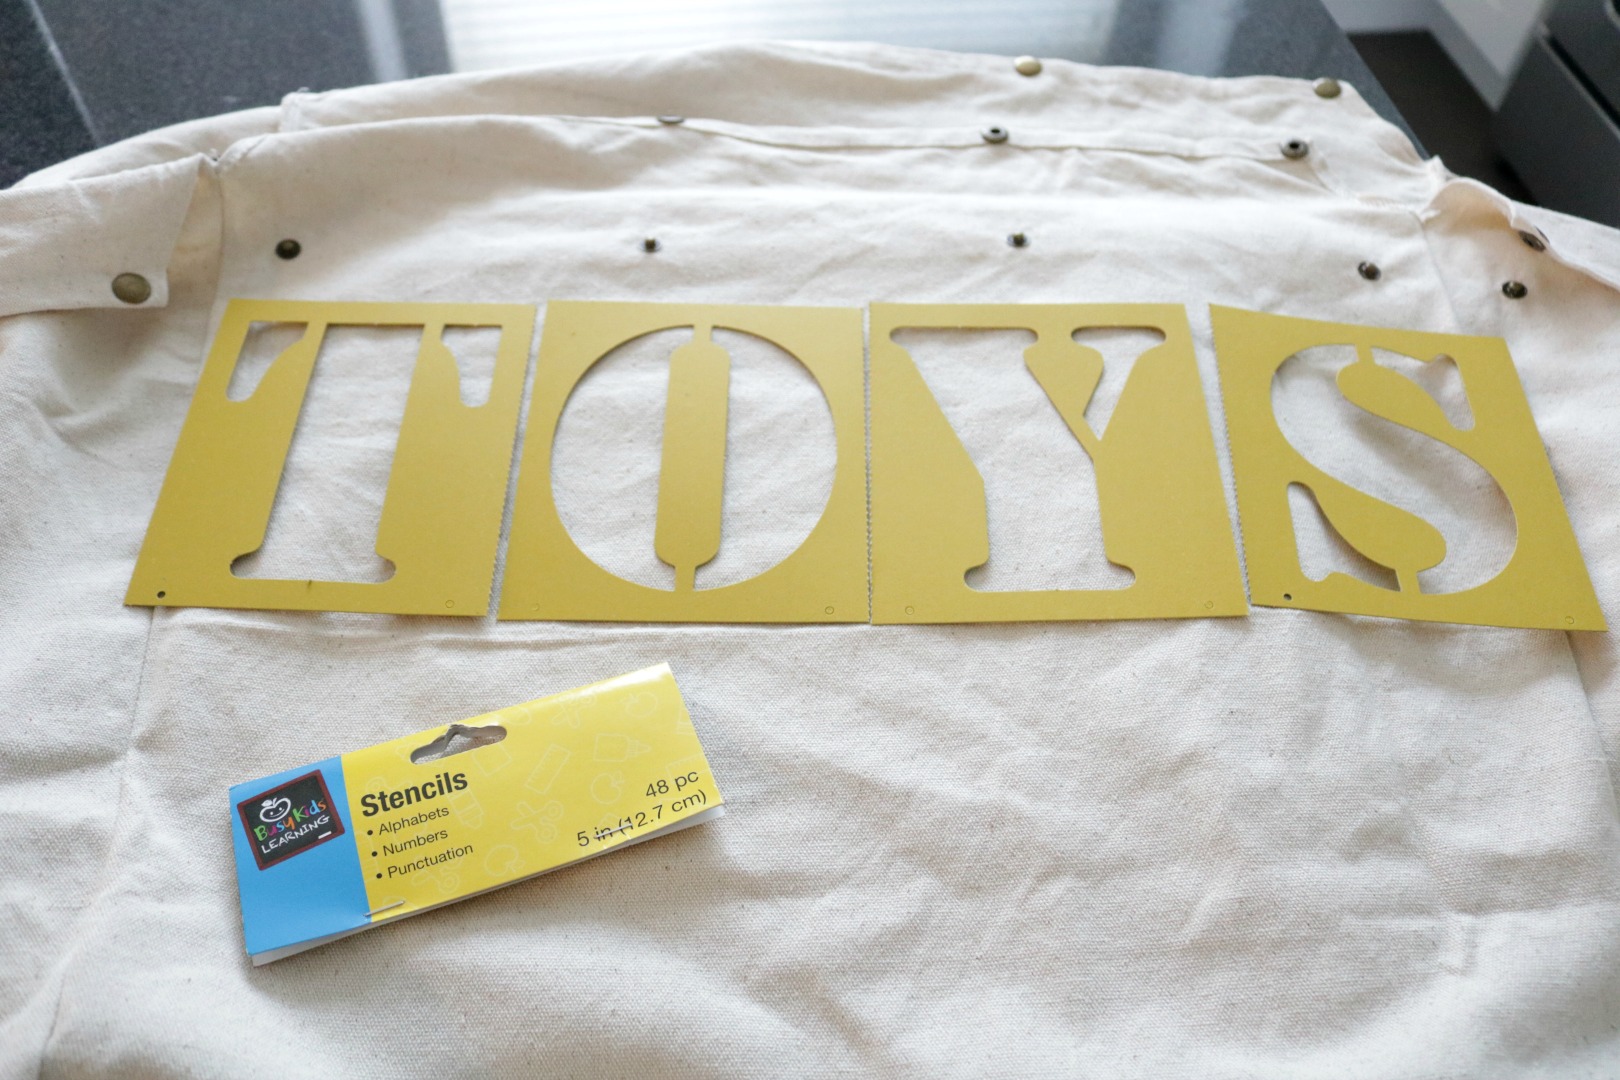
Step 1- Lay out your stencils, I made sure to center the middle letters first then you can overlap the end letters to fit inside the seem.
TIP– Don’t put together your hamper yet, easiest to paint when you can lay the burlap hamper flat.
Squeeze some paint onto a paper plate or piece of cardboard. Dab your Stencil Paint Brush in the paint then test it on the same paper plate to get off the excess. You don’t want your first dab of paint on your hamper to be too much.
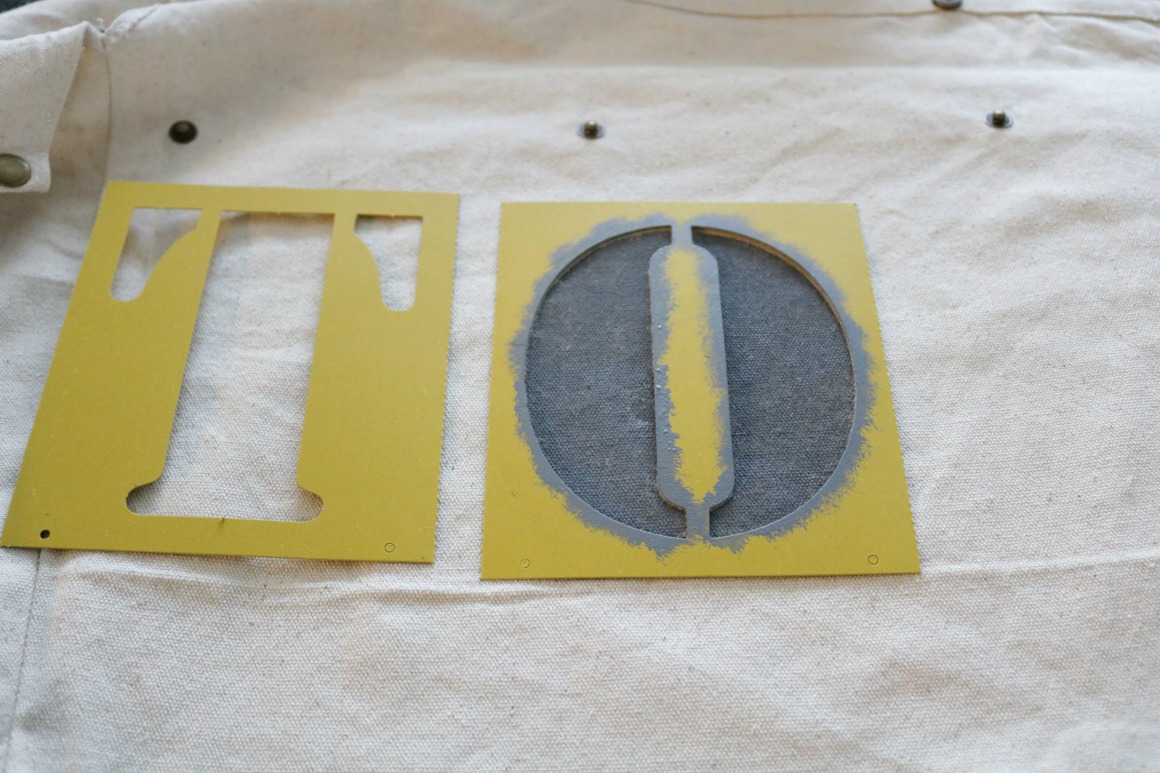
Make sure to hold down the stencil as you apply the paint. You can apply as much paint as you want.
TIP– Go light on the paint, easier to add then take away.
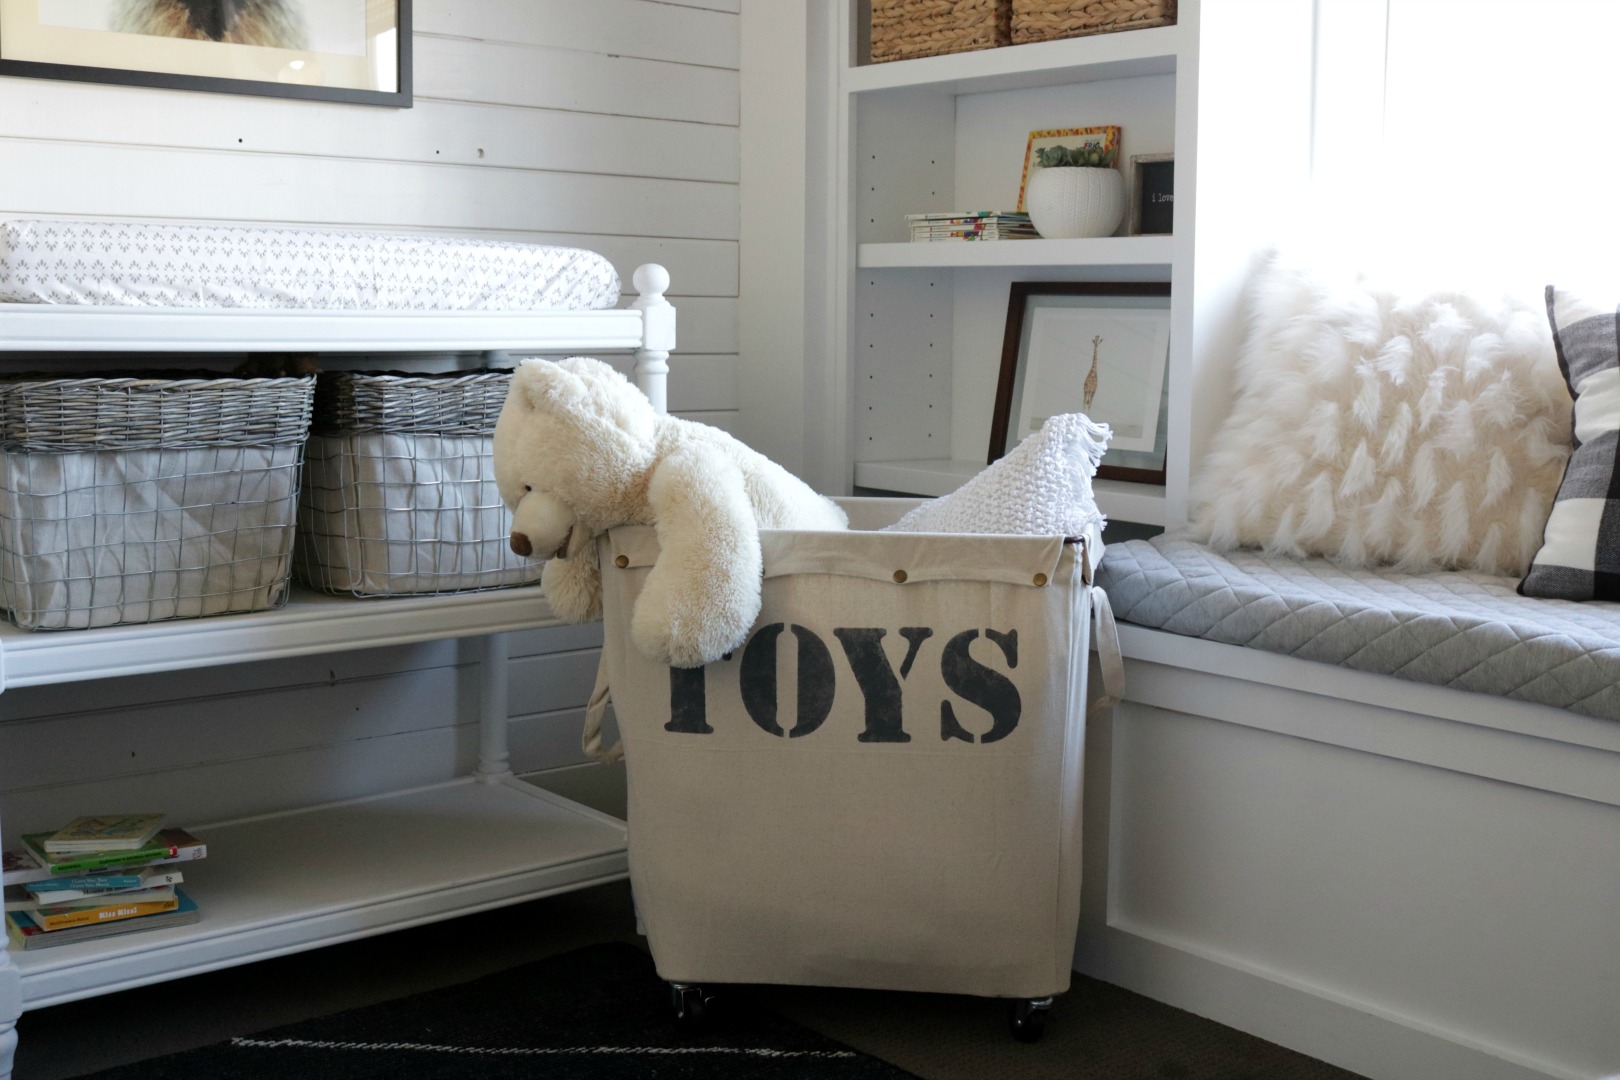
That’s it! Custom Toy Hamper for under $50 and done in 5 minutes!
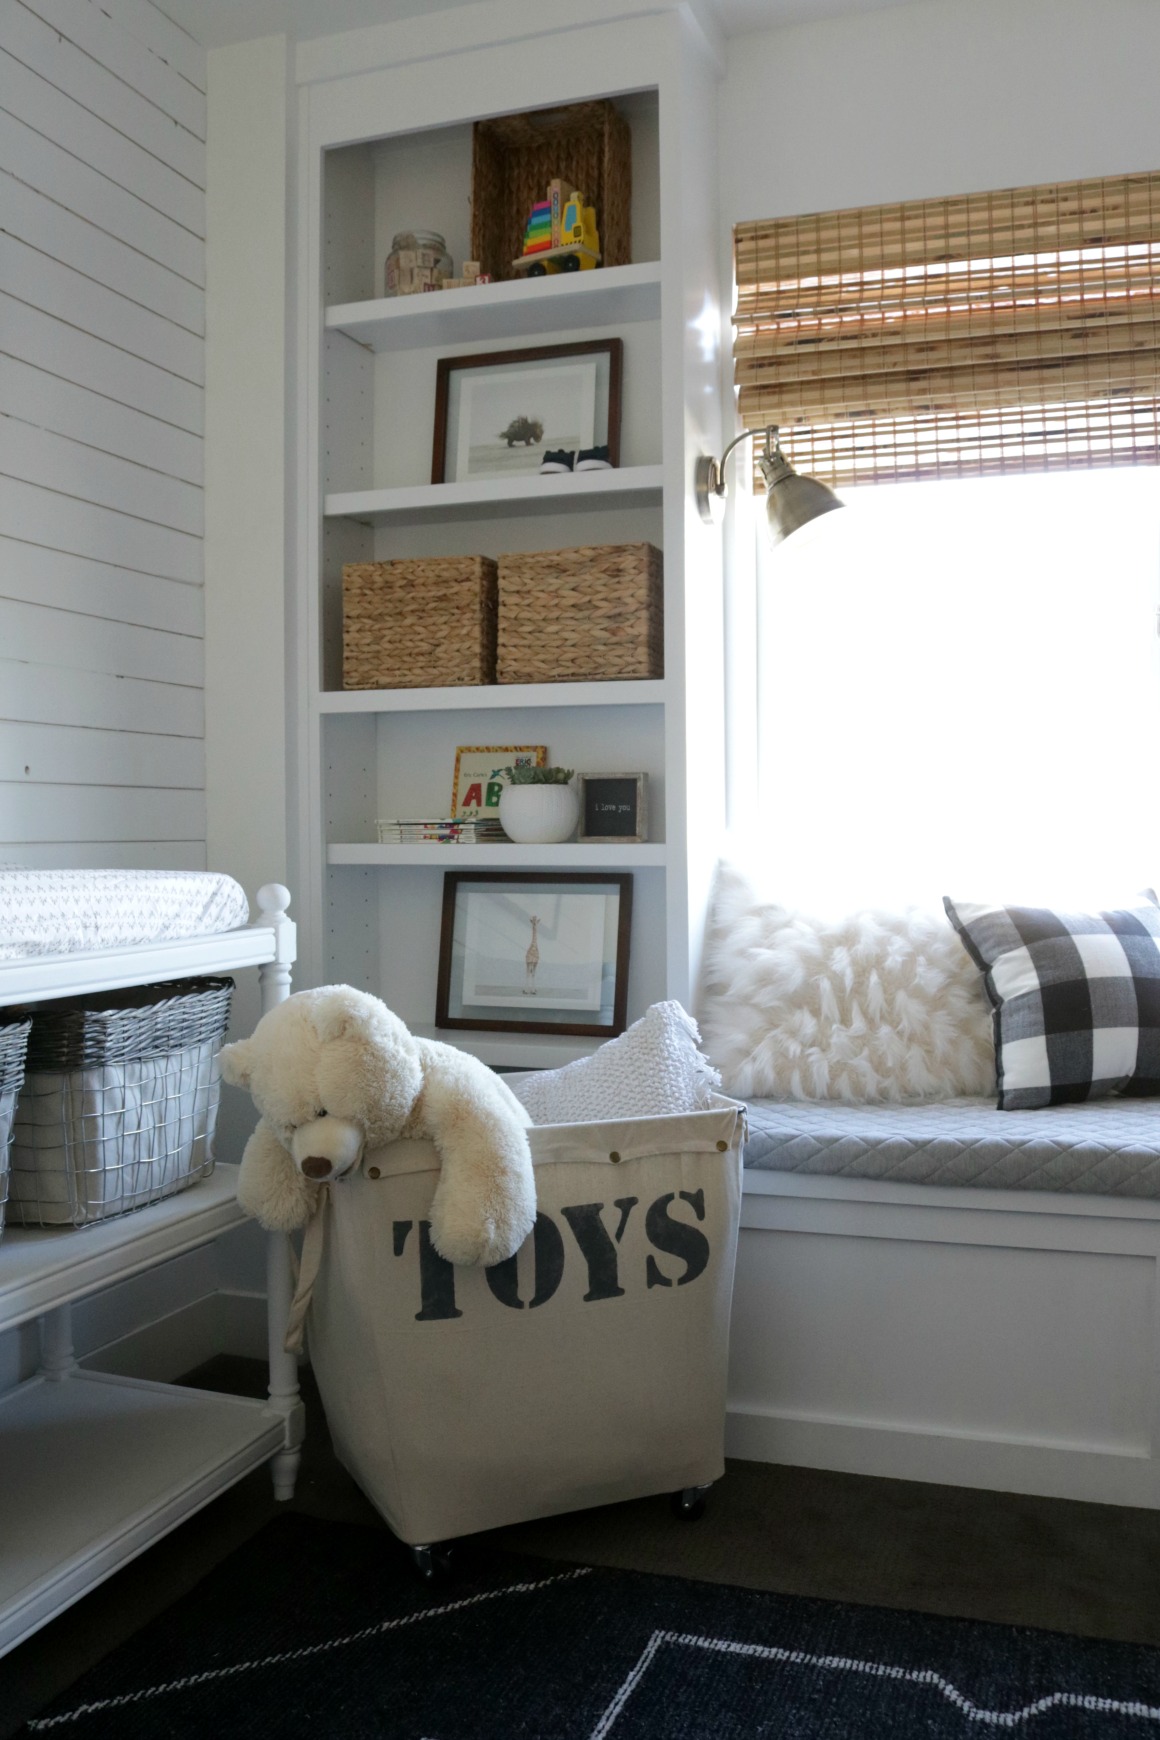
You can see the rest of this Baby Boy Nursery HERE and watch simple video below…
See how I keep our girls shared bedroom clean and toys organized HERE
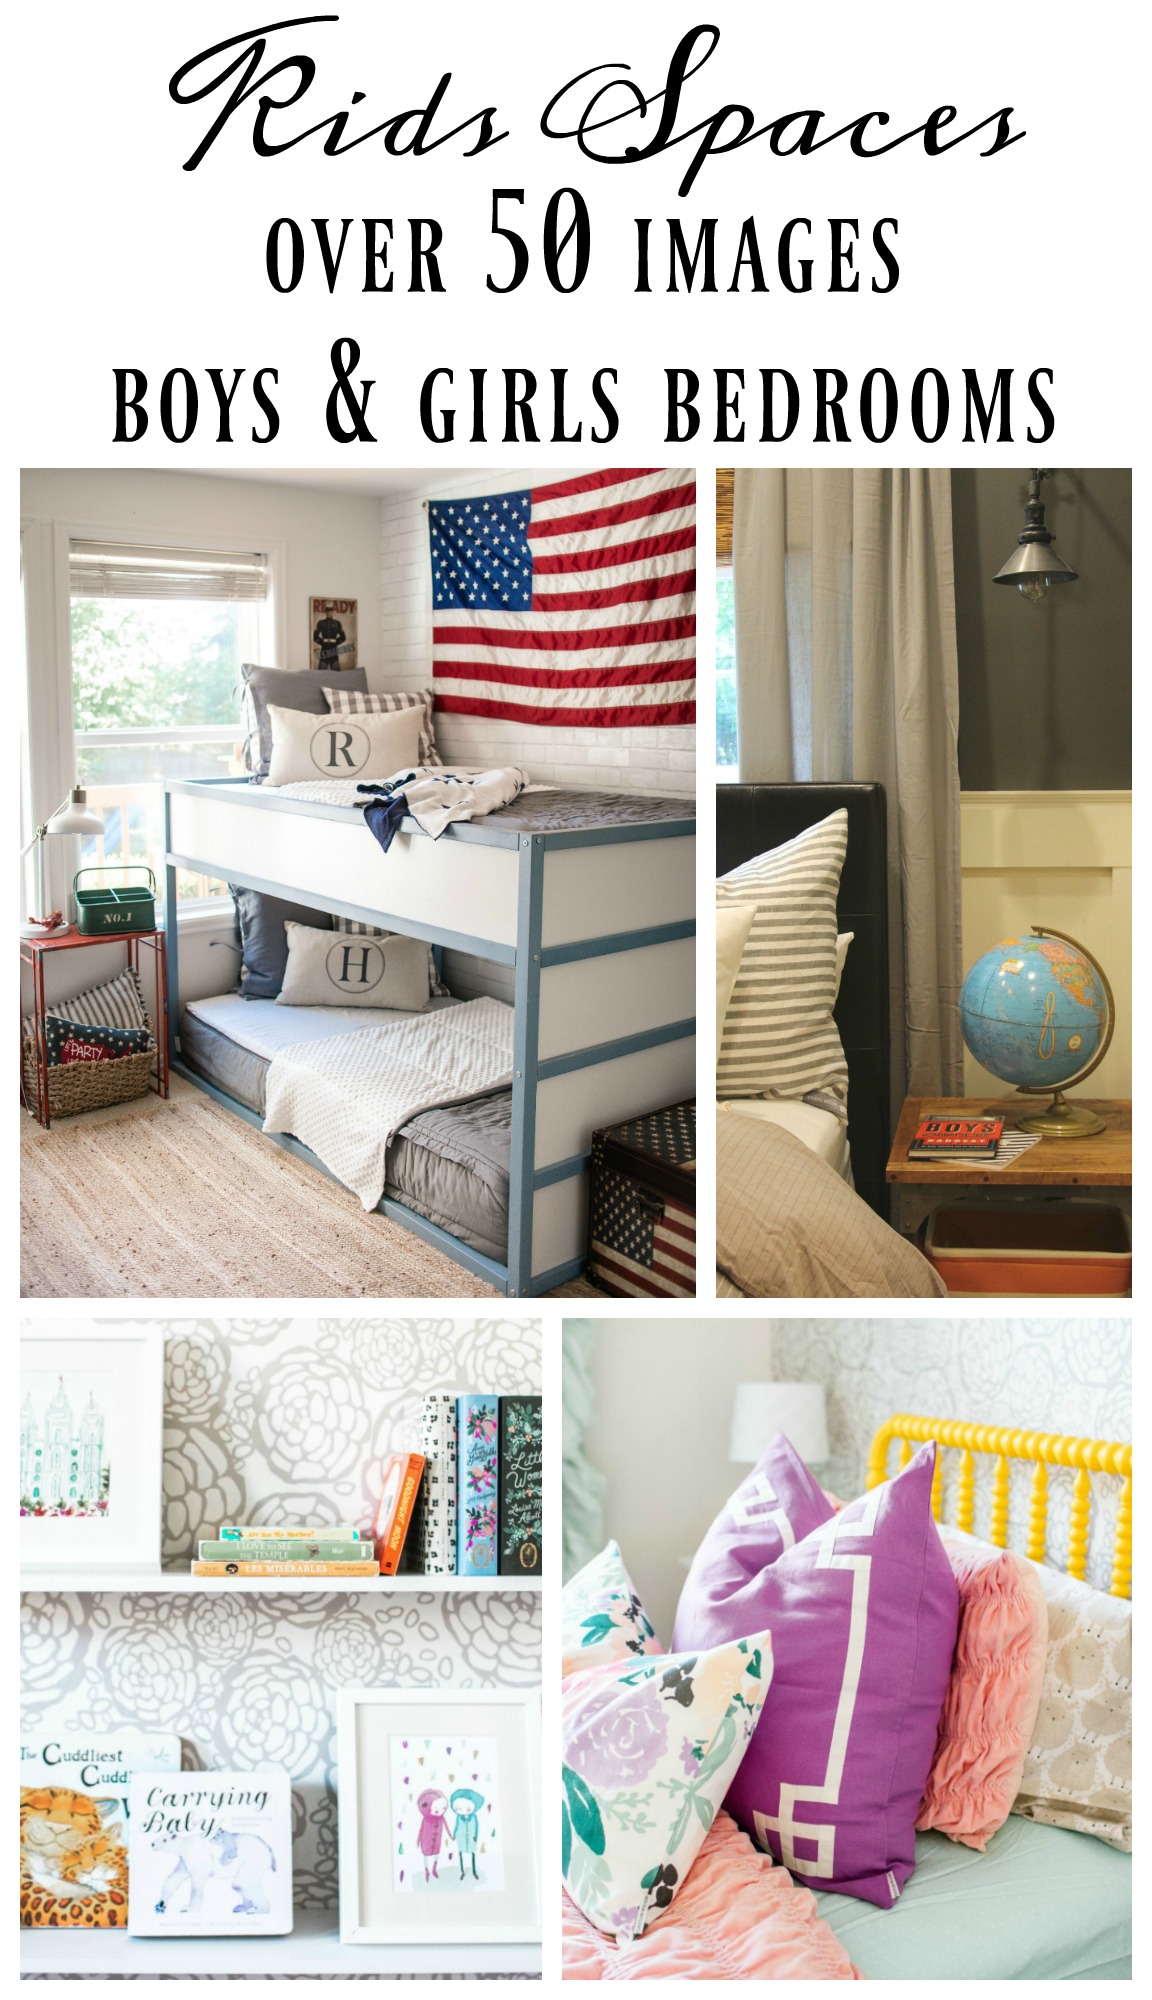
Find A LOT more Kids Spaces and Toy Organization in the Nesting with Grace Archives HERE


Love this idea! I have been campaigning for experiences over toys but those grandparents always fight it
Oh really! My mom is really good about it- she bought us zoo passes one year. She did give the kids something little to go with it, because they can’t help themselves