I haven’t ever made over a laundry room before! Isn’t that crazy? Our laundry room is in our un-finished basement, that will never be finished (flood zone). So I thought offering a laundry room makeover to a friend would be a fun way to share something new with you! Personally I LOVE a good laundry room, I am always saving photos of laundry room inspiration and laundry room ideas for my dream laundry room (one day!). So I was ready to take on this space. With any makeover I always start with an inspiration piece, in this space it was the removable wallpaper. This laundry room makeover was fun because it was basically a blank slate. Our friends were open to anything (how I like my friends to be…hahaha!) I will share the before of the laundry room, the design board and the after with you! Here we go…
Laundry Room Before- 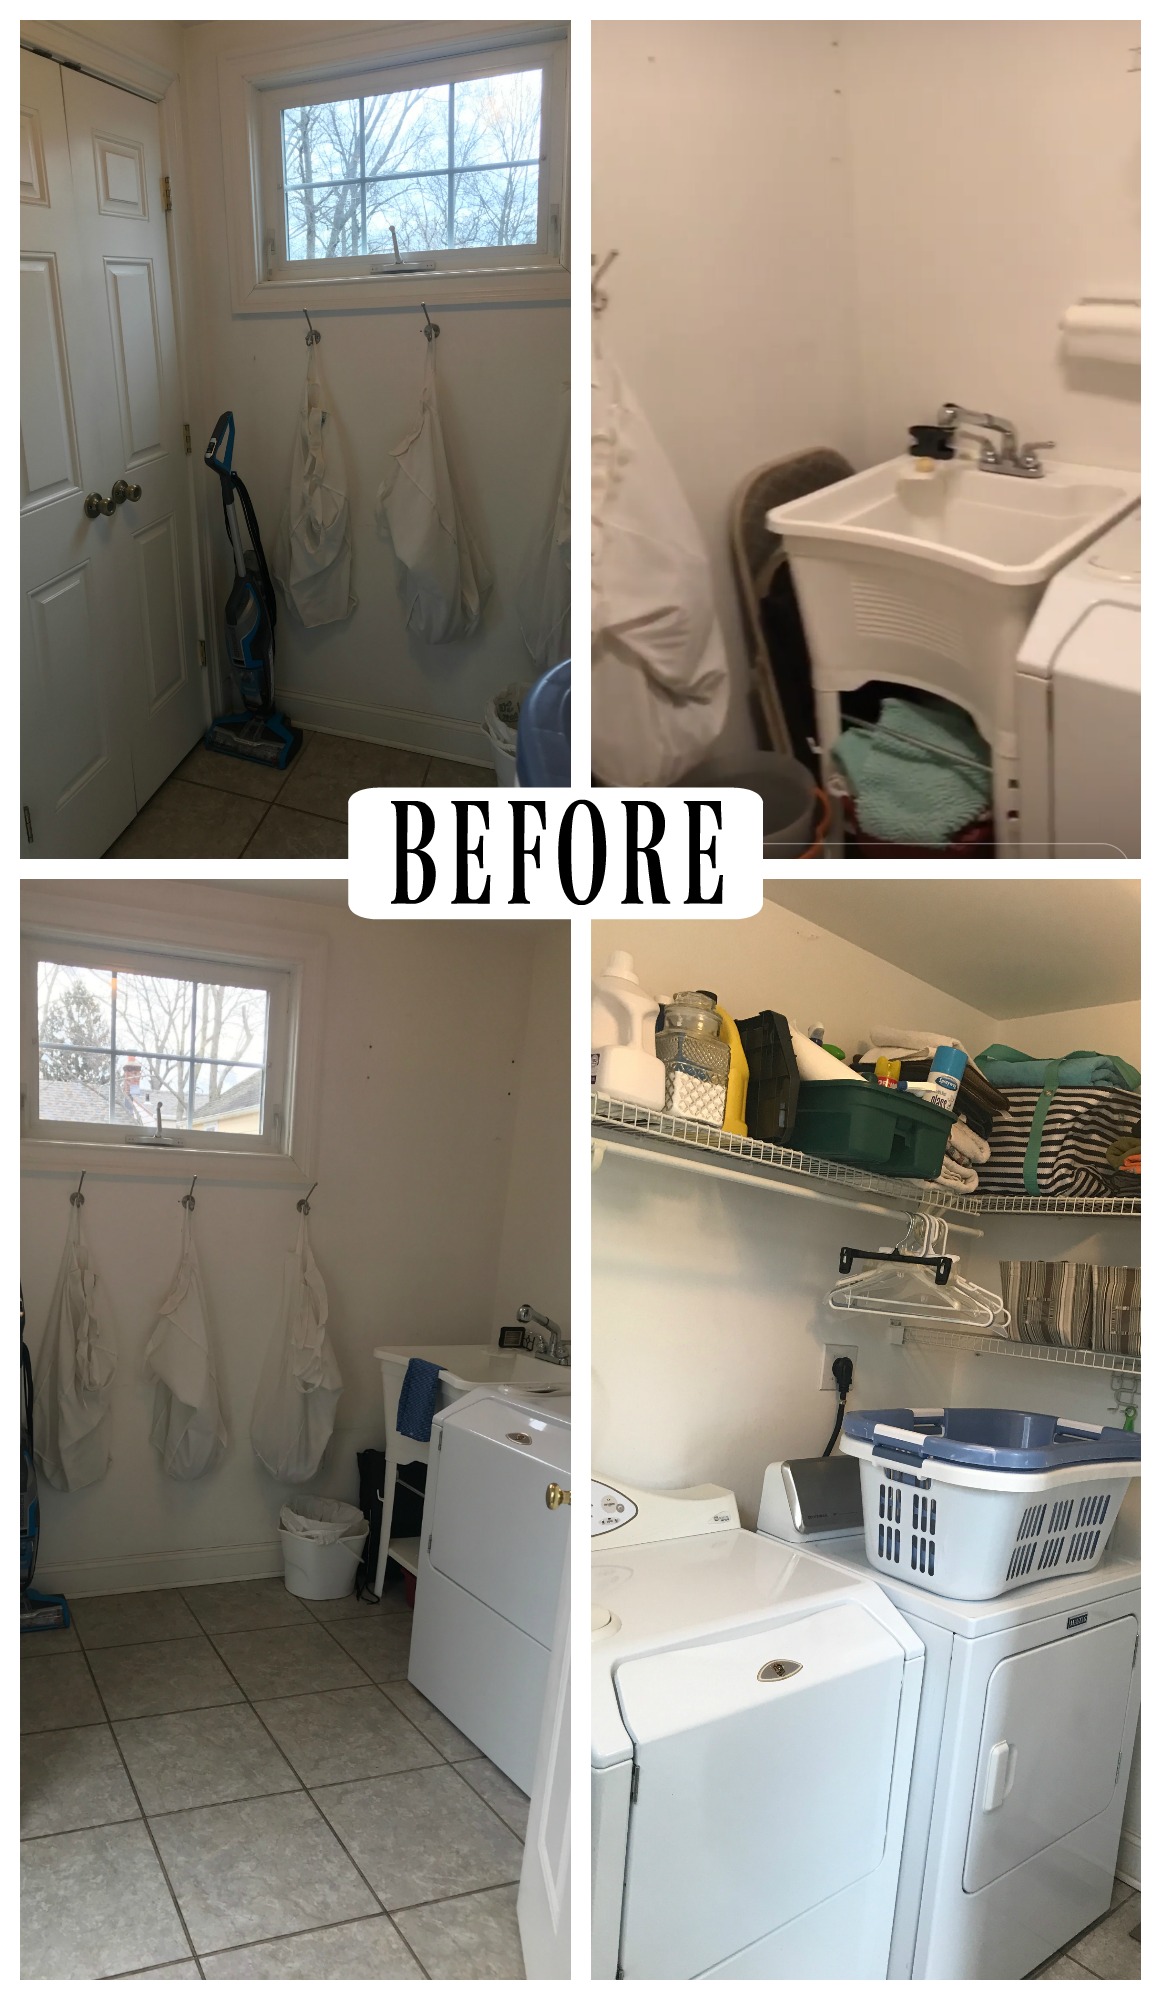
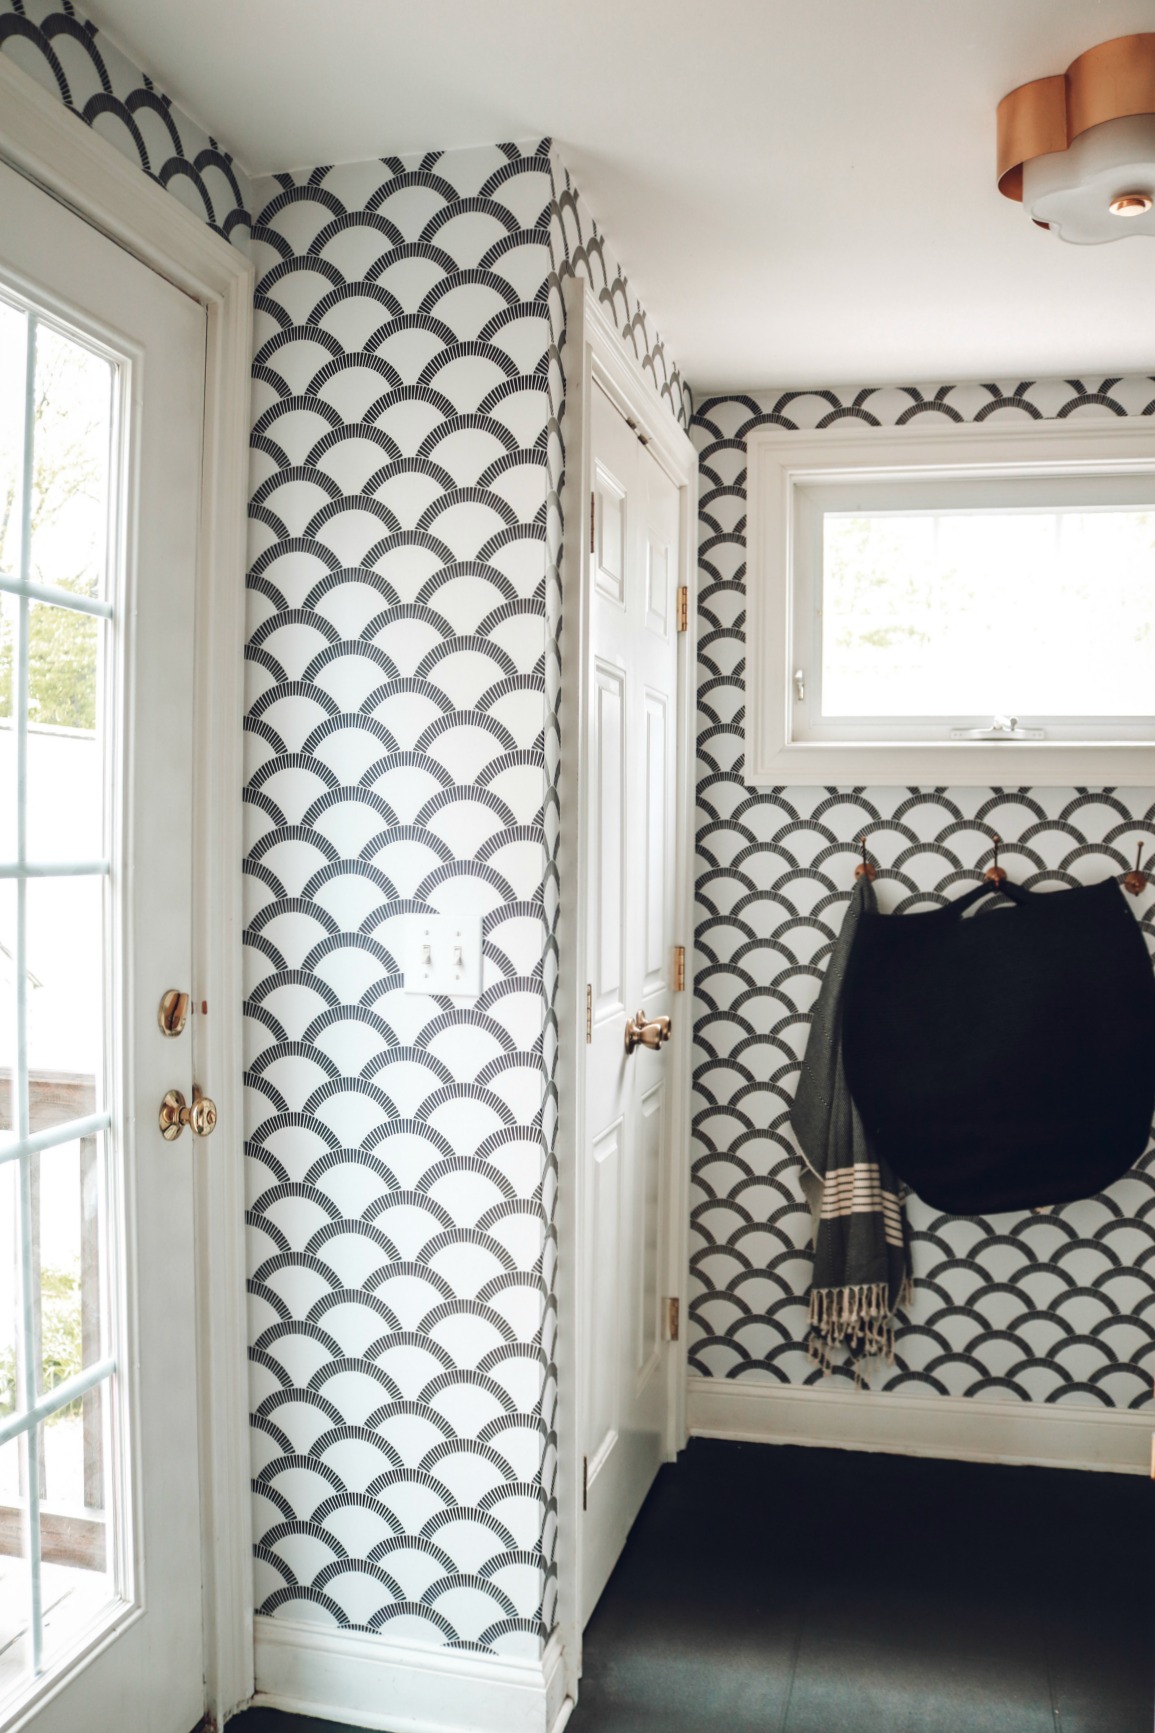
First of all this is an amazing laundry room!!! It has great windows and it is right off of the kitchen. Goals. Brandy and her husband Joe are friends that I met at my local Crossfit. Brandy is a faithful blog reader and saw that I had mentioned wanting to makeover a laundry room. She was like “I have a really good “BEFORE” photo for you!” I had been to their home about 3 years ago, right after they had twin babies (bless her!!) and brought them dinner and they gave me a home tour. But I had forgotten about this laundry room. I had her send me pictures and I immediately thought of painting the floor, easy fix! And using THIS Tempaper Designs new Scallop Wallpaper. It is removable and super easy to install (I know because it is the wallpaper company I have used the most!!). And they offered to sponsor this makeover!
Laundry Room Design Plan-
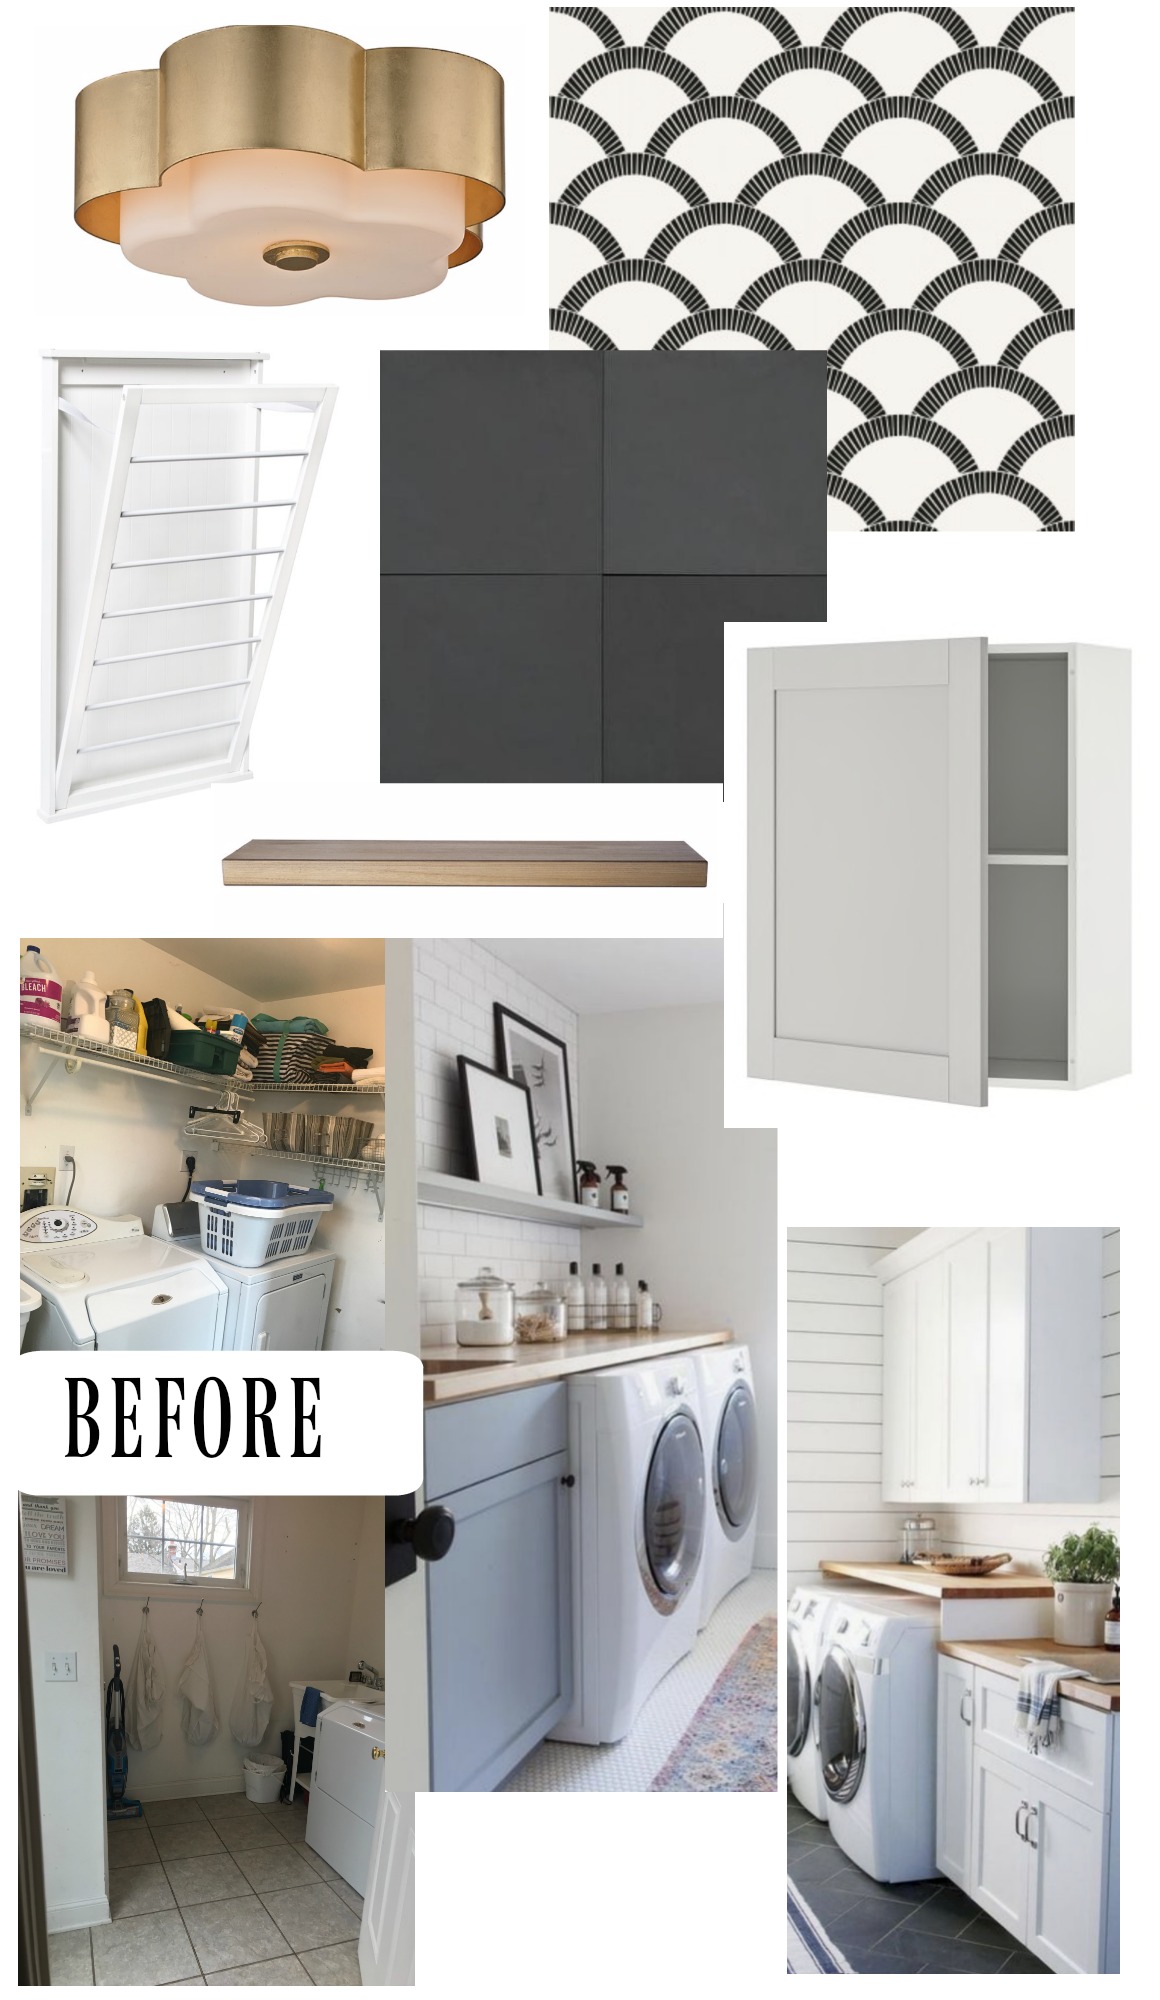
I ALWAYS do a design board before I purchase anything and it really helps me pull the room together. You can see their laundry room before on my design board. I think that helps to visualize what you need in the new space. I was considering doing all open shelves but in the end decided to do a combo of both. Closed cabinets, to hide all the not-so-pretty things and then open shelves above the utility sink for some decor and useful items too.
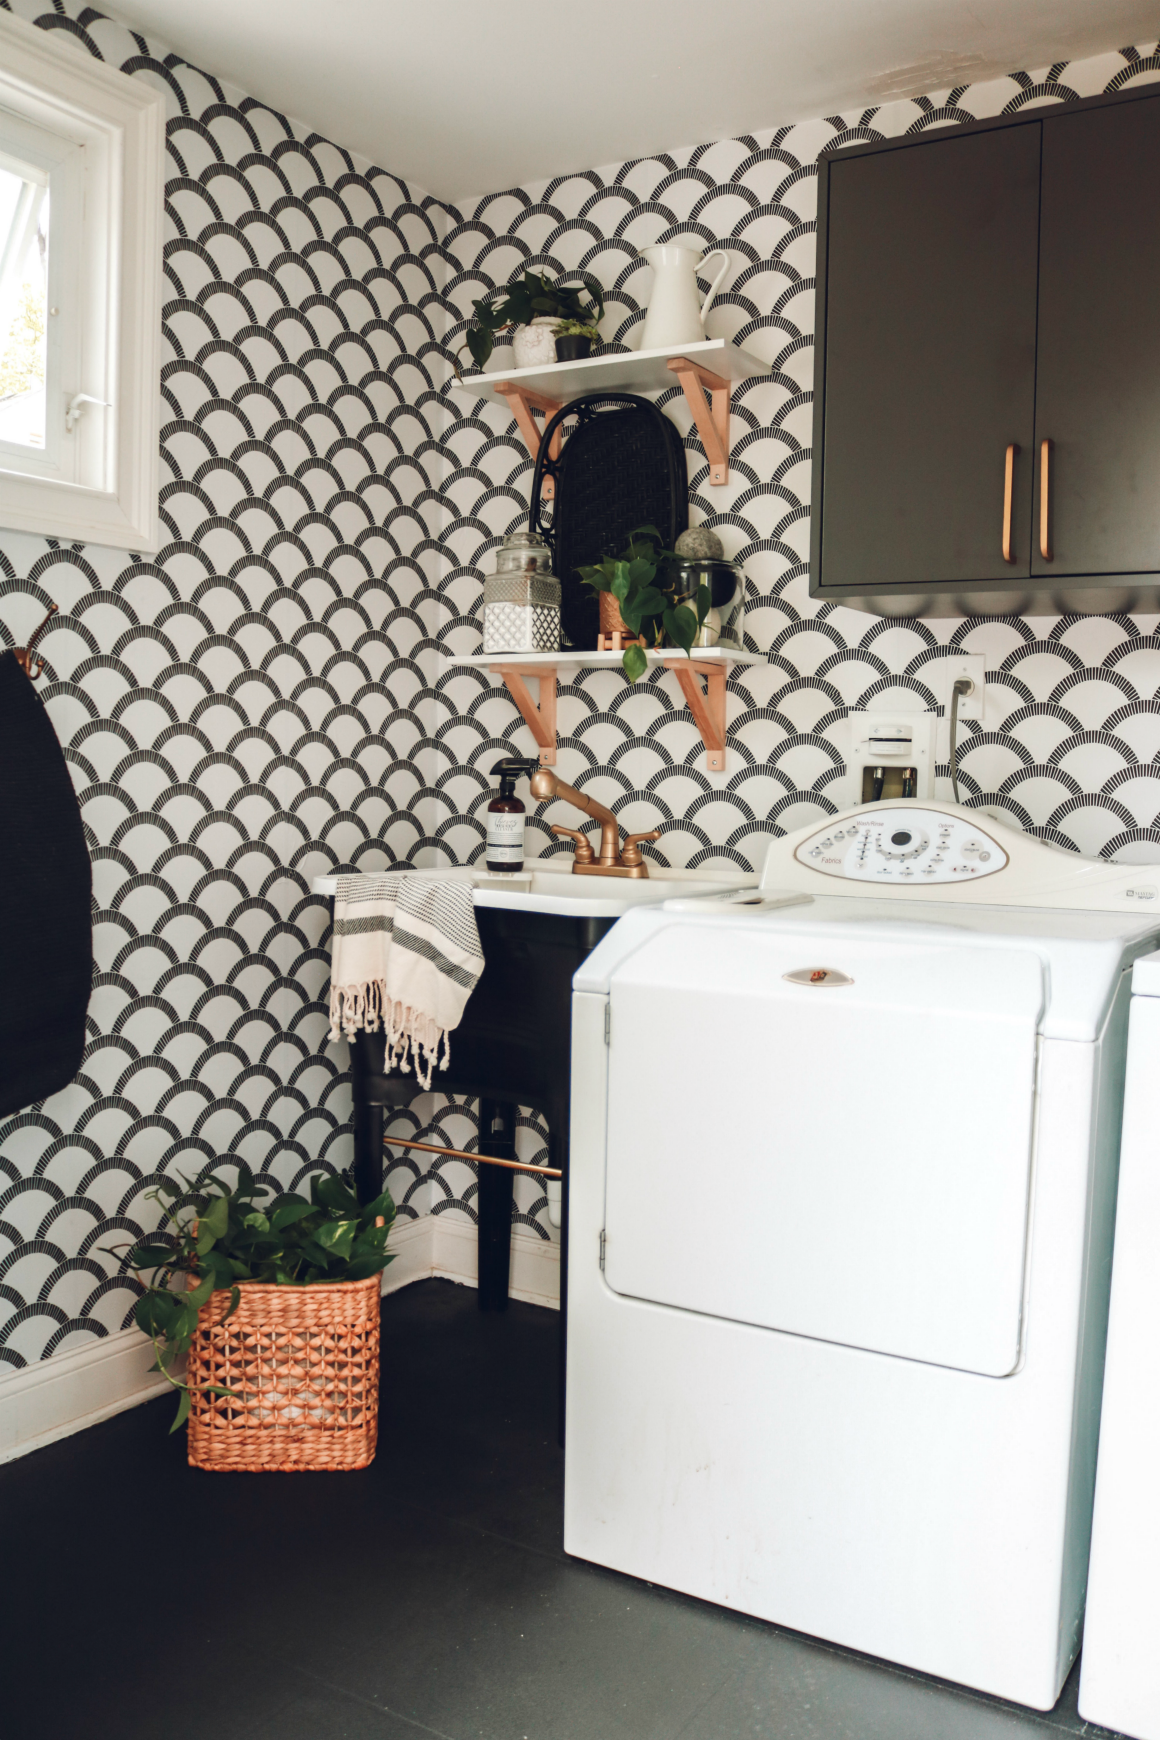
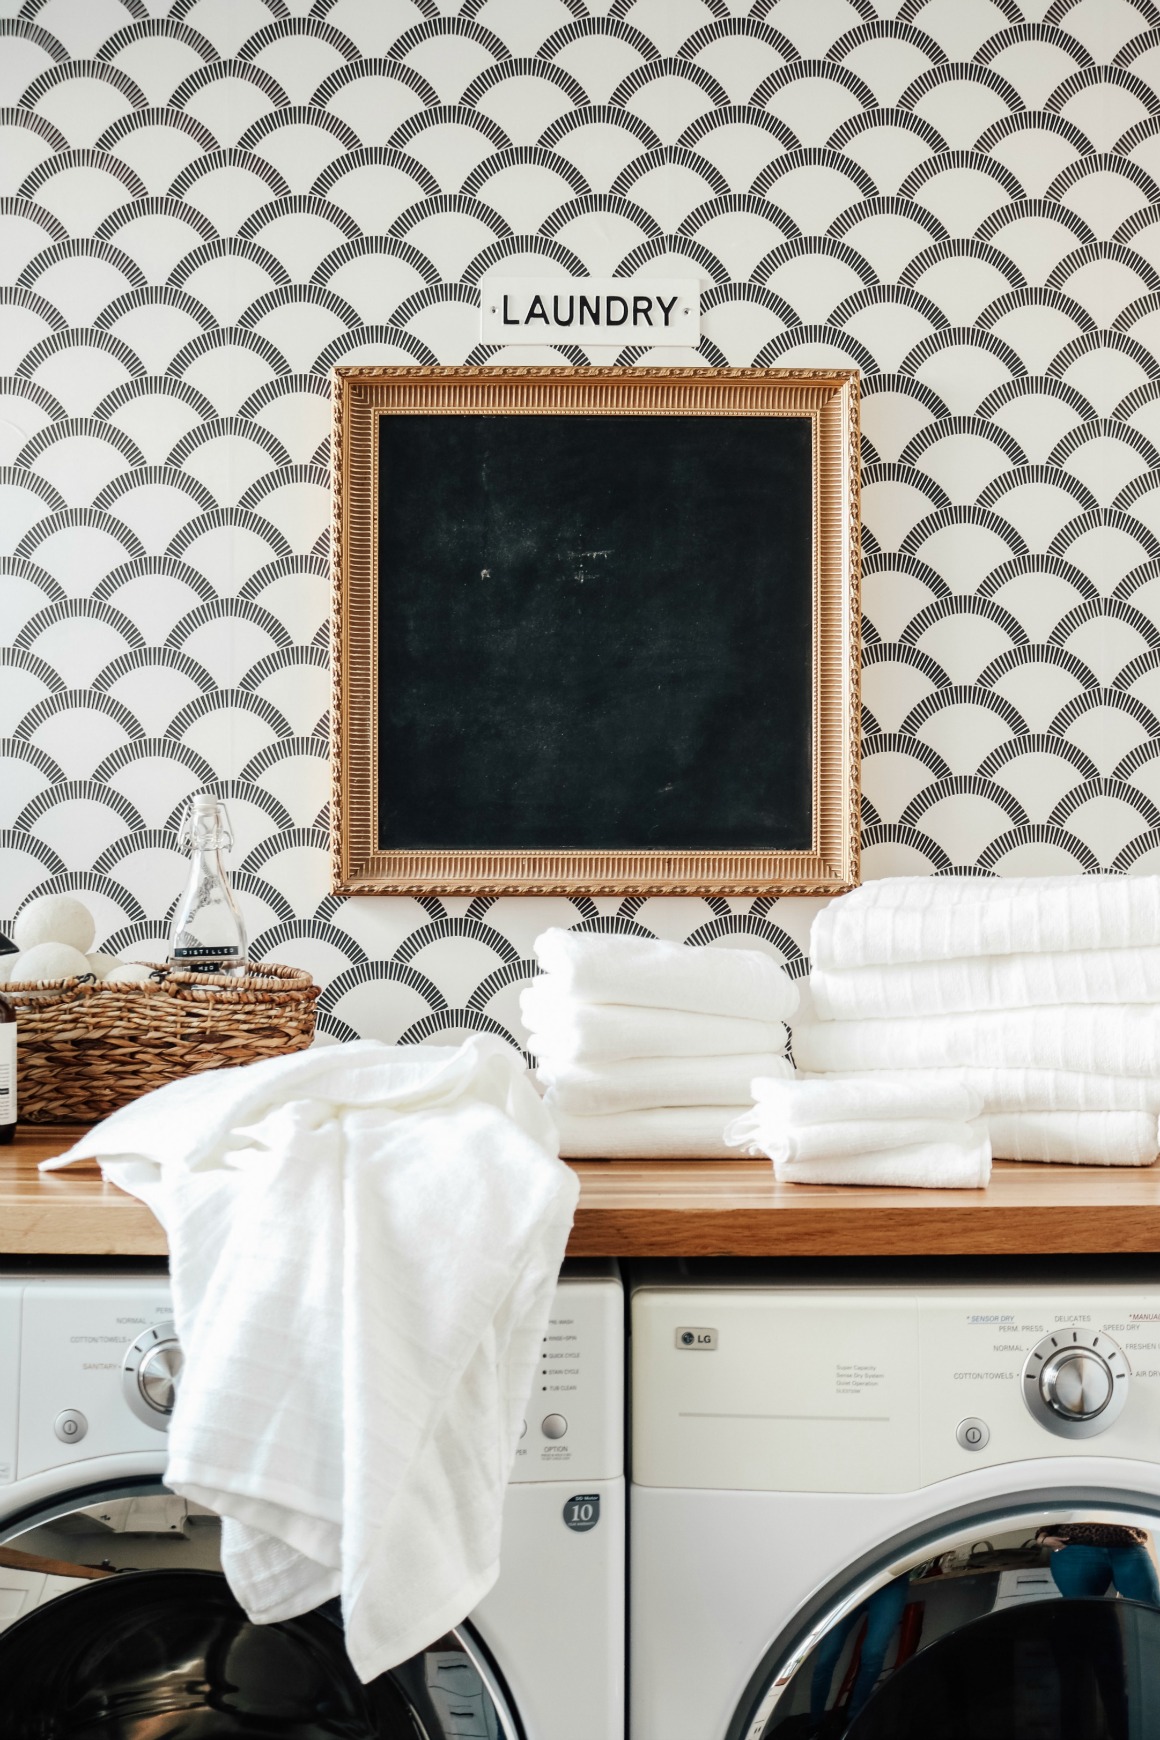
Laundry Room After-
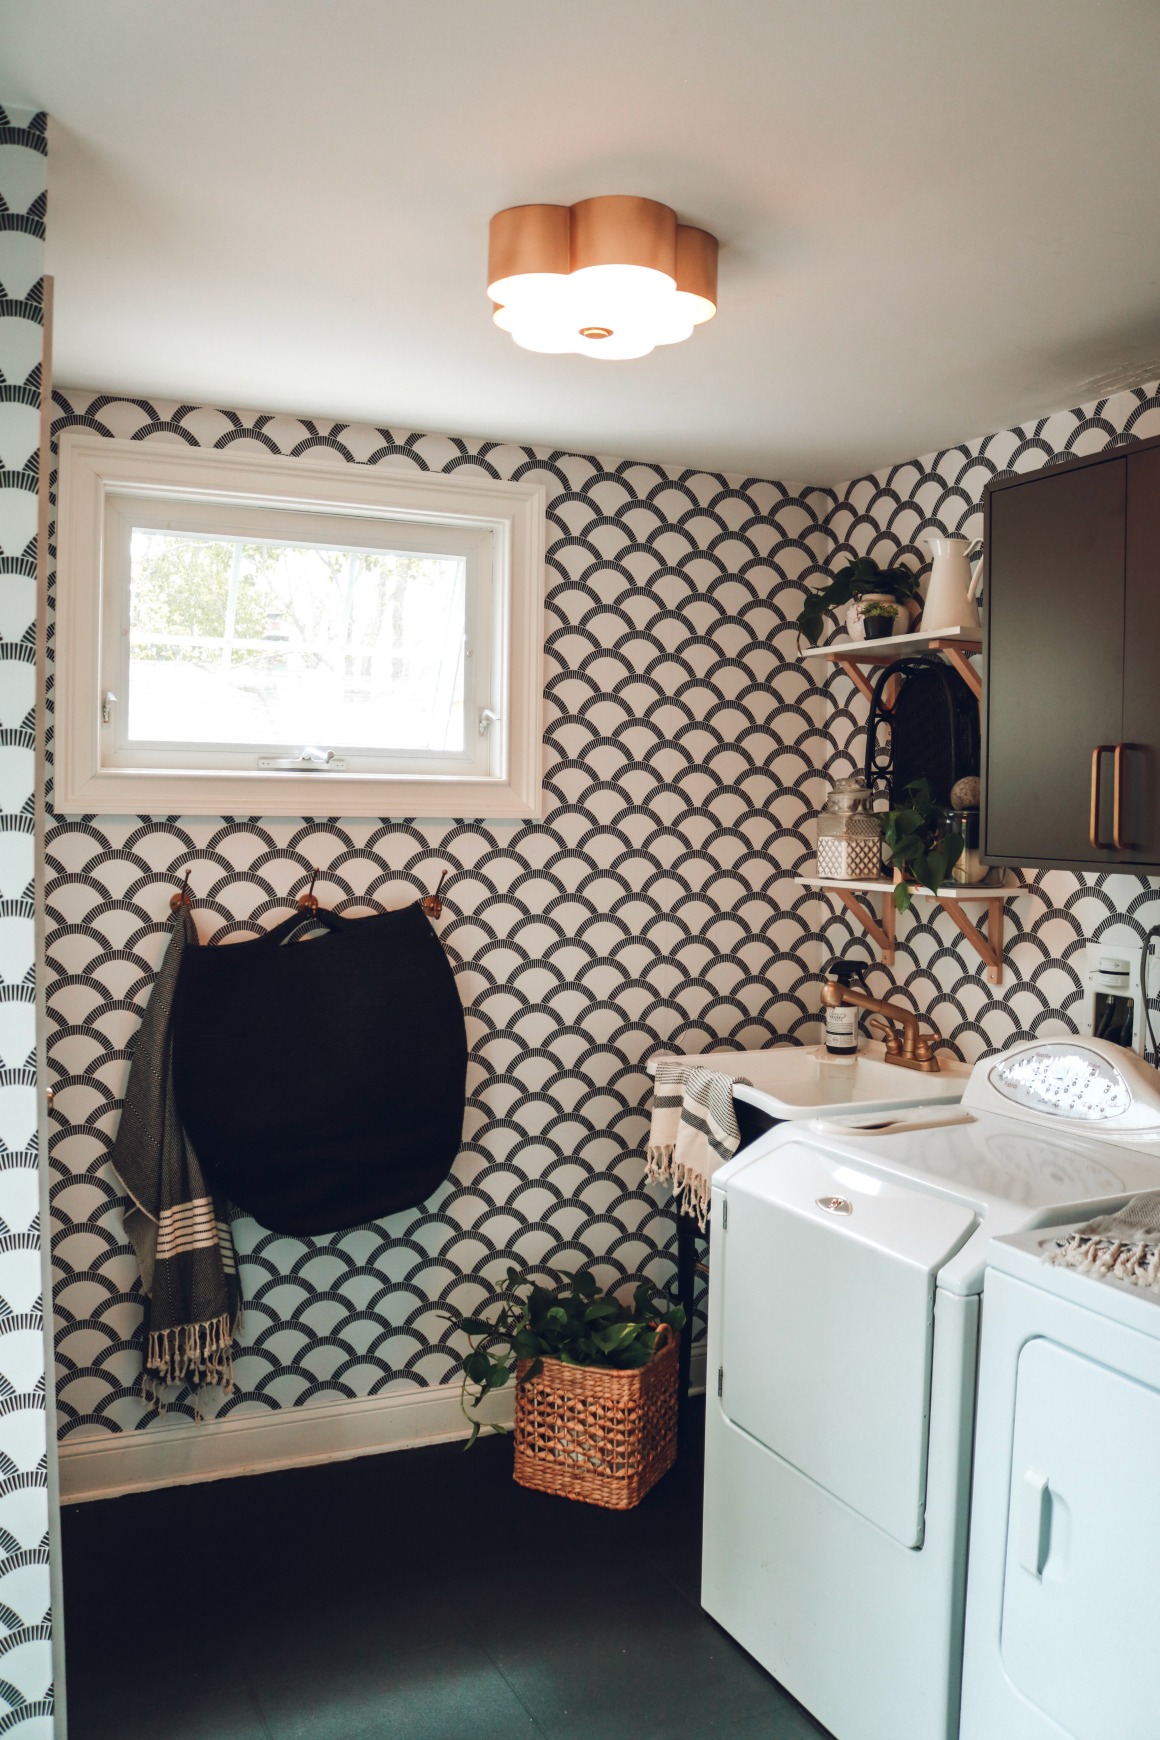
Can you even handle it?? Brandy text her mom a photo and her mom told her to not put the washer and dryer back in her “new guest room”! I just LOVE how it all came together. Both Brandy and her husband Joe love it (I mention that, because some of you are so sweet to always ask). Joe actually moved to the United States from Lebanon to attend college. Both of Joe’s parents passed away when he was about 11 years old. They are such kind people. I am thankful we were able to do this for them. My parents are such a gift in my life so I hope this mini makeover was a gift to them. NOT even the same thing, but I was overwhelmed with gratitude that God gave us this opportunity to offer this and serve someone else.
Wallpaper-
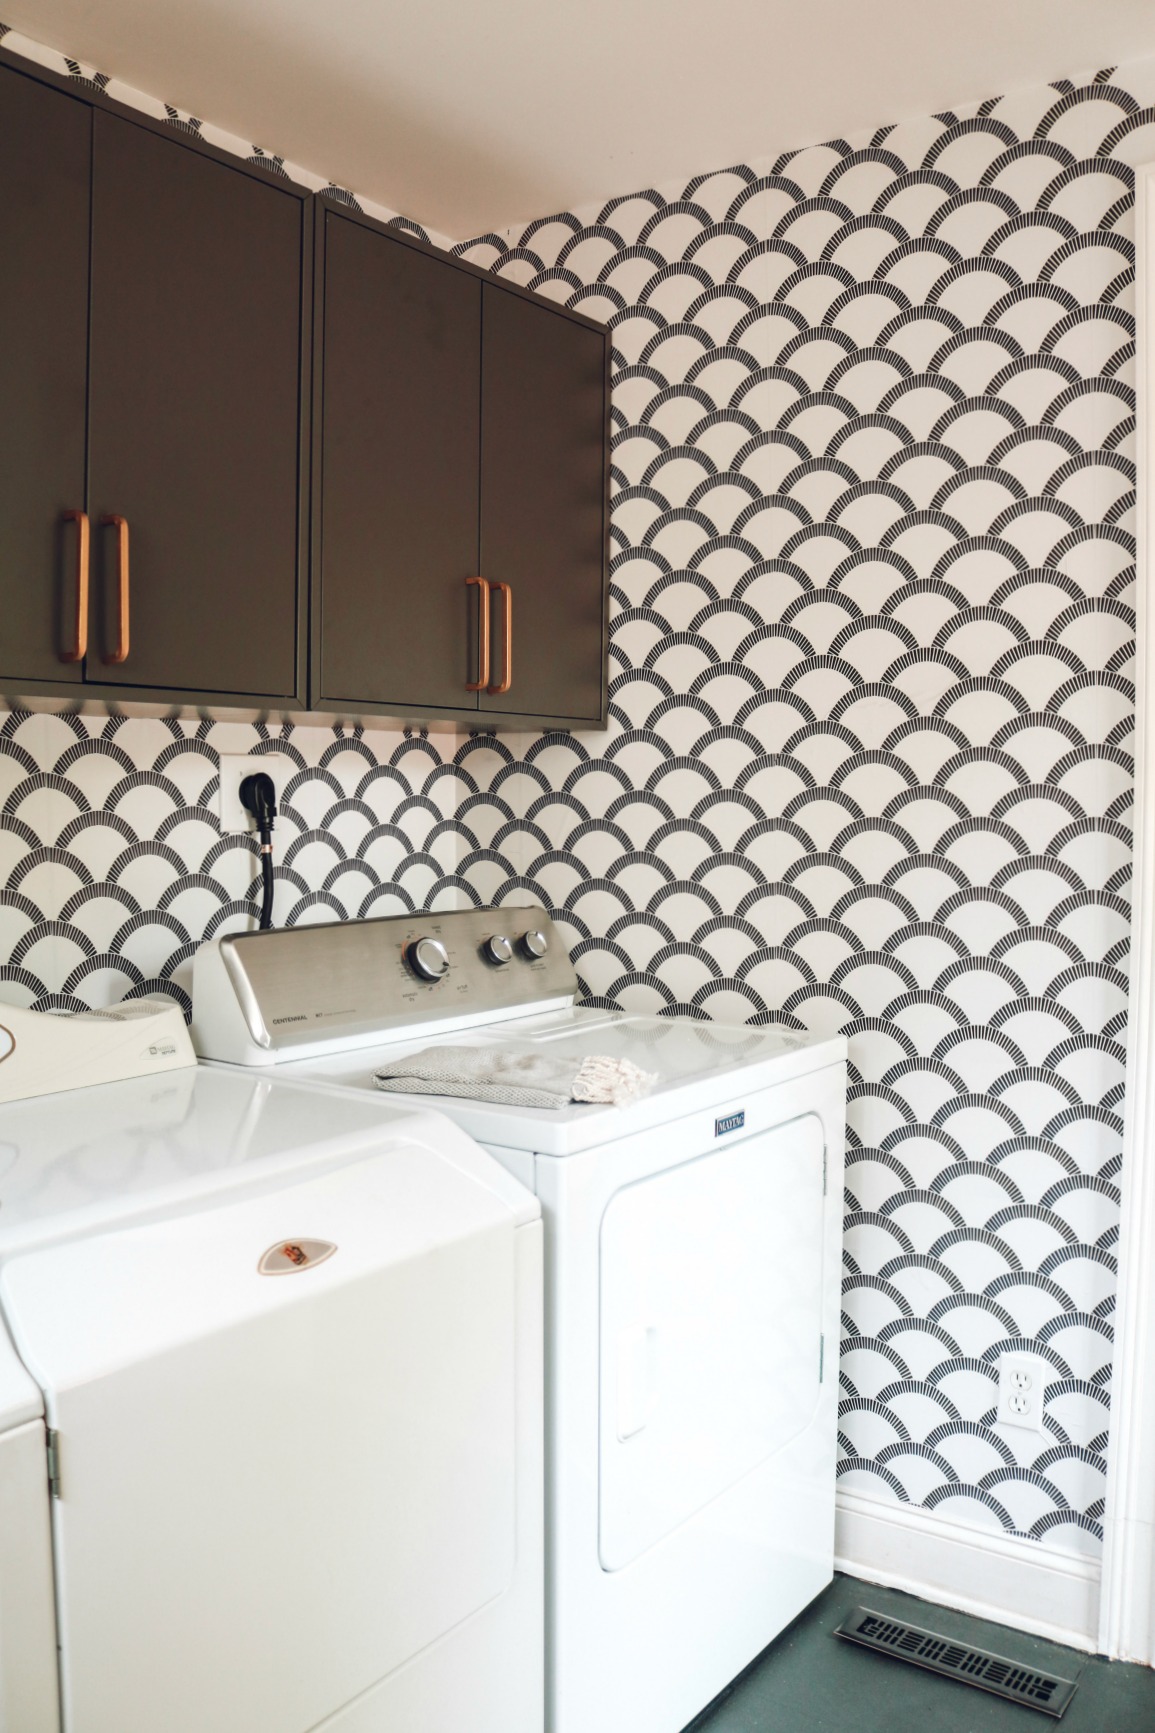
I wasn’t going to do the removable wallpaper all over, but the room was smaller than it looked in the photos she had sent me. So I decided to go for it! It took me about 3 1/2 hours to install the peel and stick wallpaper. One of the easiest papers I have installed to date. It matched up really well too. BTW I am NOT a perfectionist. If you are a perfectionist you probably should hire a professional to install your wallpaper, or plan on double the time it took me. Also I have installed a lot of wallpaper in my day.
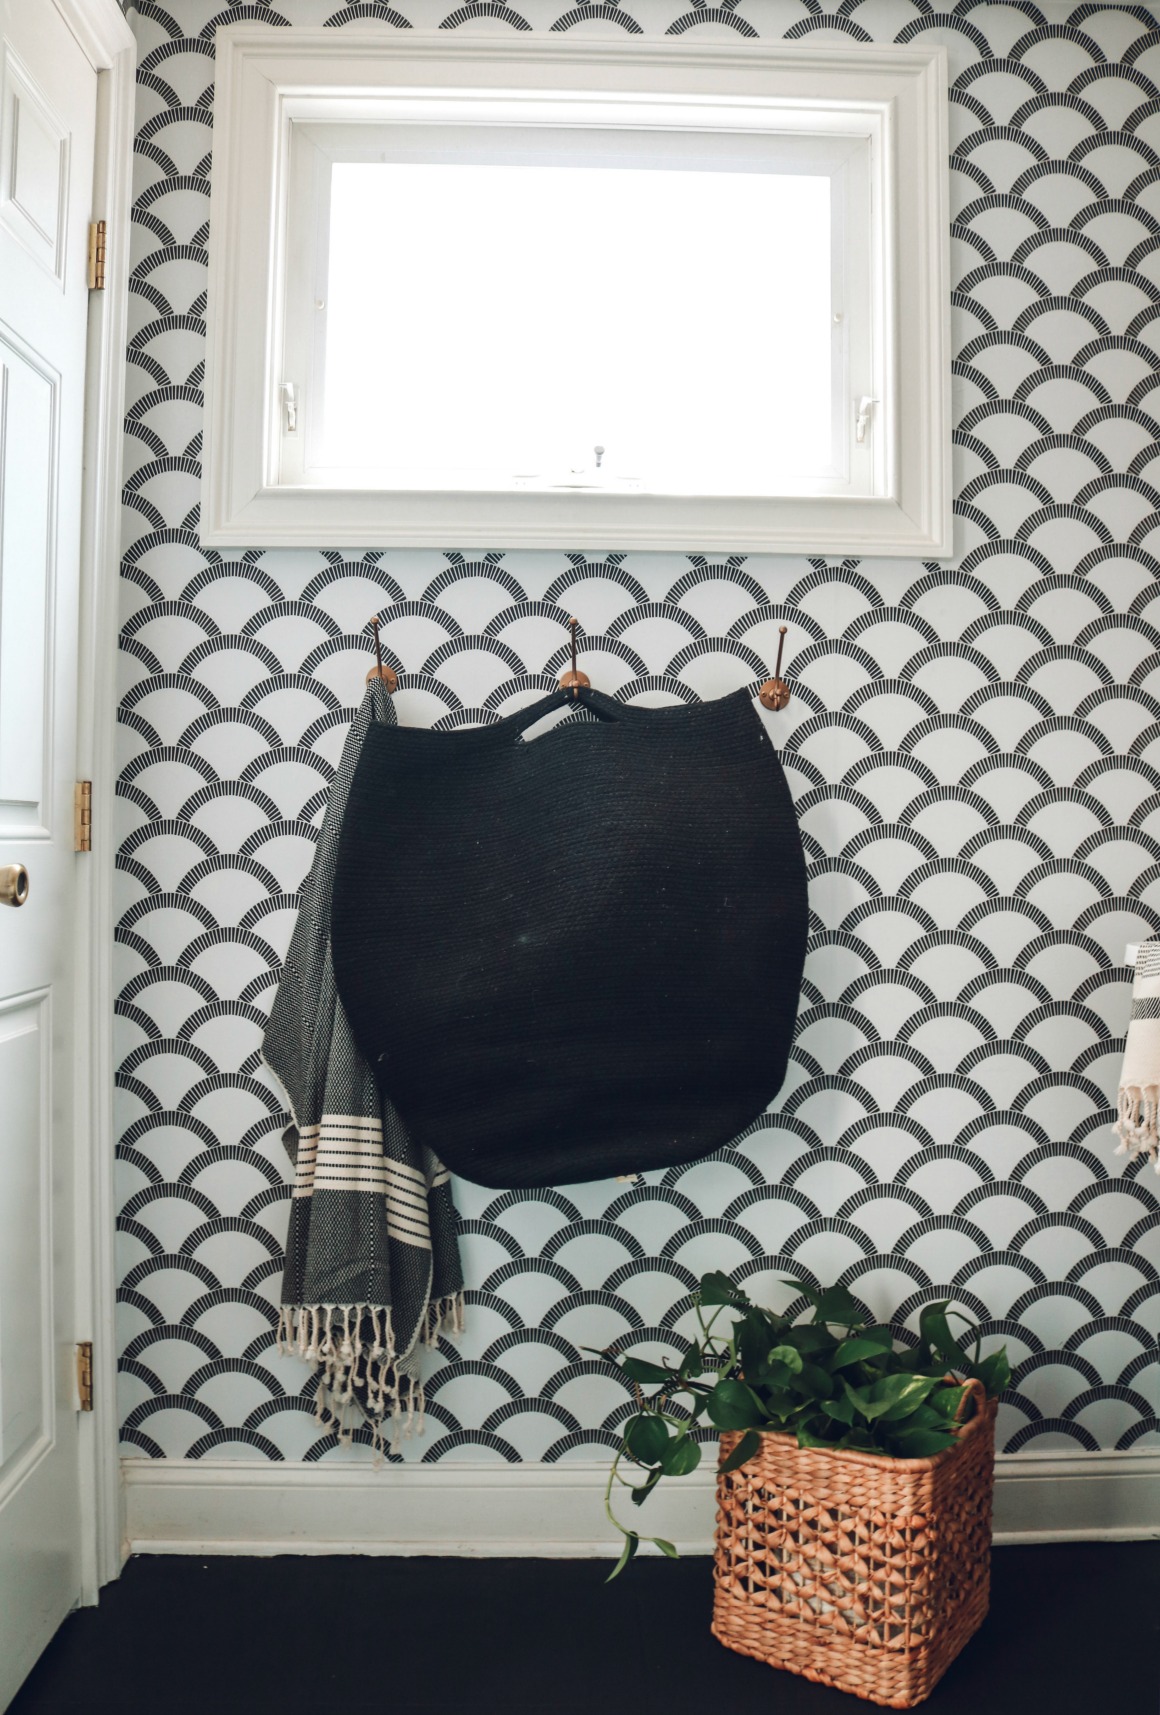
You can find the exact wallpaper HERE from Tempaper called Mosaic Scallops (comes in another color too). I ended up using about three rolls of wallpaper for this 7×7 space. For such a big impact it is so worth it! Bonus when you do wallpaper you save the cost of buying a lot of art!
If you are not aware what “removable wallpaper” is, it is wallpaper that is basically like a sticker, but it comes off clean! If you get tired of it in a couple years, it peels right off (no damage to your walls). With removable wallpaper it is super easy to install because you don’t need to use any wallpaper paste. You can use Tempapers easy wallpaper calculator HERE.
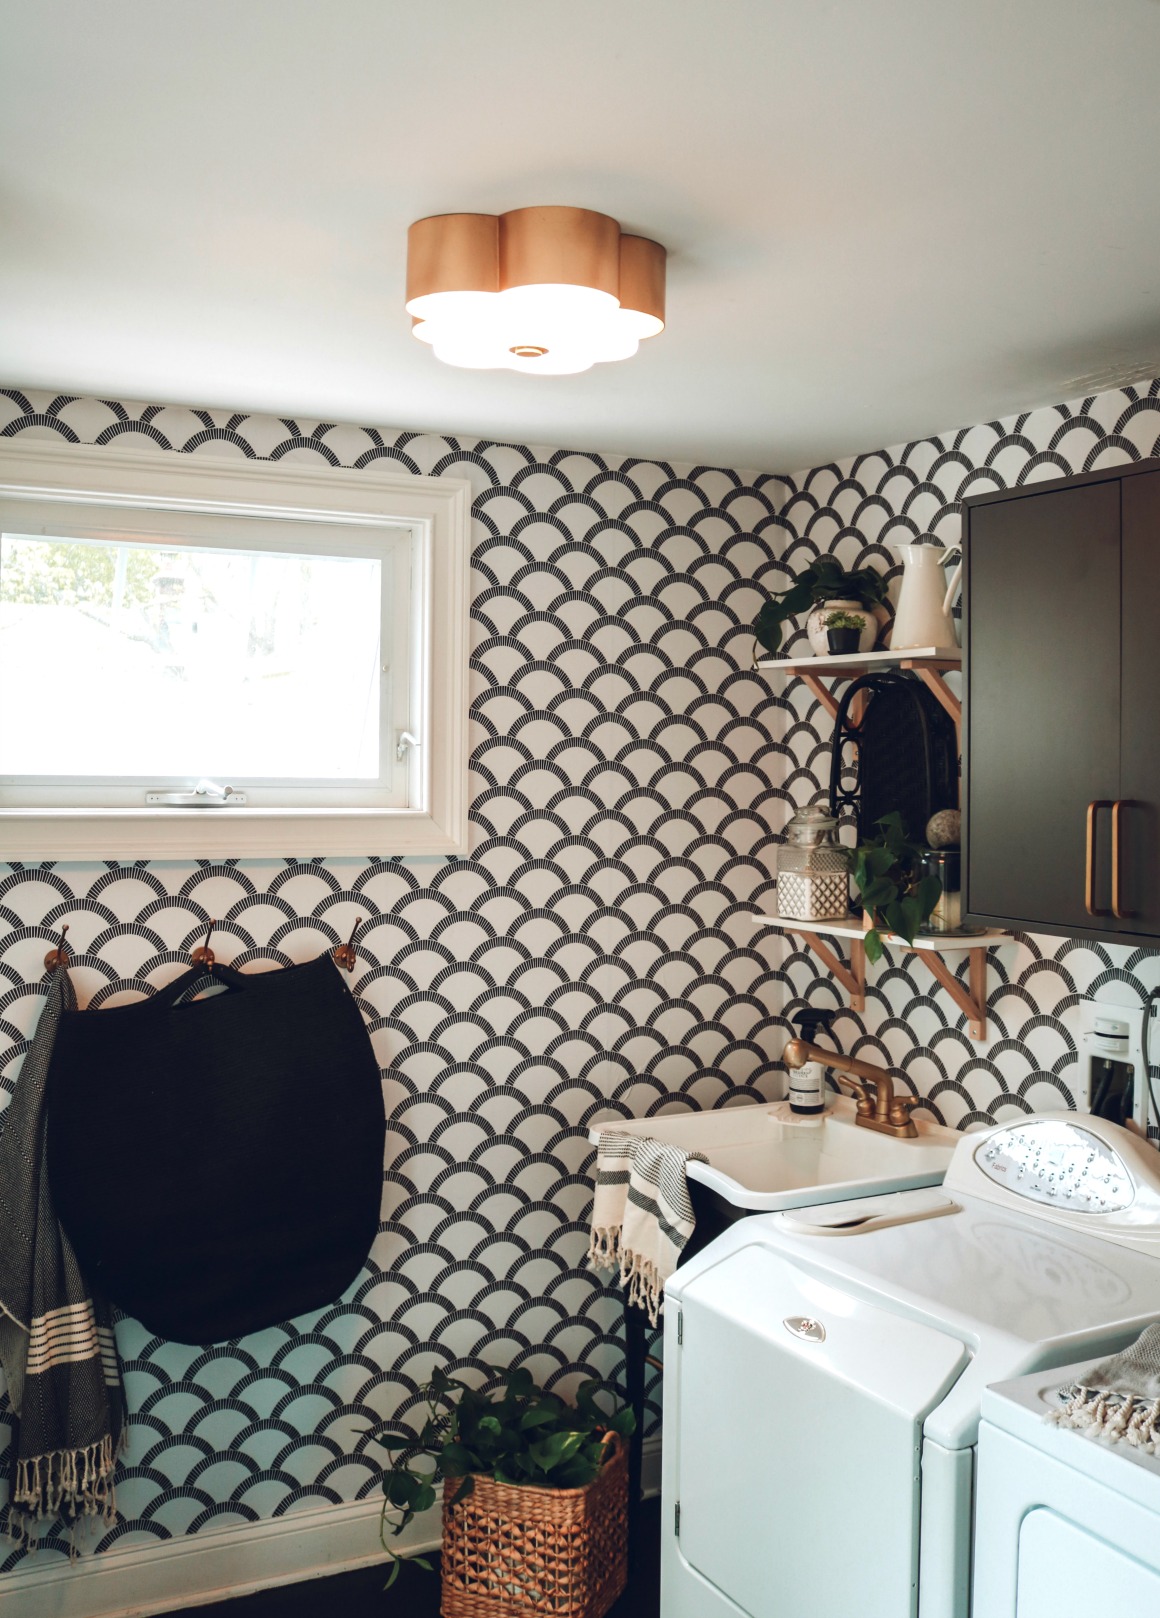
Light Fixture
We did change the light fixture too! Before they had a really basic “boob light” as they are often called. THIS light fixture was more of a splurge but it makes such a big impact!!! I also spray painted a lot of things that we already had to save money!
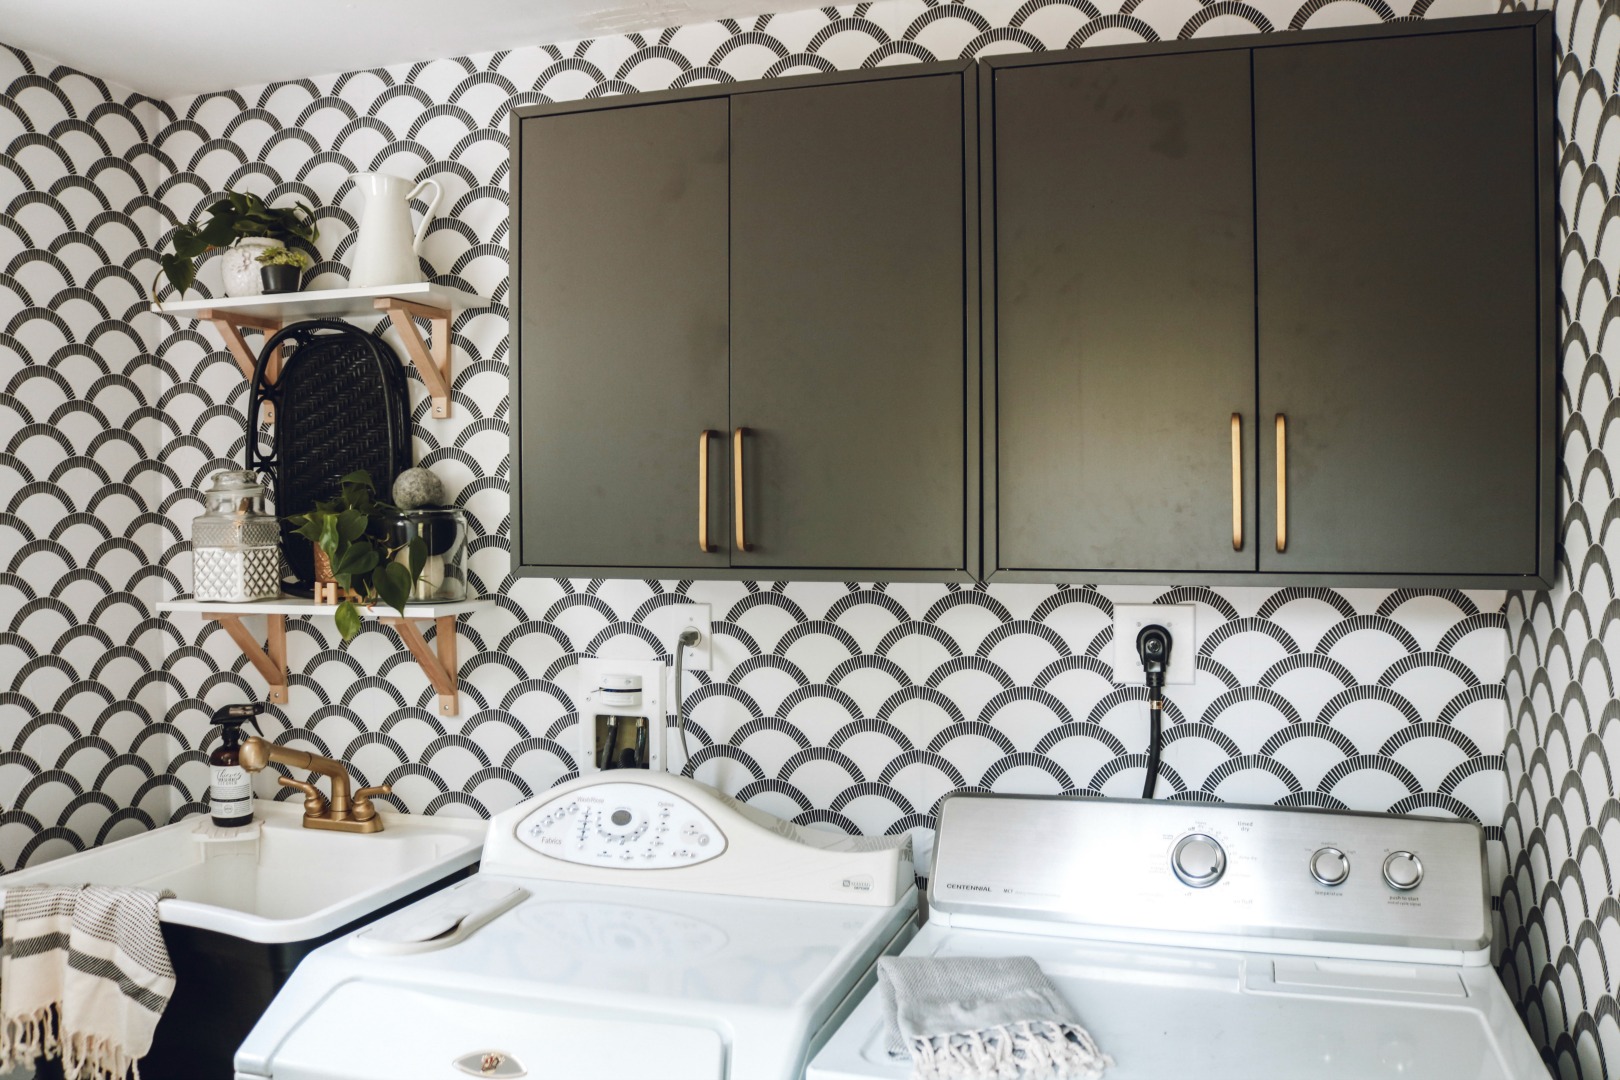
Cabinets
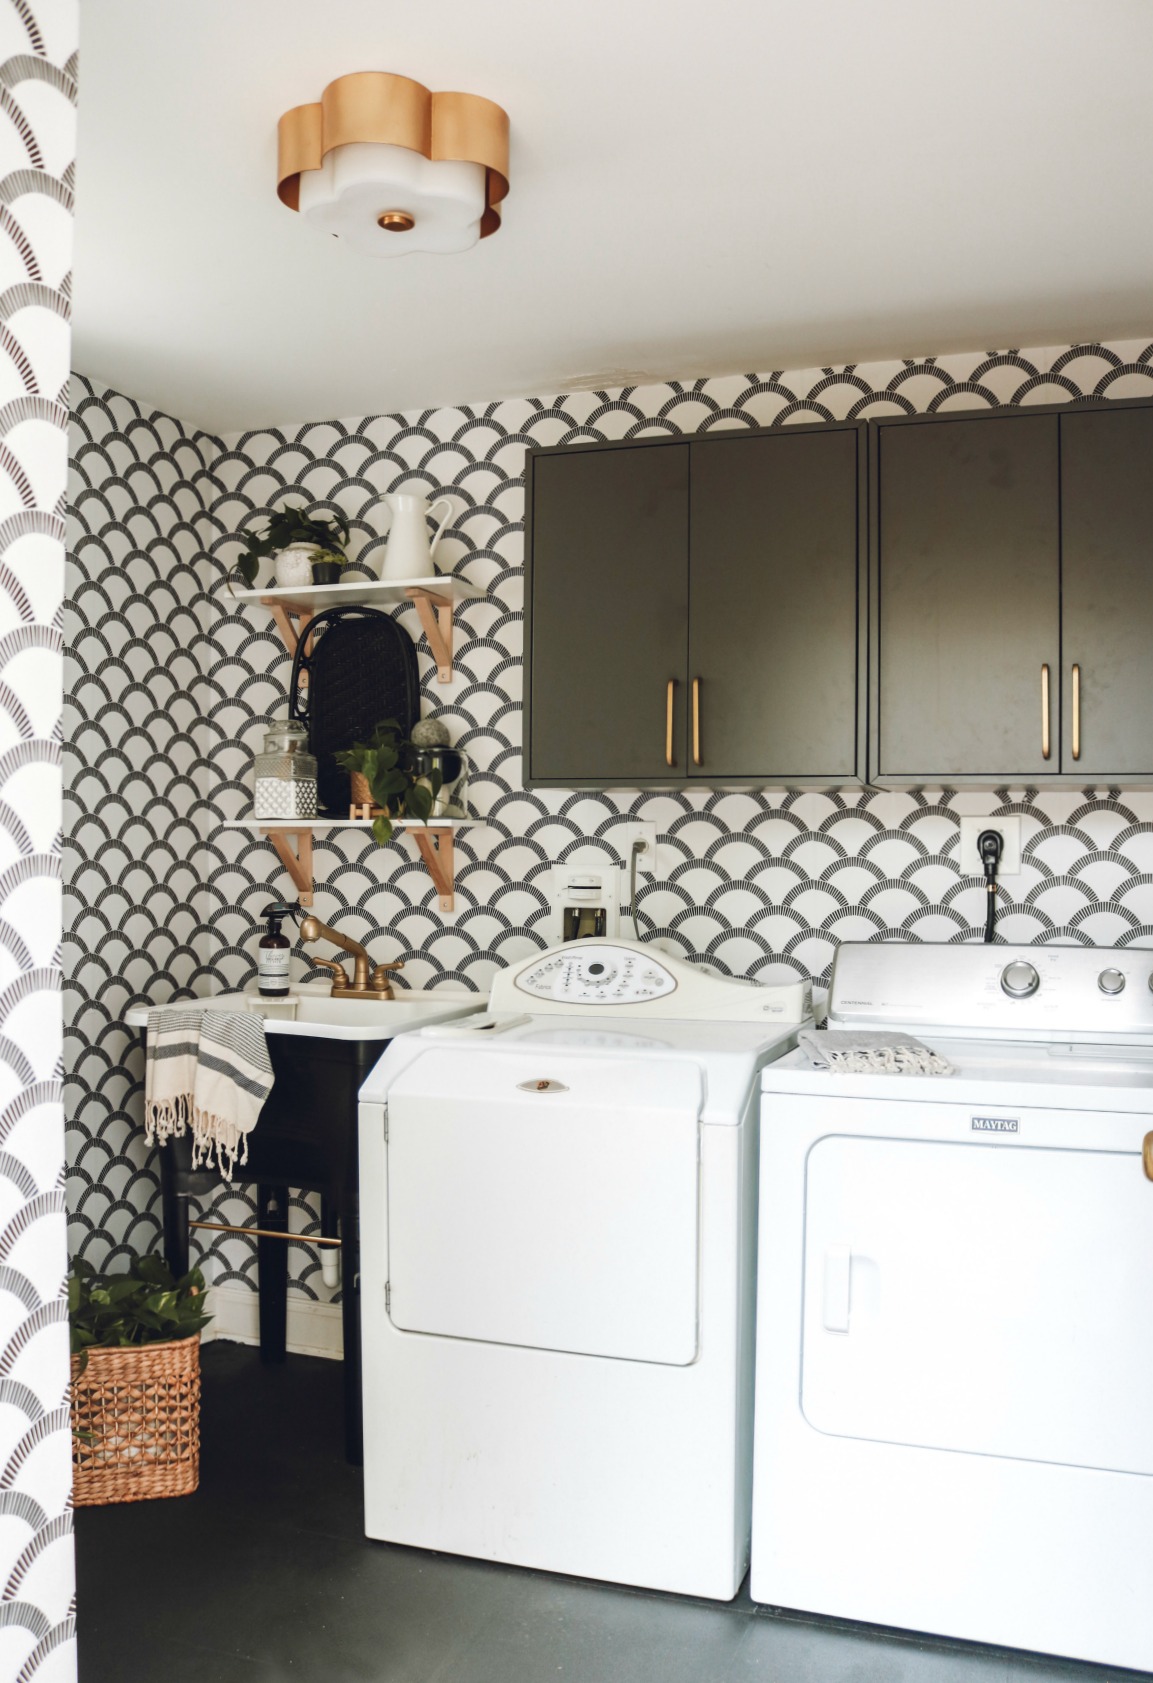
So thrilled to find cabinets for so affordable from Ikea. They are called EKET and they were $80 each. They can easily reach them and have a lot of space for storage! We added knobs I found at IKEA too and spray painted them to match (spray paint is all the same- Rust-Oleum Vintage Gold).

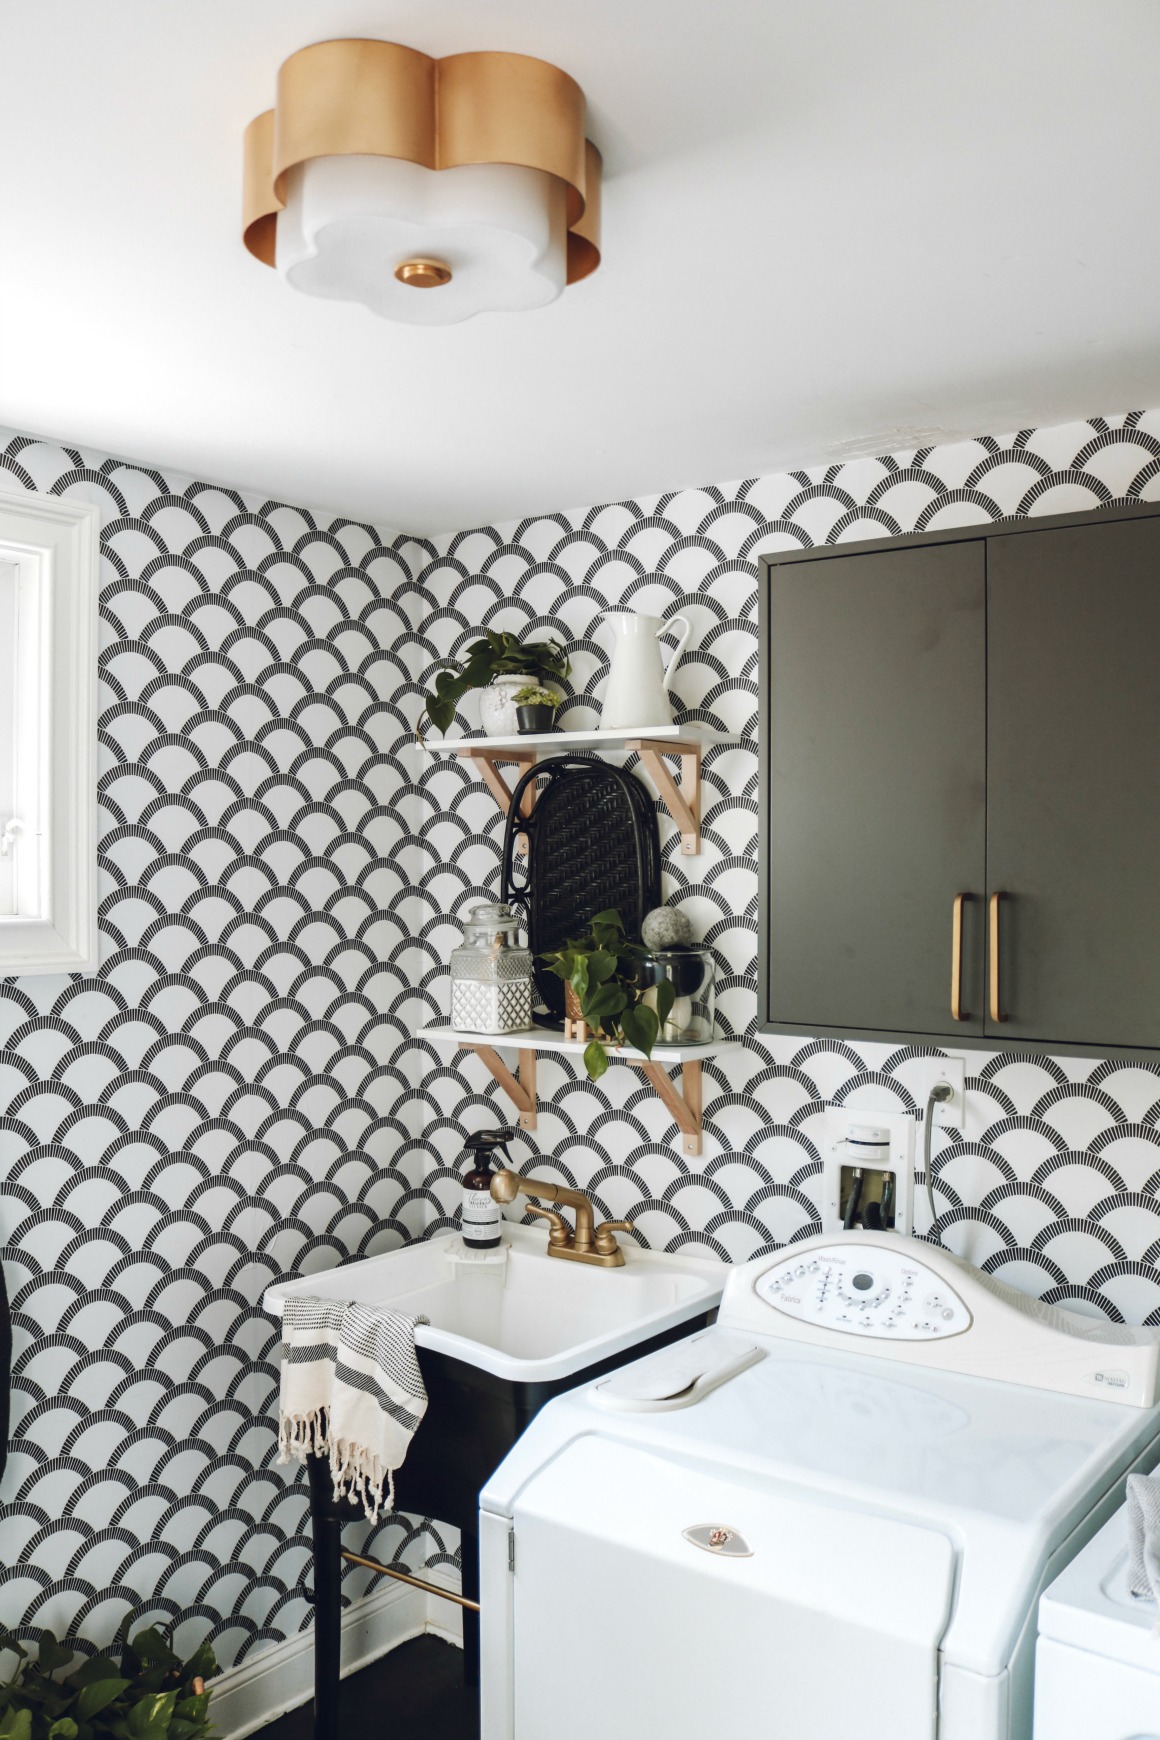
Utility Sink and Shelves
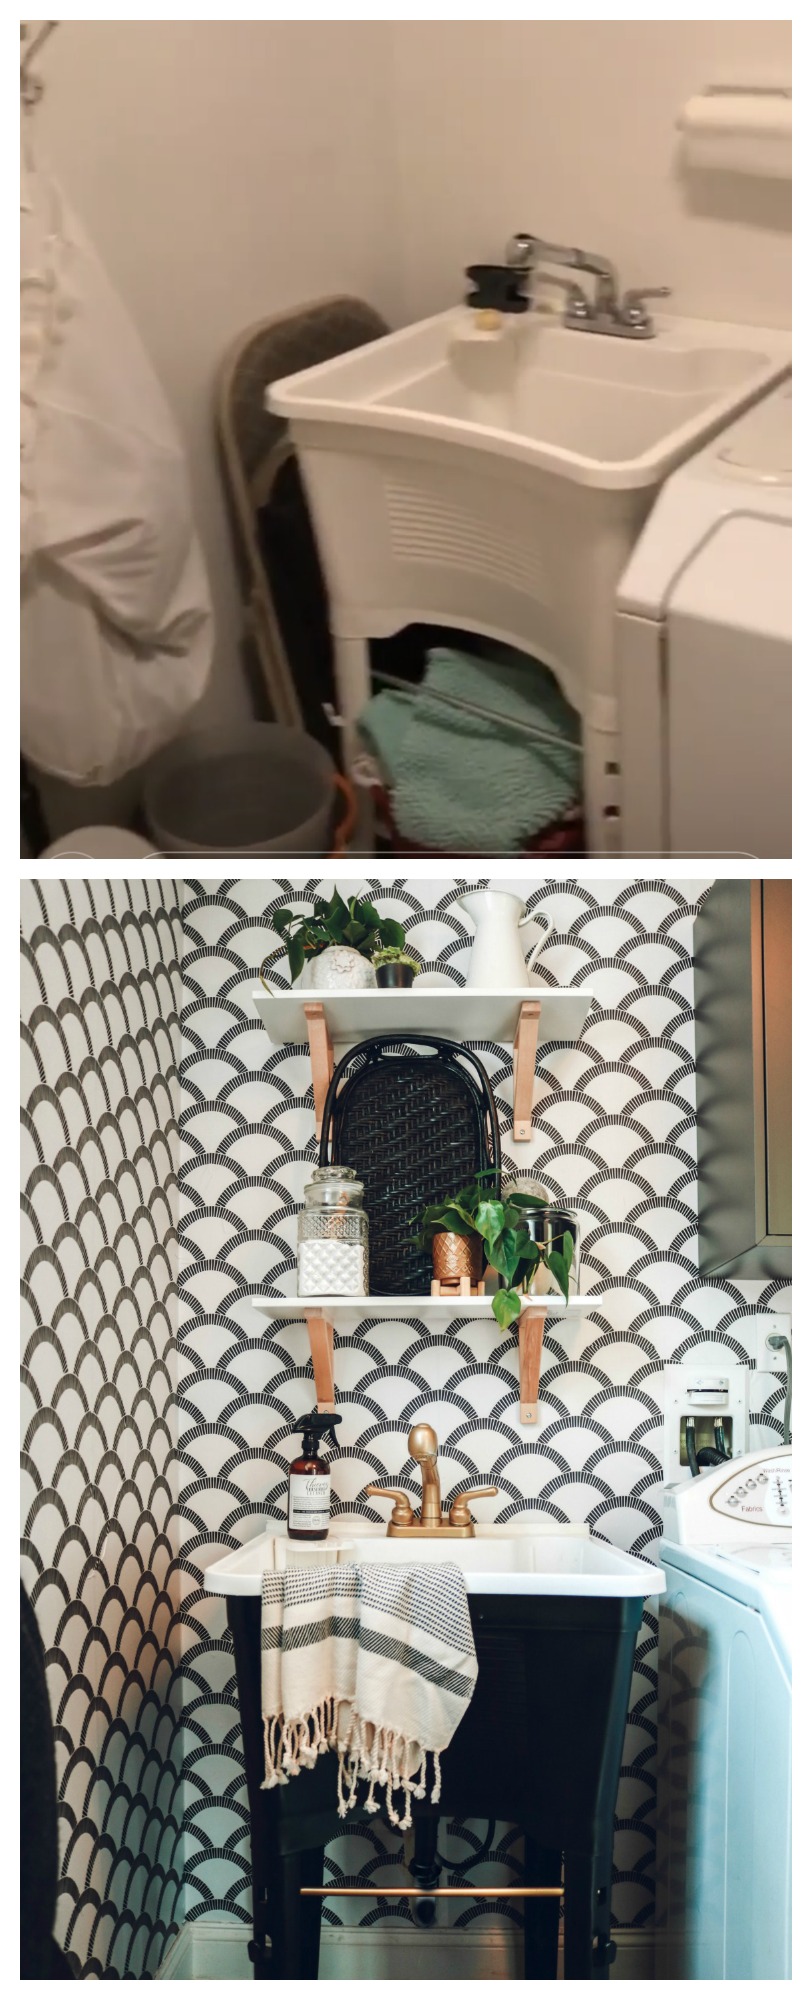
Brandy and Joe had this utility sink already (which is awesome to have in a laundry room!!). We gave it a mini makeover just with spray paint. I got the idea from a someone in our Nesting with Grace FB group (Laura Horton!). We spray painted the bottom with Blak Rust-Oleum Spray Paint. Then we spray painted the rod and the faucet in the same gold (Rust-Oleum Vintage Gold). Easy update!
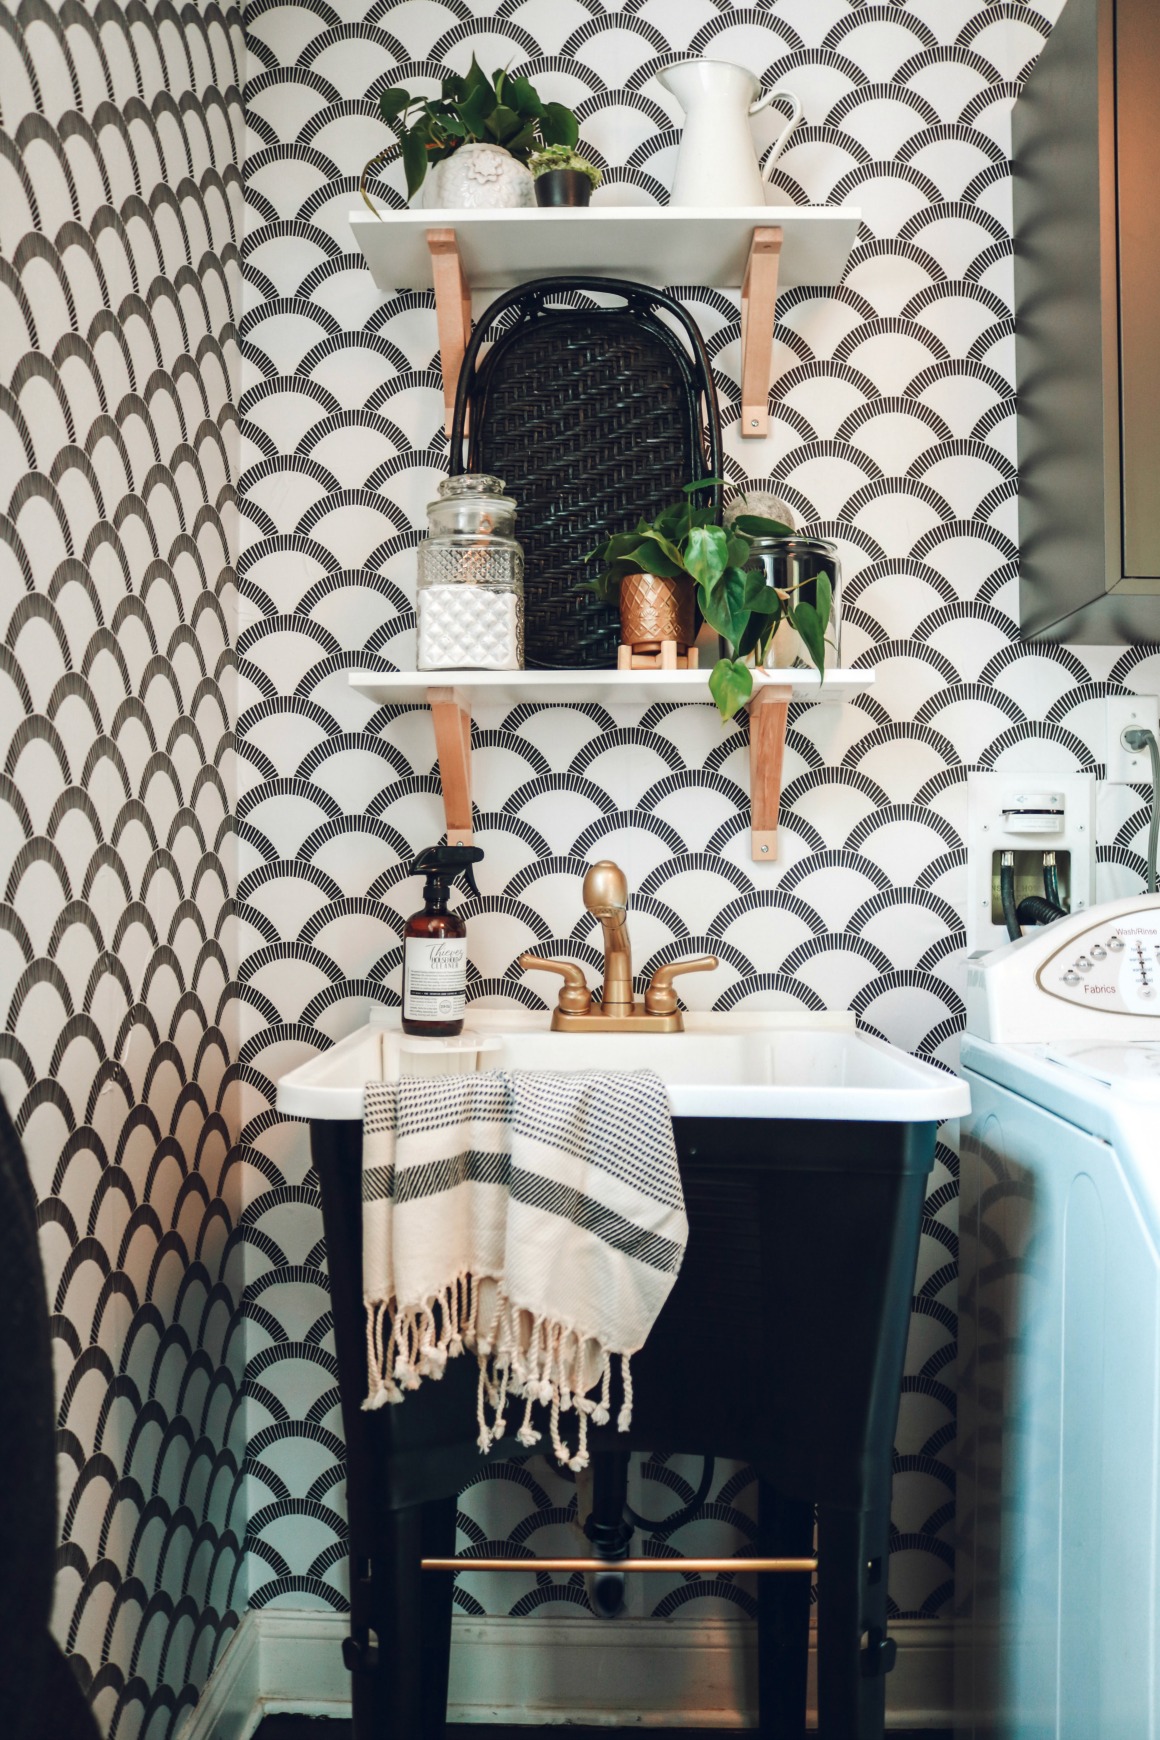
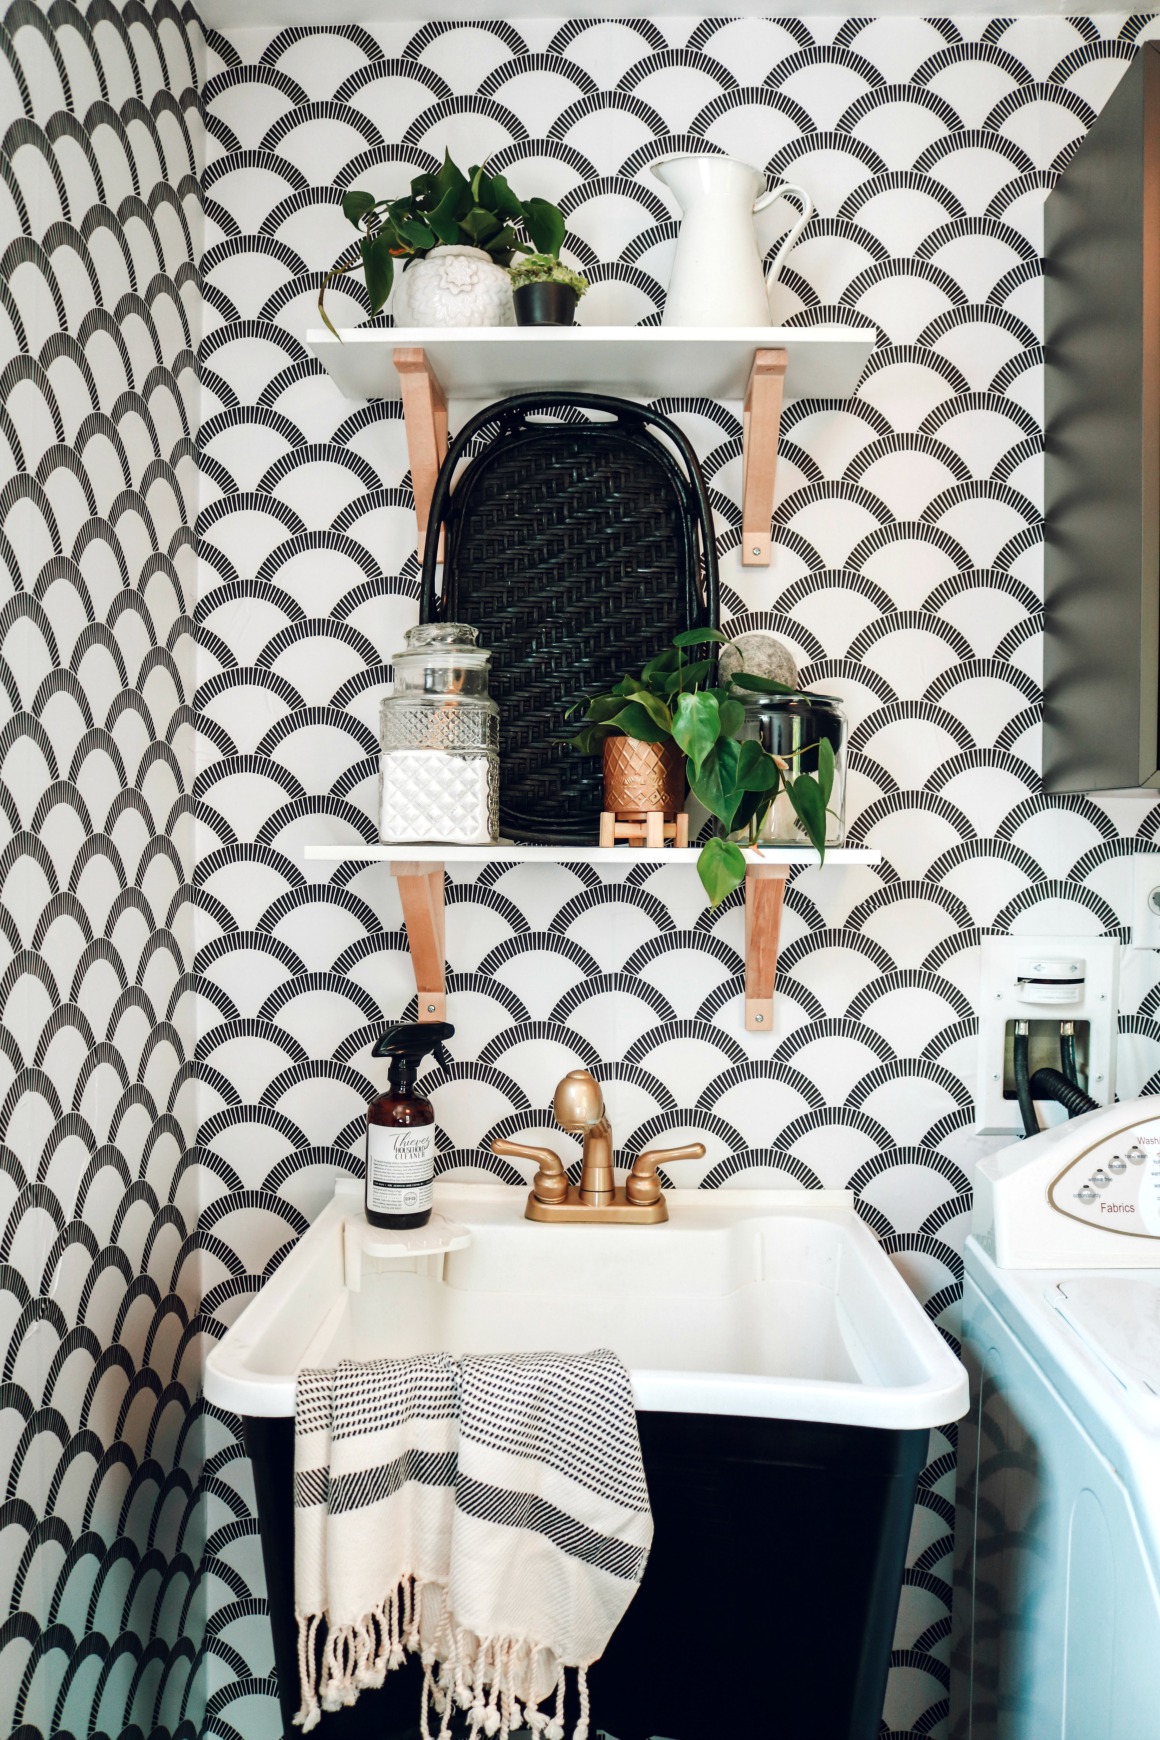
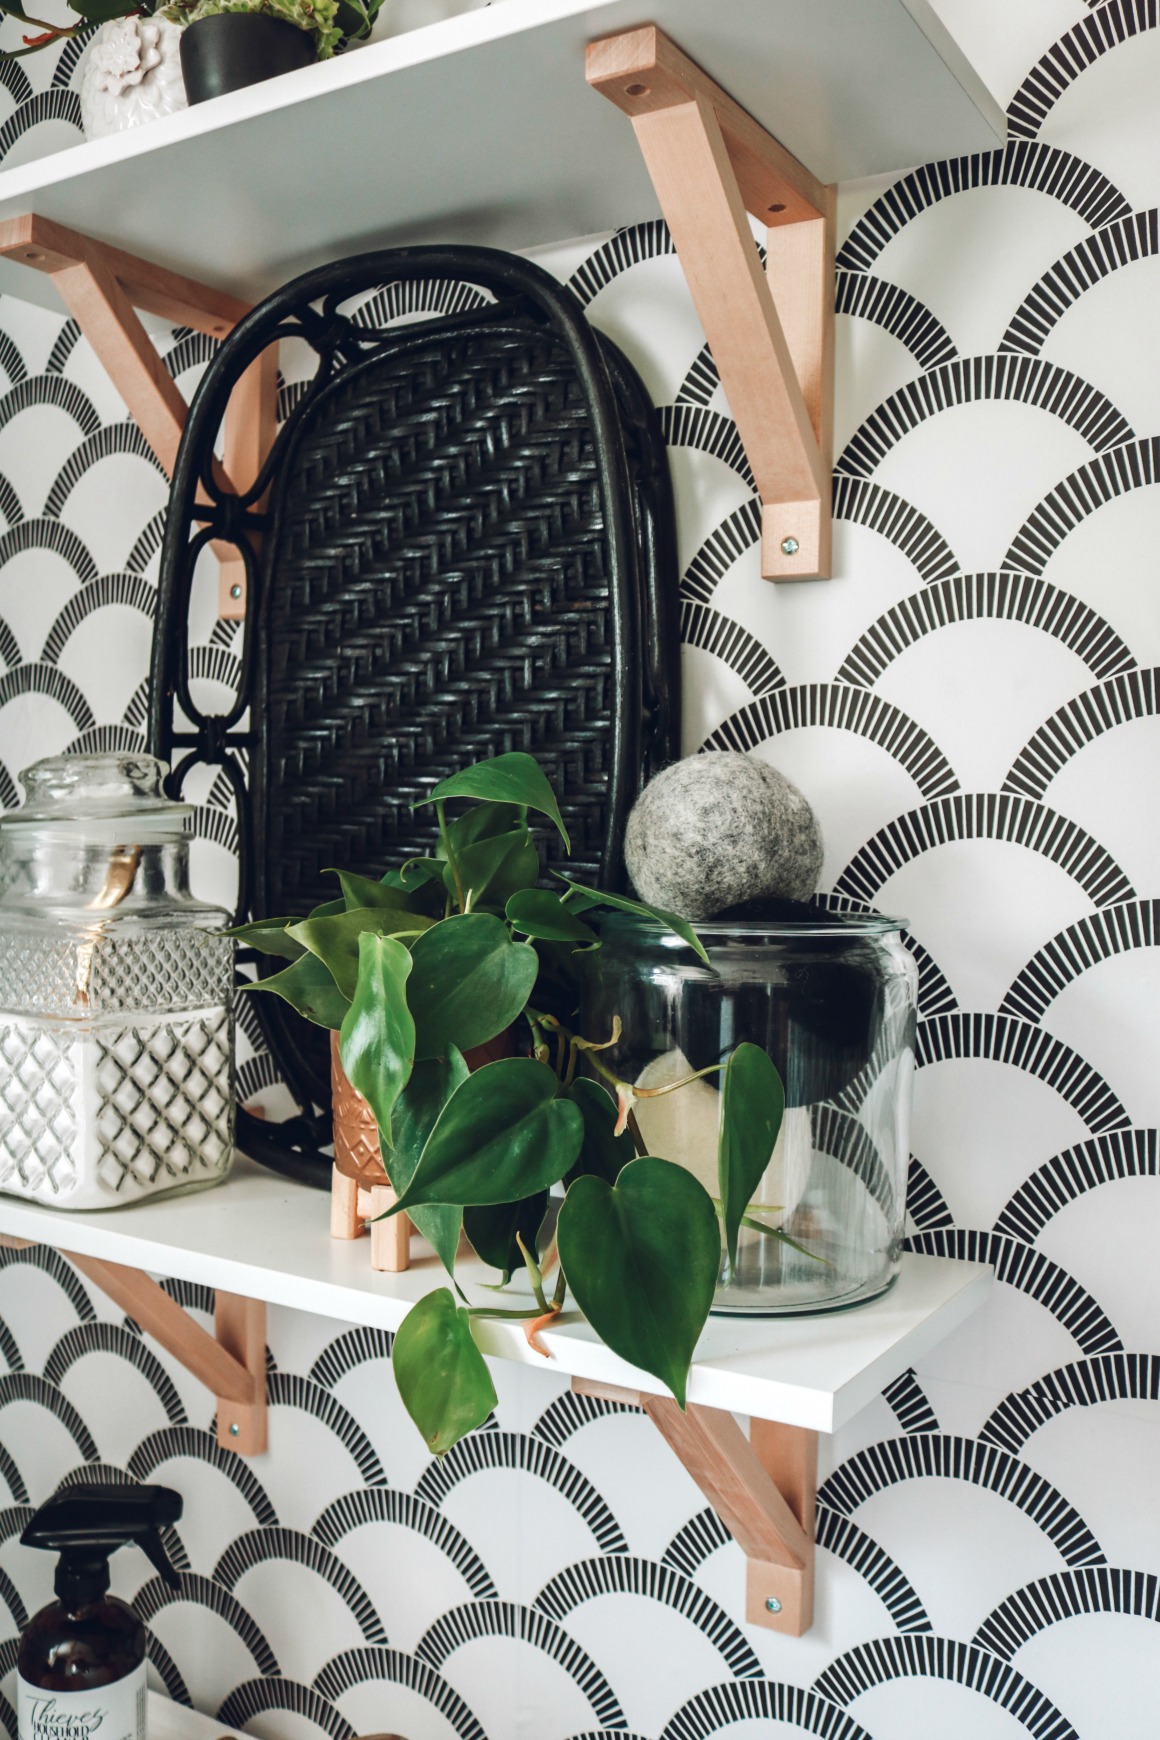
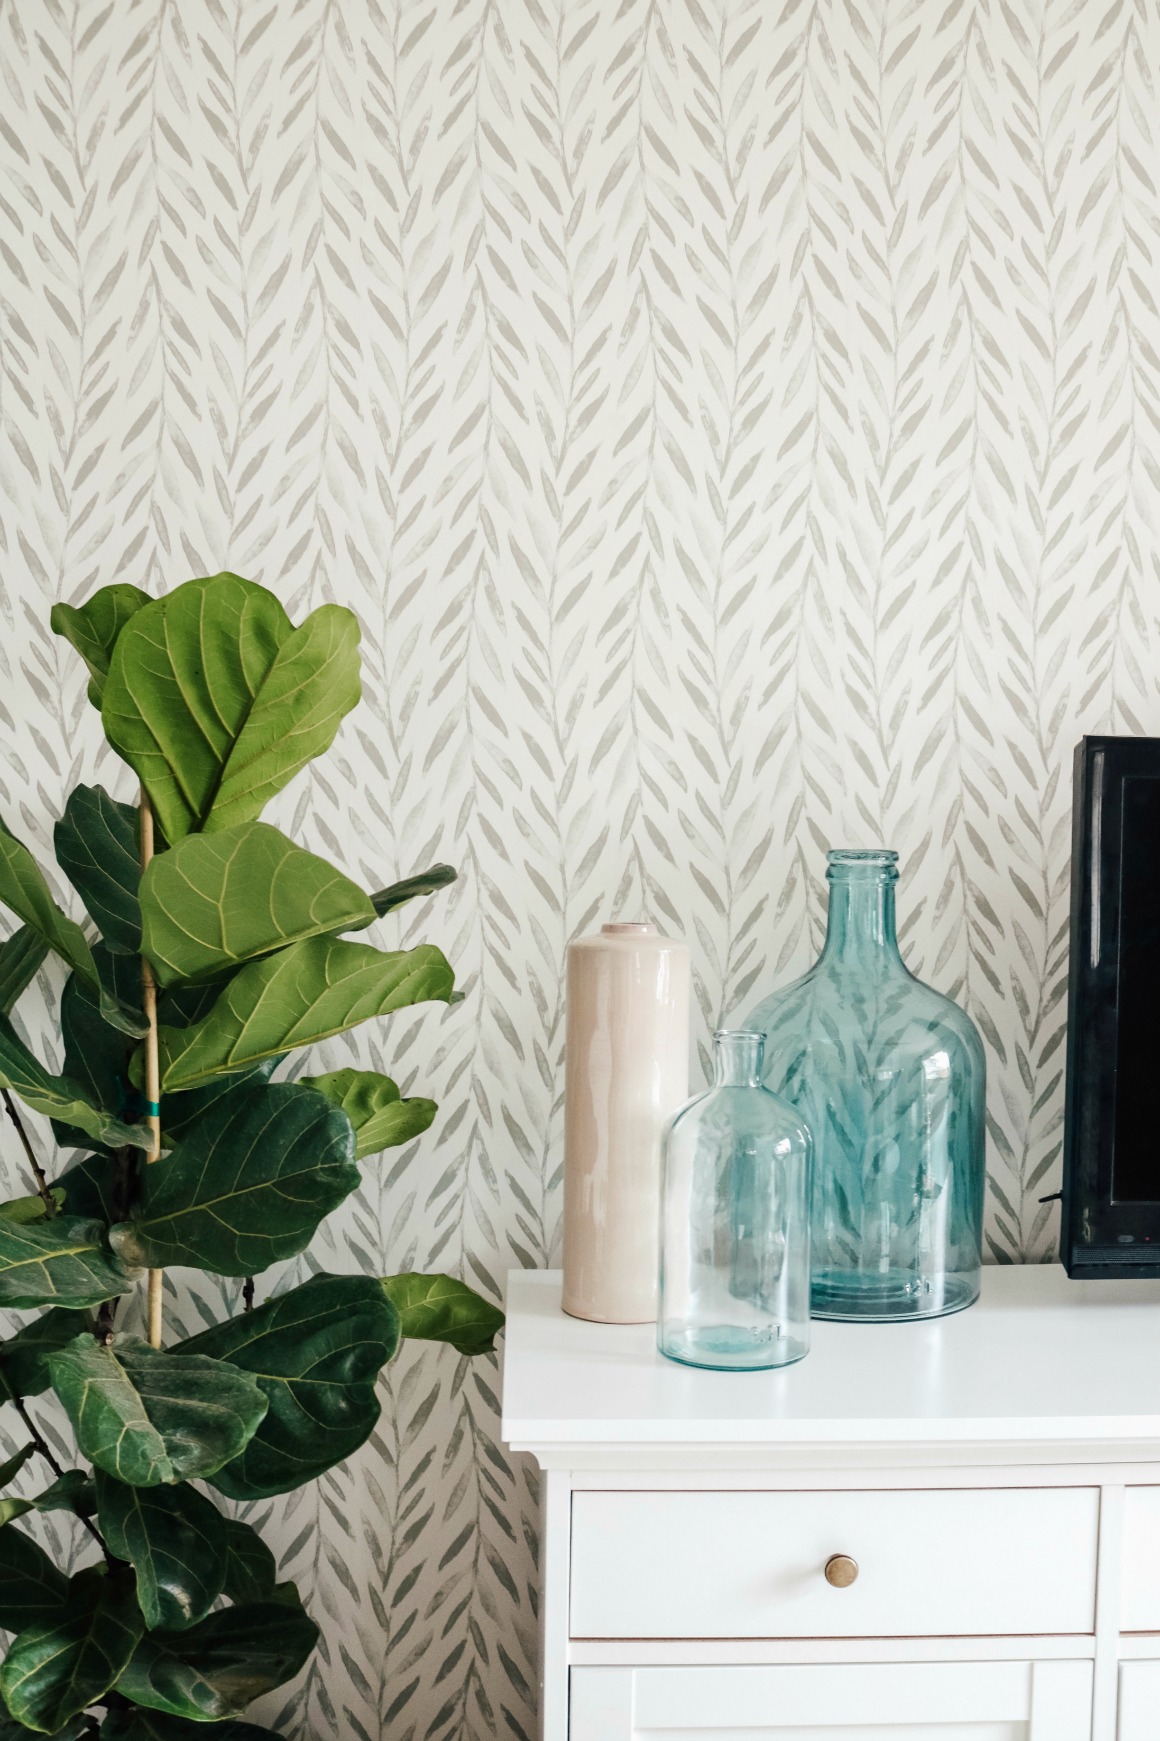
The open shelves are just from IKEA! Super affordable. I brought some accessories from my home and some new plants for their shelves. Also decorating with everyday items, like the dryer balls and detergent always look best (in my opinion! Less staged).
Painted Laminate Floors-

We painted the laminate floors in a porch paint. This was a really quick project too. The hardest part was the drying time. First we cleaned the floor really well. Then primed it with Zinsser Primer (comes in gallon size at Home Depot). It only takes about an hour to dry. Then we used Behr Premium Deck Over– color Slate. We rolled the paint on with a roller and did the edges with a brush. We ended up doing two coats of the slate so the color was even. It has a bumpy texture, not what I was expecting, but it will hold up really well. Keep in mind with dark floor like this, you see everything. But she swept it and mopped it and she said it cleans up really great. (I read Kris- Driven By Decor tips on painting her bathroom tile HERE, her paint was more of a smooth finish. You can also read Charlottes tips on painting vinyl HERE).
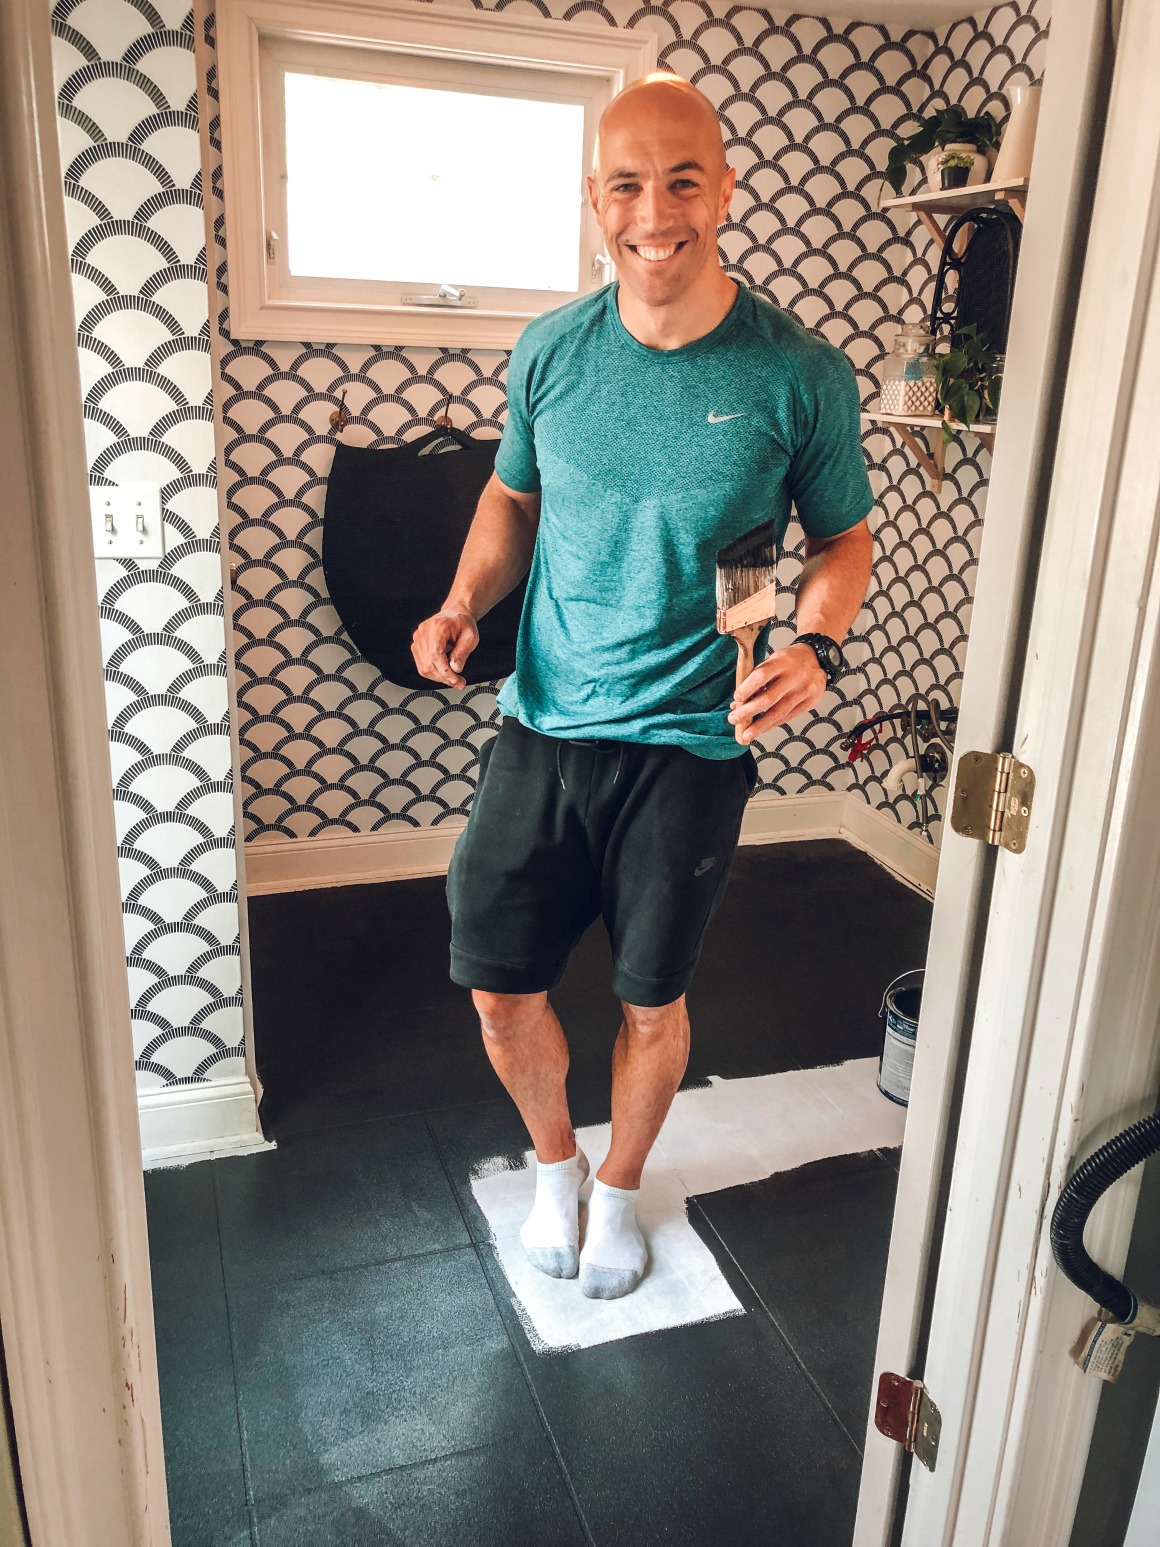
Tip- don’t do what Kevin did. Hahaha. Work your way out of the room. Silly guy. But so thankful for Kevin! He did so much in this makeover and all with a big-old smile!
Hope you enjoyed this mini makeover and it gave you some laundry room ideas!!
Keep Reading-
Blog Post all about Wallpaper (with video) HERE


Absolutely gorgeous!
Beautiful! Thank YOU for paying your blessings forward onto others! You and your family are blessings to me each day. So happy I found you! ❤️
I absolutely just adore your heart. You are the real deal. ♥️ Love how it all came together. Anxious if we will hear about how the floor paint holds up!
I’m crying. Legit just made my day. It’s beautiful, you’re a beautiful human being and my life is literally better because of your blog.
Oh my goodness Brooke, this is amazing! Hard to believe it’s a laundry room, it’s too pretty. Come to Philly!! 😃😃
Brooke, it came out beautiful!! I always get so excited to see your transformations!! You did a fabulous job and you are such a wonderful person💗
Love this! You and Kevin are both such a wonderful influence to your kids (and the rest of us)
I enjoy your blog soooooo much.
Cool wallpaper! I always enjoy seeiing makeovers that you do for others. Your own home is already great, and you don’t make it all about you. So you bless someone else! Love it.
How kind and thoughtful of both you and Kevin. I agree with the comment above that you are both are such a positive influence and show us all the ways in which we can help others. You definitely lead by example! Would you ever do a “make the best of it” refresh of your laundry room. I detest mine in the basement and without drywall, have no idea how to make it bearable to even be down there long enough to do laundry.
I love it! Not surprising that this makeover is another hit. 😉
So gorgeous and kind! Question on the wallpaper. I have slightly orange peel texture walls. Would the wallpaper stick to it do you tho k? Or do the walls have to be smooth?!?
It would work- you would just be able to see the texture…..
This turned out so great! So wonderful that you were able to do this for your friends!
Looks fab, I’ve just turned my down stairs half bathroom into a laundry room, it’s tiny but it’s worked out great. My house has limited square footage so I’m trying to make the most of the space I have by changing it up to make it more usable to suit my family.
Love, love, love! Love it, love you, love everything you share!
Fabulous as always. Used peel and stick in my rv. The gap widened on the one wall that was wide enough to put 2 pcs side by side. (Assuming from temperature changes?) Want to use again. Do you think perhaps I should overlap seams in this situation?
Whoa! I want to spray paint my ugly laundry tub now. Is that one plastic? WHat kind of paint did you use? Did you remove it in order to paint it? Or painted it in place? If so, how did you not get it all over everything!
Literally was going to type the exact same questions!! Would love to know more!
We took it outside to paint it! I use that rustoleum spray paint! And we did not sand it.
We took it outside to paint it! I use that rustoleum spray paint! And we did not sand it.
Does the spray paint on the sink and faucet feel sticky?
not at all!
Loving this space!! Thanks for sharing! You are your family are a blessing to so many of us!
Your (and Kevin) love and sheer wonderfulness has shone through yet again! It clearly oozes out of you! This is an amazing before and after example.
Now, when do you want to come to Scotland to finish my way too big home office? 🙈
Lots of love x
Scotland?! Yep! That would be so fun!
Another beautiful transformation. So kind of you to do this for your friend.
Forgot to mention…. the utility sink transformation is amazing. And all it took was a little paint.
This is absolutely beautiful! Thank you for your service to others. God bless.
You two are angels in disguise and you always accomplish such amazing results no matter what you tackle. I love, love this laundry room.
hey girl- love the laundry room! so cool!
BEAUTIFUL JOB! As ALWAYS! You’re SO, SO, talented! What color did you paint the IKEA cabinets? TIA!
It came painted that gray!