I have another EASY DIY project for you! We added a wood planks or as most refer to it as shiplap to the nursery we recently made over in two days for my sister-in-law. I personally don’t think shiplap is going anywhere and love it in a small application like we used it. You could do this same shiplap look on a ceiling or the entire wall. We partnered with Lowe’s to complete this project and so happy we did because we found the perfect pack of wood to use as shiplap and that was very affordable. Everything in this room and for this project can be found at Lowe’s. Keep in mind you can rent some of the larger tools for this shiplap wall, just call your local Lowe’s to see what is available for rent HERE.

Shiplap Wall Supplies Needed-
Tools Needed-
- Stud Finder
- Miter Saw
- Tape Measure
- 18 Guage Nail Gun
- Air Compresor (for nail gun)
- Air Hose (for nail gun)
- Putty Knife
- Paint Tools
Supplies Needed-
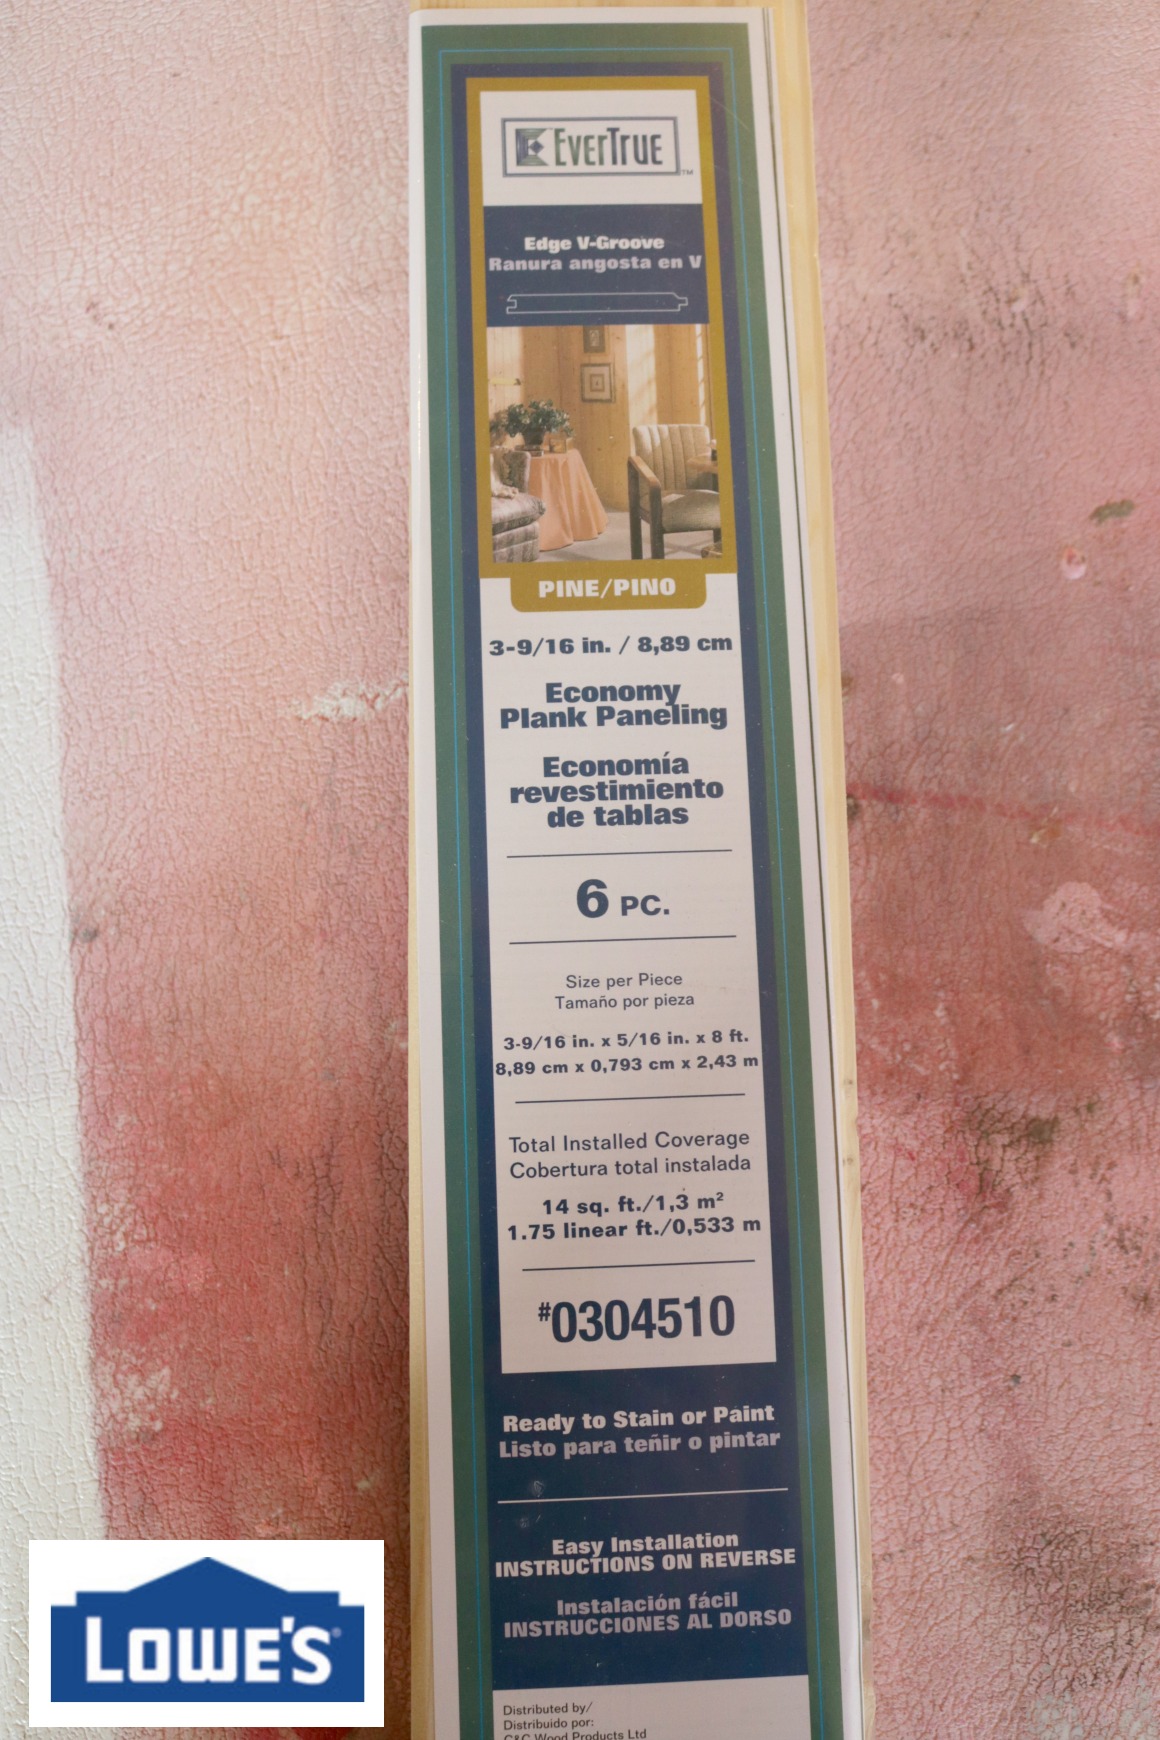
- Economy Planks
- Wall Spackling
- 2 1/2″ 18 Guage Nails
- Paint Primer
- Paint (our wall is only about 5’x9′ and we used under a 1/2 a gallon)
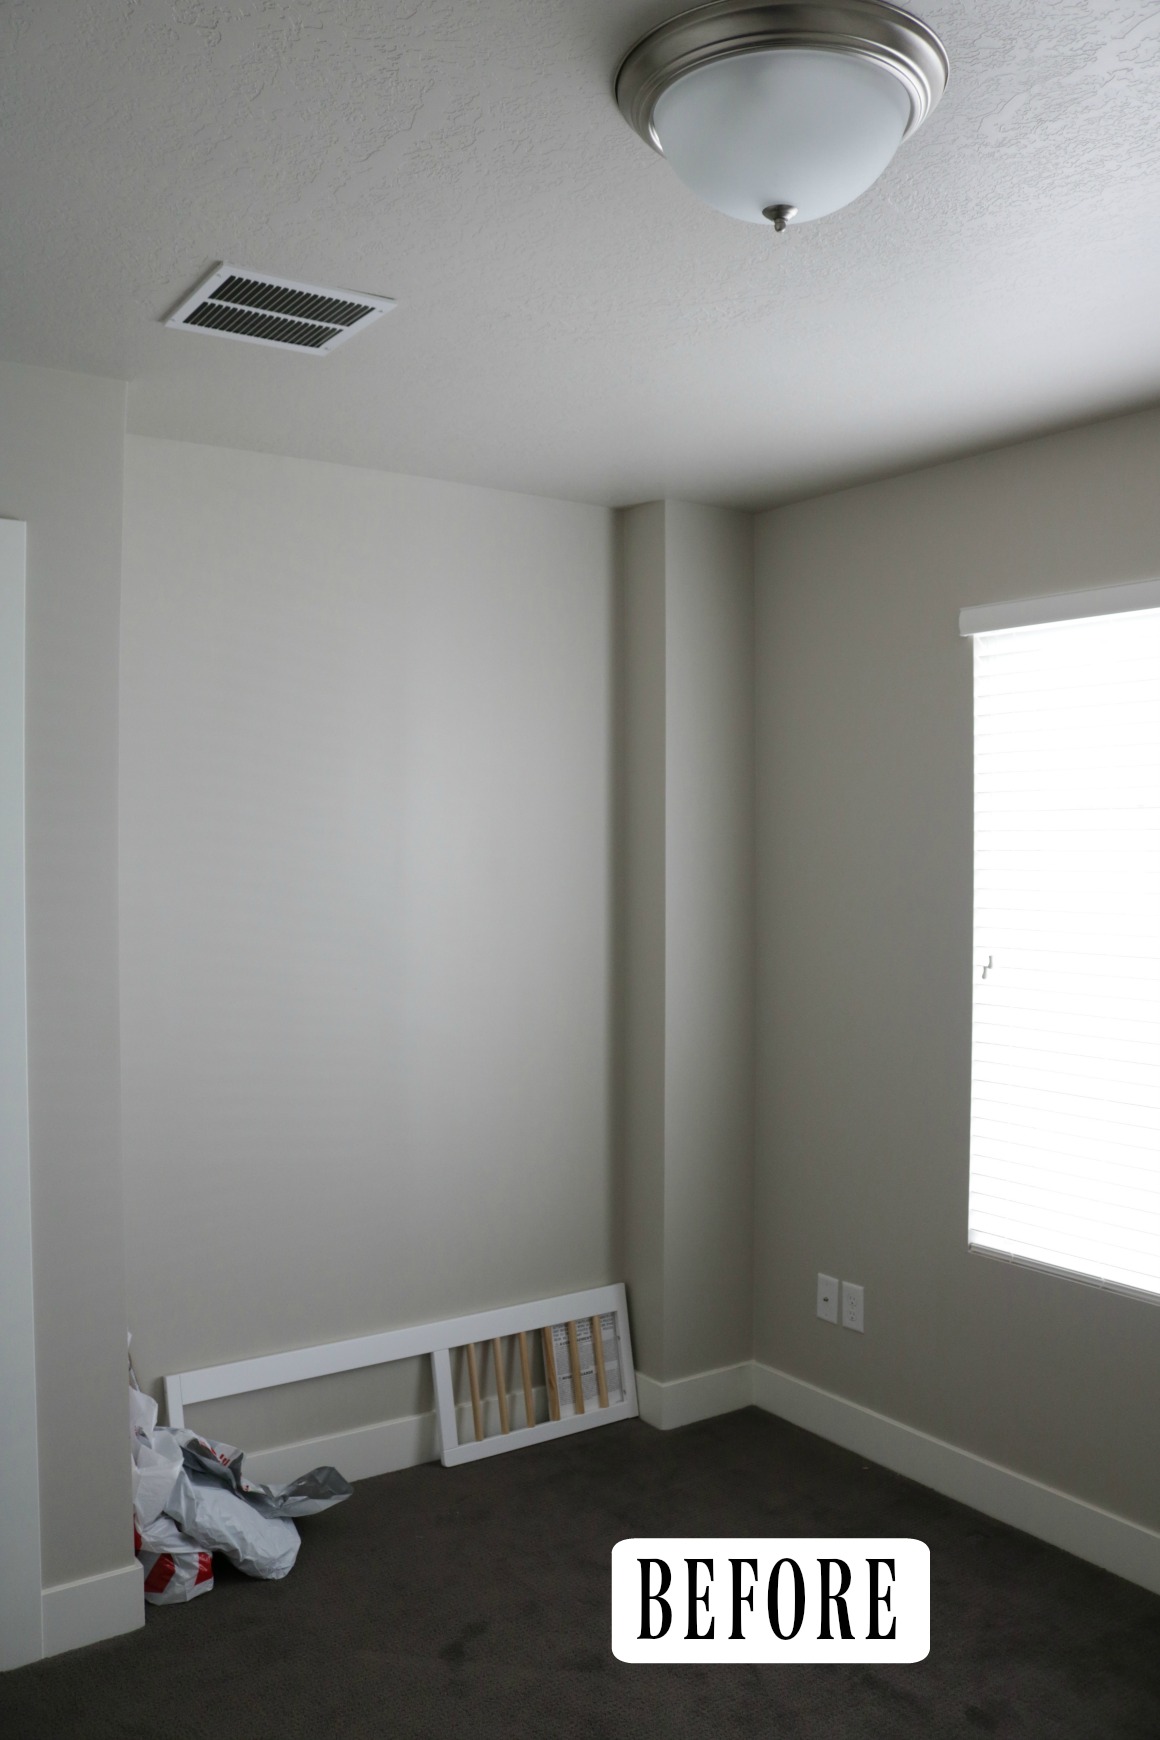
Here is the BEFORE-
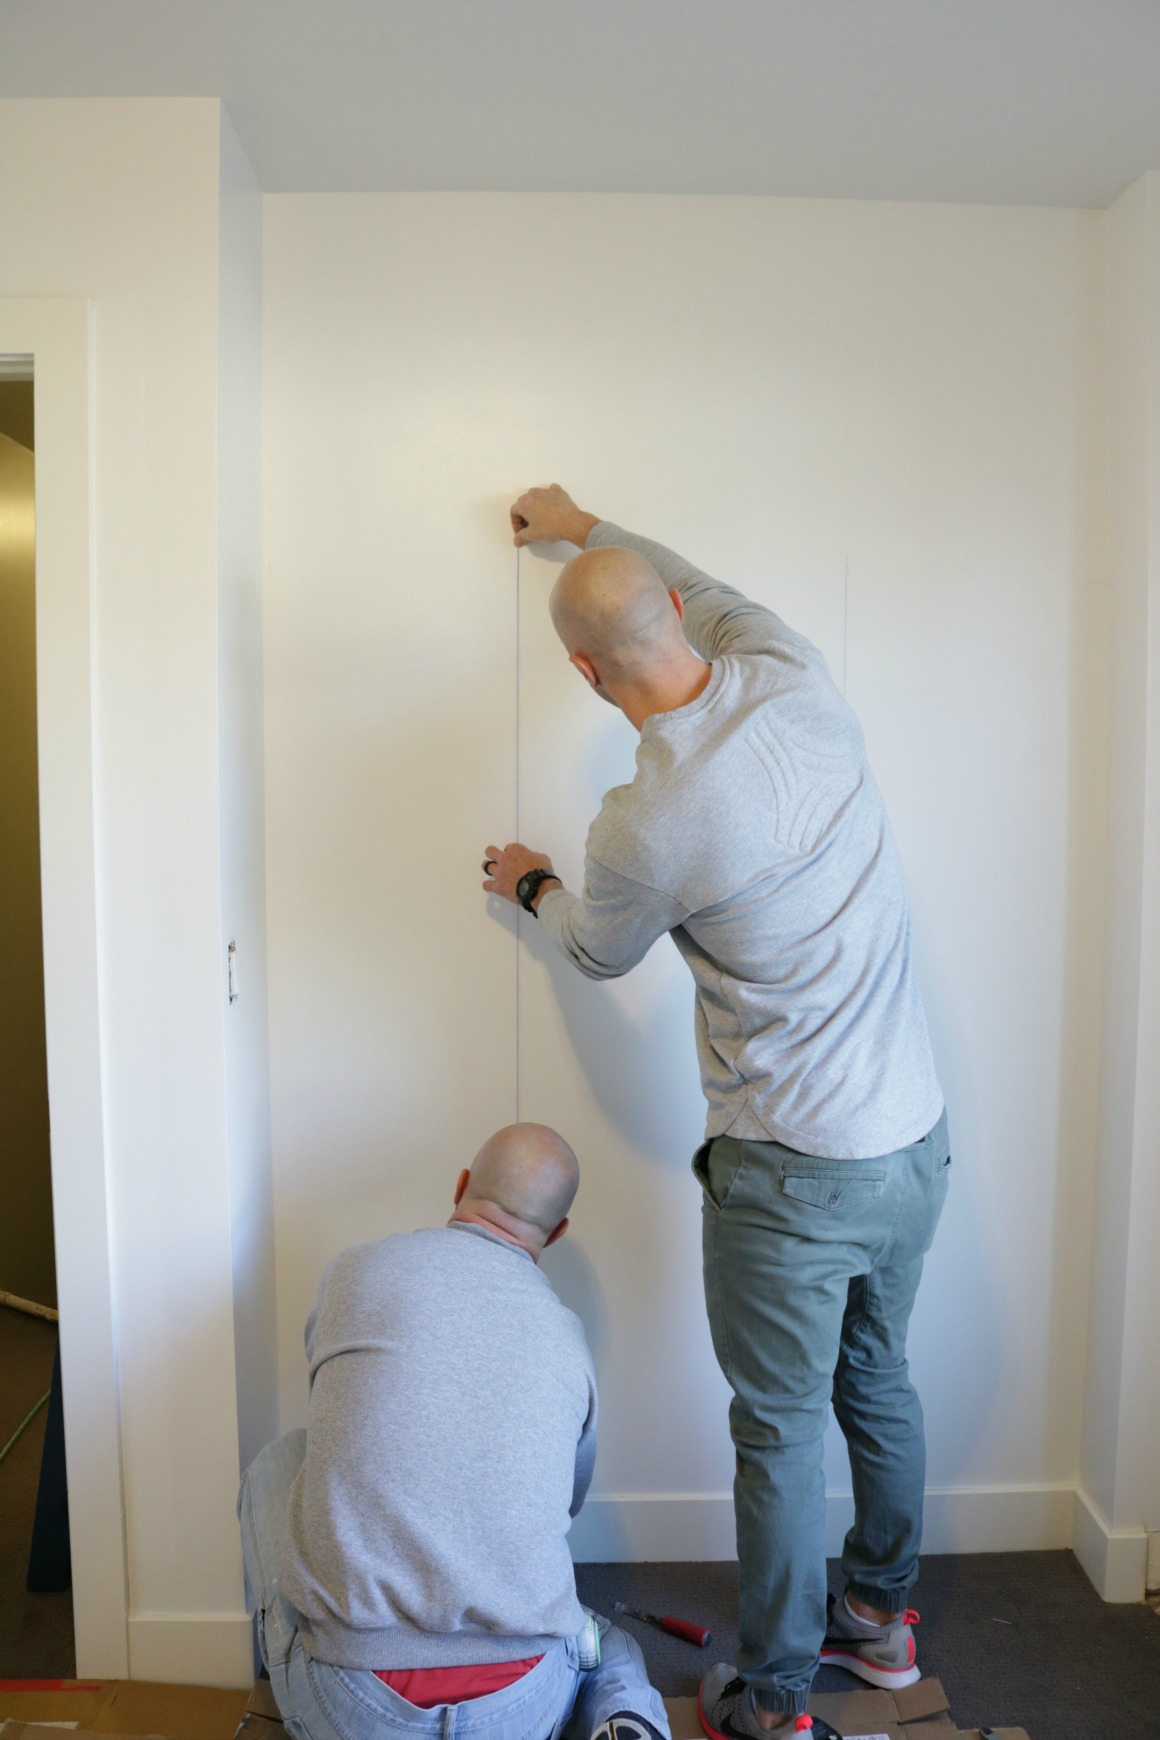
Step #1- Find the studs in the wall (a stud finder make this super easy to do). Draw a line up the wall where the studs are. Our wall was about 5′ wide so we marked the studs vertically all the way to the top and in two spot horizontally. We used THIS chalk reel to draw a straight line.
Step #2- Measure your wall and cut your wood pieces with your Miter Saw. Make sure to cut one piece first to test before cutting the entire wall. We kept the pieces pretty tight so they had to slide in from the top to get into place
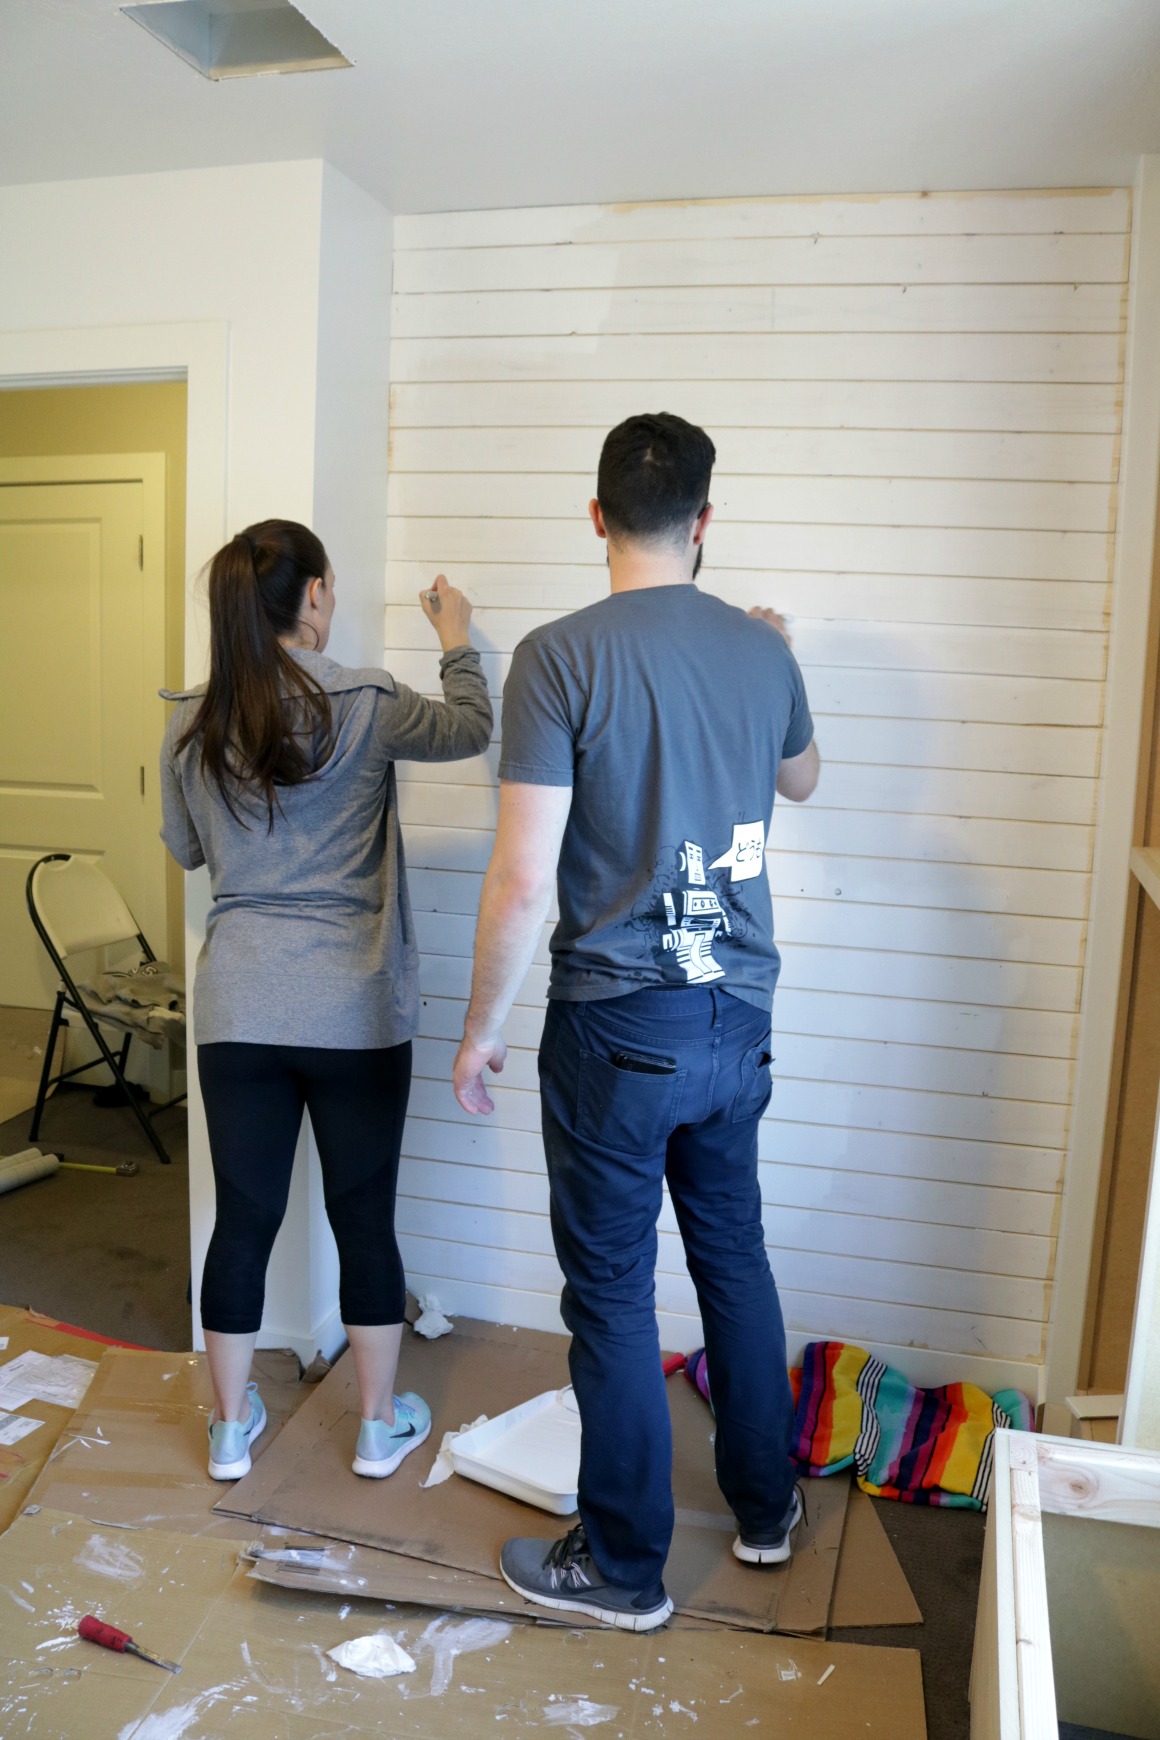
Step #3- Nail each piece to the wall with your nail gun- we nailed the wood in three spots (these are not heavy pieces of wood)
Step #4- Place a nickel between each piece of wood so you have a little bit of a gap to actually see the separation of the wood
TIP- You will see the wall behind the wood so if it is a totally different color than you will be painting your shiplap you will want to paint the wall
Step #5– Cut your top piece- the very top piece is the hardest. You will measure each end to see the distance from the last piece of wood to the ceiling, because your ceiling will not be exactly straight. Once you measure each end measure the space in the middle and a couple other spots and mark it on your last piece of wood. Then connect all the marks with a pencil. Using your Miter Saw cut the angle of the top of the wood as well as the sides. Our last piece on the top was a little tighter, we lighting hammered it into place. (I show how to do it at the end of the post in a video)
Step #6- Fill in the nail holes with Spackling and pressing it into the holes with a putty knife. After the Spackling dries you will lightly sand those spots so it is ready to paint
Step #7- Prime and Paint the wood! You don’t have to use primer but this will help the paint to go on smoother and with less coats of paint
We painted the shiplap in Oxford White (semi-gloss) from Sherwin Willimans found at Lowe’s

For our wall I didn’t want their to be a seem- but to save on wood you could easily cut the wood in varied widths and stager it on your wall. We used 25 pieces of wood. There are 6 pieces of wood in each package (yes we had to buy one extra package for that last piece!). So 5 packages- costing us around $50 plus paint plus the other supplies making it around $75! Not a bad price for such a statement wall.
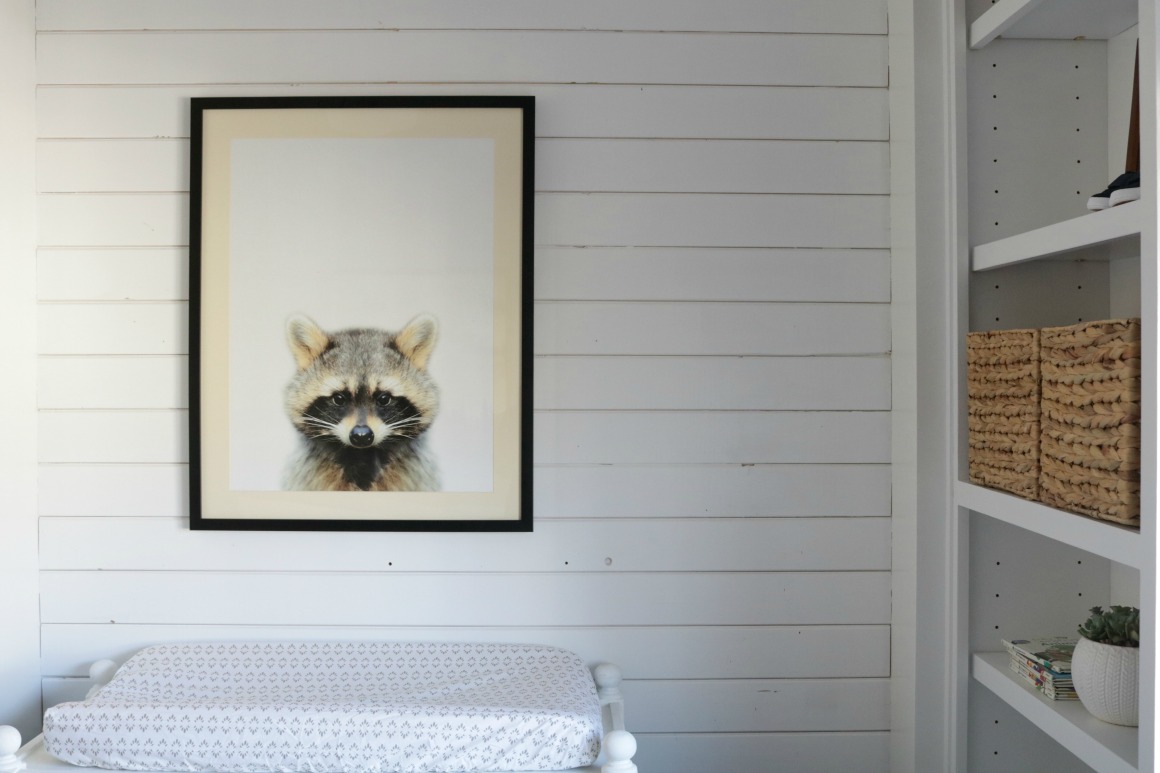
Tip- When hanging artwork on the shiplap less is more! You want to show it off. When I hung this single piece of art I put the nail right in the gap of the pieces of shiplap for support and not to put a nail through the wood.
You can see the rest of this Baby Boy Nursery HERE and watch simple video below..
See where I added this same shiplap down our hall to create a focal point and hide the thermostat HERE
Thank you Lowe’s for sponsoring this post!


Hello! We are seriously considering a shiplap wall in our home. Did you install this on plaster or drywall? Thank you! Holly
This went on dry wall. I have mine on plaster. Works on either option.
Looks great. I appreciate the way you broke down each step— I would doubt myself if those steps weren’t in there!