Since I started my “Ask a Designer Series” I have noticed a big trend. I keep getting the same question over and over and over. And honestly it surprises me to a point. Maybe because it comes easy to me. That didn’t sound right. It comes easy to me because I practiced it and still do all the time. The most asked Design Question I get is….
Wait. I will get to that.
First let me expand on why I think it comes easy to me. I actually don’t have a degree in design. Go ahead unfollow me now. I worked in the same design store for close to 17 years. I would often feel stupid and less-than for not having that certificate. Until my Boss sat me down and listed all the things to be proud of and what I do have is experience. It all started one summer. My friend and I were looking for summer jobs at the age of 15. We went to the closest shop, me on my rollerblades and my friend on her bike. It was actually a Village of shops. Historical homes that were all moved to this one location that had home decor products sold in each one. We went into the office and I am sure I just had socks on because I didn’t want to carry my shoes while roller blading. The owner, Angie happened to be walking by and took our applications and my friend pulled a fast one on me and showed her report card (A+ student) I was not going to show my report card (nothing to see there). Anyways the owner gave my application to the design firm (she owned too) down the road because she liked my hand writing and wanted the manager to hire me to hand-write all their signs. So that is where it all started. Needless to say I stayed there, moved from a sign writer to a design assistant, store merchandiser, designer, assistant manager then manager and store buyer. It was a blessing. I grew up in that store. I did take design classes in-between there. History of furniture, drafting, basics of design and a couple others. I realized that I had a wonderful degree in experience. Something that I told every aspiring designer I interviewed was- along with an amazing degree- GET EXPERIENCE!
Anyways back to that burning question-
The Most Asked Design Question…
What do I put on my walls?
Yes. The most asked design question I get is- “What do I put on my walls?”
From my experience I learned from working in a design store and with amazing designers was that-
You can not go wrong when you select something you love. But there are some easy tips I can offer on what to put where. (Keep in mind- I believe in doing what YOU like. Don’t get caught up in rules. These are just MY own tips to help you get started if you want some direction. I do not think these apply to everything, everyone or every home).
Tip #1- Make a plan for ALL the walls before starting on just one wall.
Look around at your room and create a plan before you start buying things or putting holes in the walls.
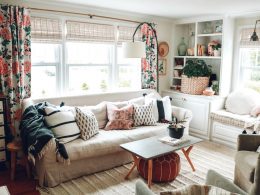
Here is a really good example of that from a question an email subscriber sent me for my “Ask a Designer Series”. She had a blank wall and didn’t know what to do. So she asked- “What do I put on my walls?”
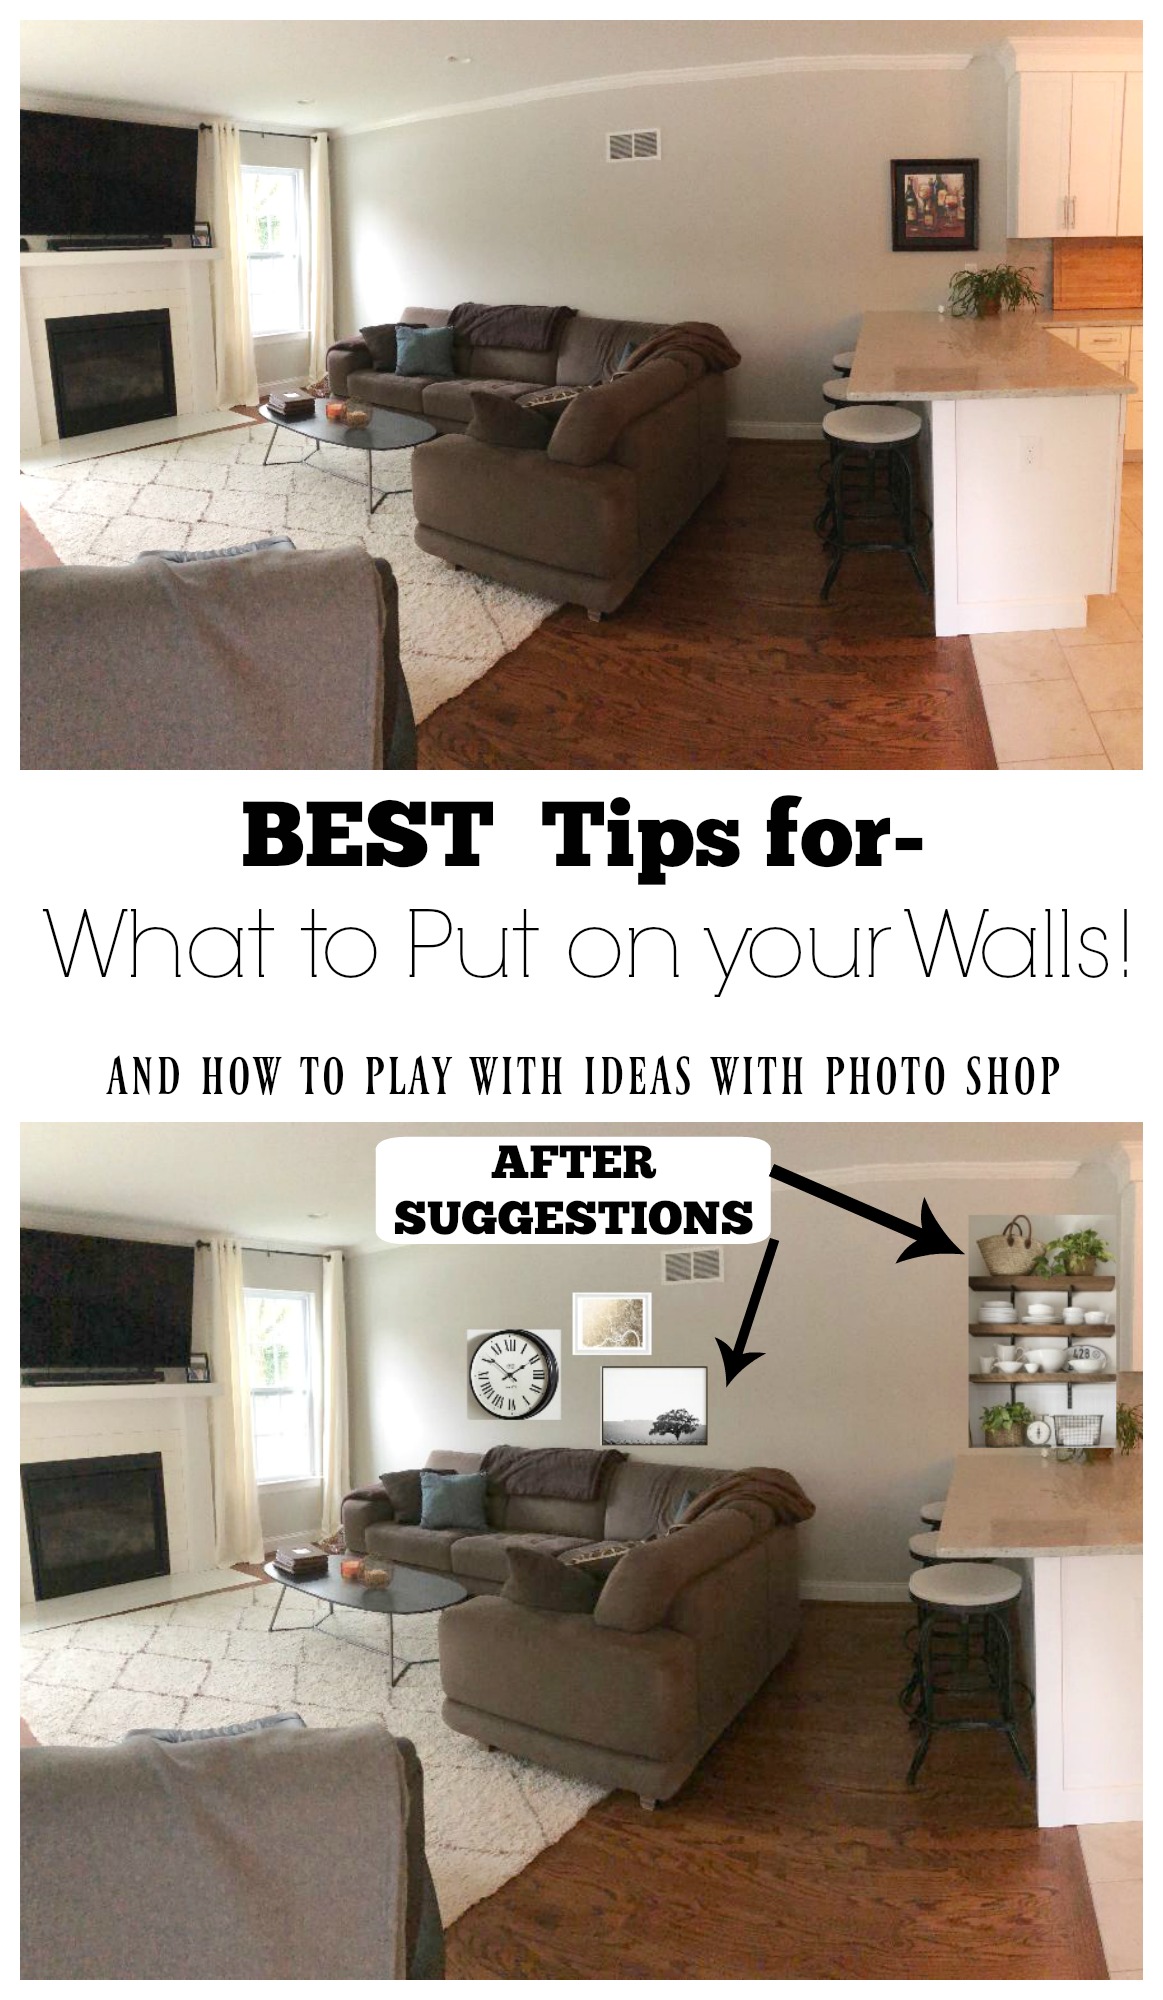
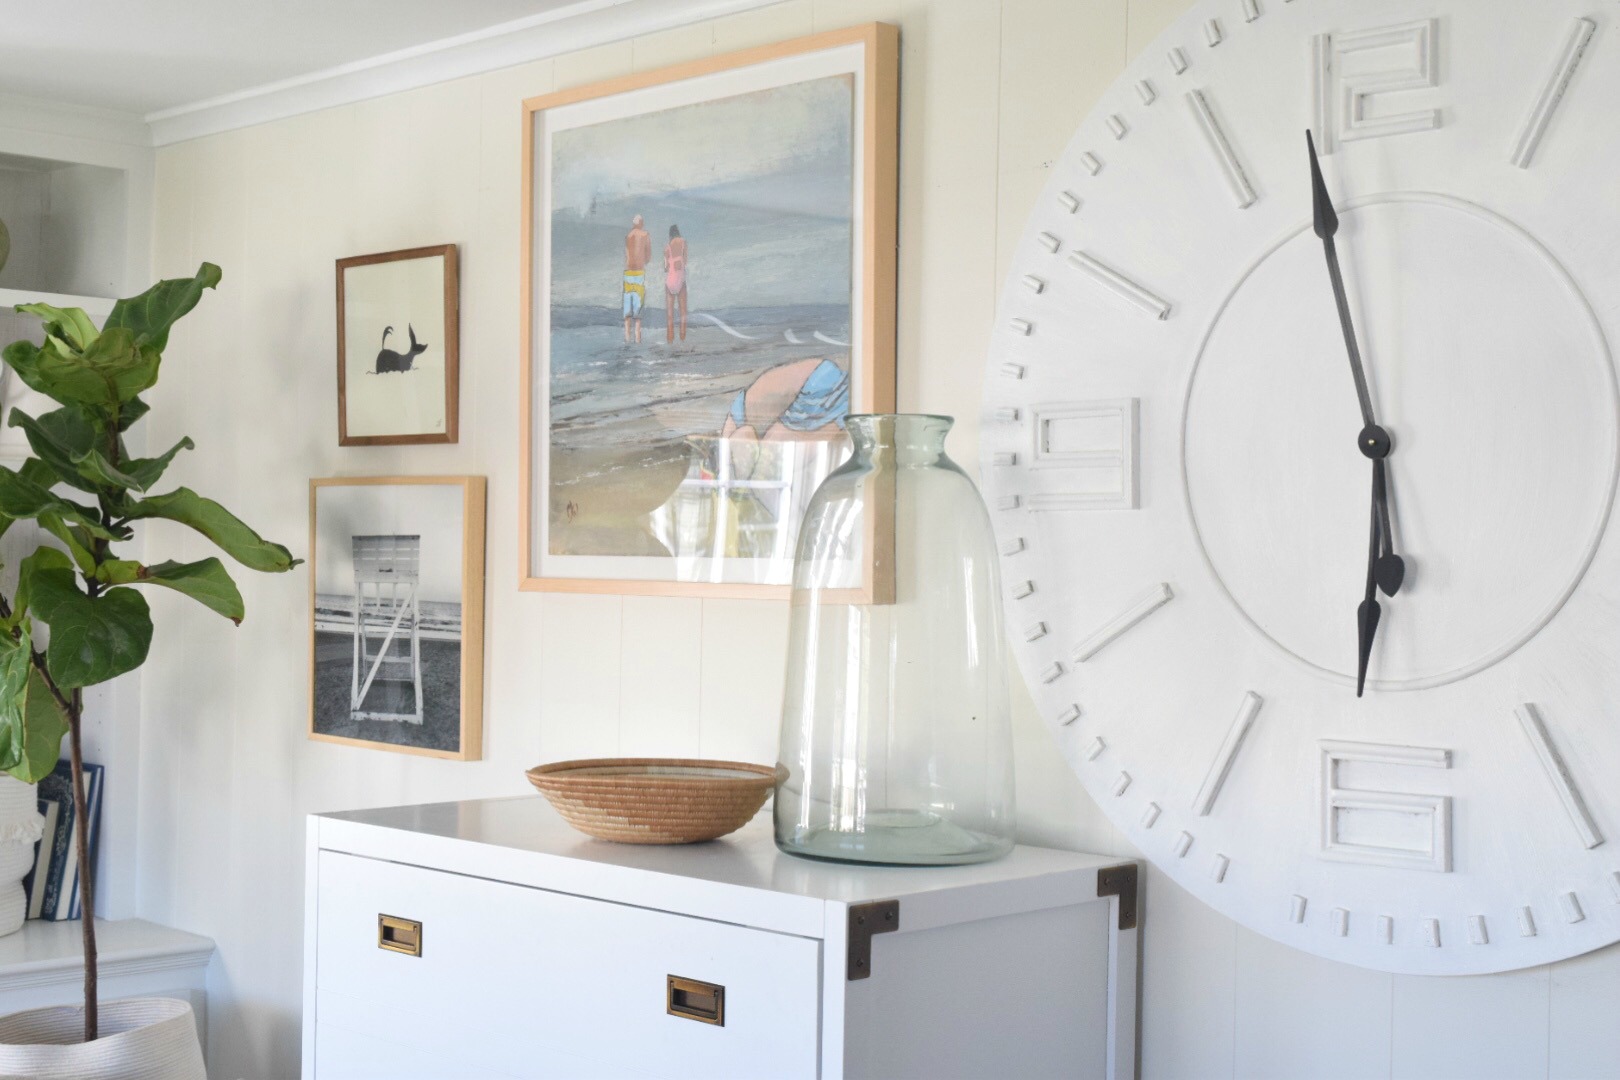
First thing I do- look at it the entire room. Notice the black rectangular TV- you don’t want to do another rectangular piece above the sofa that is the same size as the TV. Instead I found a round clock and did a grouping with art. One of the pieces is a map of Cincinnati where she lives, I love adding a personal touch. I used black for some contrast and white to brighten up the dark sofa’s. I also changed the art she had by her kitchen cabinets and added shelves. It is nice to add some dimension to one of the walls- so not everything is a flat piece of art. Not to mention practical too.
Sources in space- Clock HERE /// Map of State HERE /// Black and White Scene HERE /// Shelf Source HERE (You can easily “try” things in your home like I did for my subscriber with some photoshop tips I shared at the end of this post.)
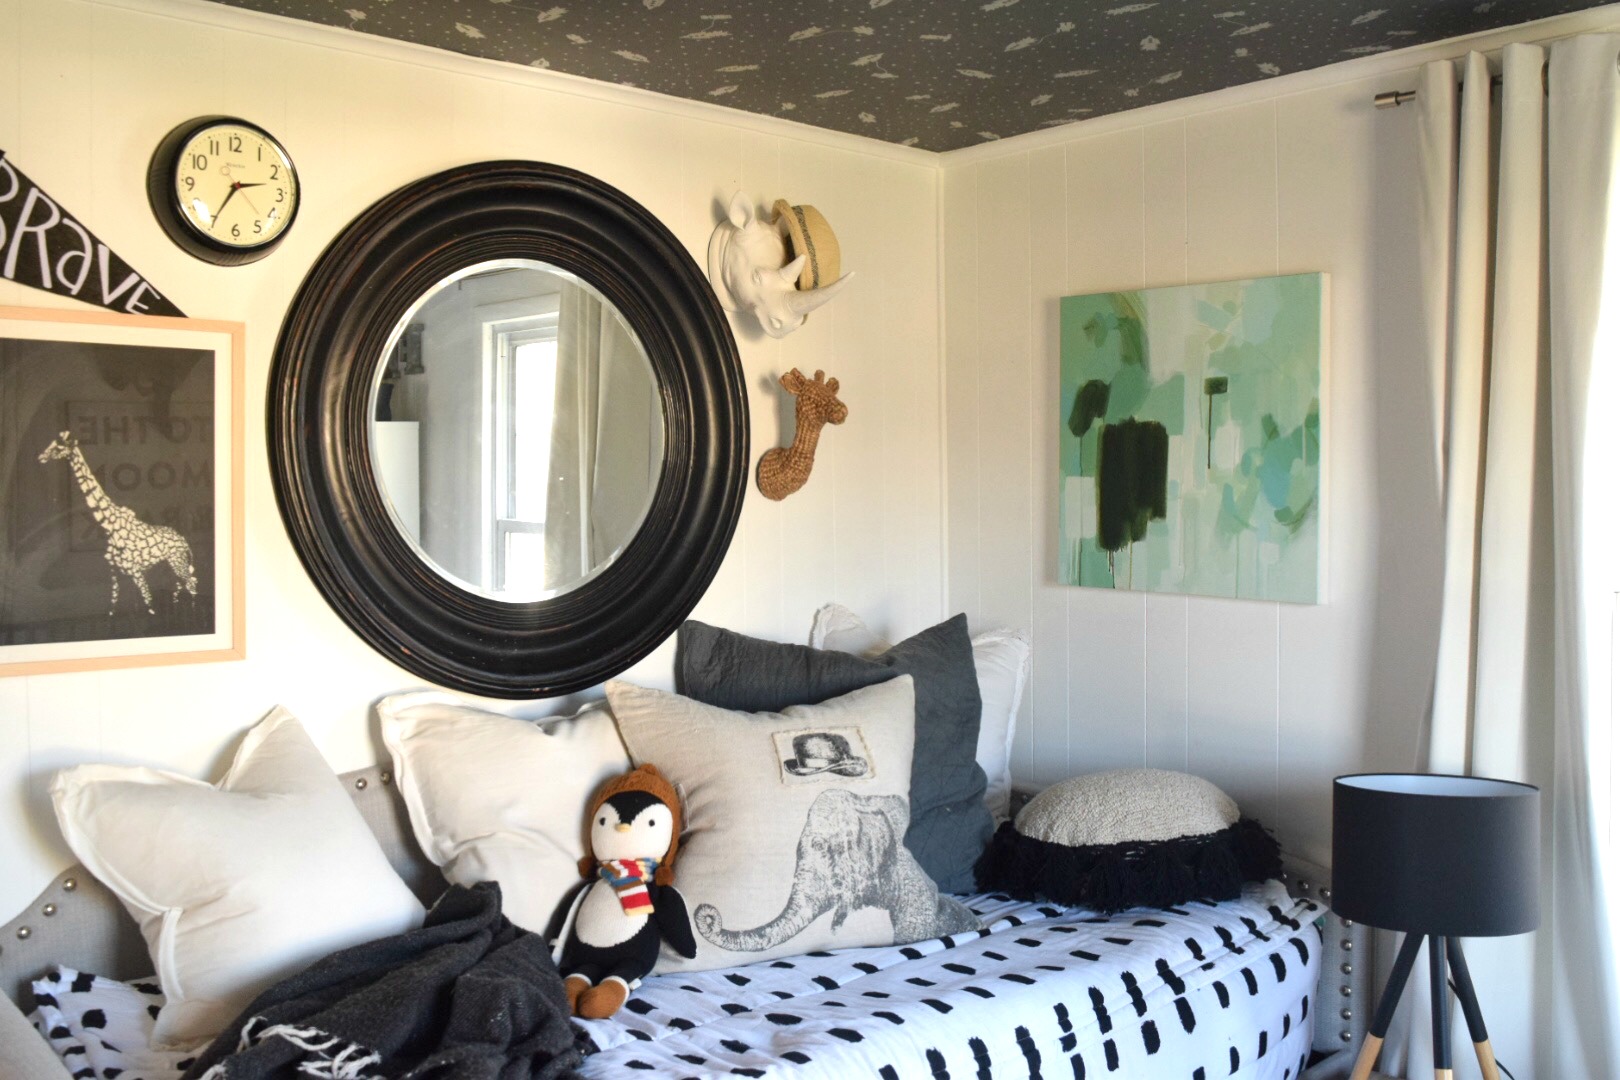
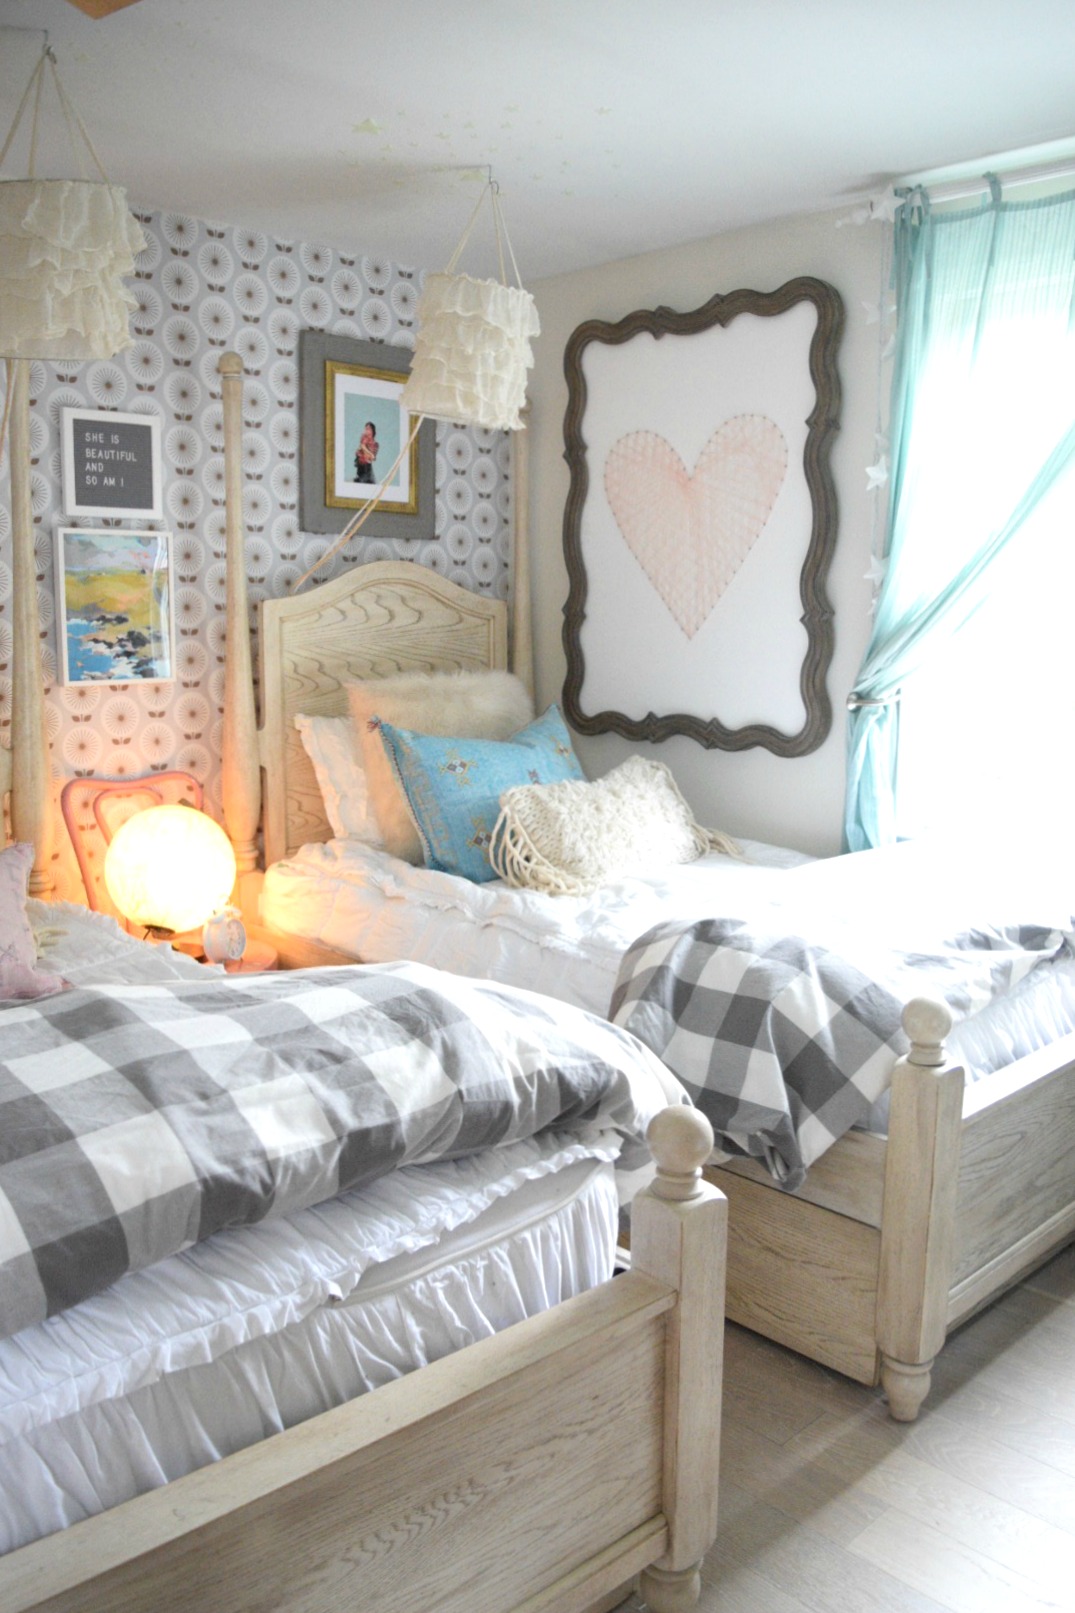
Another example of looking at all your walls. I didn’t want to do two large pieces of art on walls that are right next to each other. Or a lot of smaller pieces on both walls. BALANCE helps especially when you are doing a lot in a small space. You can see in Finn’s nursery that one wall has a lot going on and the other wall I did just one piece of art.

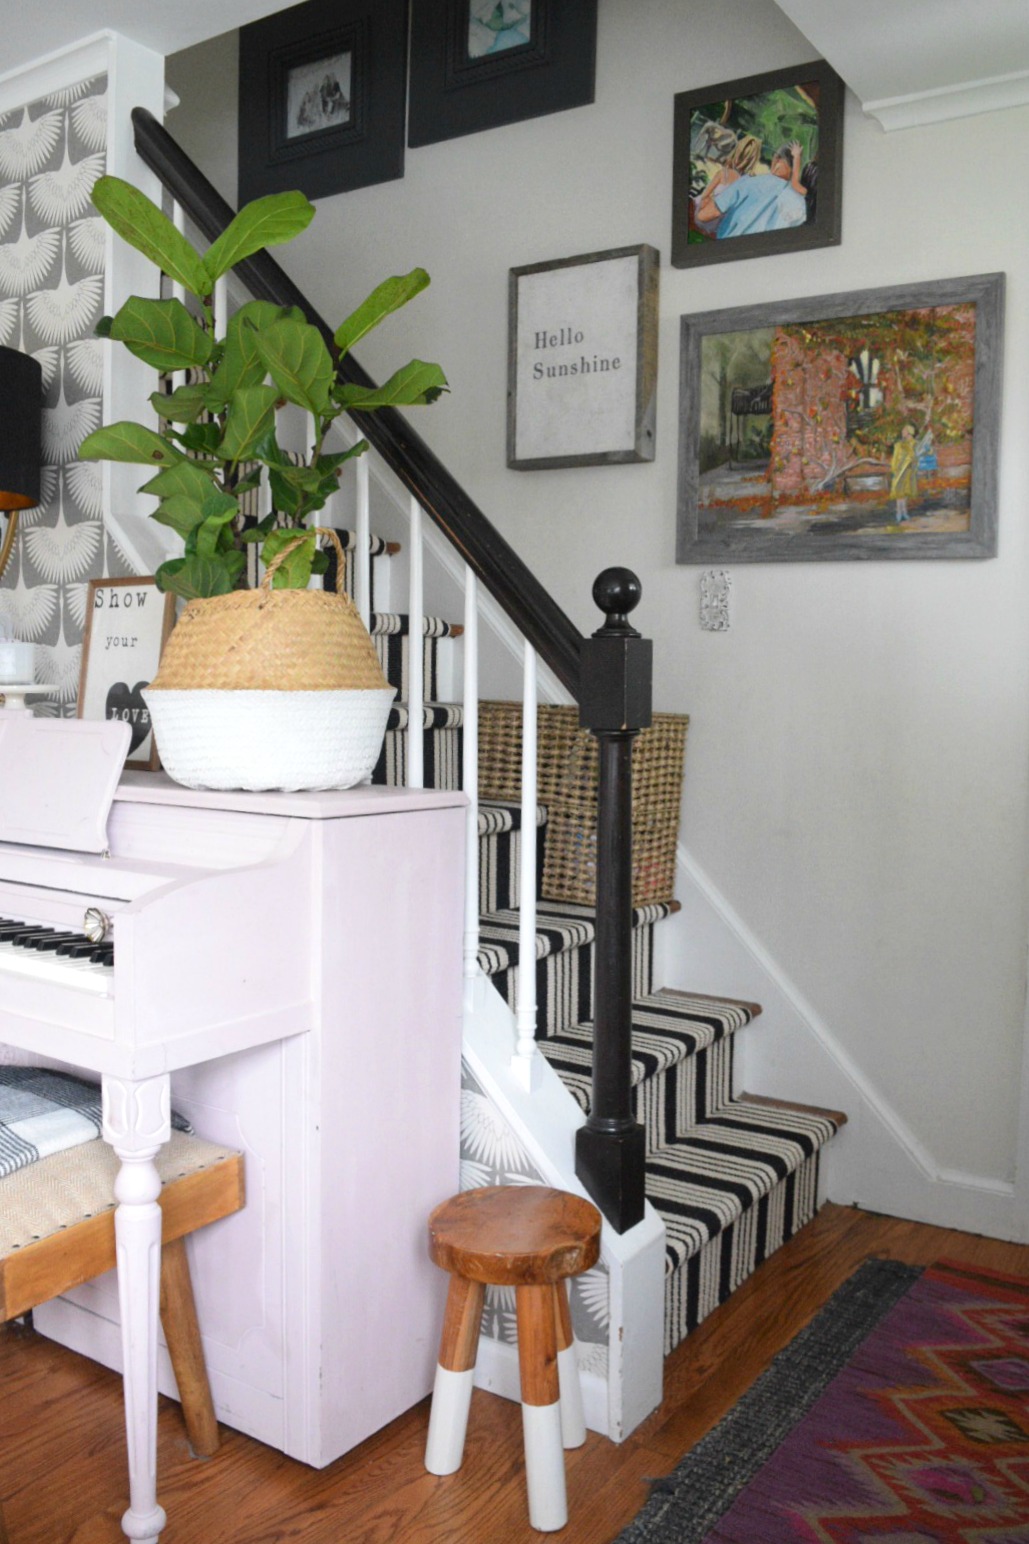
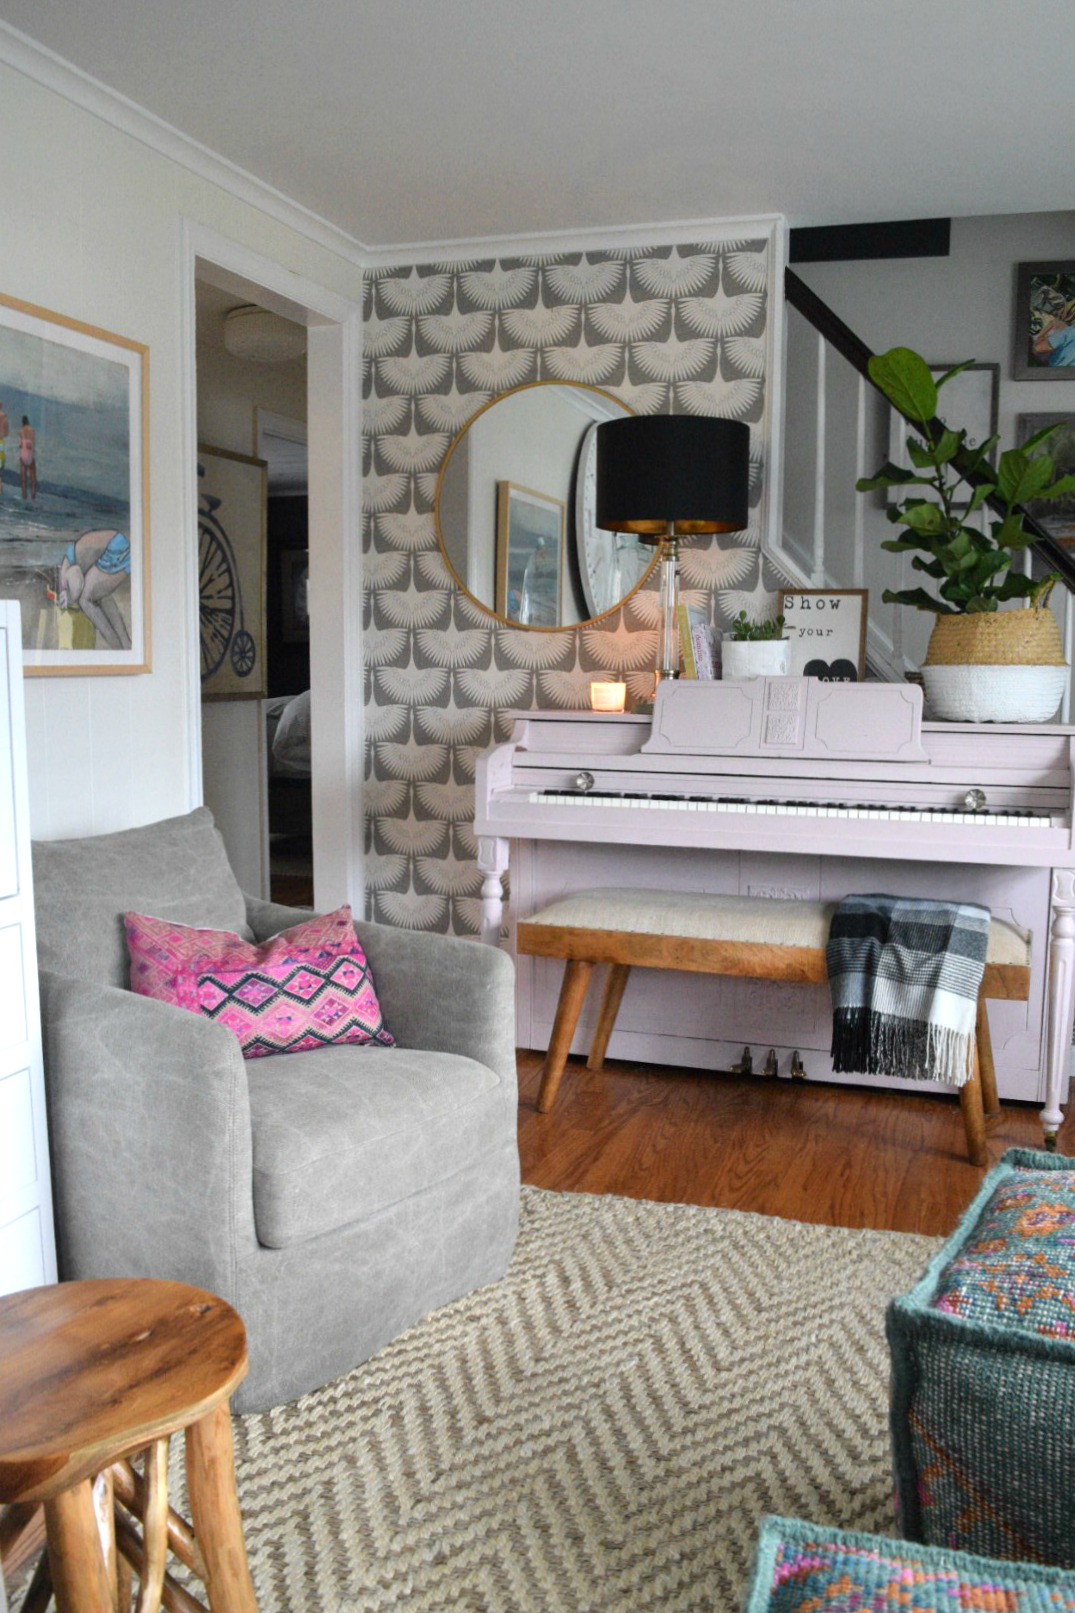
I did the same idea for the walls in our front room. These is a gallery wall up our stairs, so I did THIS round mirror for something simple with the busy grouping of art. I did add wallpaper behind that wall to add some interest, because that is my personal style- I like a little more, but I really love and appreciate simple too. (read about the wallpaper HERE).
Tip #2- Look on Pinterest or Instagram! Save those pictures that you love. You will notice a trend. It could be- you save images of rooms with one thing on the wall or you save images of rooms with a lot on the wall.
Tip #3- Carefully think about what you want to see everyday. Is it something you will love for a long time?
I shared on THIS blog post all about selecting unique art work and sources. Oh and it also talks about Design Mistakes!
Easy Photo Shop Tips-
1- Take a picture of your space and upload the picture to your computer.
2- There are many online sources to try photo shopping. The easiest (I think) is picmonkey.com
3- Pull up picmonkey.com and select “Edit photo” and upload your image.
4- Click on the Butterfly Icon. If you hover your mouse over the butterfly it is called “Icons”.
5- On the very top it will say “Add your Own” click on that and upload and image you want to overlay. For example art, clocks, a chair, pillows!
6- You can easily play with the sizes of the overlays to fit into the space you are “hanging” your art.
*I find the best way to add an image I find online is to just screen shot that image when you are on your desktop. That way you can crop off anything extra in the picture. (If you don’t know how to do a screen shot you can google how to do it according to the computer you use). Or you can take a picture of anything you actually own already and upload it to your computer and use it as one of the overlays!
I hope that helps to get you started on your walls and not being afraid to add some personality and YOU into your space. As always you can shop our home HERE.


I’m guilty of asking you this same question. Who knew it would be so hard? But it is! And then I’m afraid to put holes in my walls if I end up hating it. I love the tip on looking at the room and all the walls as a whole instead of one wall at once. Maybe that’s the trick I need to use. Thanks for the tips-I needed them! 🙂
I hope it helped!! And so many people ask this same thing!
Really helpful, I love learning from your blog.
thank you!!
Thank you, thank you, thank you!! I wish this stuff came easy to me, but luckily, I have you! I would never have thought to bring in a circular item, but love how it all balances. The shelves are such a great idea too!
yay!! I am so glad it helped!!
Great tips! I love getting inspiration from you. You’re brilliant! Thanks for all you do <3
Thank you so much!
hey girl- great post!
thanks Shawnna!
Gardner Village??? I love everything you do. I wish you’d move back to Utah and we could be friends. 🙂
yes! Gardner Village- I worked at The Black Goose Design 🙂
I love that store! I’m sure I ran into you there a few times.
yes, I am sure you did!! I love it too:)
Your story about how you got into design made me smile. I’m a firm believer in experience and doing what you love!! I do have these two gigantic walls that are still plain because I have no idea how to begin. They are just so big! Ugh!!
thank you! Look on Pinterest for ideas! You might find an idea you love!!
Thank you for always being so transparent and willing to share design tips AND where you’ve bought things in your home!! I love looking at other bloggers homes on insta however your blog/insta is my absolute favorite. I love your design style! Too many bloggers out there don’t answer questions or want to share where they’ve bought something, so thank you for being a breath of fresh air! Also I’ve made your paleo tortillas several times and they are delicious and fun to make with my 8 year old daughter. She loves to do that first flip in the pan and watch it curl up : ) Have a blessed day!
oh thank you for your kind words! I really appreciate it! I love to share the love with everyone.
and YAY that makes me so happy you like the tortillas!!
Guilty! 🙋🏼 I guess when you do have a large wall it becomes overwhelming on how to break up the space and make it feel cozy. You have great tips and truley are a natural designer. I’m feeling more confident that I can answer my own design Question now with your tips! My husband keeps asking “has your design lady answered you back yet.” We’ll see how your answer compares to what I’m thinking with the help of your tips. Thanks for having this blog!
oh good! I will look for your question! I am answering more Monday or via email this week:)
Thanks again!
I loved your story of how you got into design. How cool that store owner saw potential at just 15. I have to say that the way you design gets me every time. I just love, love, love it. And truly it surprises me how much I love it because I usually gravitate towards a very simple style with very few items in a room. But you rock at how you put together a room. Thanks for sharing all you do:)
Thanks Kim. Yes, she is pretty awesome.
And thanks for your nice words and appreciating other styles even if you don’t do it in your home. That is refreshing!
Isn’t life funny? All these readers with gigantic walls and no idea what to do with them, and my problem is not enough wall. I’ve got plenty of wall art I love. I have to edit and rotate and get clever. Thanks for sharing inspiration.
that is so true- you have my same problem!