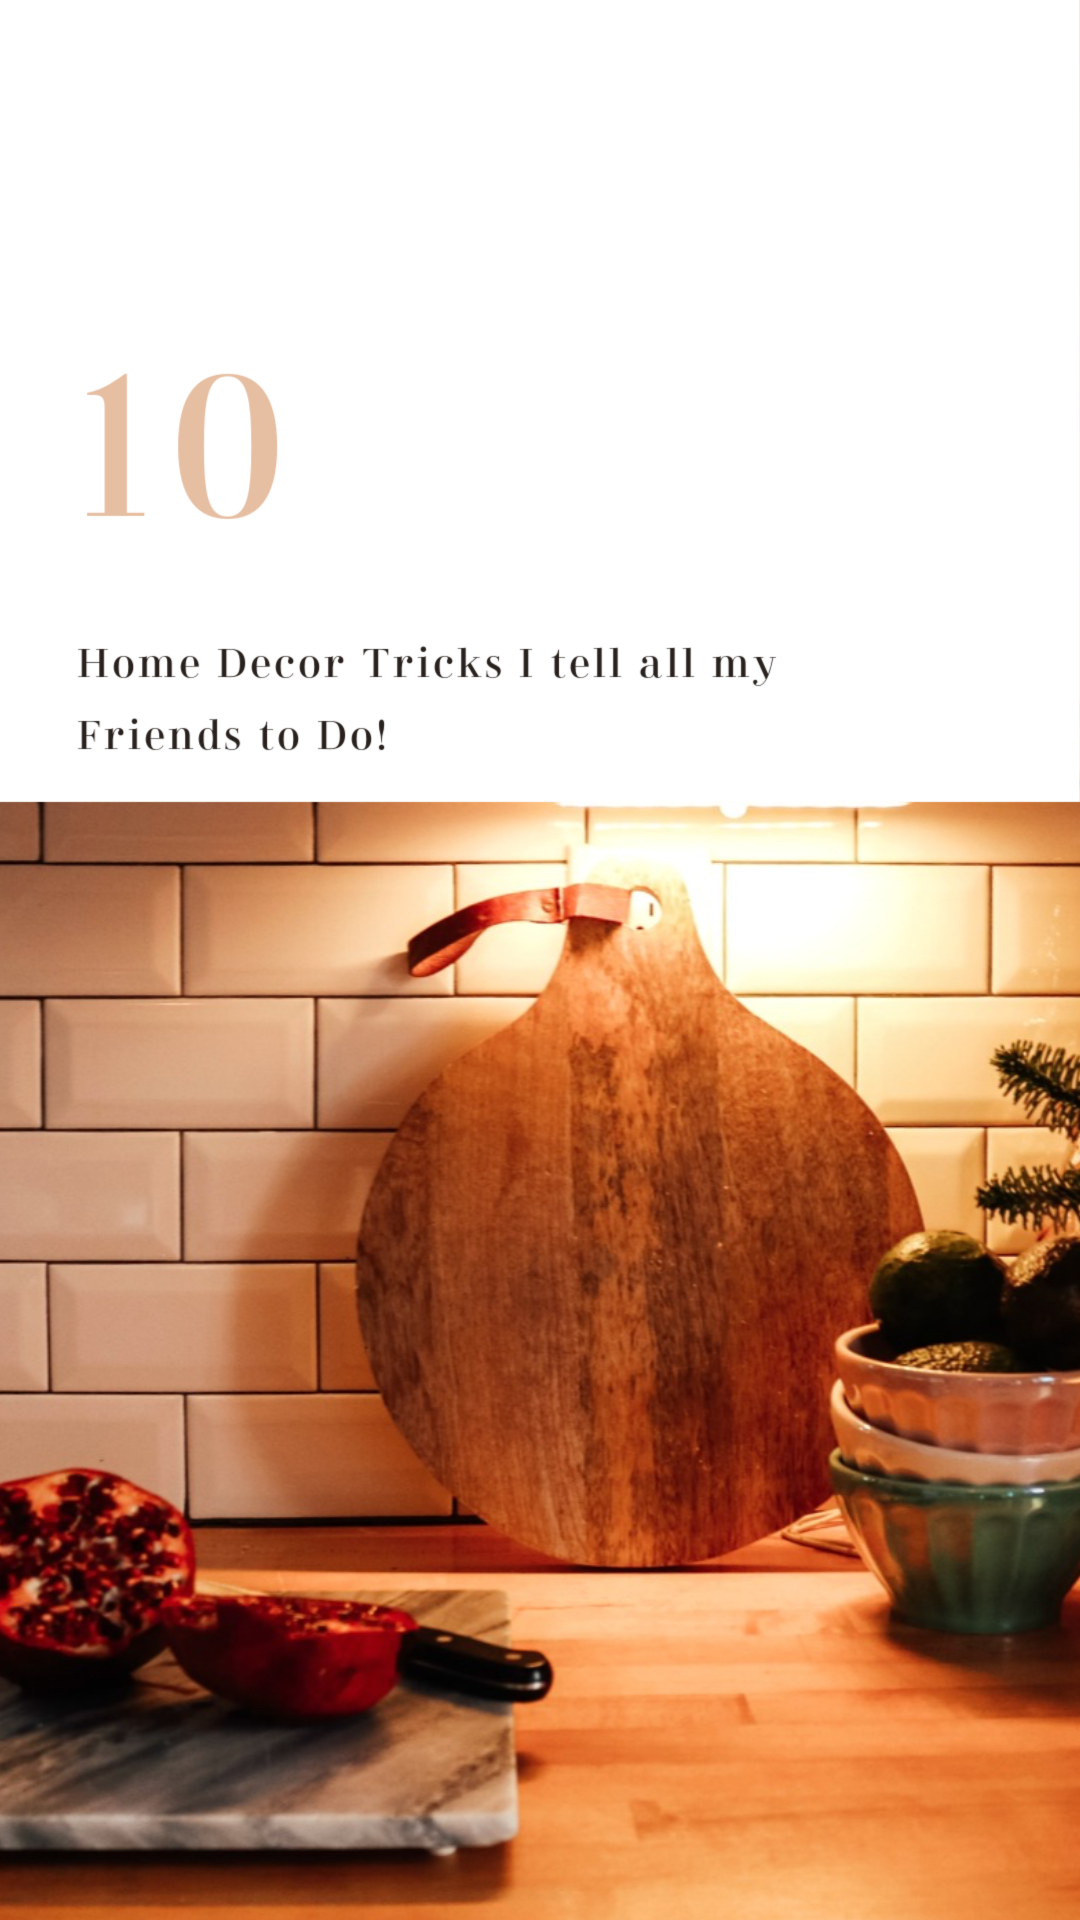
Do you wish that I could come help you finish (or start) a space? Feeling like your space isn’t exactly what you are wanting? Here are my TOP Home Tricks that I would use if I were there in your room with you! Consider trying some (or all of them) and let me know what you think! These are the tips and tricks I tell all my friends to do in their homes to help them love their space even more!
1- Magic light trick- add a light anywhere
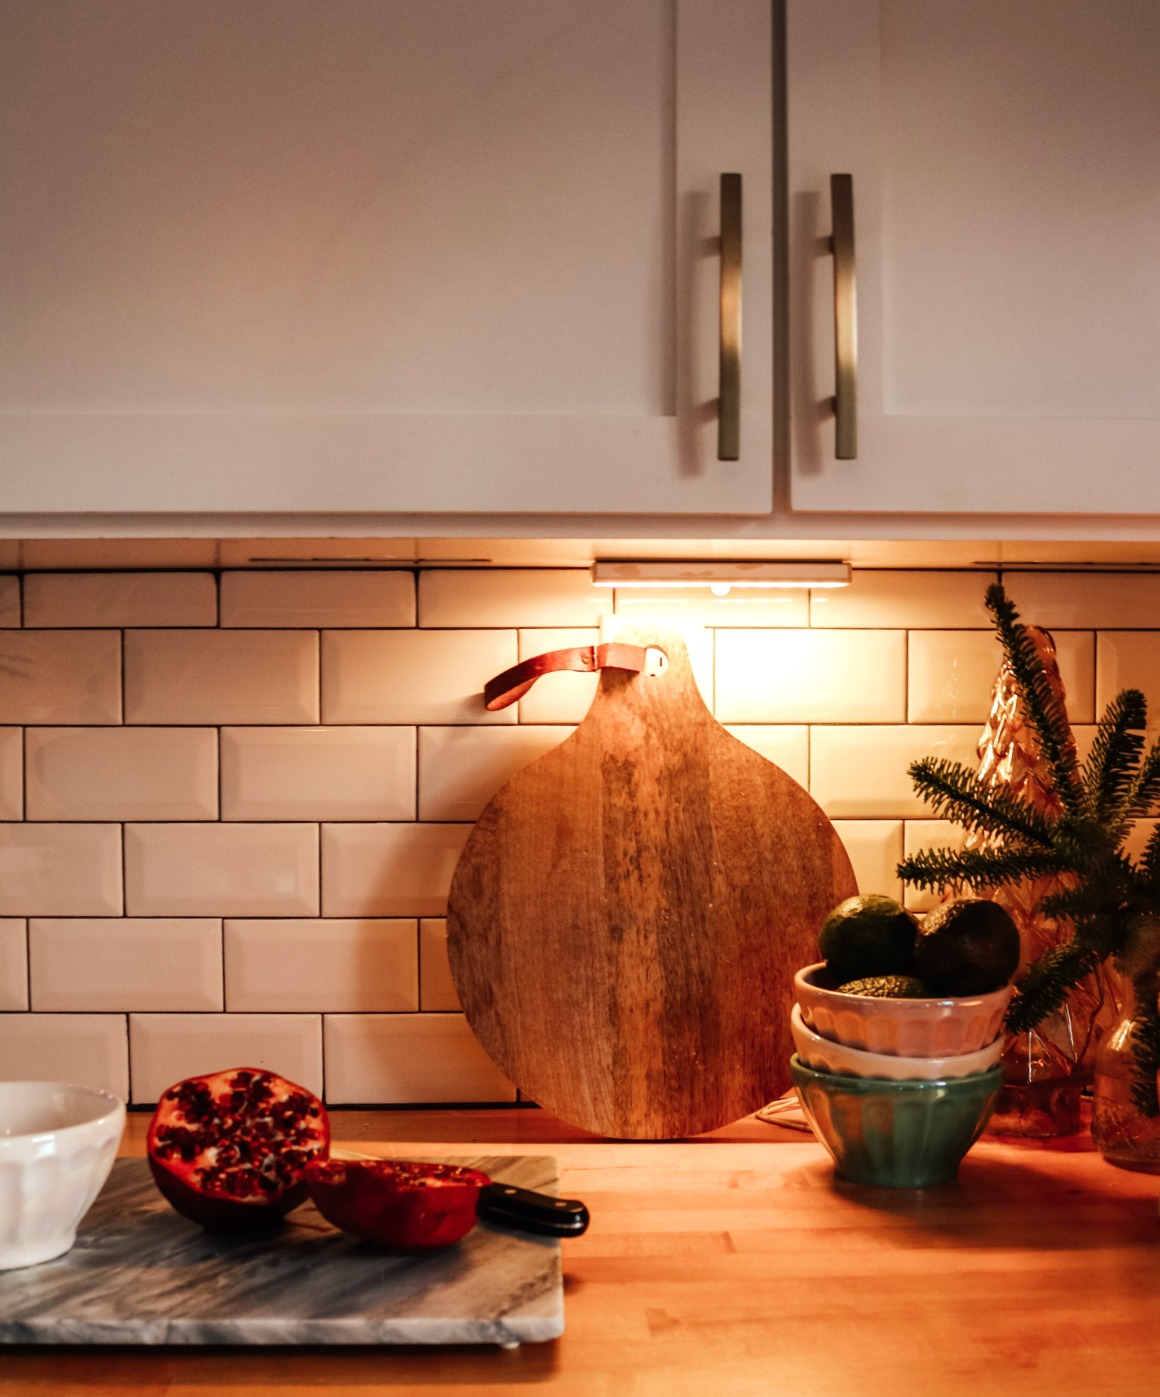
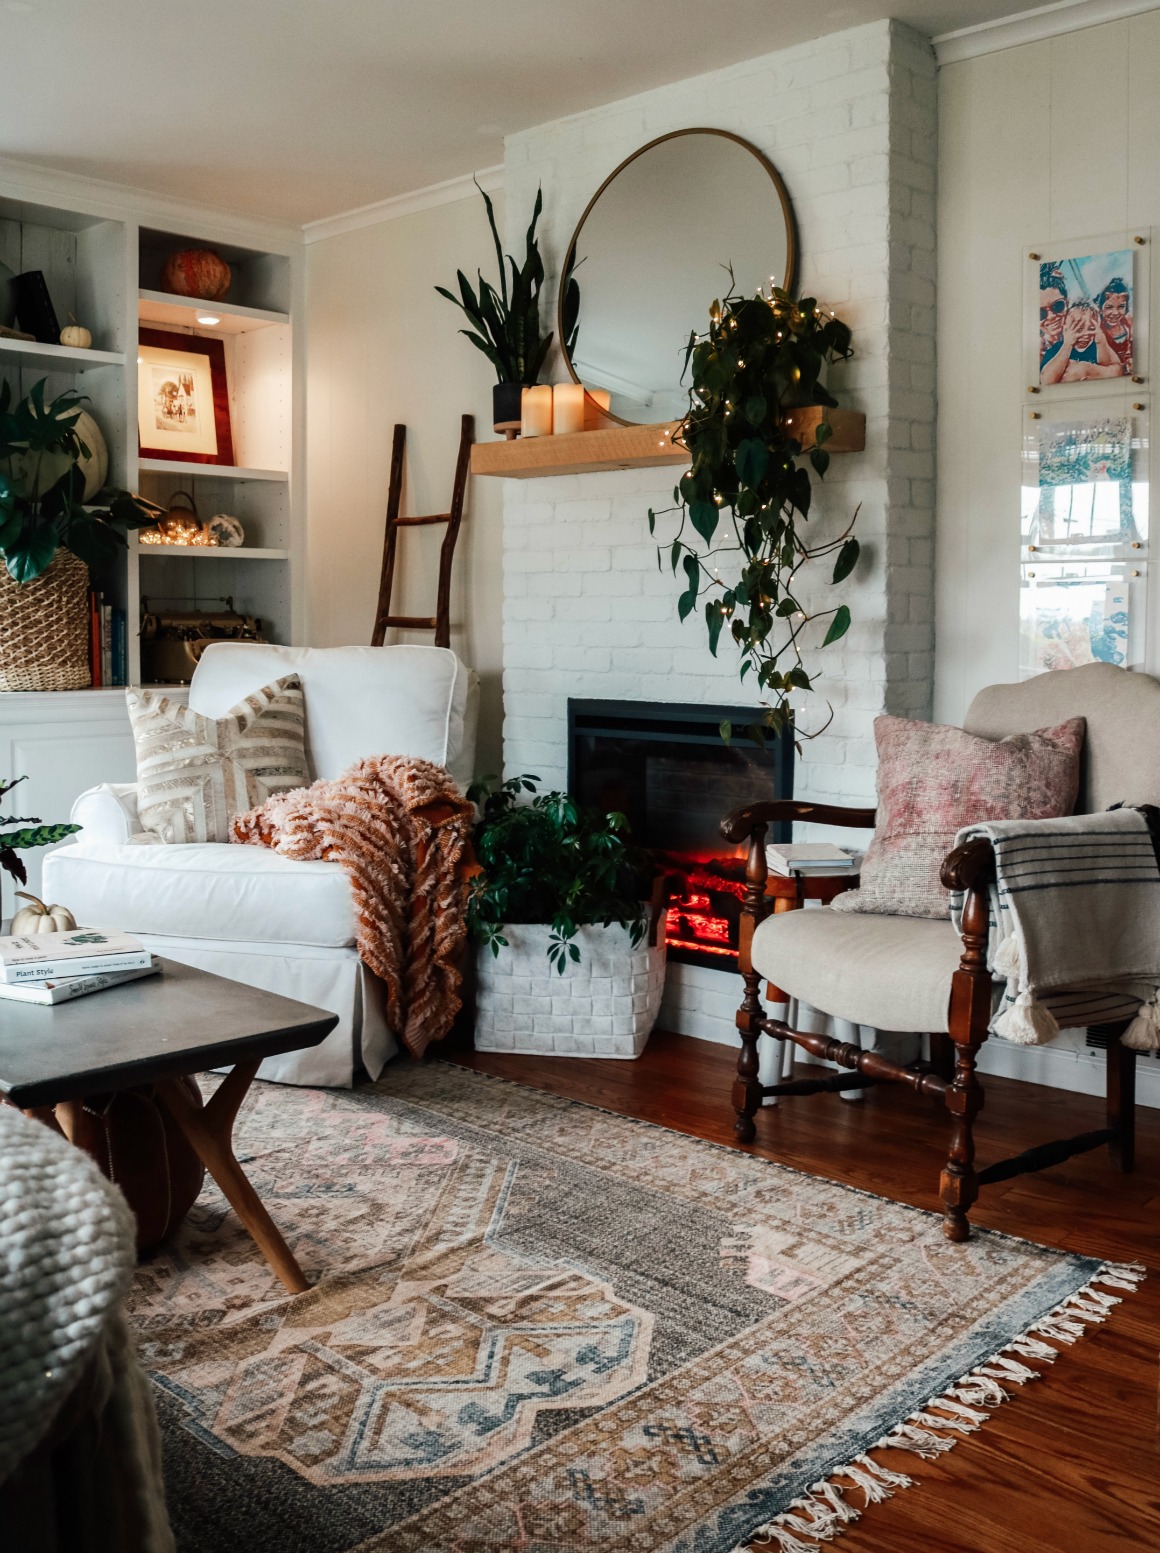
Ever had the perfect spot for an accent light or sconce, but didn’t want to shell out hundreds to have an electrician come out to wire it in? I sure have!! This very desire was what led to my invention of the “Magic Light Trick!” These magic lights have become my go-to to create that perfect hygge feeling. I have them all over my house, and I know so many of you do too! When in doubt, add a Magic Light!
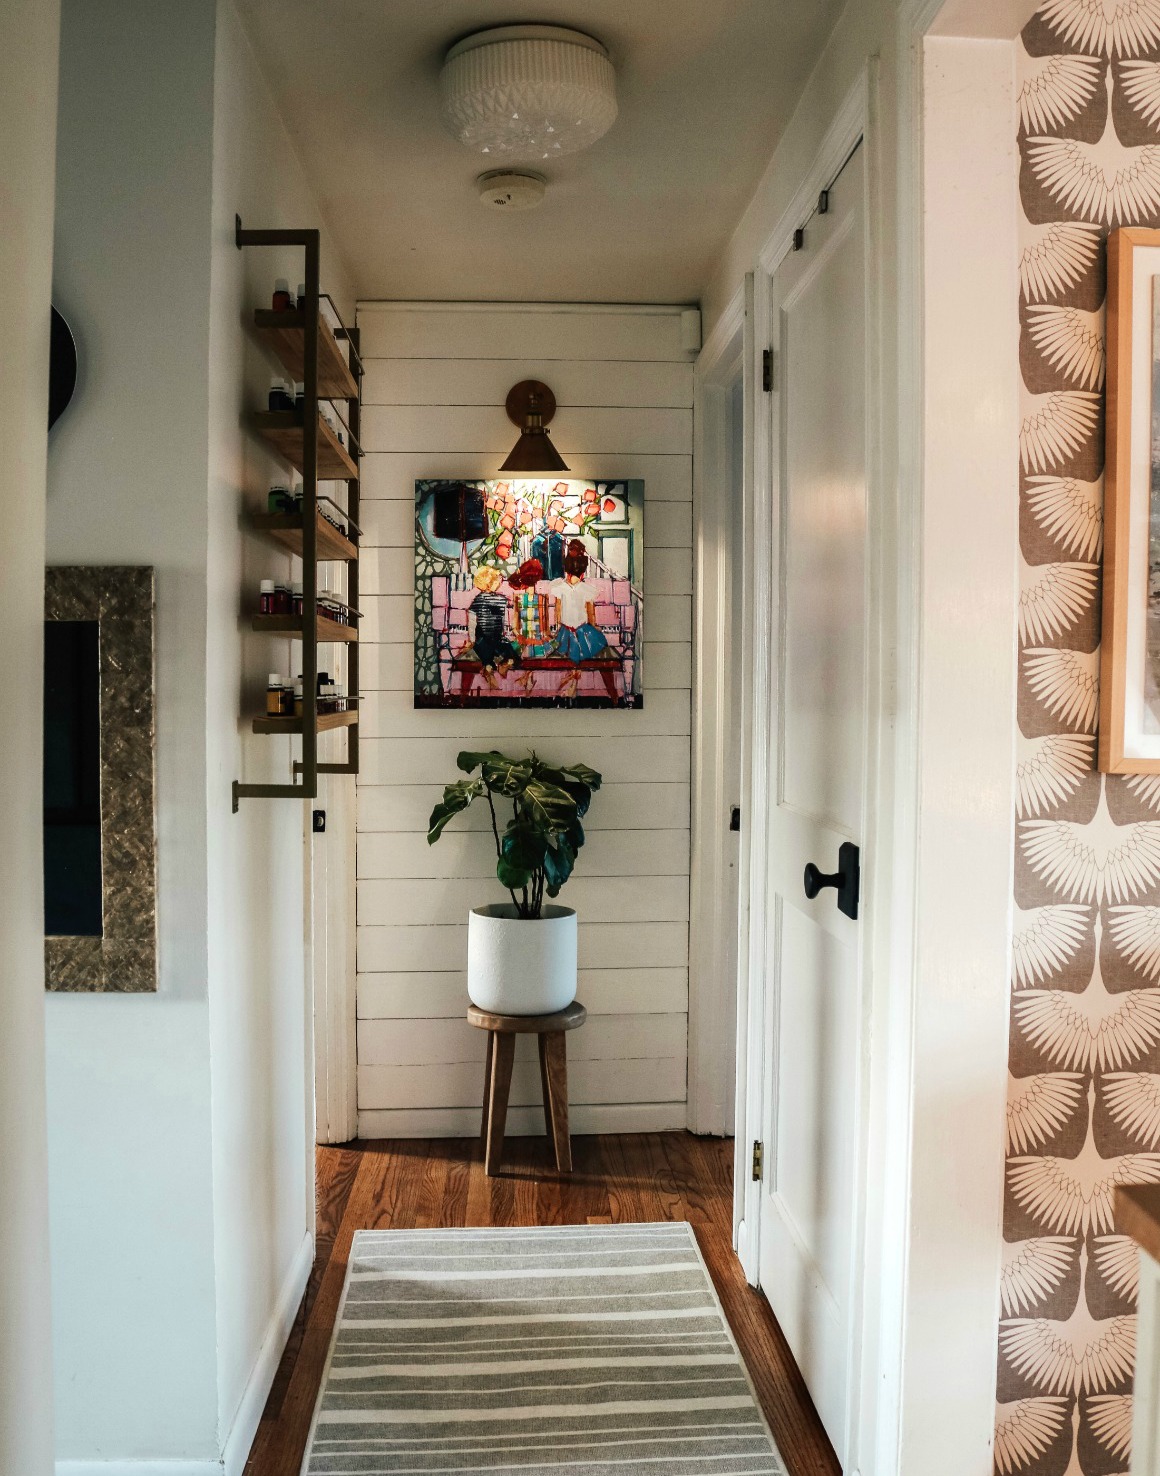
Where would be good places to add this trick in your home? Think hallways, windows, over art, even kitchens! I have used them inside table lamps when there isn’t an outlet close by! Any place that you wish had more light is a perfect spot!
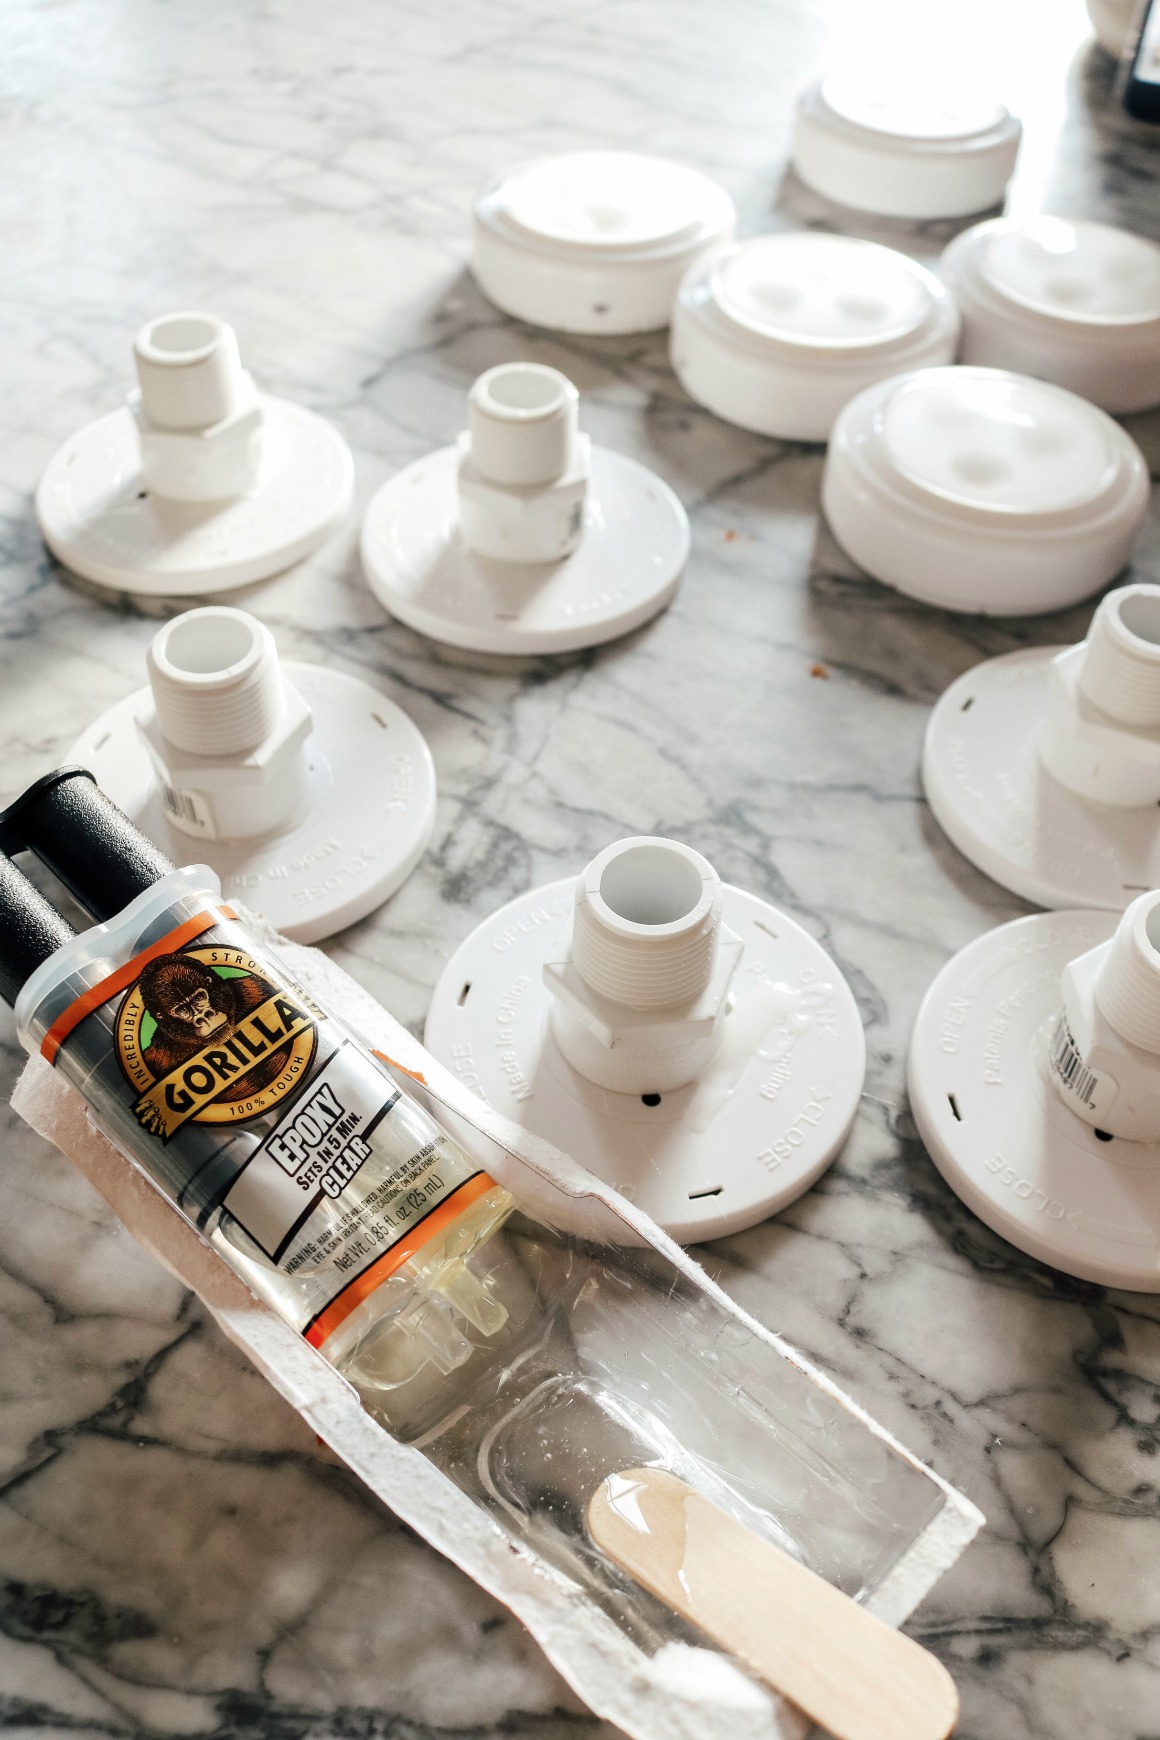
TOP TIP: The puck lights you use MATTER! I have used several difference types of hockey puck lights, and I am here to say that these are the BEST! They put off a softer glow than most and they last about 100 hours. I just use THIS little plumbing part and epoxy it right onto the back of the light. I have a whole post about how I do it (complete with a video tutorial) on this post.
2- Go BIG or go HOME!
That is a funny saying “go big or go home” but I really like it. It means don’t play it safe. If you are wanting to do something different or a little out of your comfort zone. I say GO FOR IT! What fun is a house full of “just ok”. I was talking to two of friends on Marco Polo (BTW I love that app) and I was showing them our new window seat that Kevin built (I will show it soon) and showed them the hanging chair that we just installed. And my friend said “oh I wish I dared to do a hanging chair, I don’t know if I could commit to it.” Then she said “well, I guess it is just a hole in your ceiling”. Ha! I mean, it is JUST a little hole. Plus you can totally patch it. But chances are that your won’t be changing out the hanging chair, because you will love it.
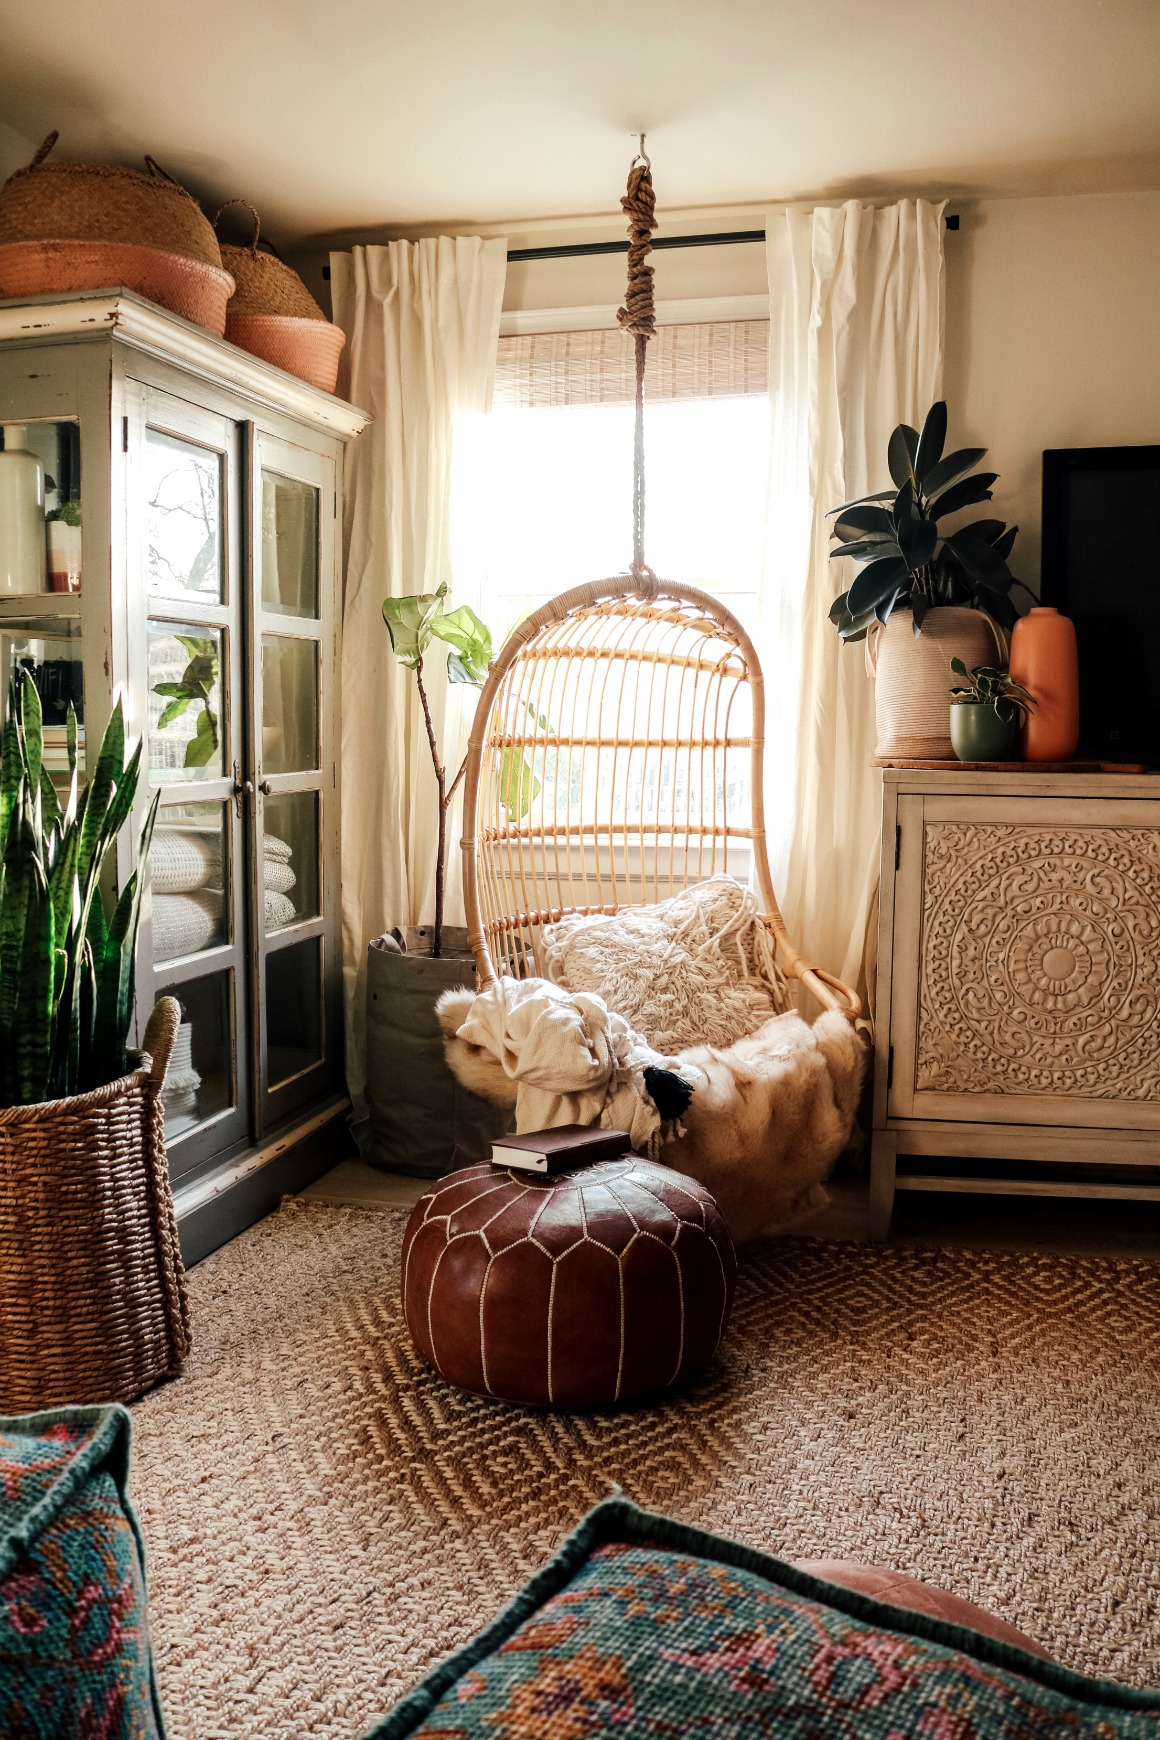
As you know, we already have a hanging chair in our girls bedroom. And it is the double one. The reason why we went with another one in our family room/guest room is lack of space. We had a chair by our tv console before and it hardly got sat in. It was just taking up too much space. So I opted for a hanging chair that takes up less space and also is more dramatic and fun- “eye candy” as you are watching tv or as guests lay in bed and read a book! (Find out new hanging chair HERE and ottoman HERE).
3- Accent Lighting instead of overhead lights
We live in a 1950’s home, so we really don’t have a lot of overhead lights. Which is fine by me! I rarely turn on an overhead light unless we are doing a task– homework, reading, eating dinner or looking for an earring or (in this house) a nail. And you do not need to spend a lot of money for accent lighting or hire an electrician. You saw my magic light trick above, and you also need to add some under cabinet lights. I have used our magic lights under our cabinets in the past. BUT I found an even better option. I have shared this idea before and they original are discontinued. HERE is a great under cabinet or bookcase light that you can charge!!!! Plus they have a really warm glow!
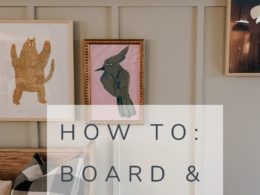
4- Mix in Goodwill and Vintage Pieces
There are several reasons that I love to purchase previously owned items when I am working in a space. Here are some (in no particular order):
- Creates character and is unique
- Saves money
- It is FUN!
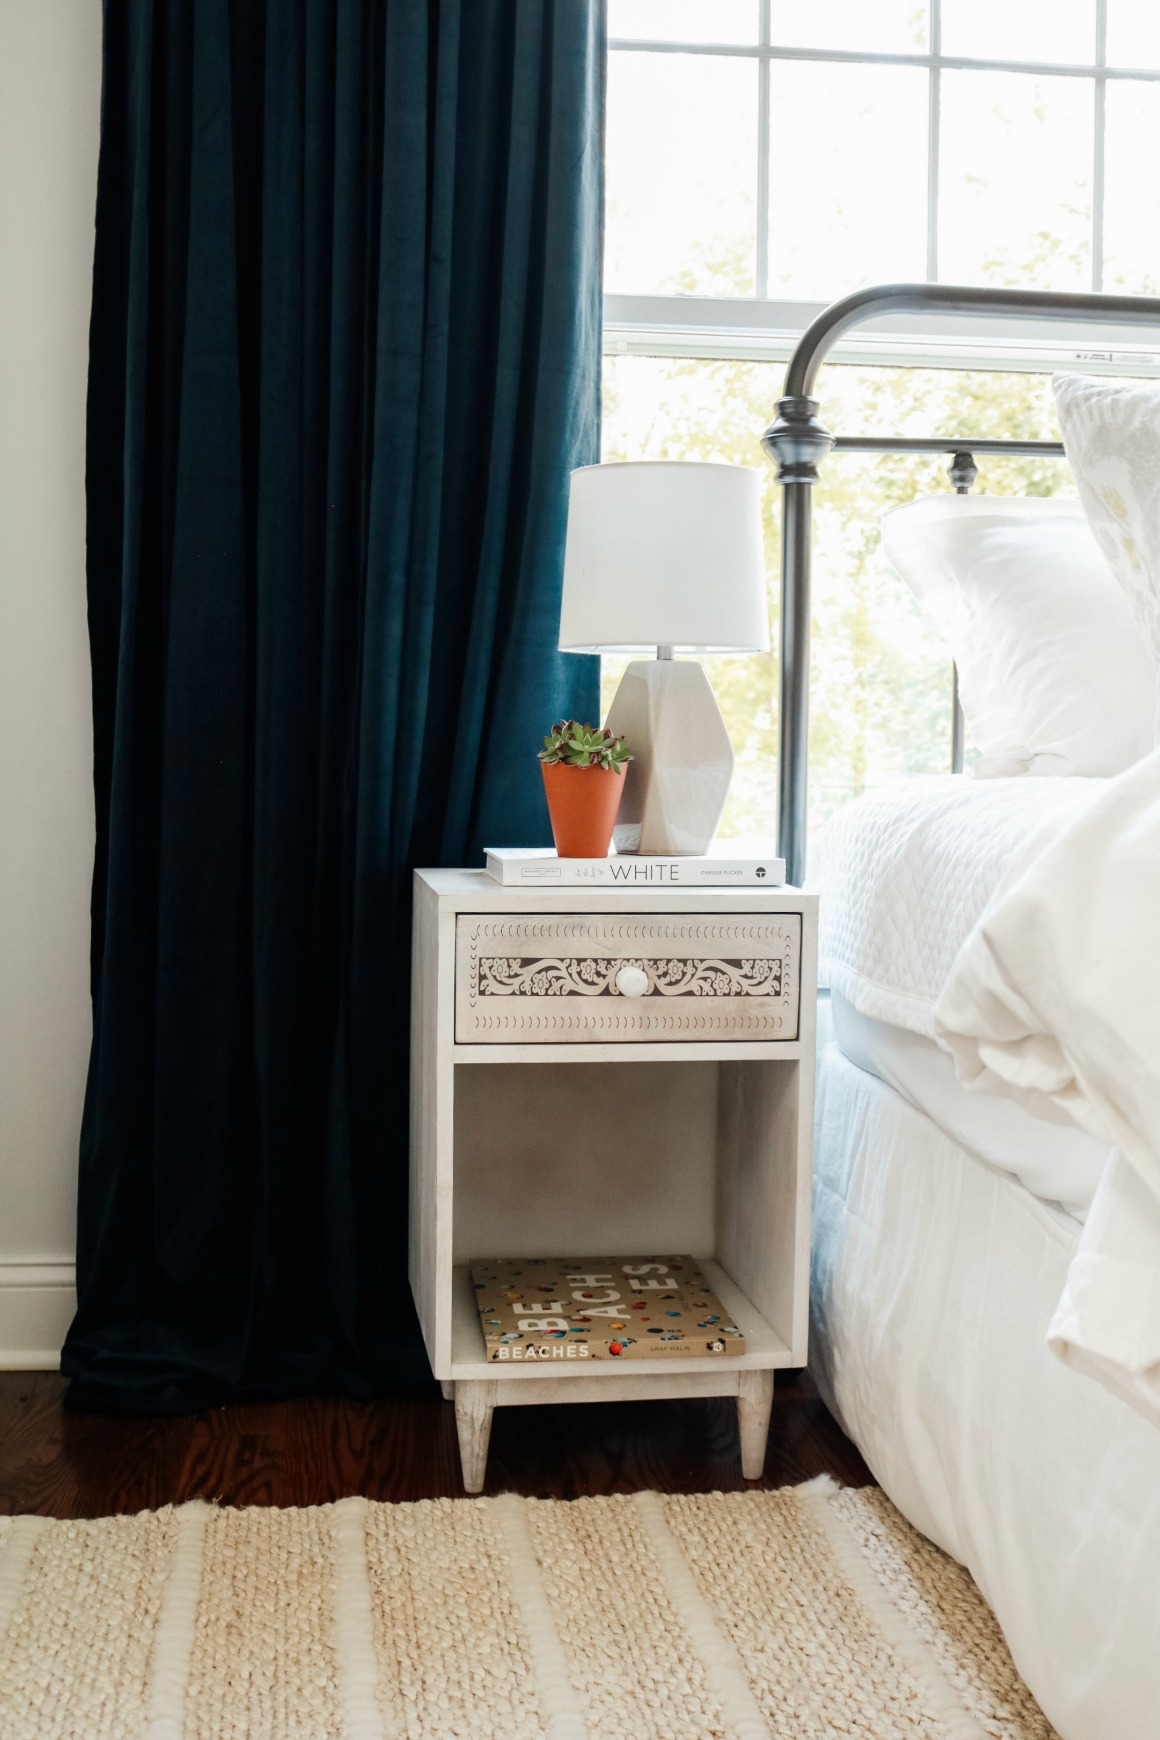
You may have an idea of what you’d like your space to look like. Create a design board, and then start your treasure hunt! Are there pieces that would work in your space? Having a design plan in place will really help you focus your search. I cannot stress this enough! For more information on creating simple design boards, check this post out. If you aren’t checking your local thrift stores, tag sales, and Facebook Marketplace when you are planning a space, you could be missing out on MAJOR savings! Remember when I found these mismatched beauties and lamps that became the perfect nightstands for this Master bedroom?
Not everyone has shopped this way before. It can take a little time and some creativity, but really helps to create a curated look that is all your own! My good friend Amy is the thrifting queen and always manages to find the best items!! You may remember her master bedroom. Most of the decor (including the art and the round shelf on the wall) are from Goodwill and tag sales!
For more tips on thrifting, check out this post.

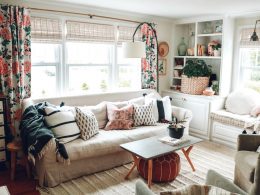
5- Black Drapery Rod and Sometimes TWO Curtain Panels
I love what curtains add to a space. When hung correctly, curtains add drama, interest and that perfect finishing touch. I don’t think you need to spend a lot of money on custom or high end curtain panels to get an expensive look. If I have a really large window, I buy TWO PAIRS and hang one pair per side. This give such a full look and gives the appearance of drapes that would span the length of a large window when closed.
Other curtain tips include:
Hanging the rod higher than the window casing and outside the window enough so that the inside seam doesn’t cover any of the window pane. You will give the appearance of a larger window and not compromise any light. Go to THIS blog post to find the curtain panels and the rod (see below for another rod option).


I just changed out the curtain rod I had over this window to THIS black curtain rod. I LOVE it!!! If you are ever on the fence on what color of curtain rod to do, go with BLACK!!!! Everyday. Looks good in every room, it is link eyeliner on a face or eyebrows! I did use IKEA curtain panels- RITVA.
6- 2” bigger insert for a pillow cover
Want to know what will make your cute pillows look cheap and tired really quickly? The wrong size and type of insert! Choosing the right insert can make even inexpensive IKEA pillow covers look like a million bucks! My rule of thumb for pillow inserts is the cover size plus two inches. I always prefer a down insert and those feathers shift around a lot. When you size up for the insert, you are compacting them which results in a fuller pillow.
Some of my favorite inserts for pillows are here:
22″- Here is a 2-pack of 22 inch square down inserts.
26″- down alternative can be found here.
I also apply this tip to duvet covers. You can use TWO duvet inserts in a king duvet cover to make it extra fluffy. Or if you have a queen duvet, try a king insert!
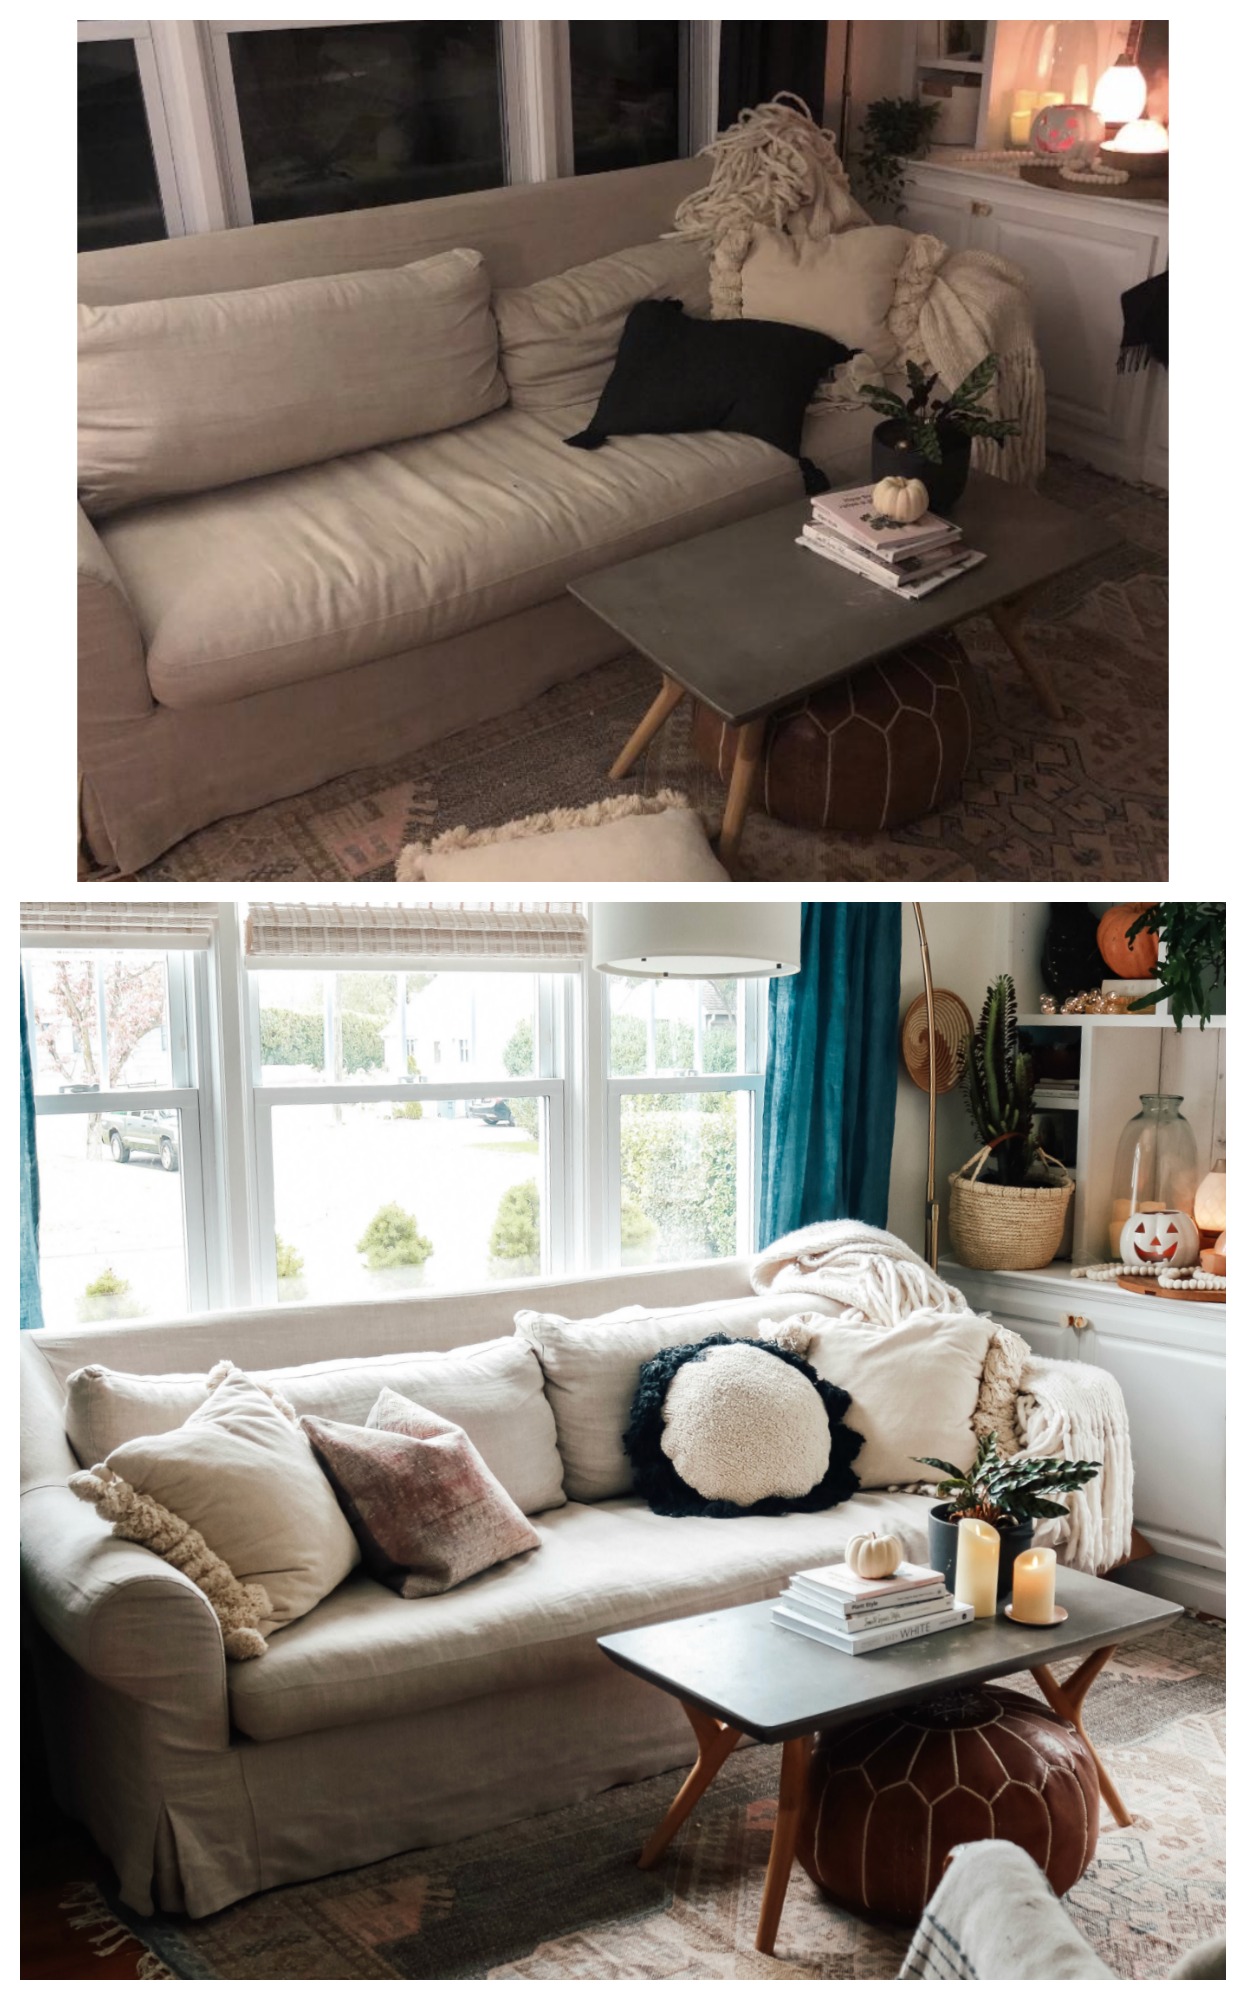
7- Add a king pillow to fluff sofa cushion
If your sofas aren’t just for show, they will inevitably begin to show signs of use. Slouchy, tousled couch cushions may be endearing, but not always the look we are going for! Don’t be discouraged! There is an EASY way to get them looking brand new again! Simply stuff king size pillows into the cushions! Arrange the the pillows so that they sit nicely and don’t add lumps and VOILA! Its basically like I just gave you a new couch. I do rotate my cushions often too.
TIP: This tip can also be used in floor poufs that have begun to sag.
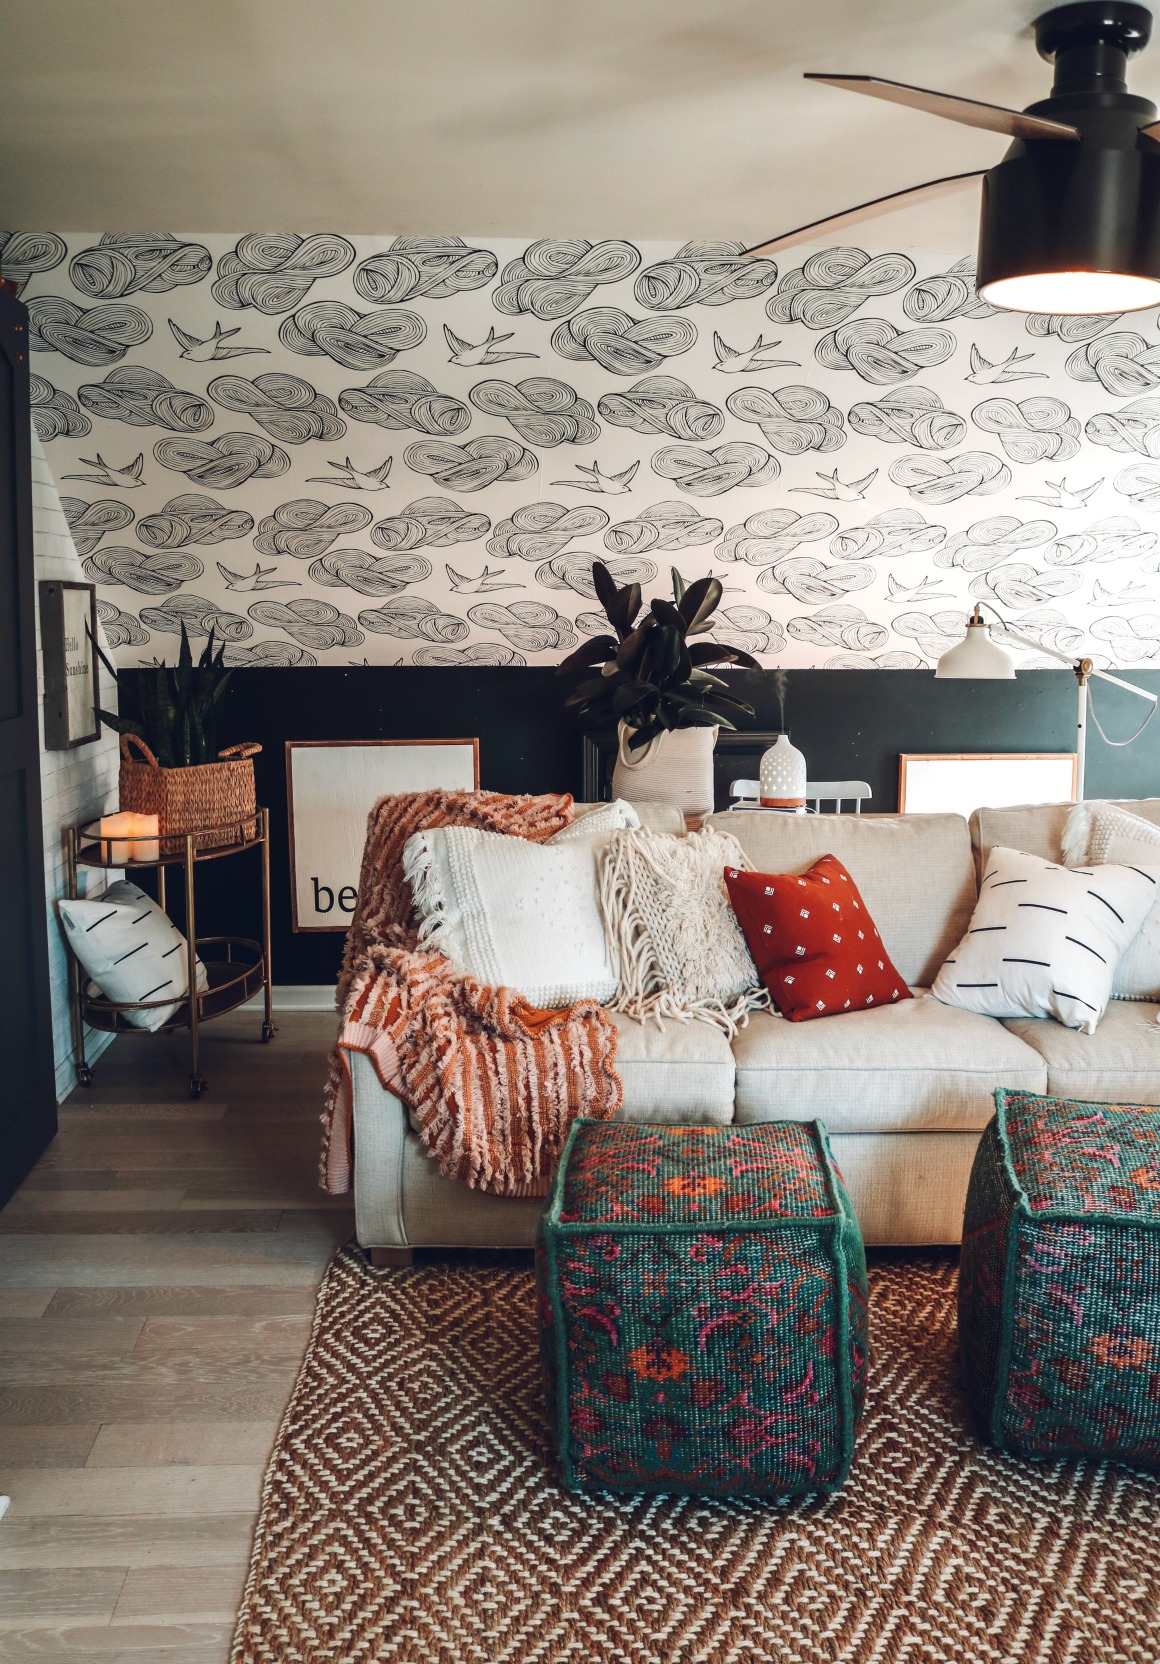
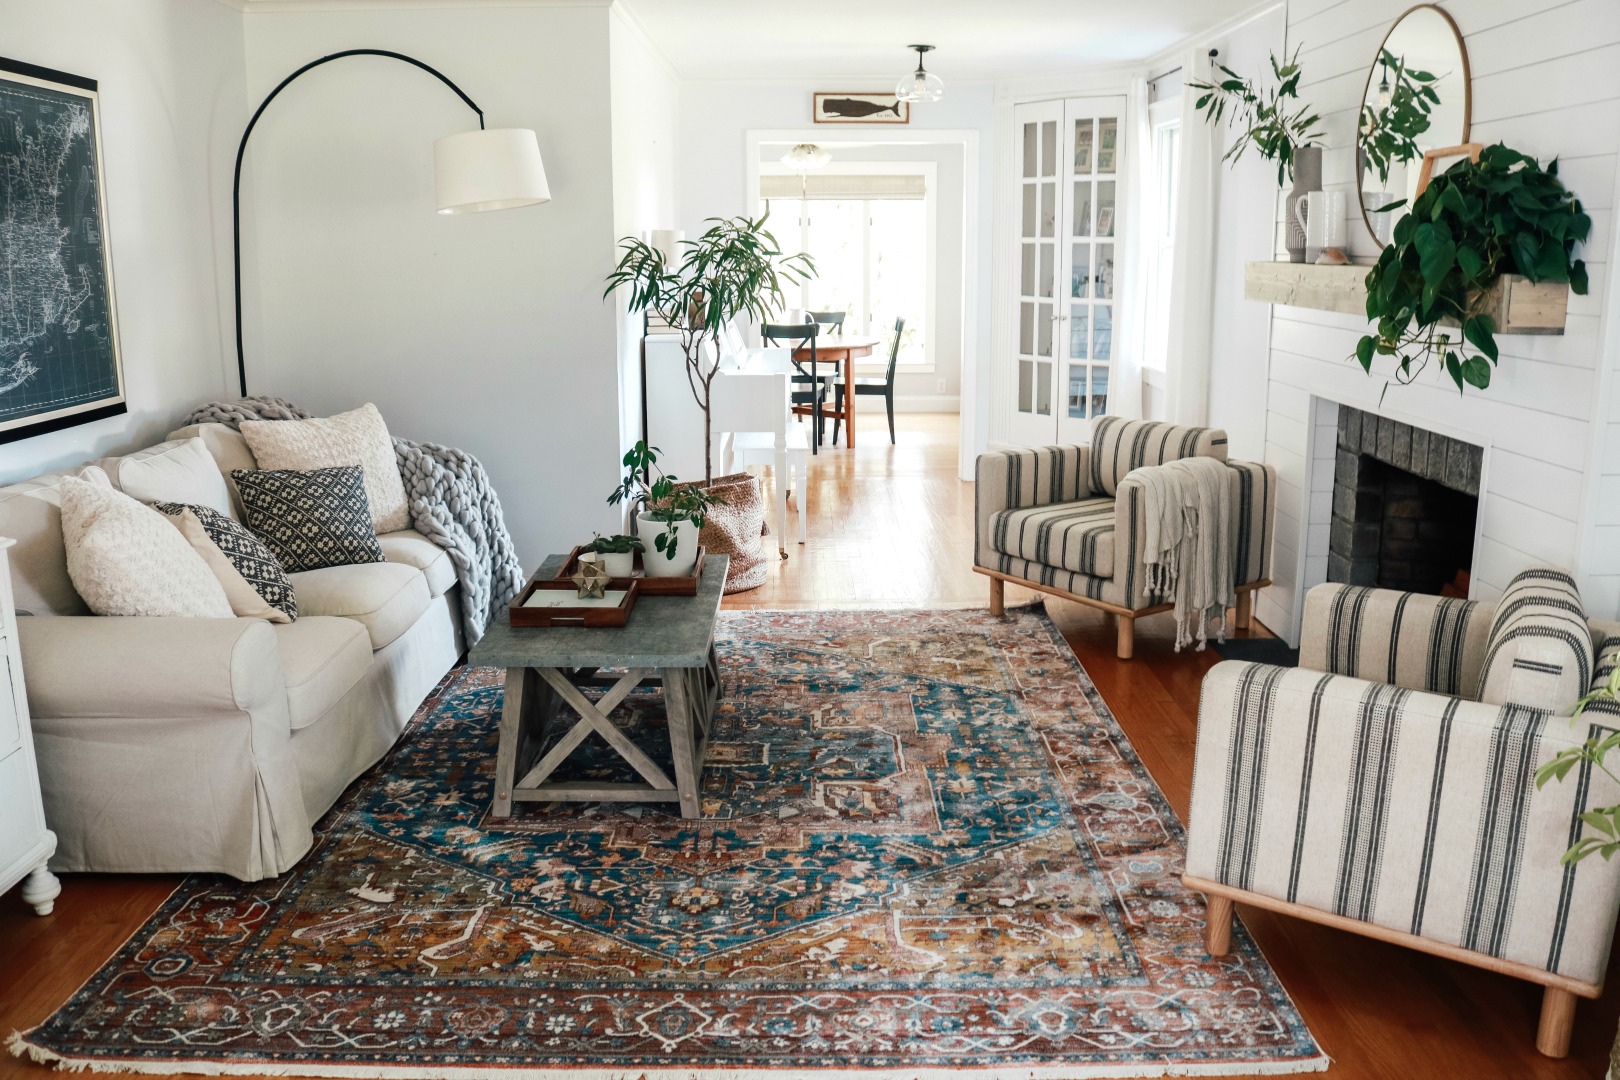
8- Rug Hack- Sofa legs on rug
We have all done it. You are tempted to buy the smaller rug because it so much more affrodable, and will it really make that much of a difference? Allow my voice to be your inner voice when that thought creeps in. Don’t DO IT!! Buying the right size rug for a room is a make or break moment!! Think I am being over dramatic?
Top Tip: The front legs of the furniture in the area should be on the rug– even if it is just one leg!
Doing this unifies a space, and really makes a room feel larger! If you can’t afford the right size rug right away, just wait and save! You won’t be sorry! In this family room, I kept the striped chairs connected to the sofa by placing one of the legs of each on the rug. More on picking the right size rugs can be found here.
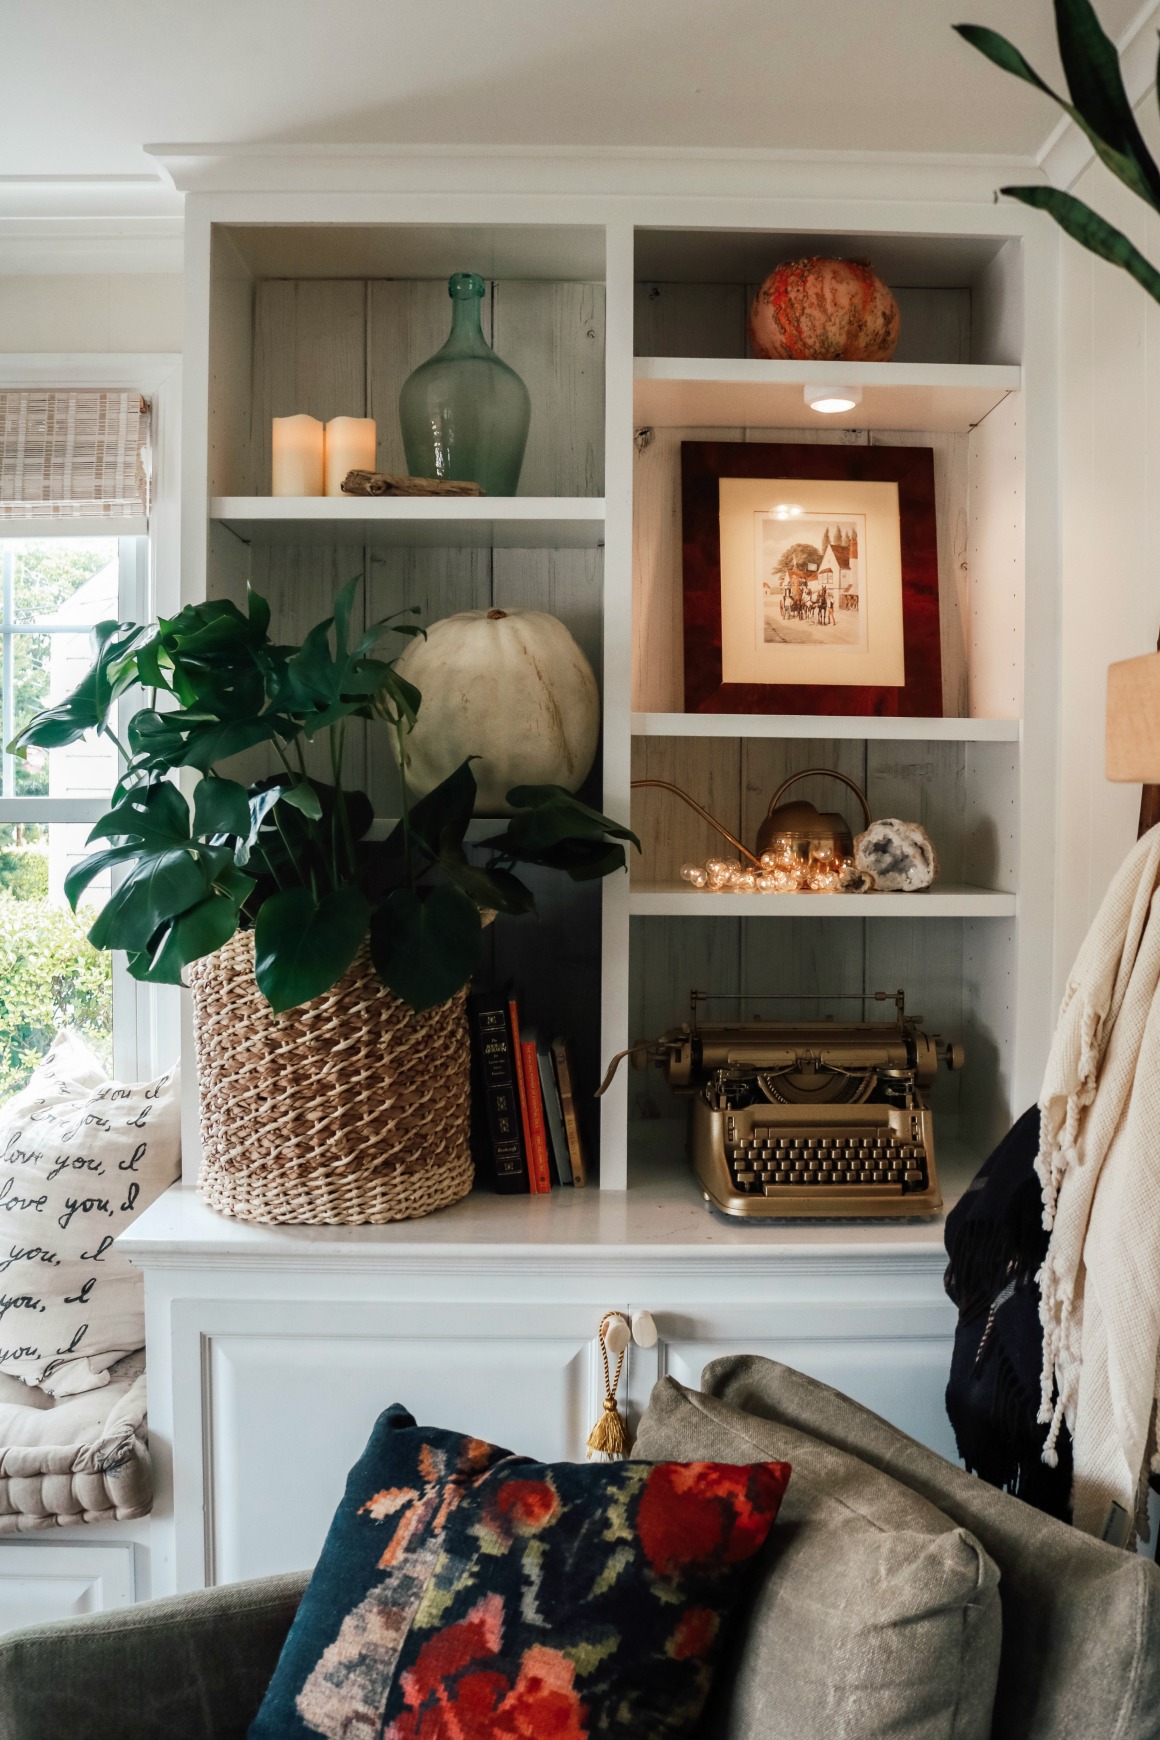
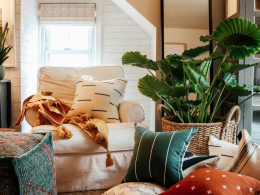
9- Plant in basket
You already know that I think every space needs a plant. I mean.. it almost goes without even saying! I really fun way to add additional texture to a room by putting a plant inside a basket! I actually often find a lot of the baskets I use for my plants from thrift stores like Goodwill!
Top Tip: Remember, you will always needs a liner for your plant when they are placed in baskets.
10- Add some black to a room
As long as I have been designing spaces, my go to rule has been that every space needs a touch of black. That means over almost twenty years, that rule has stayed in style! Your touch of black can be anything! Furniture, artwork, counter tops, fabric. Black draws your eye, balances other colors and grounds a room. It’s a timeless tip that you can easily incorporate. it is fun to think of unexpected ways to decorate with black!
Hope those Tips helped you like they have helped my friends! Because I consider you my friends too!
You can shop my home HERE

Love these tips! I want to add black to my home but just don’t know how to. Everything is white/cream/beige with chrome fixtures, rods, handles etc. I feel it looks off when I introduce black. 🤷🏻♀️
Such great tips! I can already think of a few I need to do. Thanks Brooke!
I love watching your videos. I’m ordering the under Cabinet lights. I love that they’re rechargeable.
thanks!!!
I love every single one of these tips!
Love these tips and do many of them already. Am just wondering- if no one ever sat in the chair anyway, then maybe it wasn’t really needed in the room…did you try just living with nothing there for a bit before adding the hanging chair? Seems like it might be nice to have some open space and easy access to the window?
true- but I just would put something there, because I like the look better. Just preference!
I agree, Monica. Good advice!
Thanks for sharing these tips! You have such great style and I’ve used several of your ideas around my home. I did buy the chargeable under cabinet lights you linked. I absolutely love them but found that they don’t seem to hold their charge beyond a couple hours at most. Do you find this to be the case for yours as well?
I do them so they don’t turn on automatically- I notice they run out faster that way!