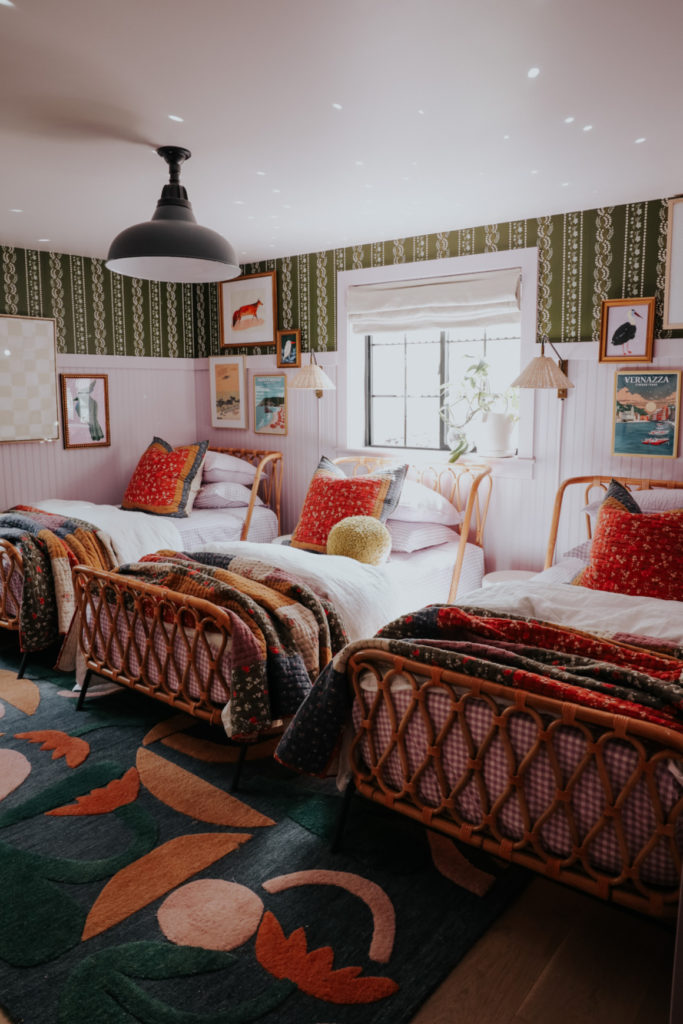
When we shared the triplet guest room makeover a couple weeks ago I received several questions on what we used for the beadboard paneling on all the walls. Sharing today exactly what we used to give our guest room that cozy cottage feeling. From how high we hung the beadboard paneling, the trim we used to finish off the beadboard panels, and pegs we used for guests to hang coats, and bags on. Also sharing how much the beaboard cost.
Total cost to do the trim and beadboard was $325, in this 14’x12′ room. We did already have the tools, but this is a pretty affordable project that makes a big impact!
Beadboard DIY Supplies-
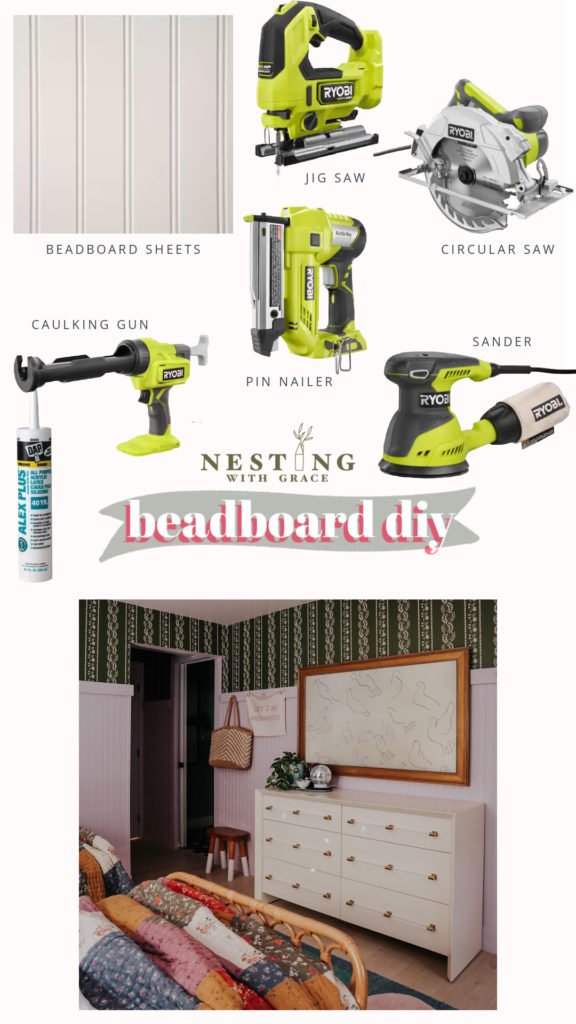
- Beadboard Sheets– 48″x96″ (comes in 32″x48″) we cut ours down to 60″ with a circular saw
- Jig Saw– you will need this for cutting out a hole for outlets and small cuts
- Circular Saw– this will be used to cut the beadboard sheets and trim
- Pin Nailer– this pin nailer makes small pin holes you don’t need to fill in
- Caulking Gun– not required, but does make caulking go quickly!
- Caulk– we prefer this caulk because it dries quickly
- Sander– the sander is used to sand the caulk between the seams, to help the seams be less noticeable
- Trim– 3″ mdf trim
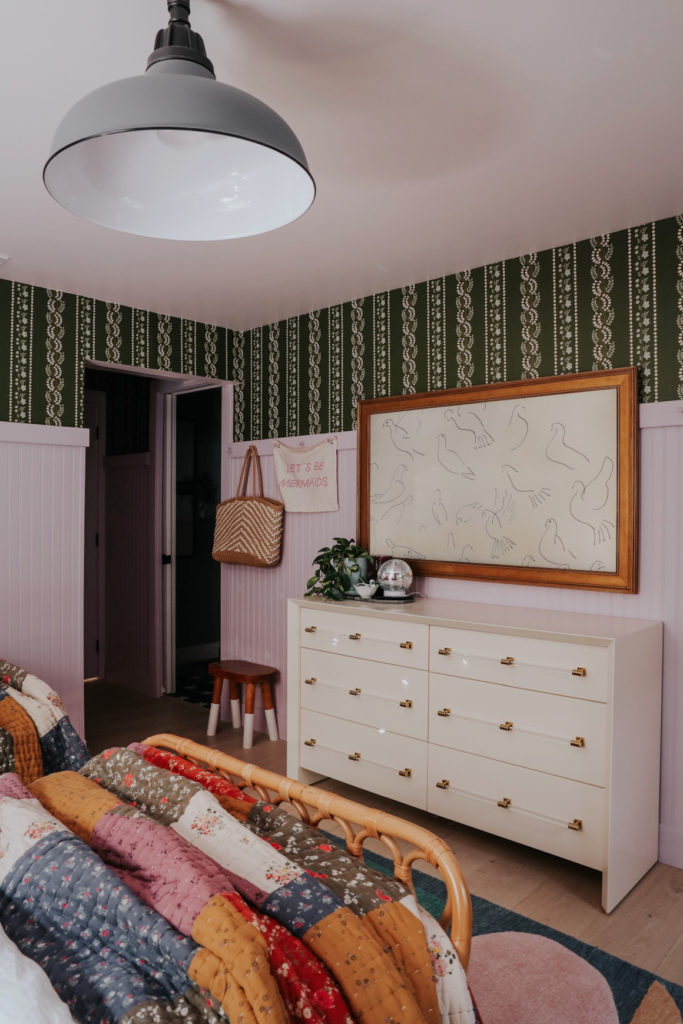
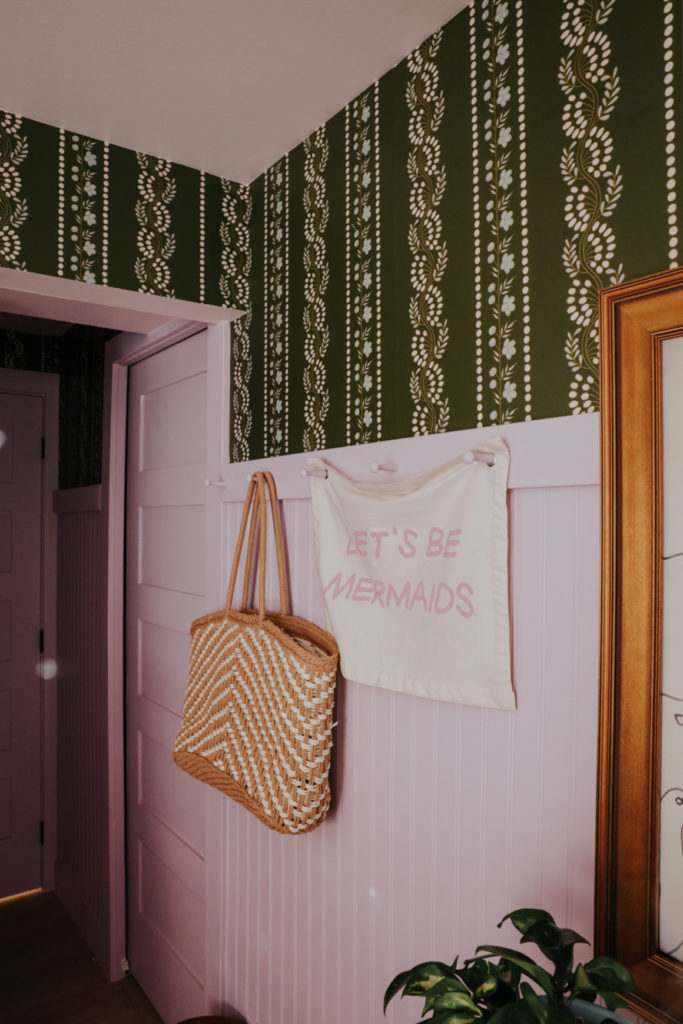
We used these sheets of beadboard and had to cut to the size we wanted, 5′. We painted the trim, doors and beadboard in Sugared Almond Farrow & Ball (we did have it color matched at Sherwin Williams, we brought a paint chip in). Then added this green stripe wallpaper over the top. Fun color combo! Finished off the beadboard with 3″ trim and added wood pegs for hooks. Photos and details below…
Installing Beadboard Panels-
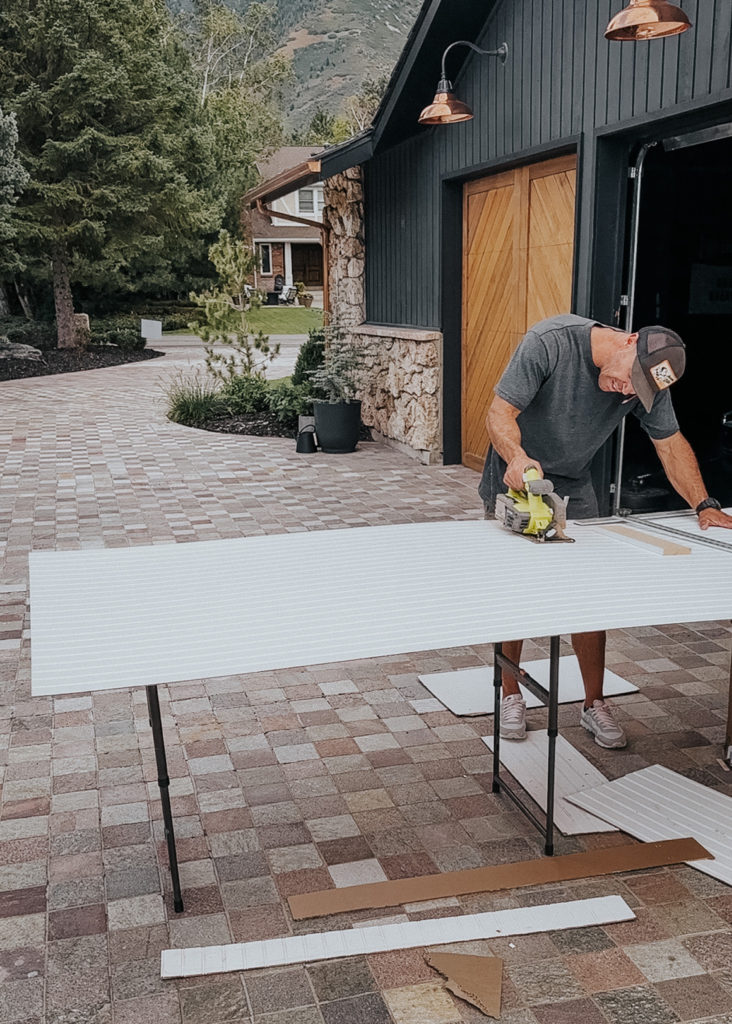
We used these exact sheets of beadboard and cut to 5′ with a circular saw. I like the height of 5′ with our 8‘ ceilings and wanted to see 3′ of wallpaper.
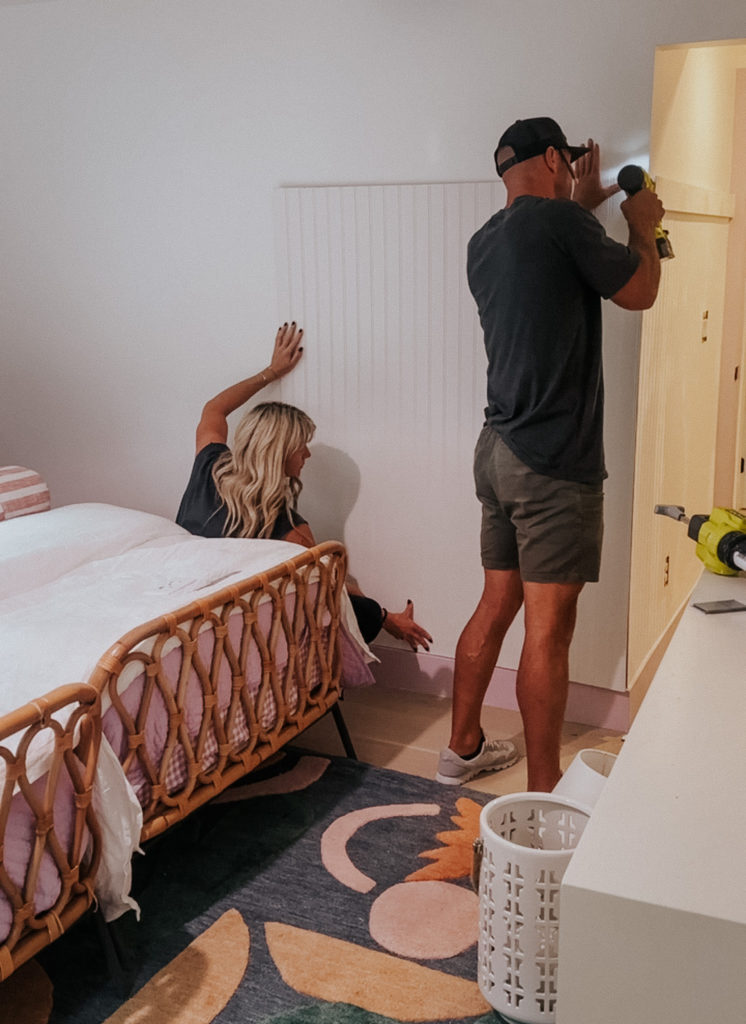
We simply attach the beadboard panels to the wall with a pin nailer. A pin nailer makes really small pin holes you don’t need to fill with putty. We do not glue the beadboard to the walls, the pin nailer keeps it in place.
Cutting out Outlets for Beadboard-
I thought this visual would help to see how Kevin cuts around the plugs and light switches.
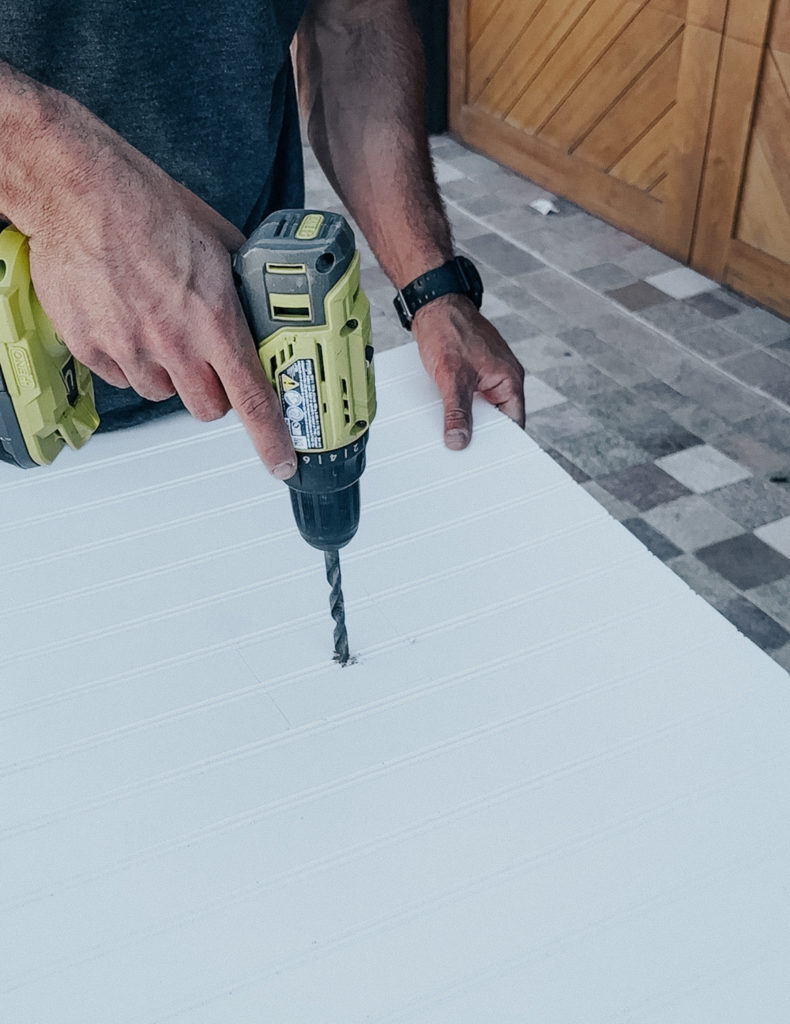
Measure where your plug is on the wall, then draw it on your beadboard. Start a hole with a drill.
Place jig saw blade right in the center and start to make cuts to cut out your shape.
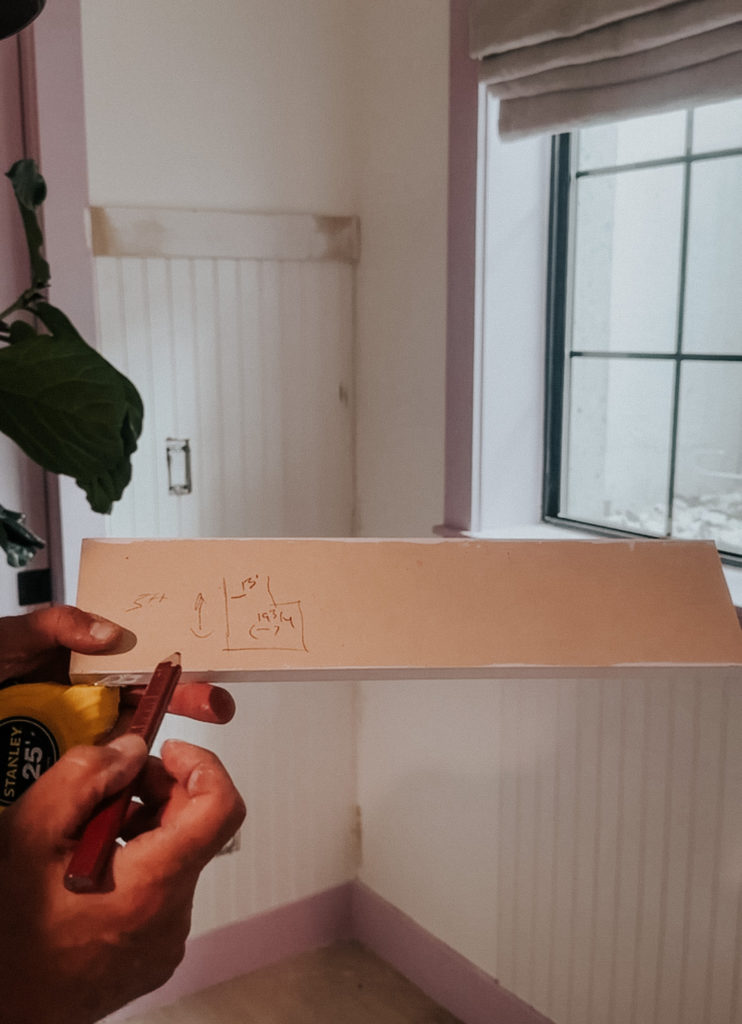
Drawing out the shape of tricky areas and the size makes it easy to get all the cuts right the first time.
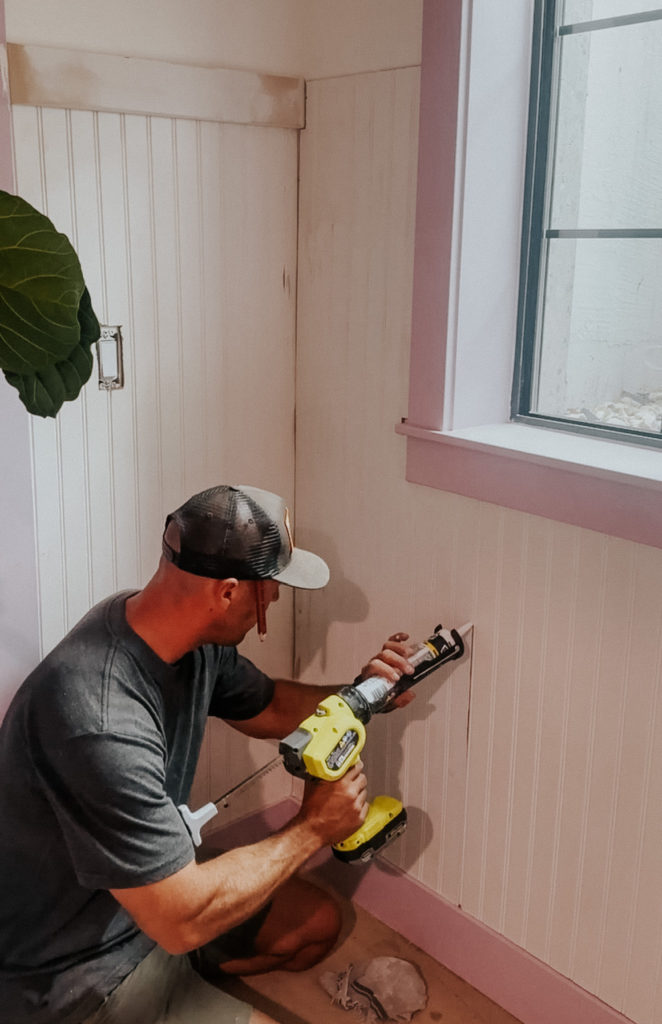
Use caulk to fill in the seams and any gaps. A caulking gun, isn’t required, but does make caulking go quickly! After you apply the caulk, wipe down any excess with a wet cloth. Then after the caulk dries, sand down any rough or uneven areas.
We finished off the beadboard with 3″ mdf trim, again just used a pin nailer to install.
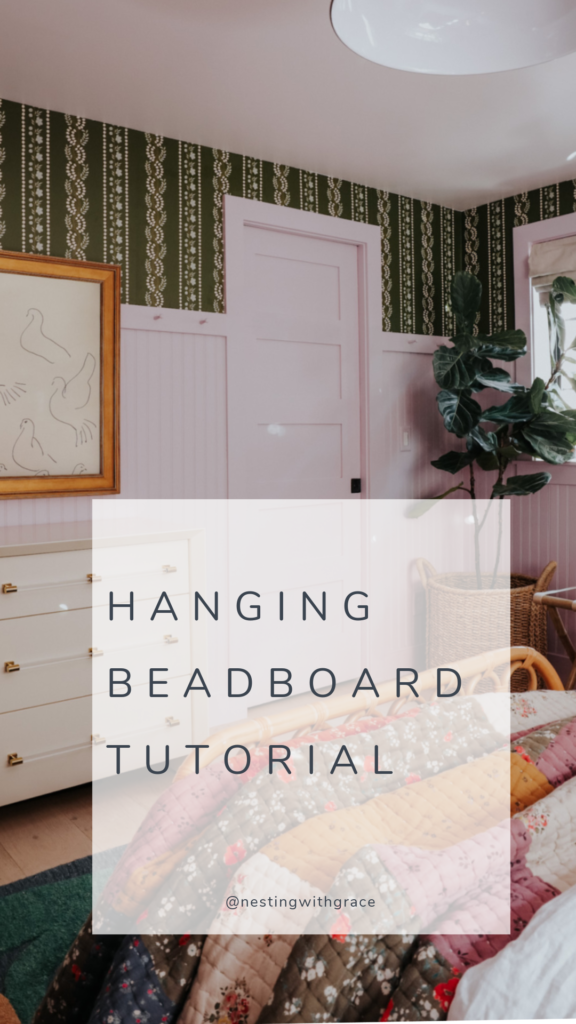
Installing Wood Pegs on Beadboard Trim-
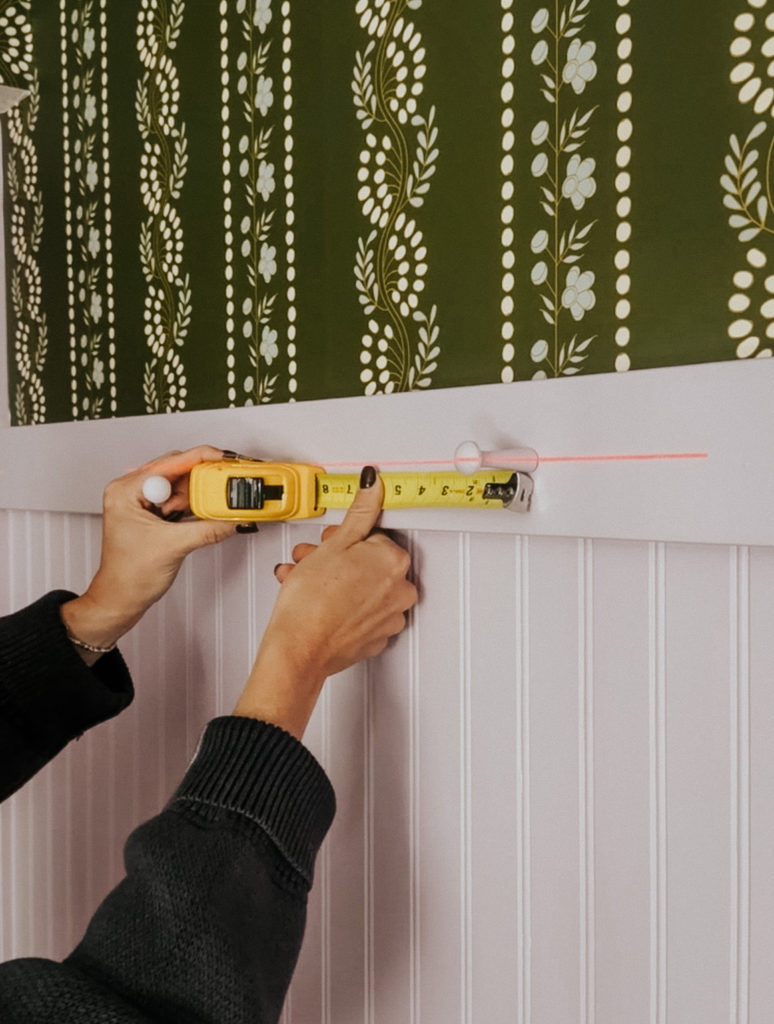
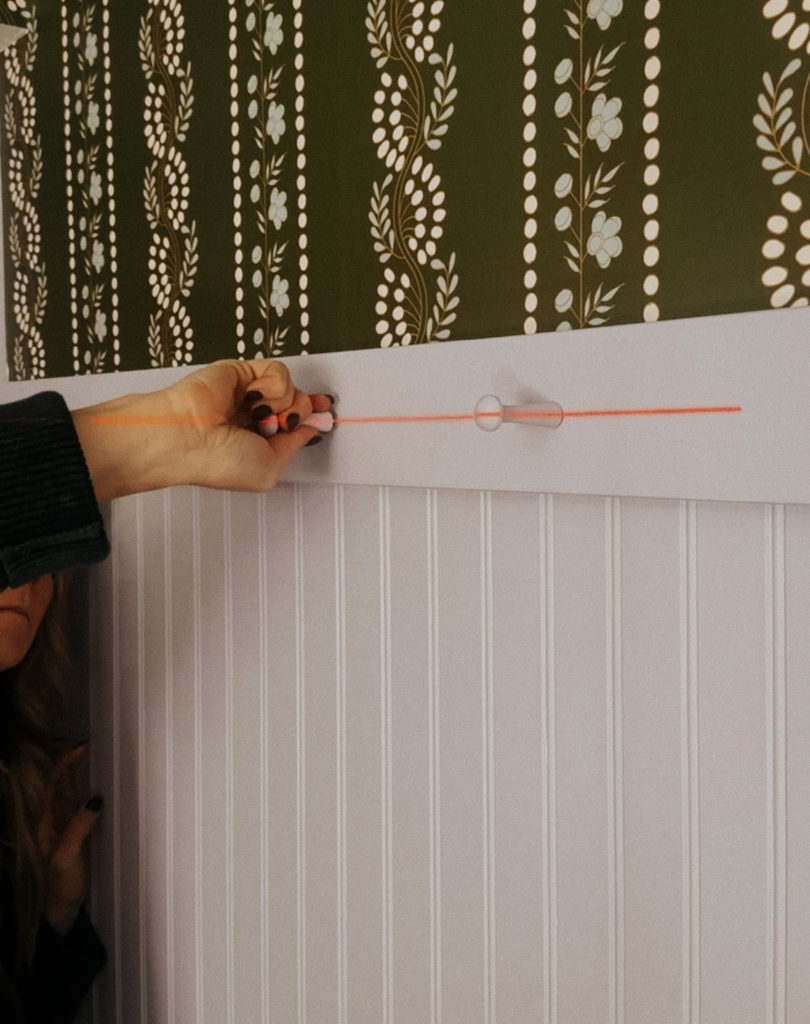
On one wall we put these wood pegs into the trim, perfect place for guests to hang bags and coats. Hung about 7″ apart.
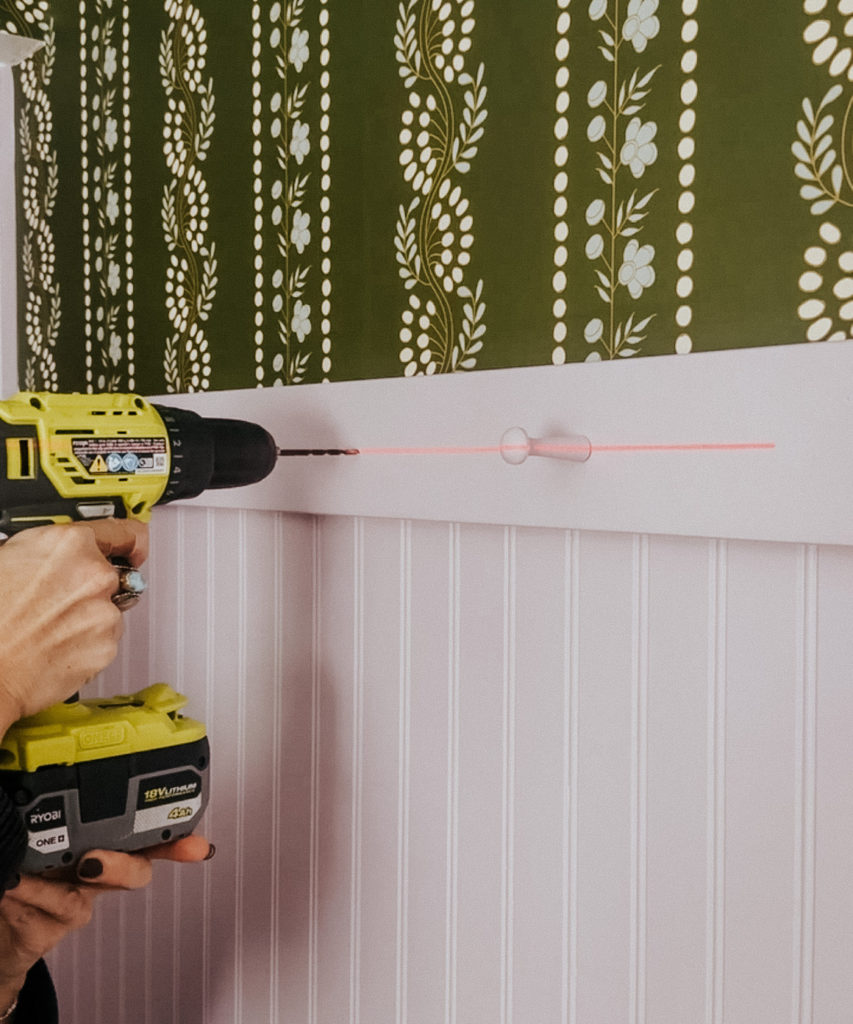
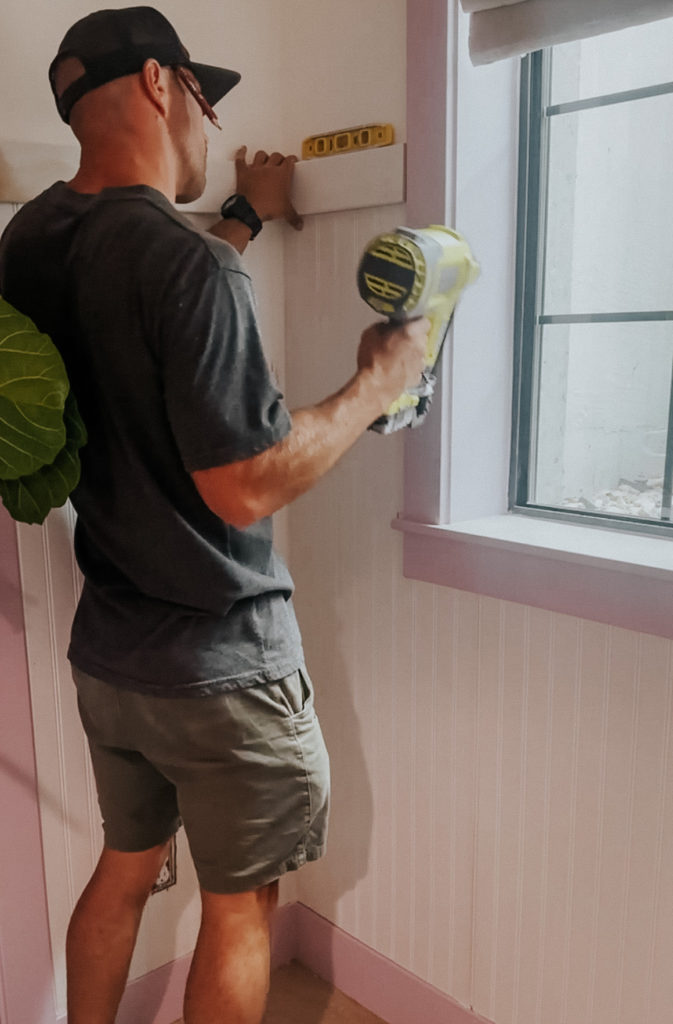
We used a drill to pre-drill a hole so we can easily twist in a wood peg. I will say our laser level made it really easy to hang the hooks straight.
Blog post with all the details of this triplet guest room, HERE.
Sources for Triplet Guest Room-
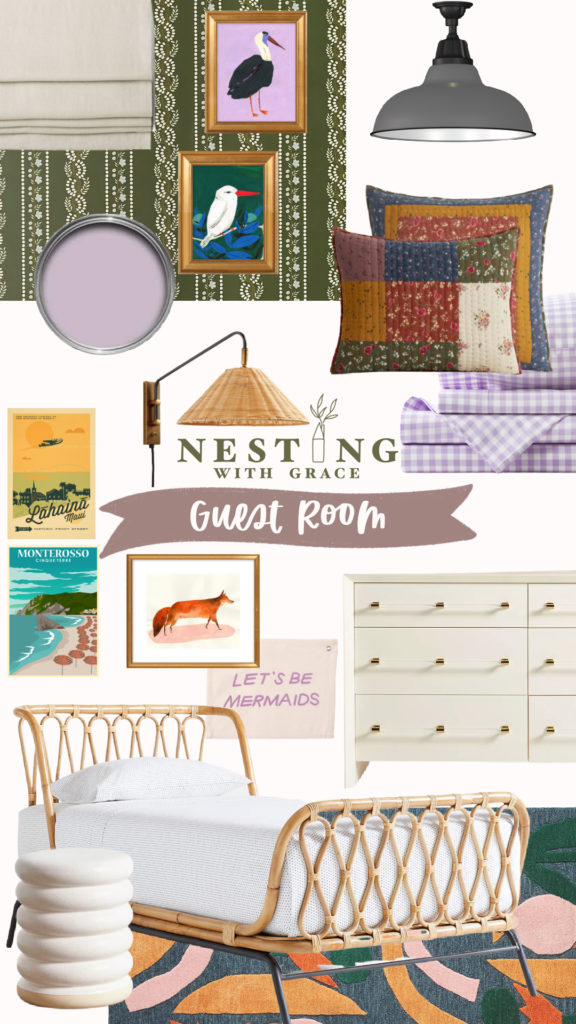
Purple Bird // Green Bird // Light Fixture // Autumn Quilt
Gingham Sheets // Wall Sconce // Hawaii Posters // Italy Posters // Fox // Mermaids
Dresser // Rattan Bed // Ceramic Stool // Rug

Bead board is the perfect touch for that room and I love the color you chose to paint it! The pegs are the perfect finishing touch.