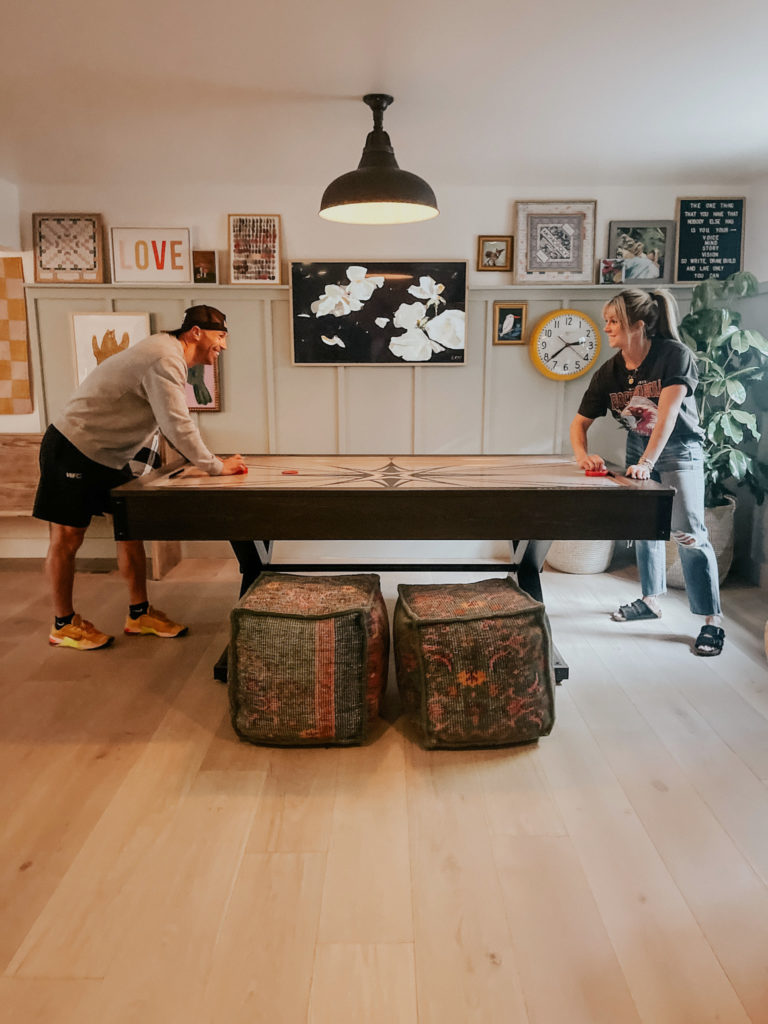
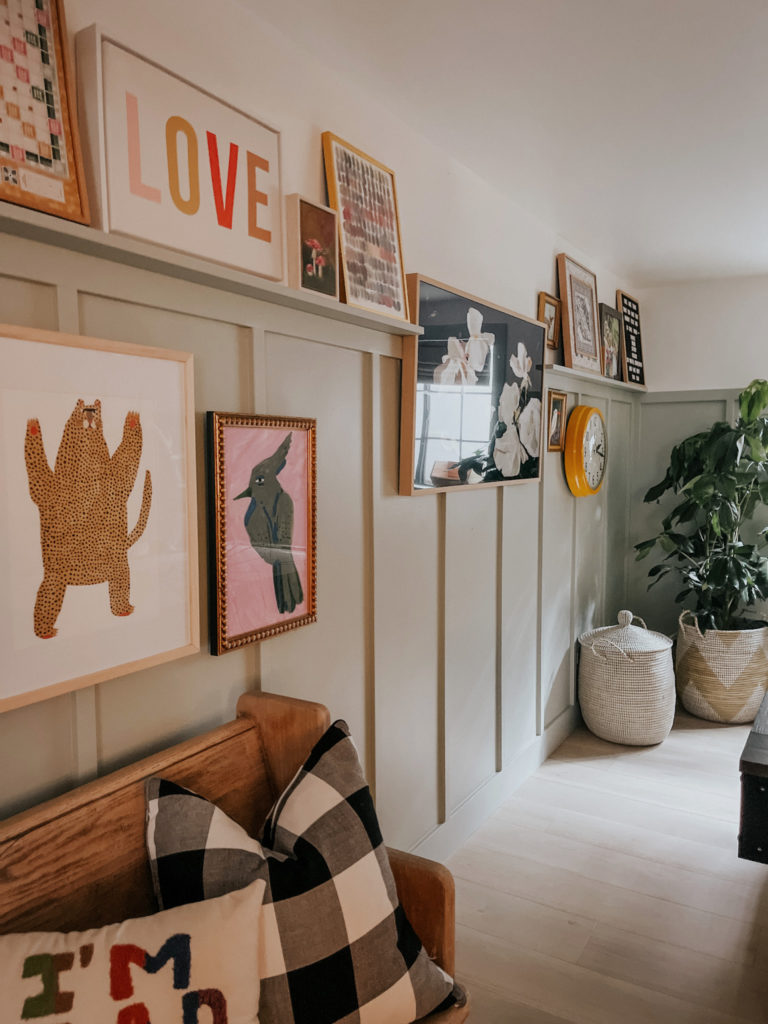
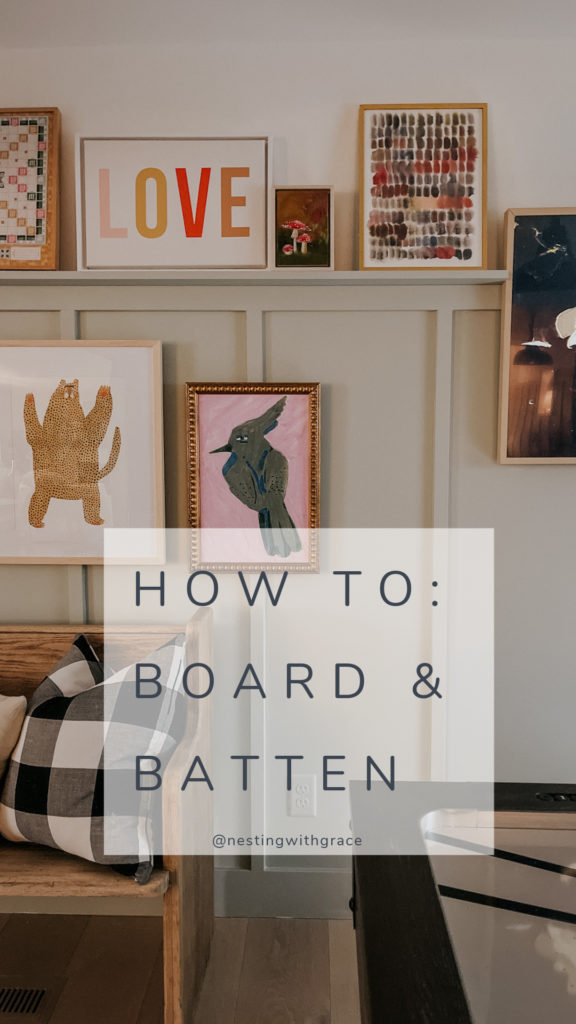
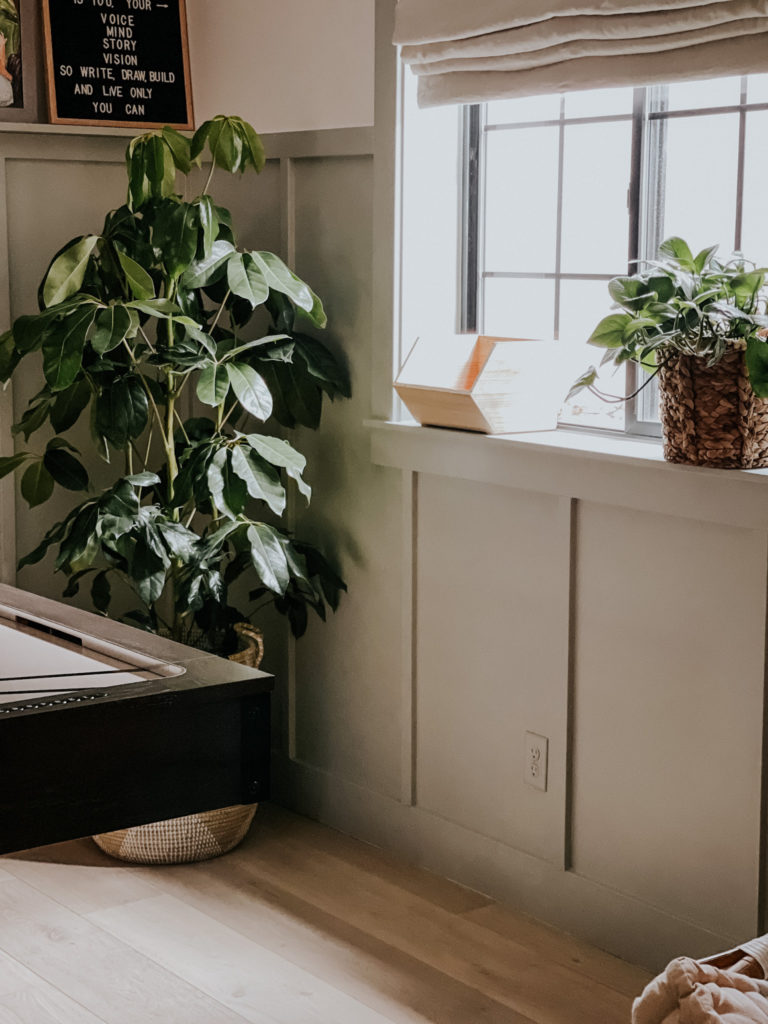
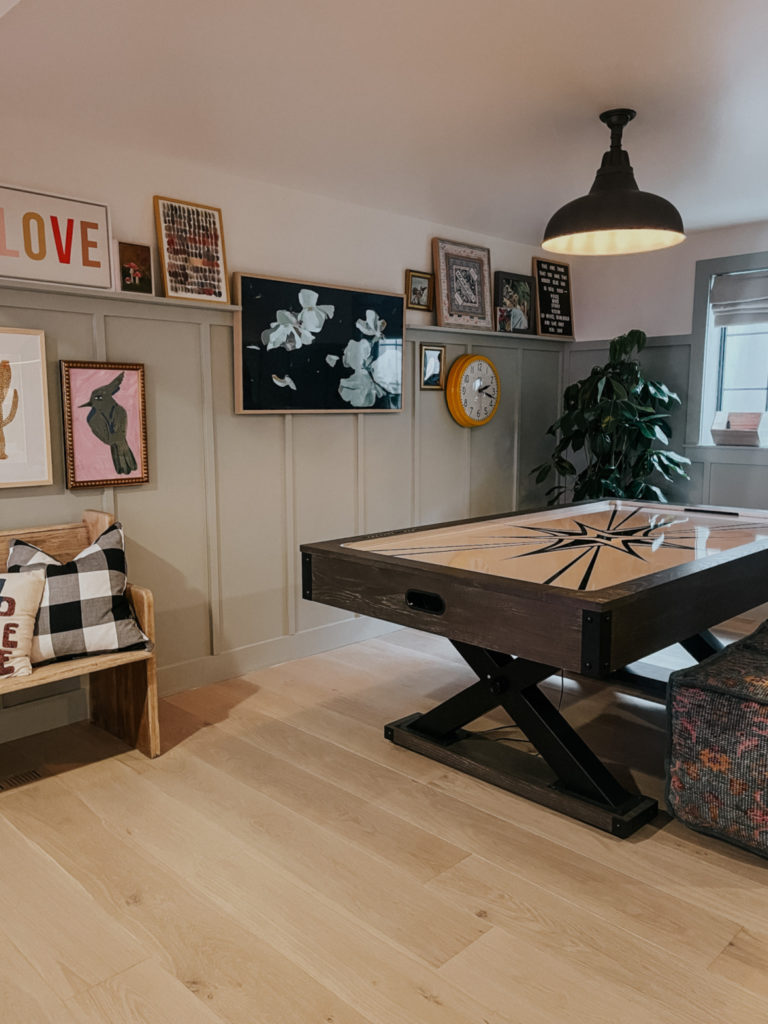
There are many ways to do a board and batten wall. We have done a few projects now using this method and we think its fairly simple and requires minimal tools! While we loved our game room before this project we absolutely LOVE the game room now. The painted board and batten added so much character and color to the room!
Tools for Board and Batten Wall-
- Corded Circular Saw– circular saw can perform straight cuts and cuts on a tilt. We use this for smaller quick cuts.
- StudBuddy– best stud finder! This one actually is a powerful magnet that connects to the screws the builder used to attach your Sheetrock to the wall stud.
- Battery Operated Nailer– this nailer eliminates the need for noisy compressors, bulky hoses, or expensive gas cartridges. (Battery and charger sold separately. Or a good ole’ hammer and nail works, too!)
- Laser Level– 20 ft. laser range! Makes leveling quick and hands-free.
- Tape Measure– We love this one that has double-sided printing and a finger guard to protect you from sharp edges!
- Cordless Palm Sander– very strong for its size. It has a dust bag that helps to keep your area neat and tidy while you work.
Wood for Board and Batten-
- 1.5″ primed mdf trim for the vertical boards
- 2.5″ primed mdf for the horizontal boards
- 1″x4″x8′ red oak board for picture ledge
Instructions for Board and Batten-
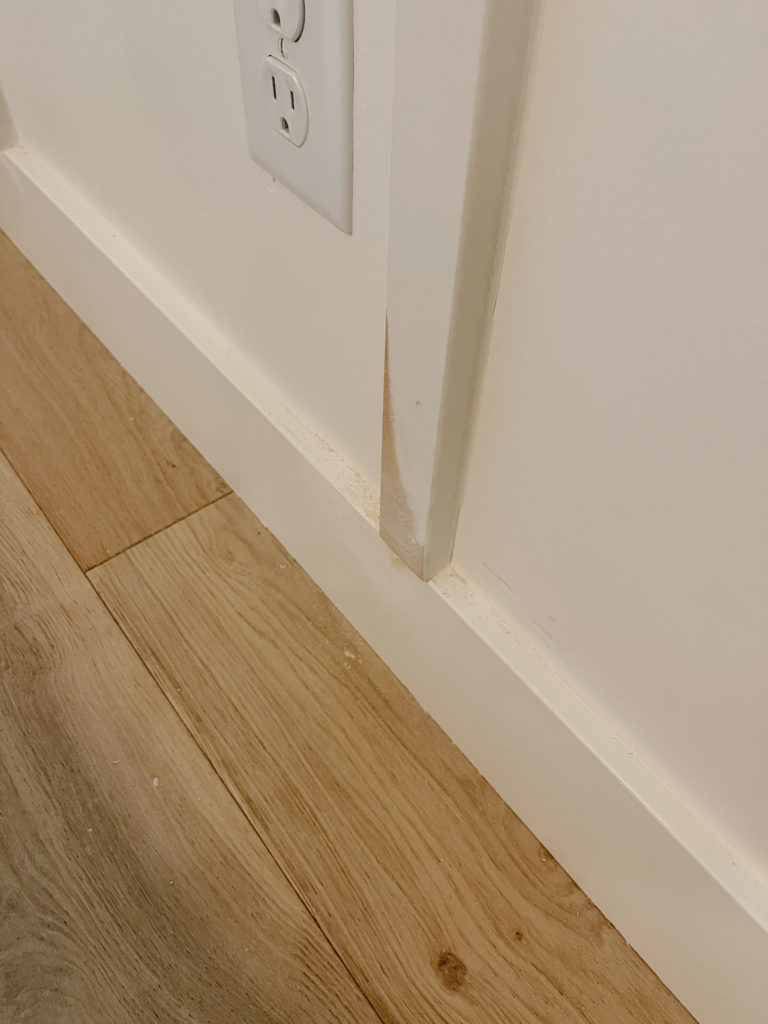
First you’ll want to start with the baseboards, our room and baseboards were brand new so we left those alone. But now would be a good time to replace yours if you have been wanting too. Our baseboards are 5 inches high.
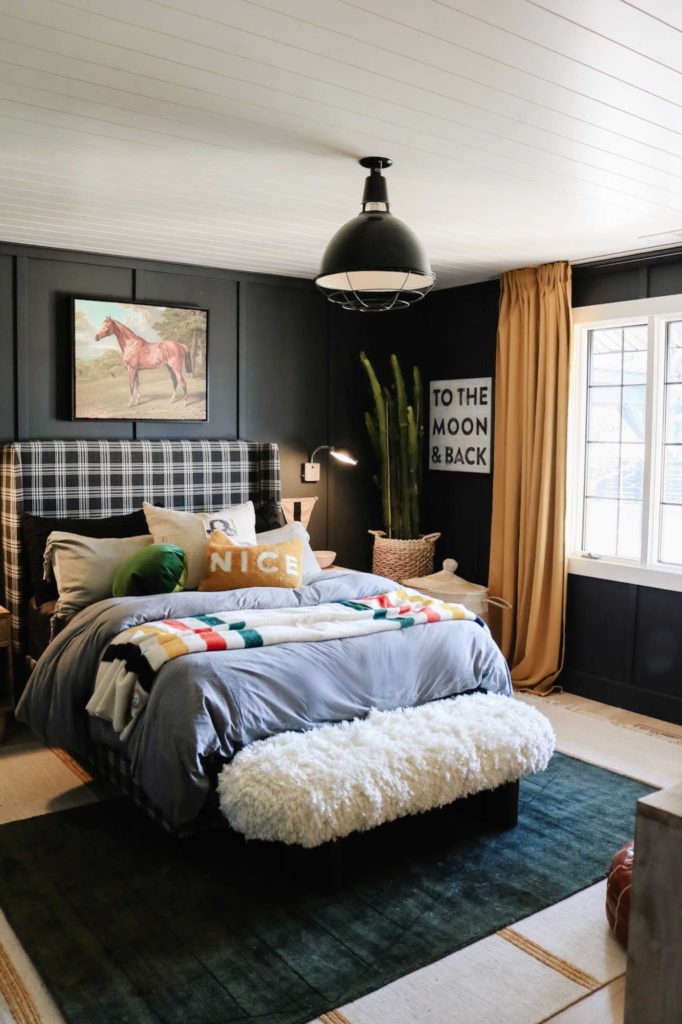
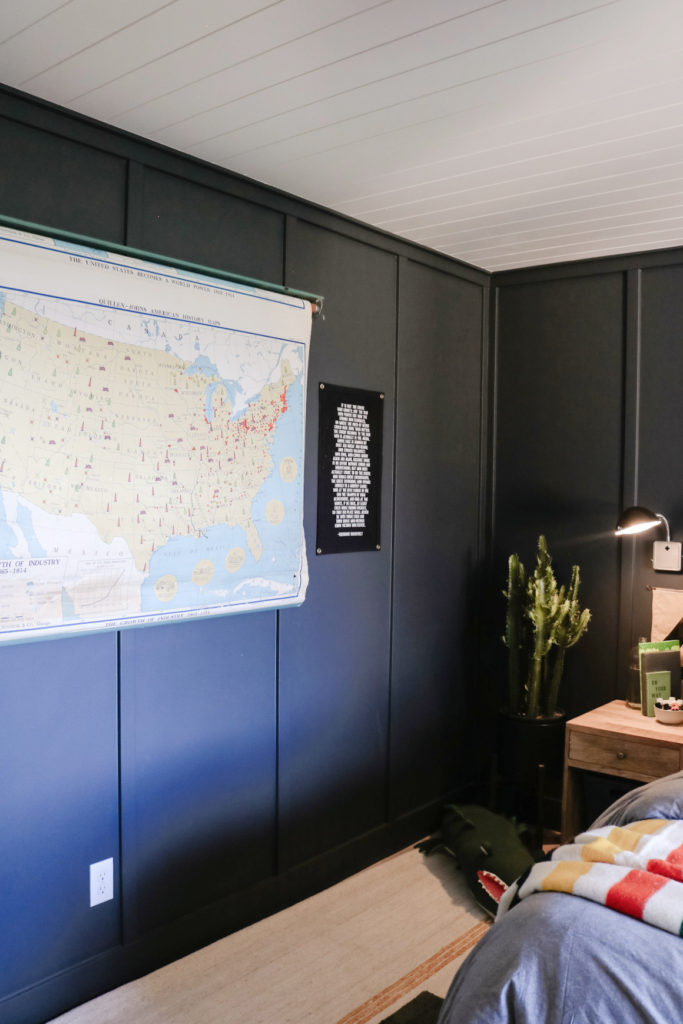
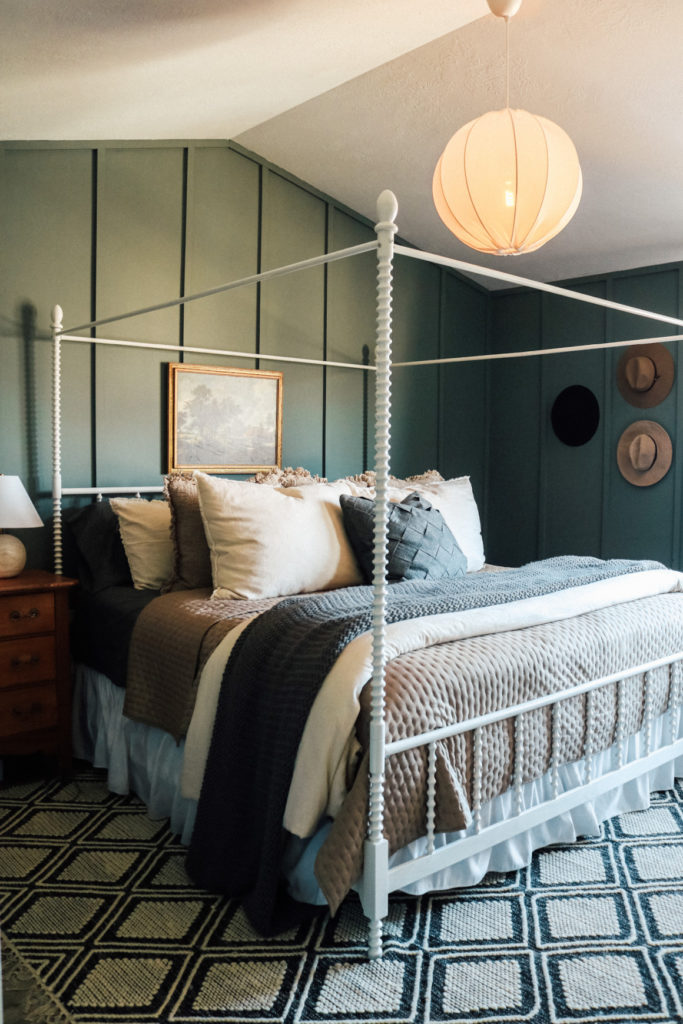
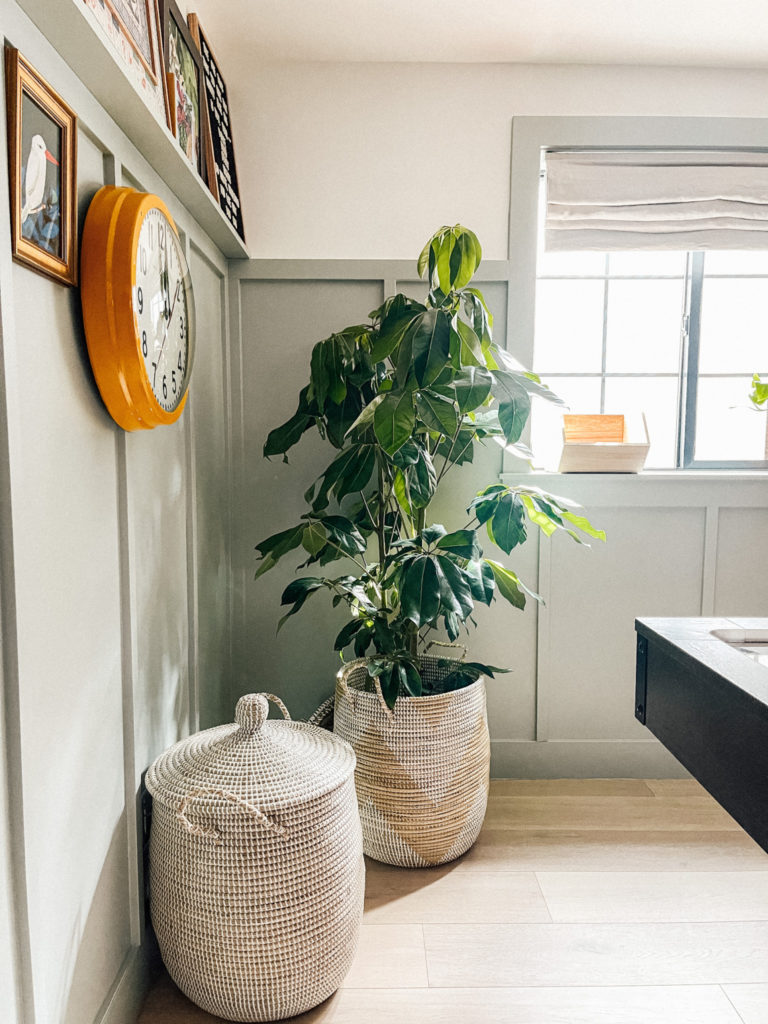
Then you’ll want to decide how high you want to batten. This is a personal choice! We did 2/3 of the wall for the game room, by doing this we didn’t have to paint the entire room because of the stopping point. And the white will hopefully make it feel taller. Our ceilings are 8′. In our Connecticut primary room and in Finn’s room we did batten all the way up to the ceiling. We did the same in my sisters room and she had a pitched ceiling (photos below).
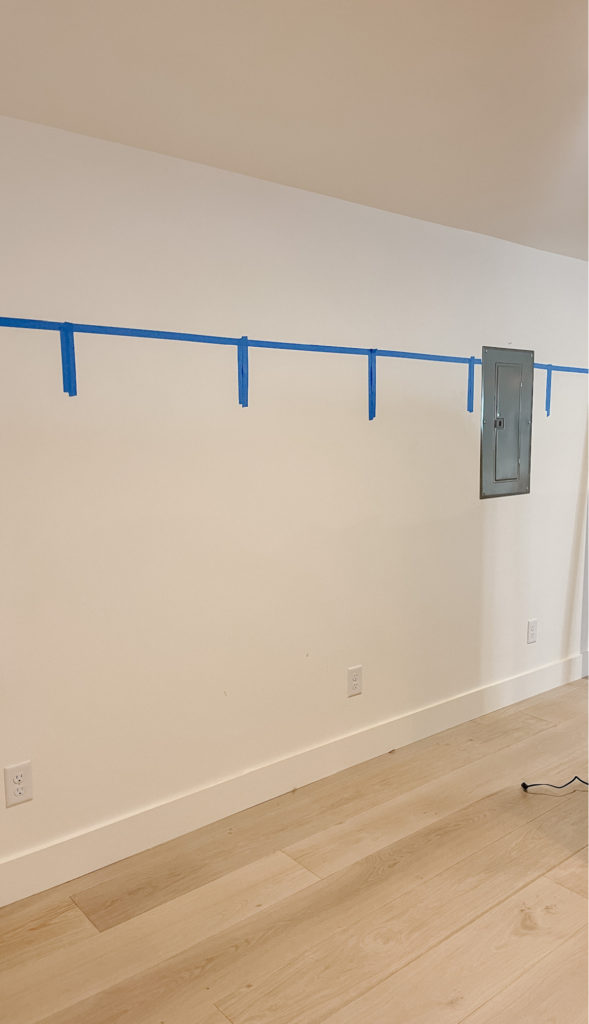
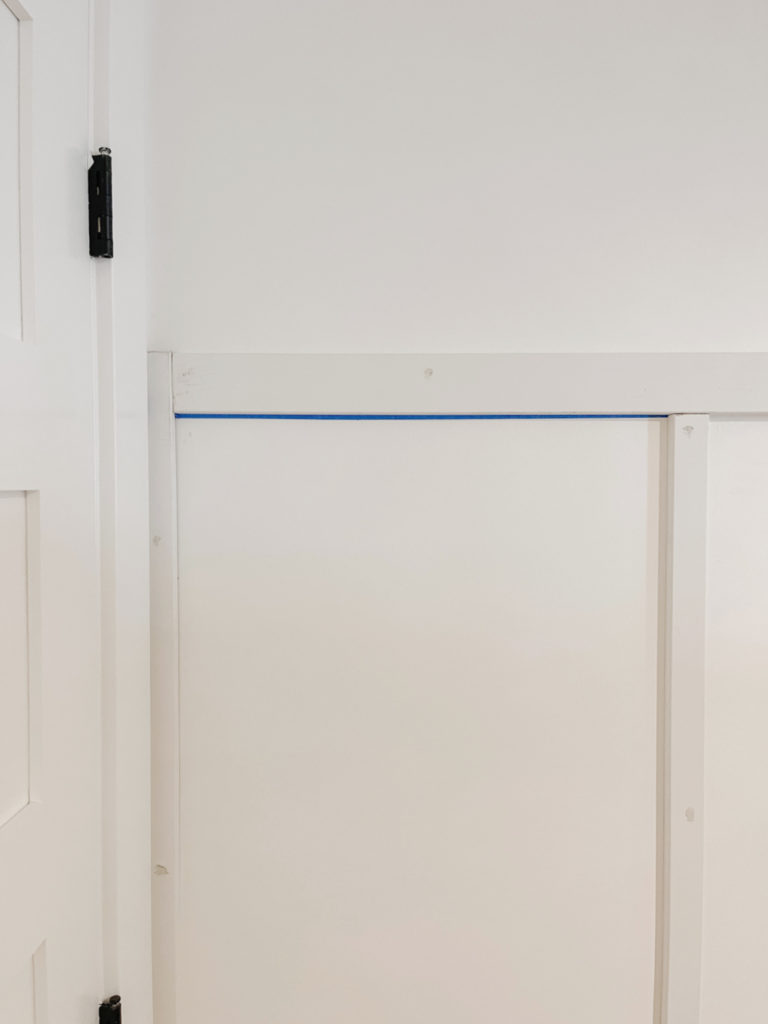
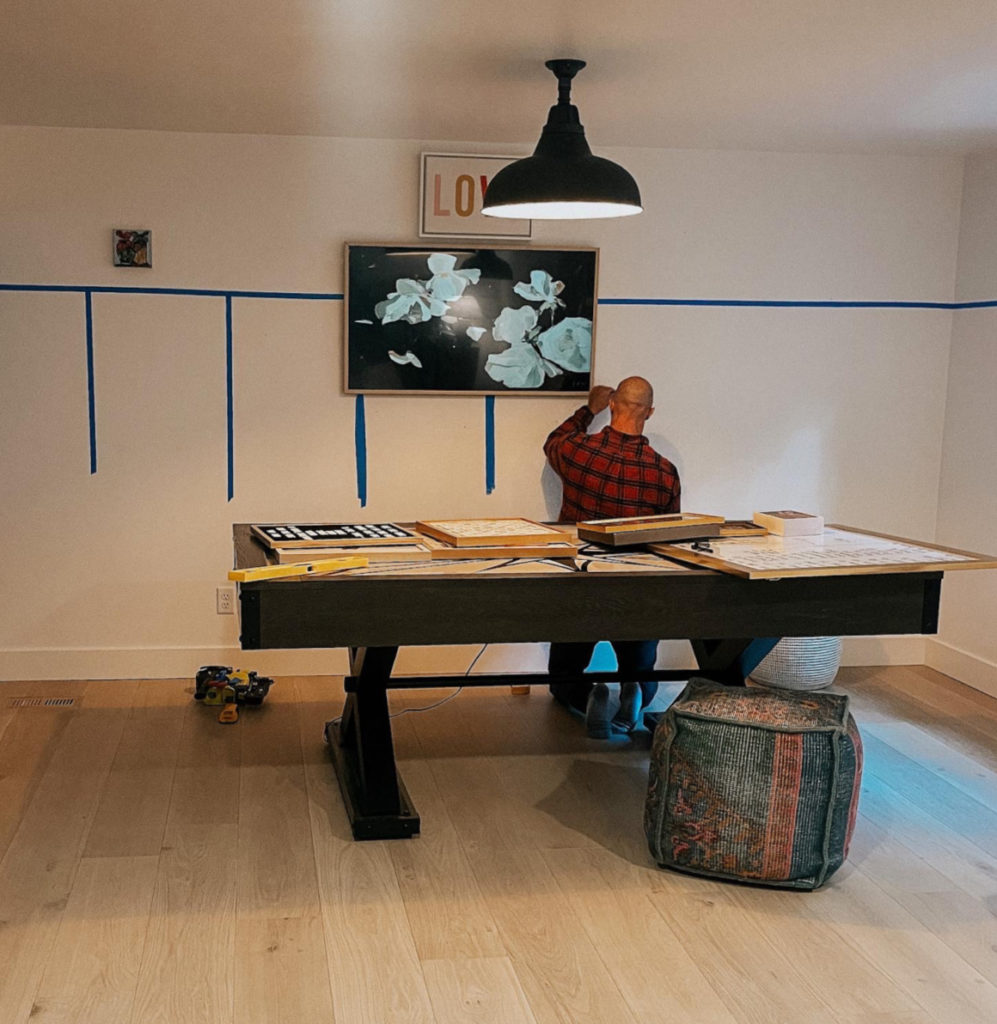
Once you decide how far up you’d like to go, mark around the room. For this we marked our measurements from the baseboards and then used a level to make sure we stayed on track. You want to have a level horizontal board all the way around the room. You can draw with pencil or Kevin did a mock up around the room with painters tape (then hung board directly over, you don’t see the tape in the end after your caulk).

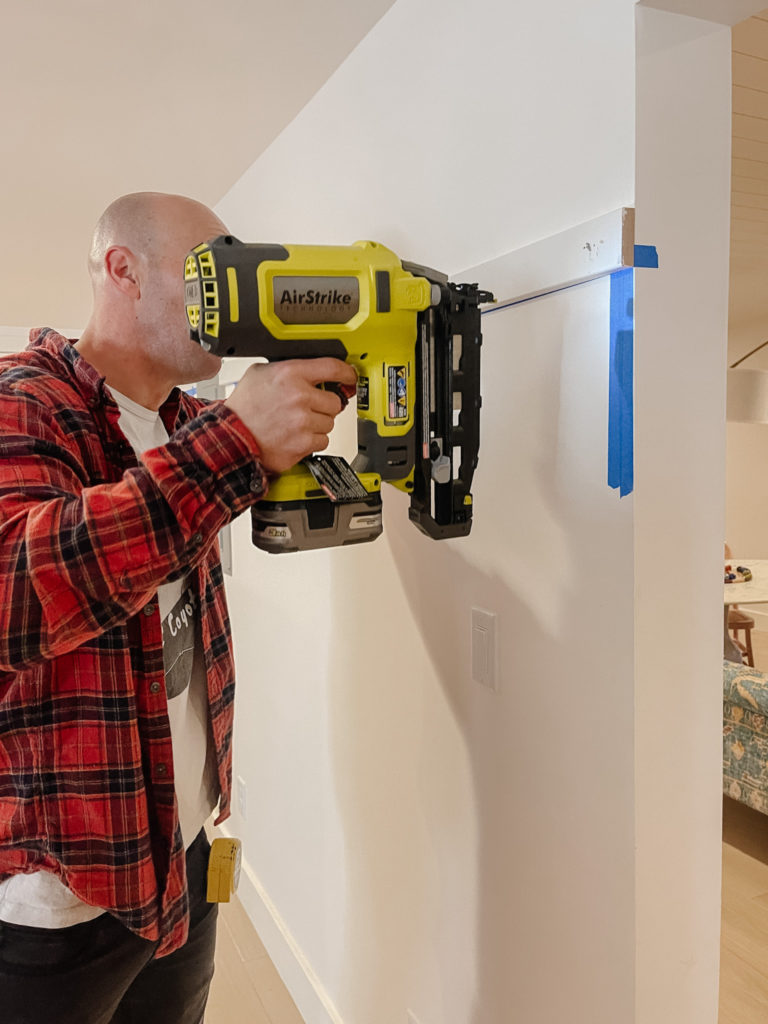
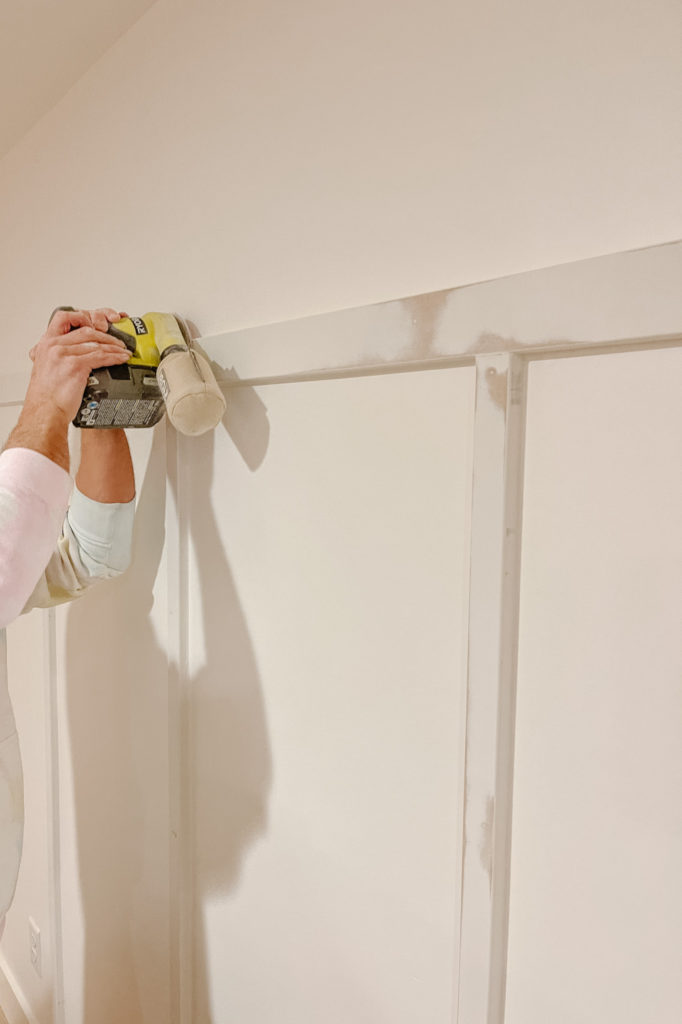
Then, hang your horizontal boards using your nail gun. We did not use glue, instead we found the studs for just the horizontal board and nailed into those. We do caulk at the end and that gives support too.
Now you’re ready to hang your vertical battens! Before attaching these, it’s important to plan out your spacing. Warning!!! You will have spacing issues, since each wall will be a different size with different obstacles. We measured each wall and spaced accordingly. You will want each wall to be similar but the entire room will not have the same spacing.
First calculate. For example, this wall was 85″ wide. For us, we were trying to get the spacing as close to 18″ as possible, we needed to add five battens—each batten is 1.5″ wide for a total of 7.5″. Subtract the width of all the battens from the width of the entire wall (85 – 7.5 = 77.5). Then divide that by the number of spaces between battens, which would be four. 77.5 divided by 4 = 19.375″. Close enough!
But, you may still need to tweak spacing. For instance, I wanted a vertical batten directly in the center under the window. So we placed tape there and then spaced accordingly. Using the painters tape for this was a huge time saver, we could just peel and stick where we needed and it was easy to change up as we figured out the wall spacing. We also tried to avoid wall outlets!
We were able to achieve similar spacing on all the walls for a uniform look (it ranged between 17.5-19.5″ around the whole room). Remember, you want to aim for consistent spacing, but calculate your measurements by wall, not by room!

Before you do any cutting, make sure to measure the height for each batten where you plan to attach it because the height will not be consistent throughout the room. We like having batten in the corners, you don’t have to though. Because we measure and focus on one wall at a time, we always start in the corner. Cut and hang.
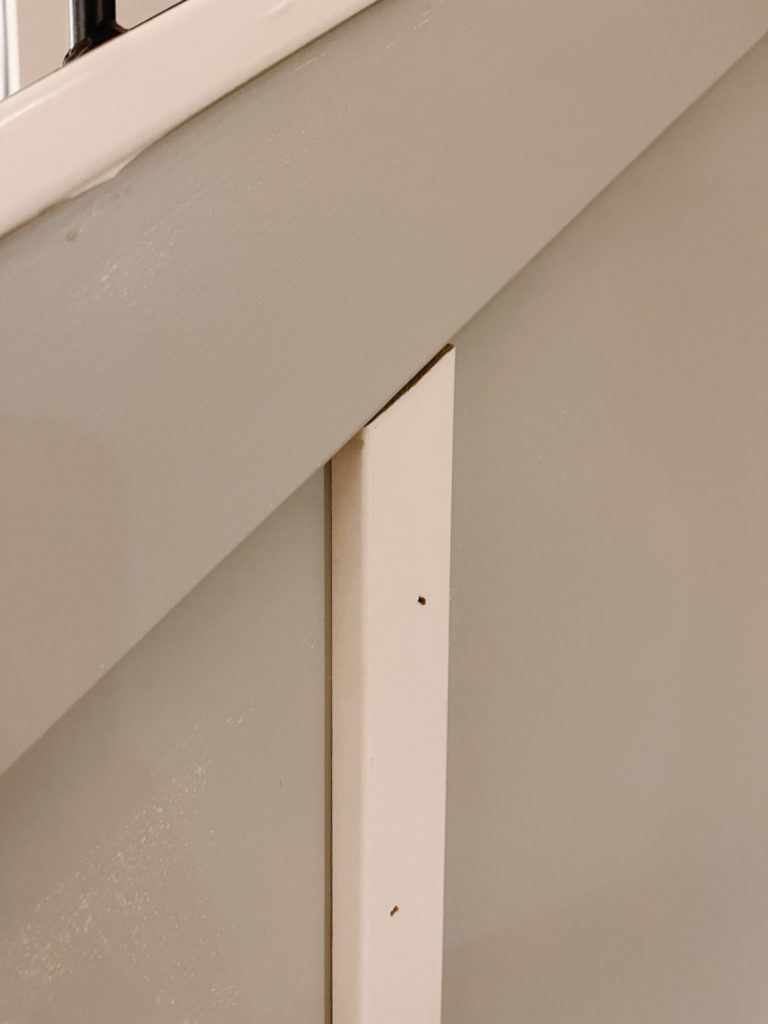
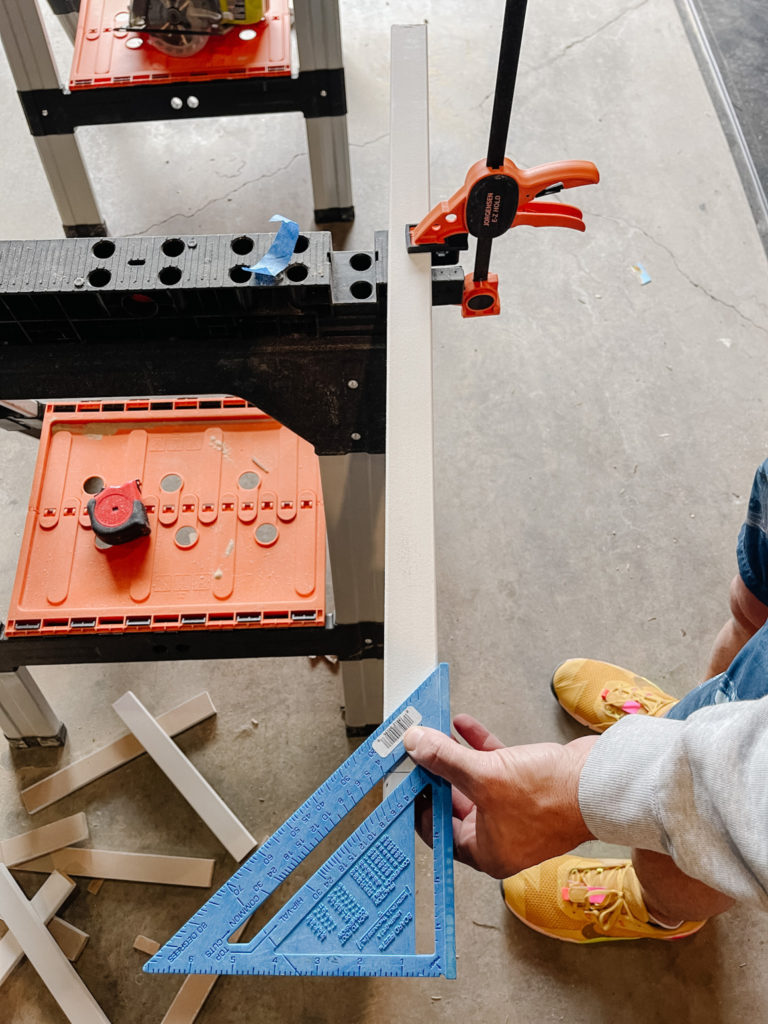
The only spot we needed to cut our boards at an angle was under the stairs. For that we measured the tallest part of the angle, then determined it was a 45 degree angle which made it easy to use the Quick Square Tool. We cut the angle using our Corded Circular Saw.
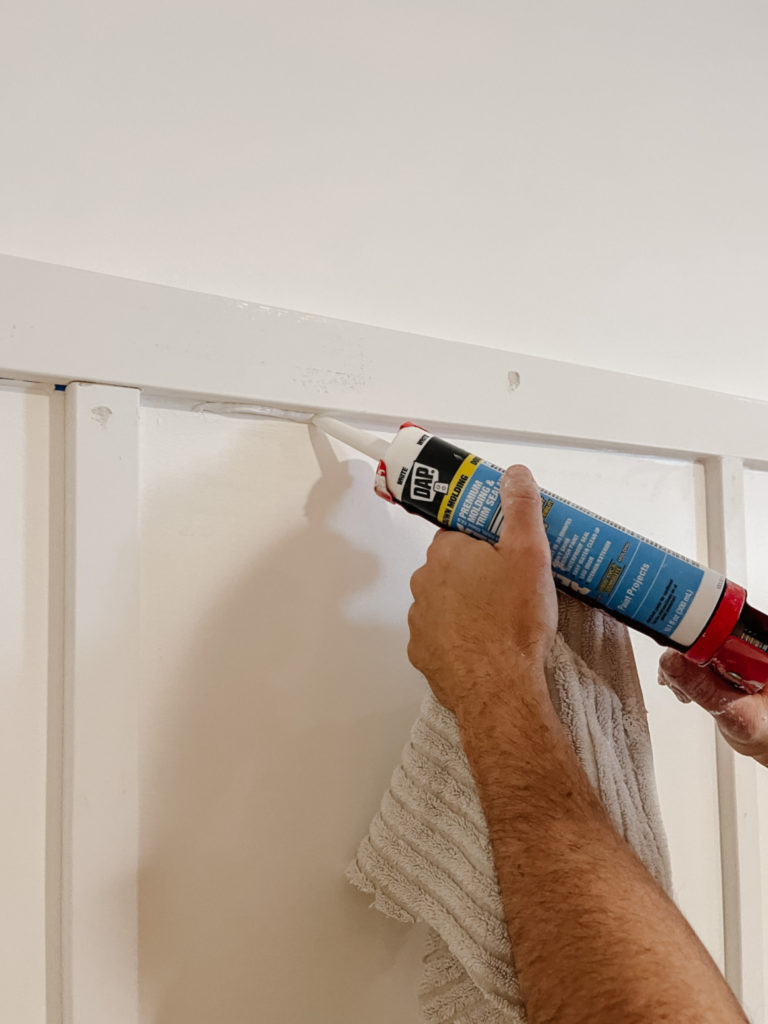
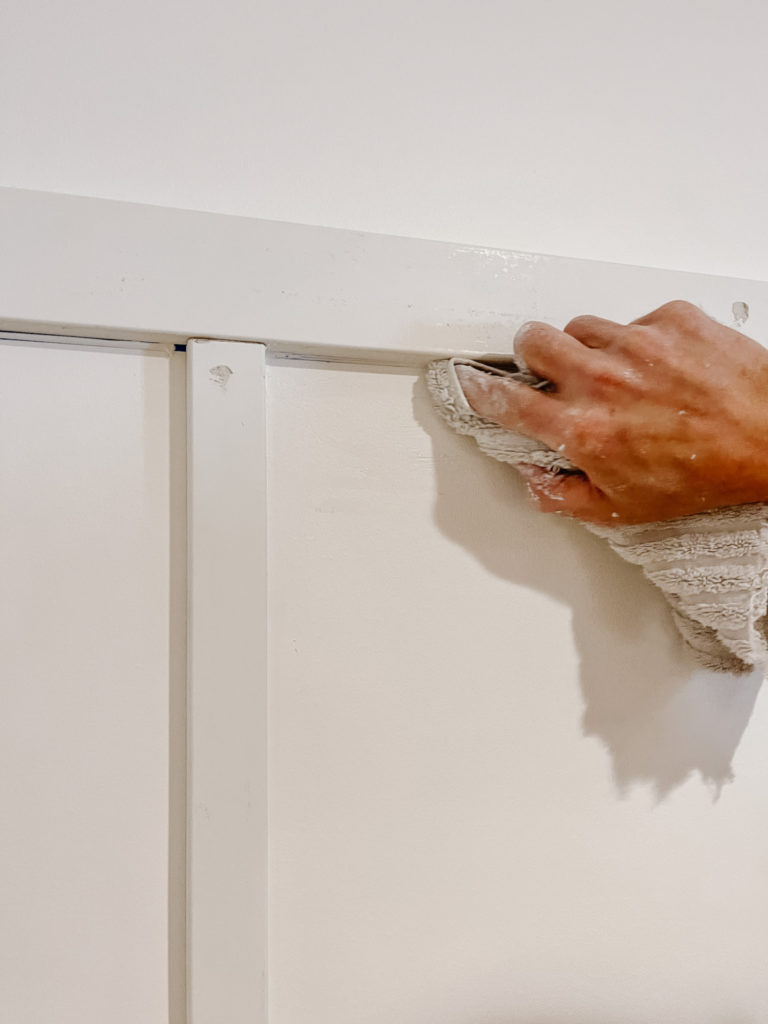
After all the board and battens have been hung its time to caulk! This will also hide the painters tape you left on the wall! We caulked both sides of every board, and the tops and bottoms of each of the vertical boards where it met up with horizontal boards.
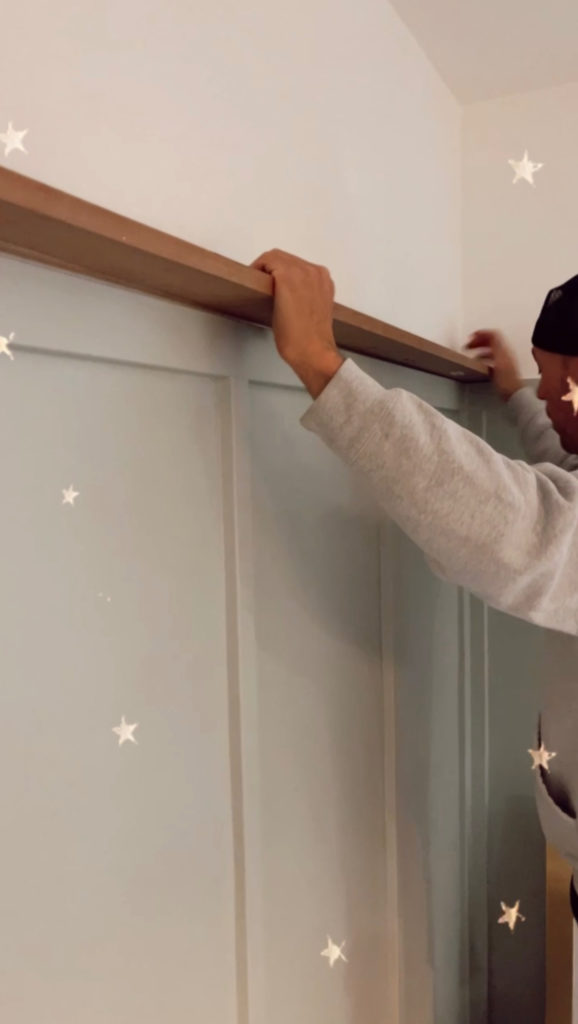
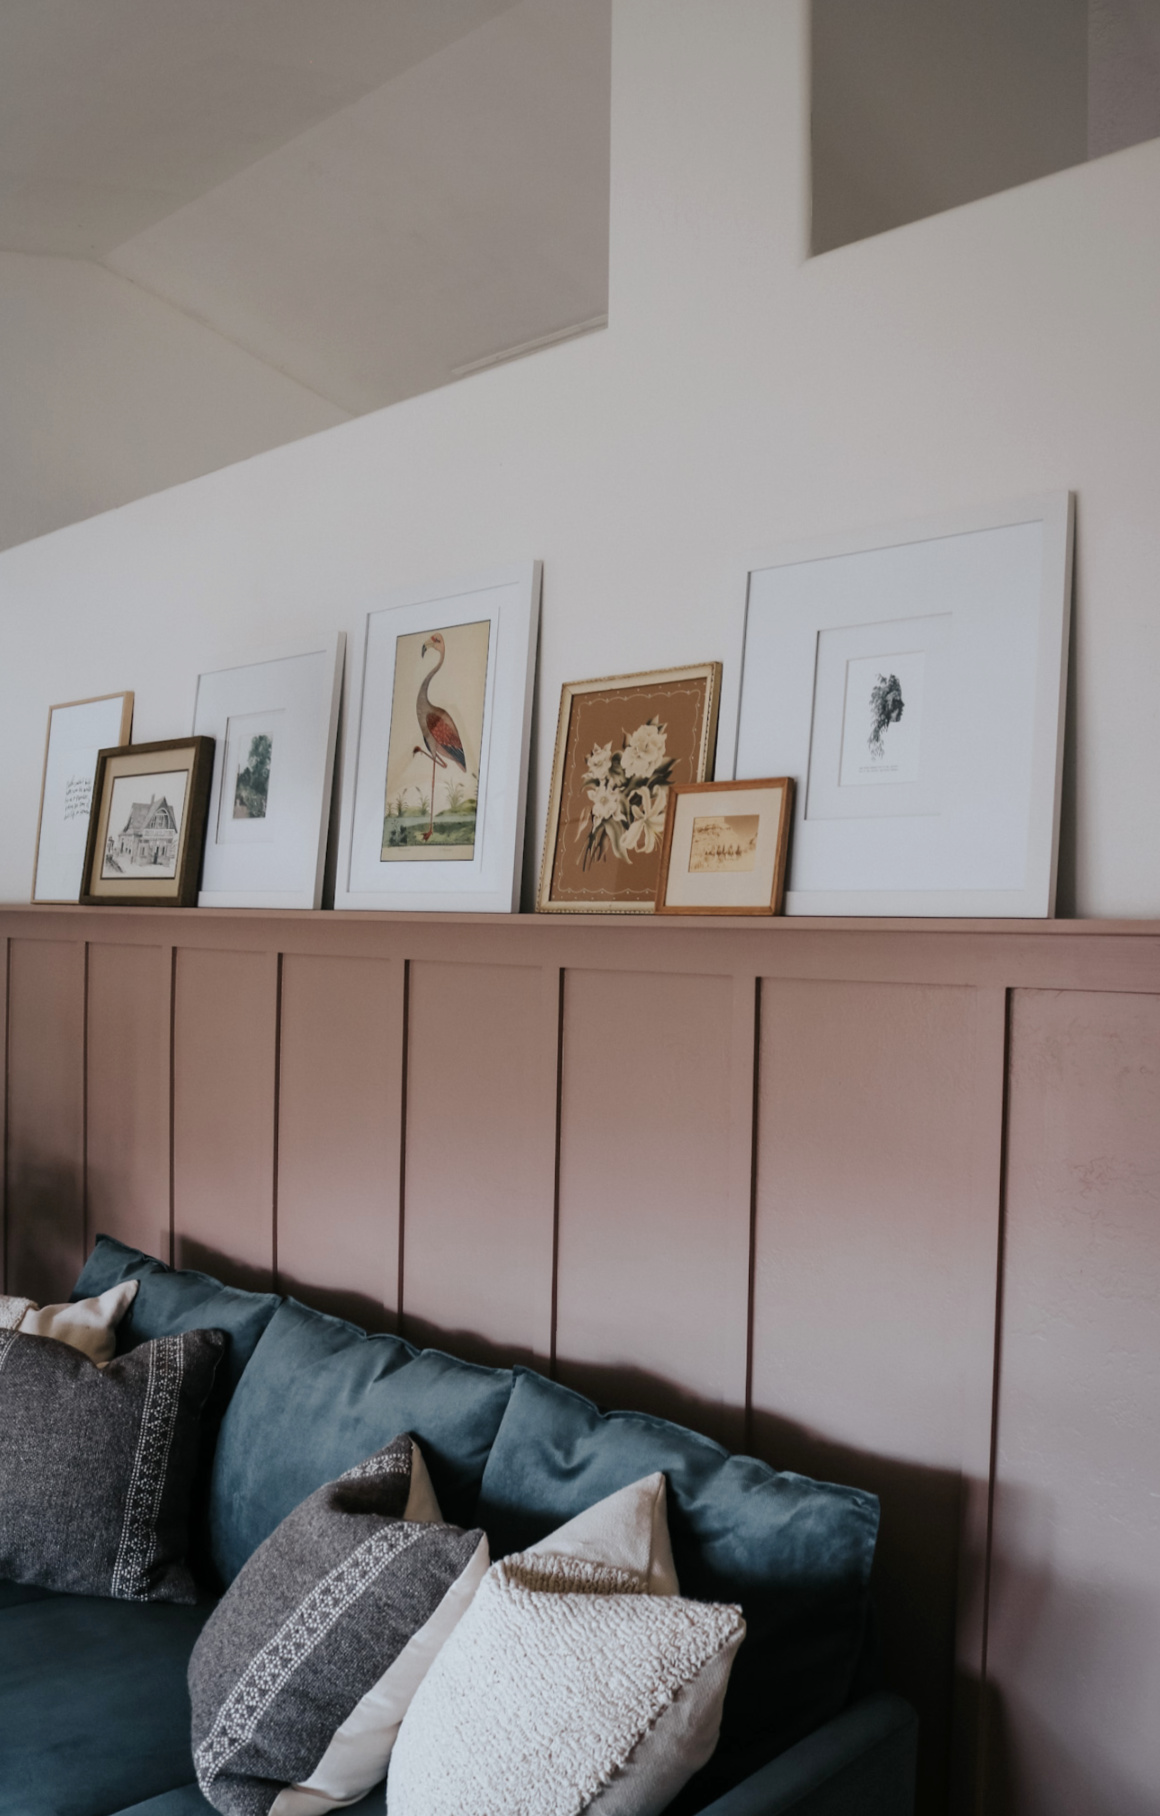
We wanted a picture ledge along our wall with the television. For this we used 1″x4″x8′ red oak board . We chose this because we wanted a very sturdy board. If you want to glue you can, again we did not use glue at all. Kevin nailed directly into the batten and also at and angle into the wall at each stud point. Then caulked.
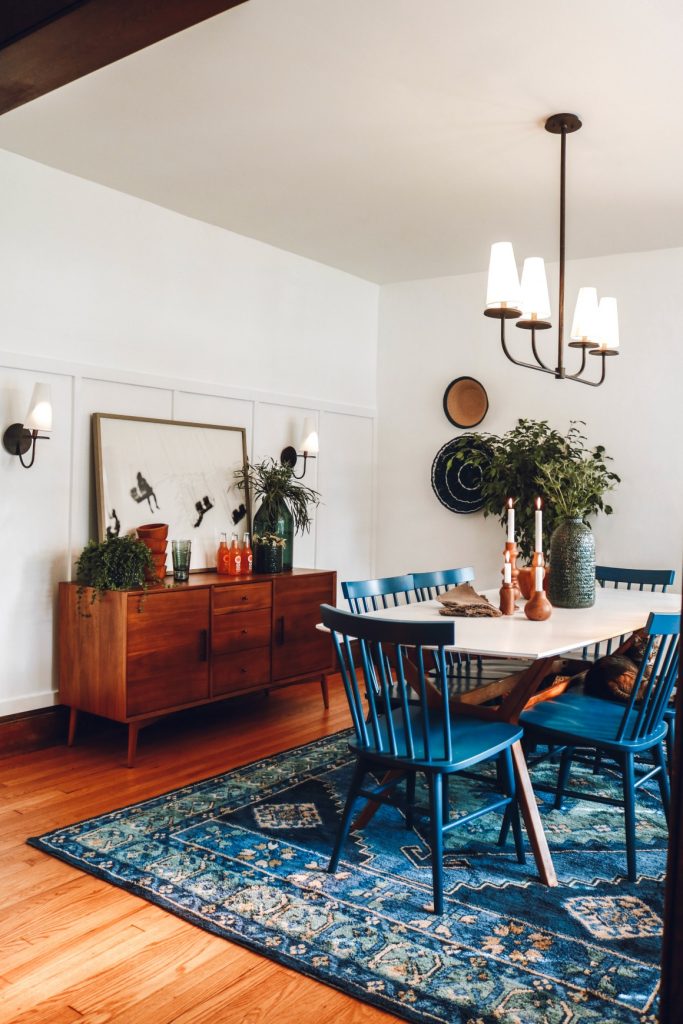
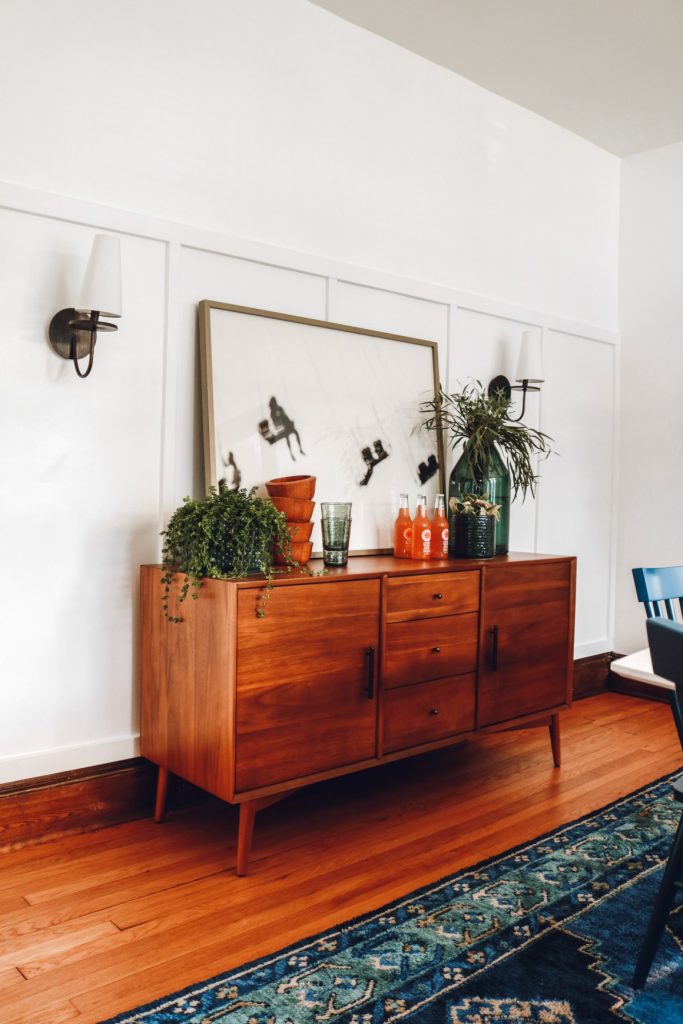
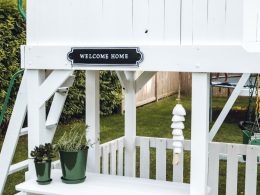
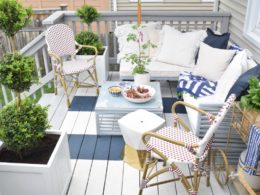
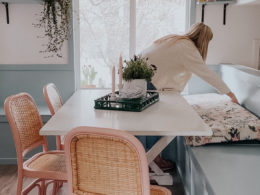
Inspiration Photos of Board and Batten and Measurements-