Thank you for all the love on my post yesterday on all our new bedding details. We are really enjoying our fluffy bedding. We also enjoy the view laying in our bed looking up at the ceiling. Our old ceiling was hard- literally. They were square tiles. But they were not tiles that you could push up and they would move. It was like sheetrock that was imprinted with a tile stencil. We kept debating on what we could do to makeover the ceiling. Everything seemed like too much work or too messy. With a small house there isn’t room to take things out of the bedroom and tear down the ceiling. So we decided to go with wood planks-
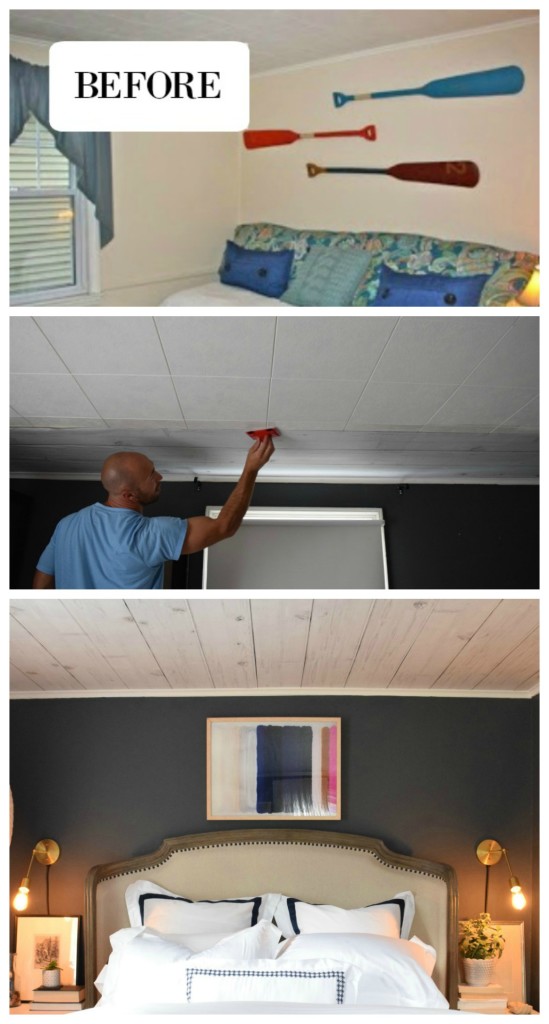
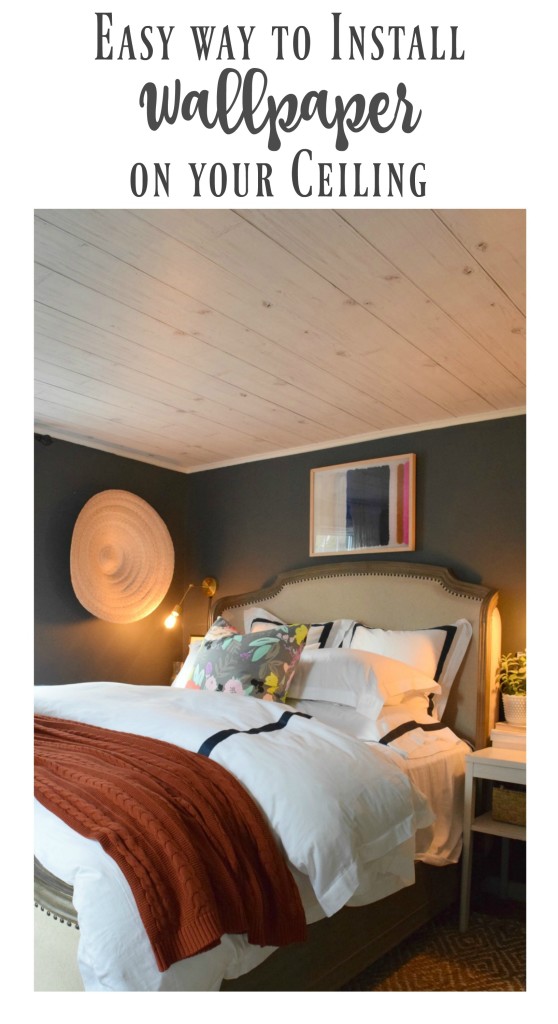
Wood plank wallpaper that is. I thought doing actual wood planks would have looked fantastic too and a great way to hide the square ceiling tiles. But I really did not want to deal with all the cutting, nailing, painting and the mess. Tell me why deal with all of that when THIS wallpaper from Milton and King looks so much like the real deal?! And it was way easier to put up!
Ok, lets be real. It wasn’t that easy when we started. I sometimes think of shortcuts, or ways to do things faster and “smarter” but in all actuality is not. I thought since the faux wood wallpaper already was textured and looked like wood I could just do a few nails and nail it up. Another reason I thought of nailing the wallpaper to the ceiling was because I was worried you would see the tile patterns through the wallpaper if we applied it with wallpaper paste. We tried the nails and it didn’t work. It was sagging and ripping through the nails. Not good.
 I called the same installer that hung the wallpaper on Finn’s Nursery ceiling and he was not available for awhile. So we were back to square one, talking about options. So we just went for it, we used wallpaper paste. And our marriage lasted through it. After we kept telling each other “I can’t believe we did it!” It was touch and go for a little bit. But it was so worth it and much easier once we got going than I thought it would be.
These are the tips I learned from hanging wallpaper on your ceiling-
#1– Find a spot that you can roll out your wallpaper and cut it the length that you plan on using- Plus add 5″ on each side. Then you will use a razor to trim off the excess.
#2– After you have cut your wallpaper to size- apply wallpaper paste to the back of your wallpaper. (Milton and King says that you can skip this skip with their wallpaper, but we did this step because of the texture on our ceiling, it was not adhering without that step).
#3– Fold the wallpaper so the back (the area you applied the glue) touches and not the front where the pattern is. This will make it easier to move around and carry into the room and easier to hang.
#4– Apply the wallpaper paste with a roller to the ceiling. We learned to be generous.
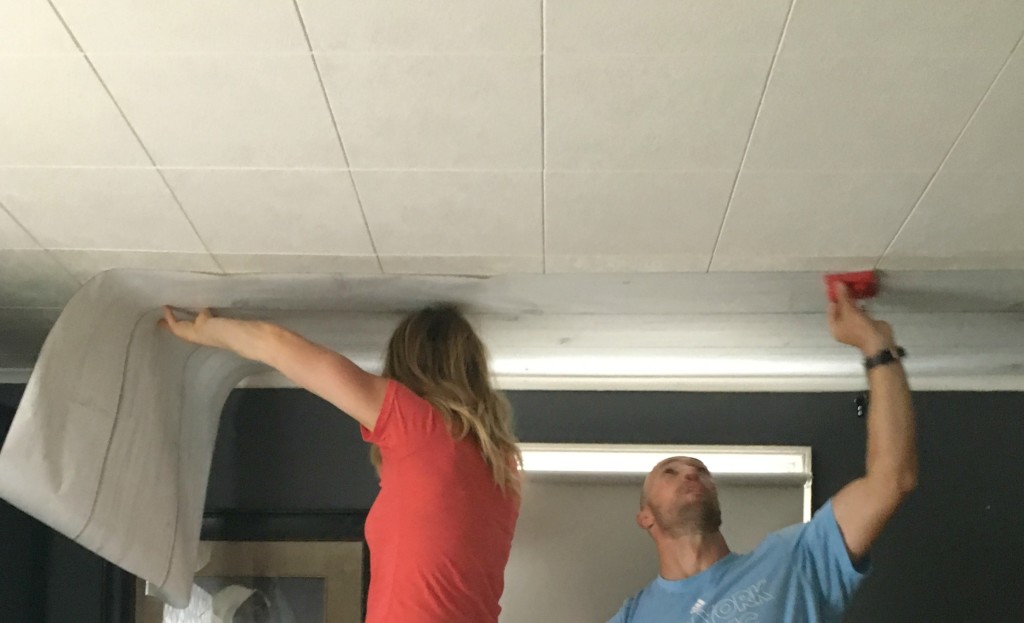
#5– Get some help! I started the wallpaper so it lined up on the ceiling. Then my husband would smooth it down while I held up the rest of it. Make sure to stand on the inside of the paper and don’t roll out too much paper at a time. (see photo below)
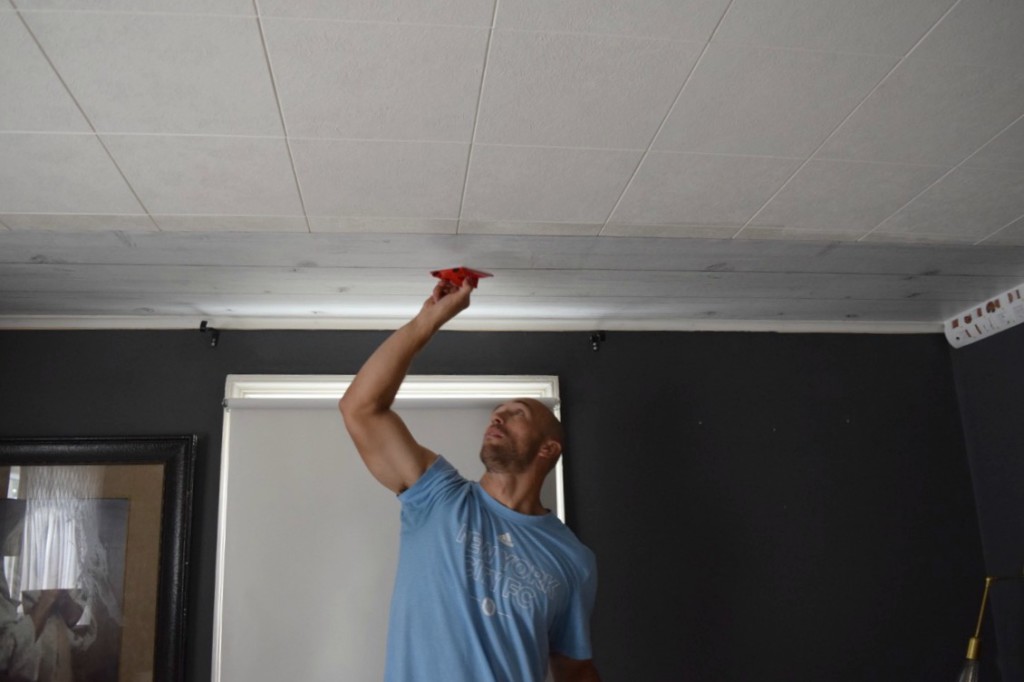
#6– Get a tool like the one shown in the photos below, to rub along the wallpaper after you press it on the ceiling.
#7– Trim off any excess with a new razor. It helps to use a tool to protect the rest of the paper so you don’t cut where you don’t want to.
#8– Before all of this actually- don’t do any shoulder workouts a week leading up to this:) It was a shoulder burner!
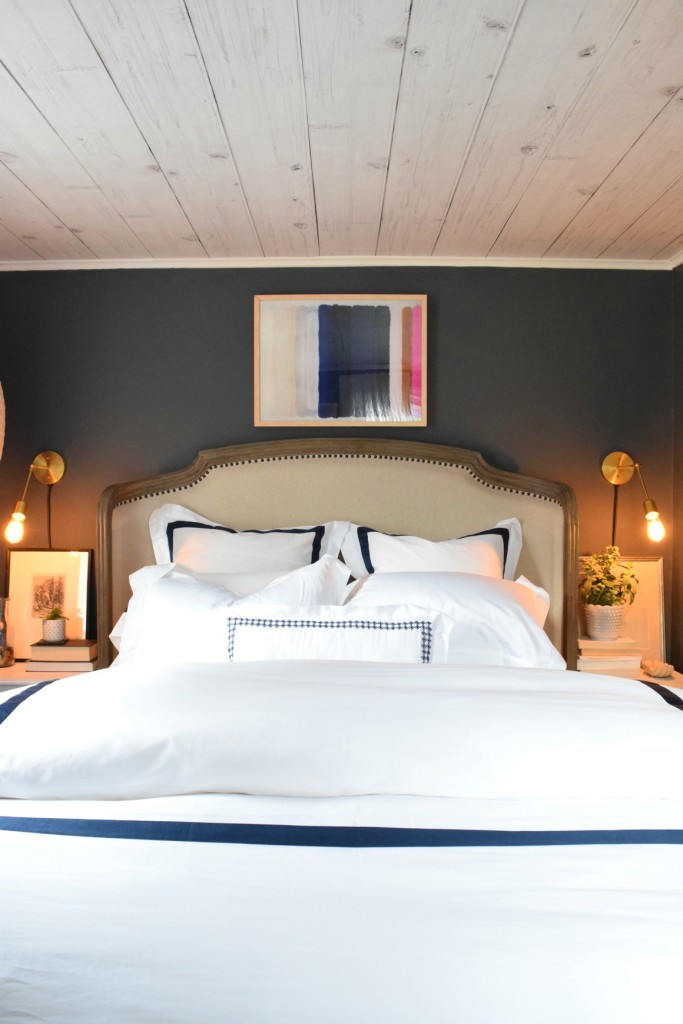
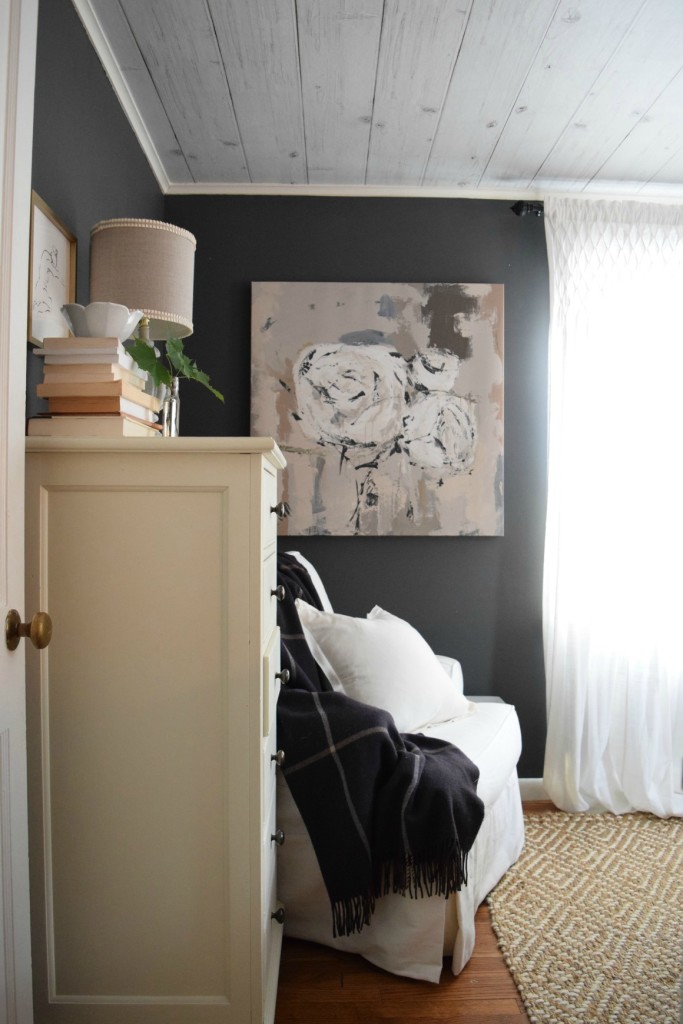
We are so happy with it. The faux wood planks really helps to disguise any imperfections and mistakes we made.
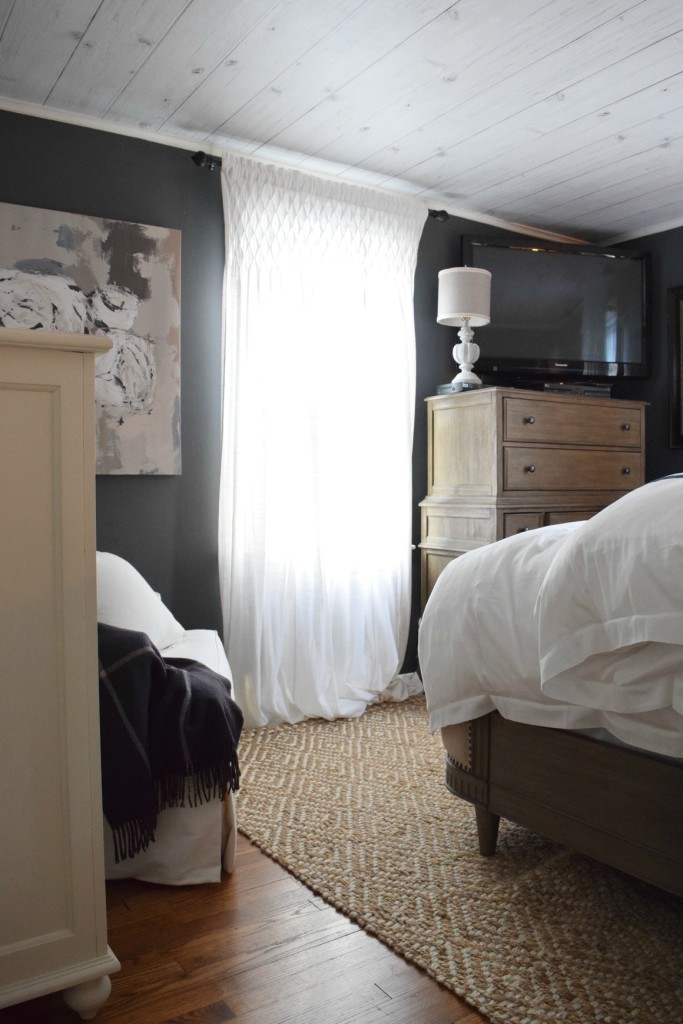
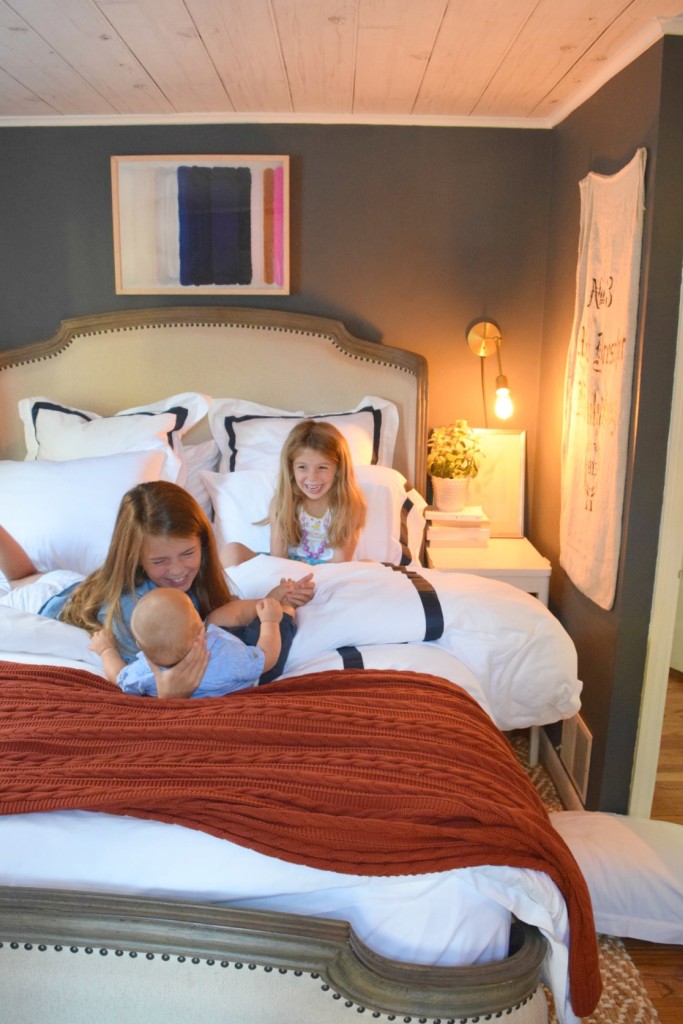
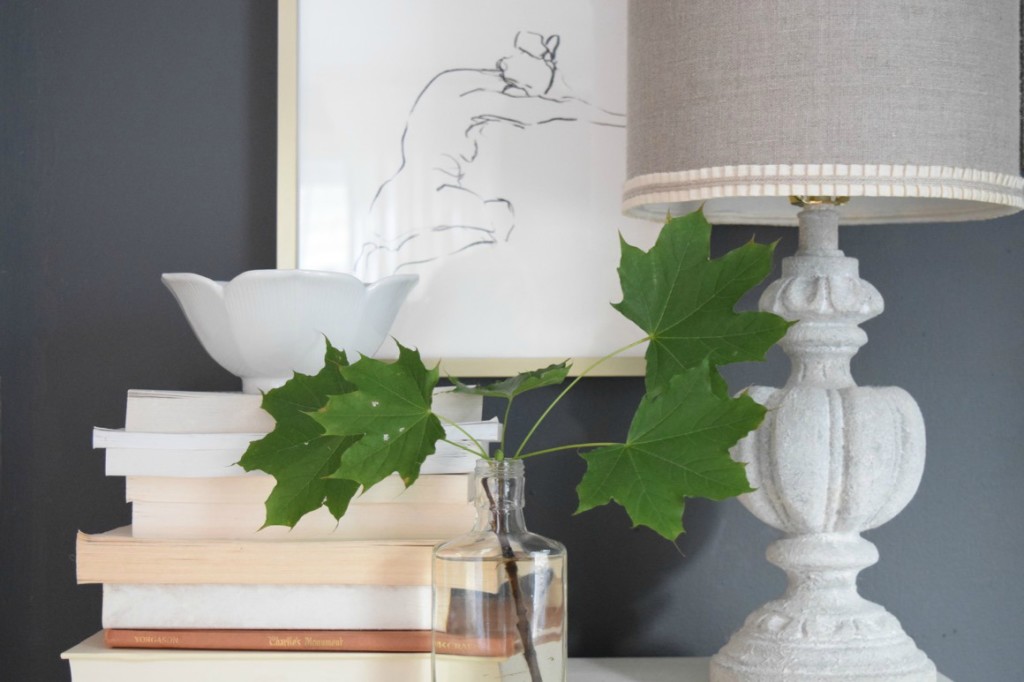
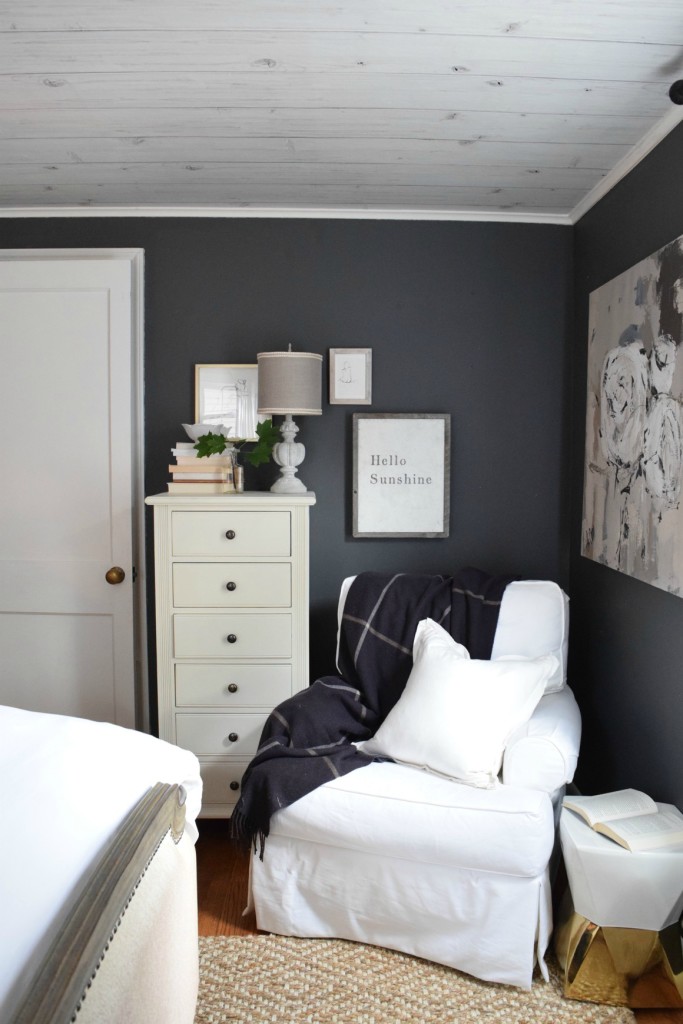
Here is the rest of our bedroom. You can see even in a tiny bedroom we fit two dressers and a chair.

Thanks for stoping by! Please ask any questions you may have on installing wallpaper, we are basically experts now:)
Sources with some affiliate links-
Faux Wood Wallpaper HERE
Floral Painting (by chair) HERE
Hello Sunshine Art HERE
White Smocked Curtain Panels (similar) HERE
White Swivel Rocker Chair Lee Industries
Banded White and Navy Duvet- HERE Best Selling Duvet Insert HERE
Banded White and Navy Euro Shams- HERE Down Fill Insert for Euro Sham HERE
All White Hemmed Standard Shams- HERE
Banded White and Navy Sheet Set- HERE
Banded White and Navy Pillowcase Set- HERE
Hand Embroidered Lumbar Sham- HERE
Pumpkin Cable Knit Throw- HERE
Natural Jute Rug HERE
Gold Sconce Lighting- HERE
Bed- HERE
Highboy Dresser (matches bed) HERE
Tall Cream Dresser (discontinued)
Art (above bed)- HERE
Round Basket (on the wall)- vintage find

I love your tiny bedroom with the now beautiful wood planked ceiling! :o) I know how hard wallpapering the ceiling is, my mom and I used textured wallpaper that looks like old ceiling tiles in my little travel trailer on the ceiling! Hard work!!
Tania
Thank you Tania! It is very hard! And the installer who did Finn’s nursery did it by himself. I bet your trailer is so cute!
Wow looks great! Looks very real in the pictures.
Thank you! It looks very real in person too!
hey girl love the ceiling! So cool! Great job! Ya’ll have a great weekend!
Thank you Shawnna! You too!
Hi Brooke! I randomly found your blog and love it. I am always on the hunt for small home living and decorating ideas. I too live in a small home (1400 sq. ft) in a coastal town in MA. BTW, I grew up in Bethel, CT, right around the corner from you!
Thank you so much Bethany for saying something! I am glad you found me, you are living in about the same square footage:)
What a small world. Have a good weekend!
What is the wall color that you used? I apologize if that was listed somewhere and I missed it.
No worries- it is Gray from Benjamin Moore, in a flat finish