When we went to see family recently we made sure to schedule in a makeover for my parents. It was a shorter trip than usual, we really wanted to make time to do this makeover for my parents master bedroom. They still live in the home I grew up in and I love the nostalgia, but over the past couple of years, they have done a lot of updates to make this home work for their new stage of life. At Christmas, you may remember that we gave them an electric fireplace, made over their guest room (where we stay when we visit), and spruced up their family room. My parents are such hard workers and ingrained that work ethic deep inside of me. Our family has the best time working on projects together and this time was no different.
We partnered with The Home Depot on this makeover
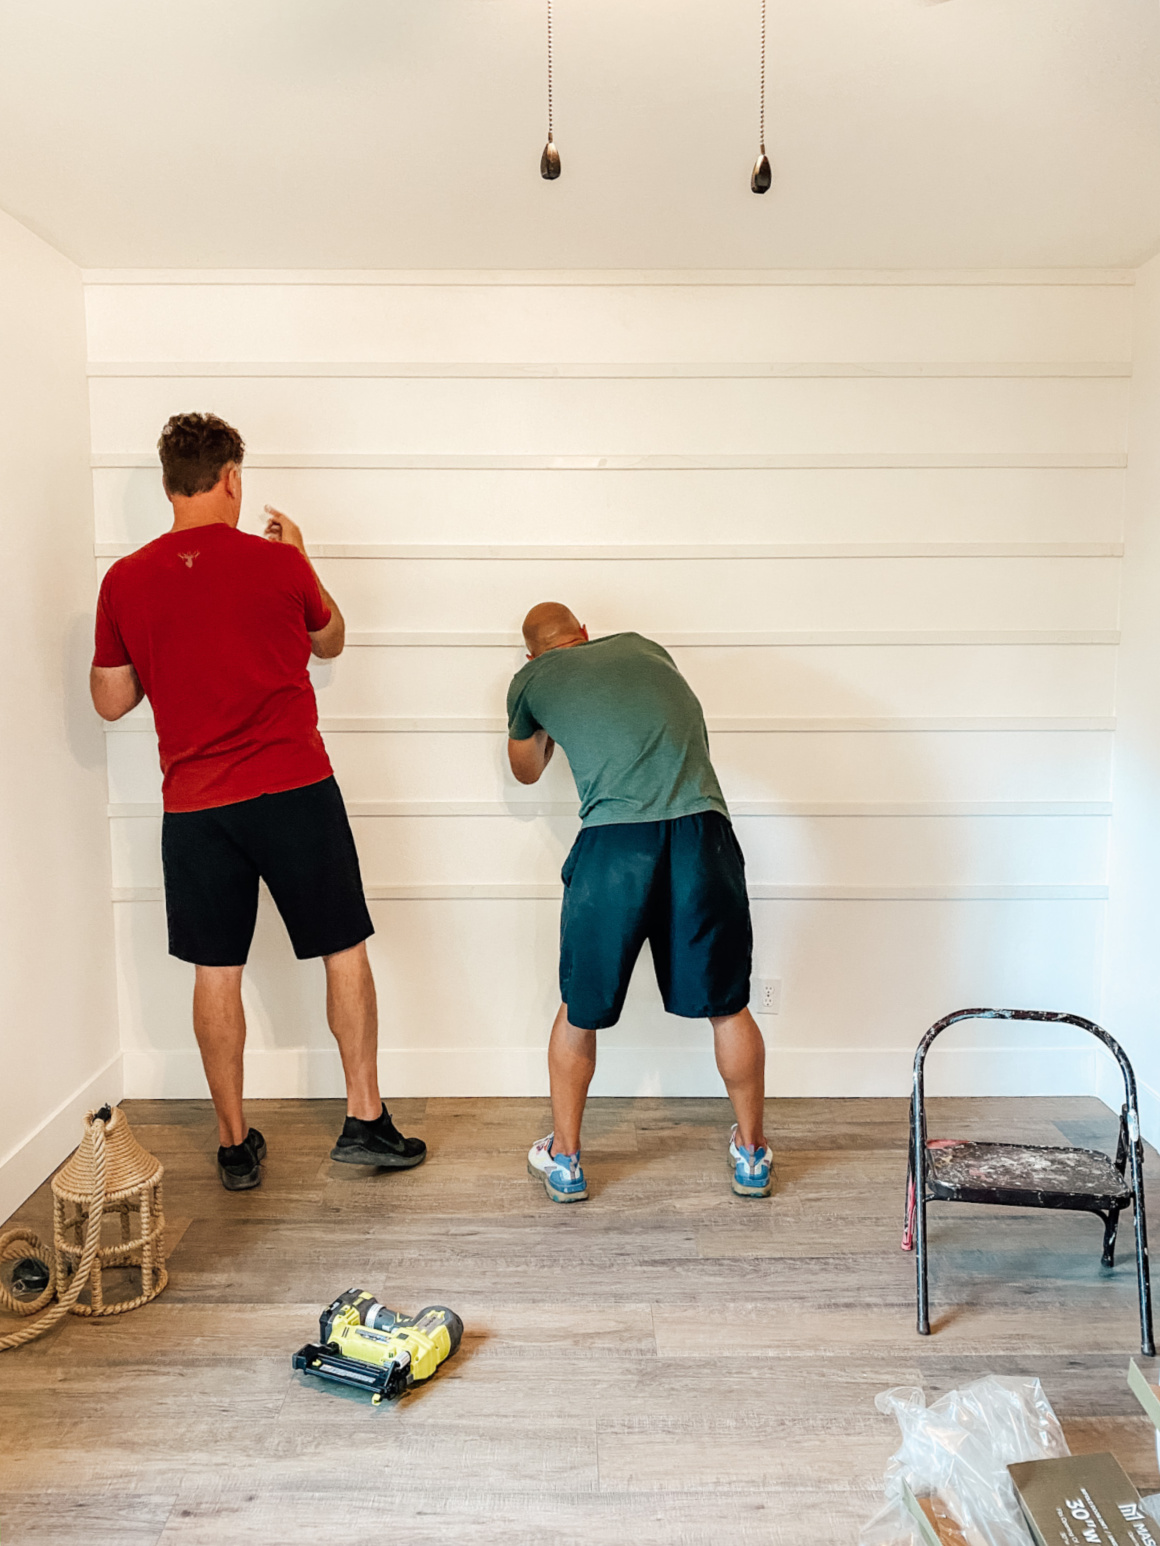
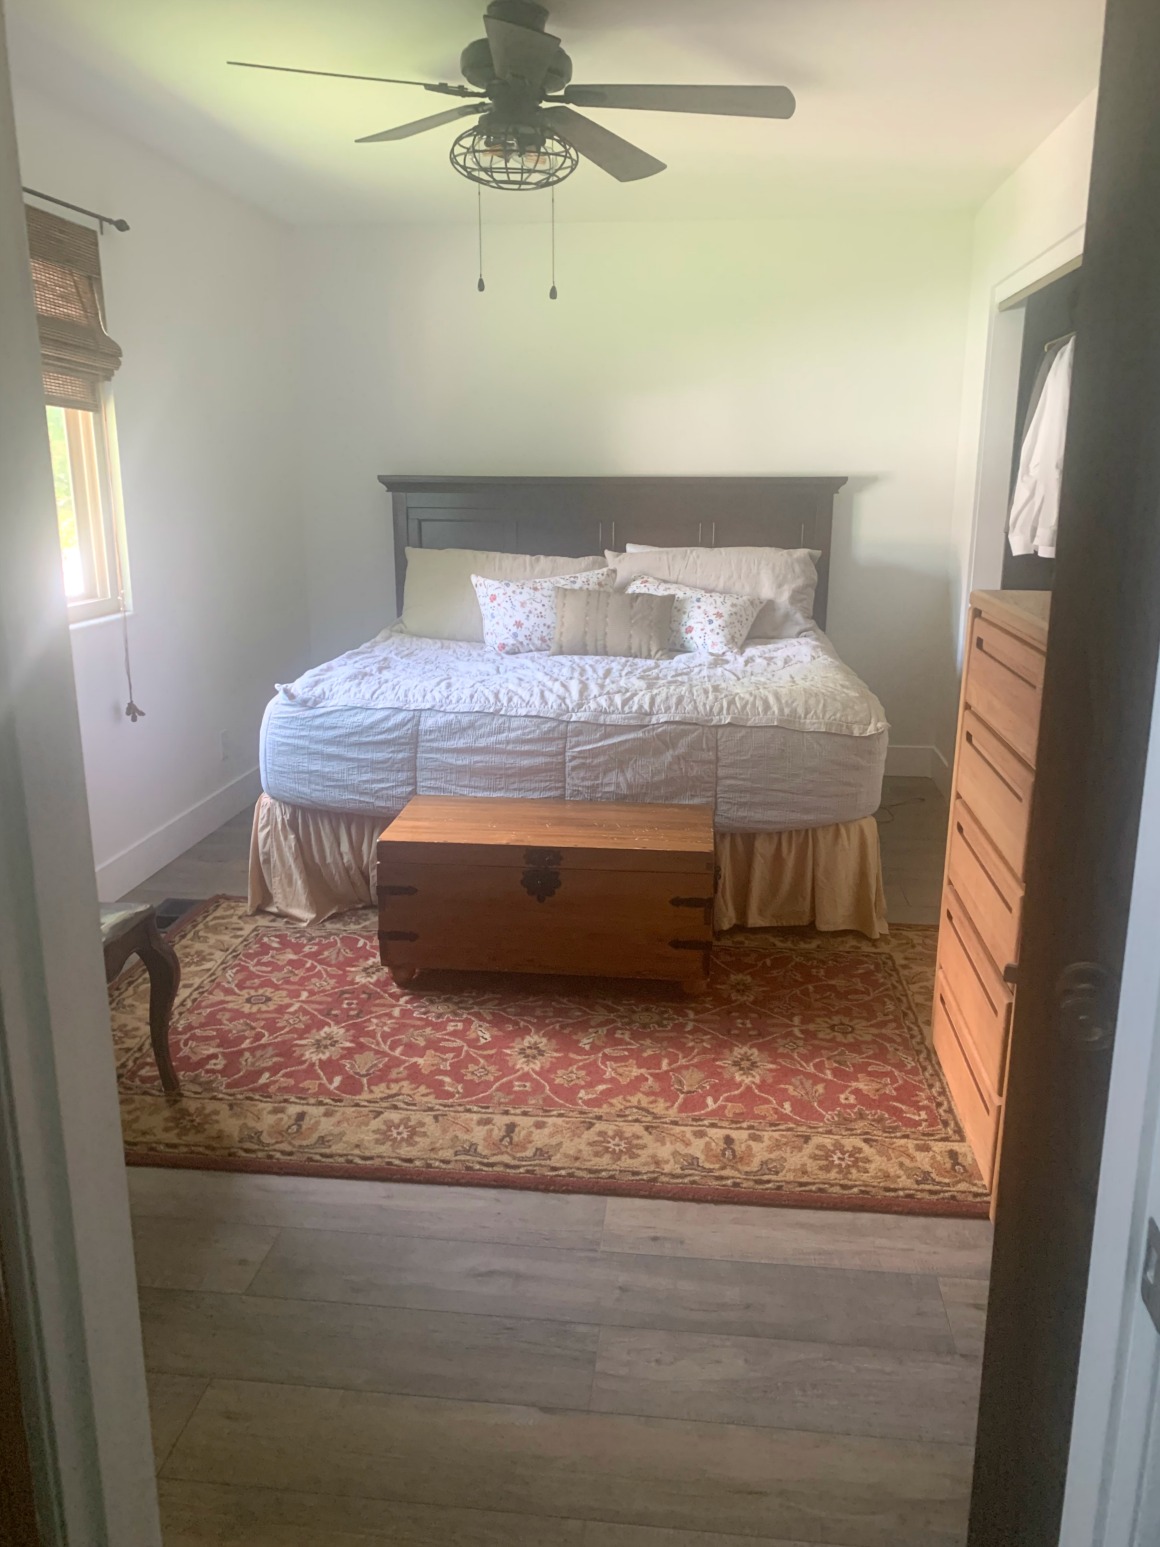
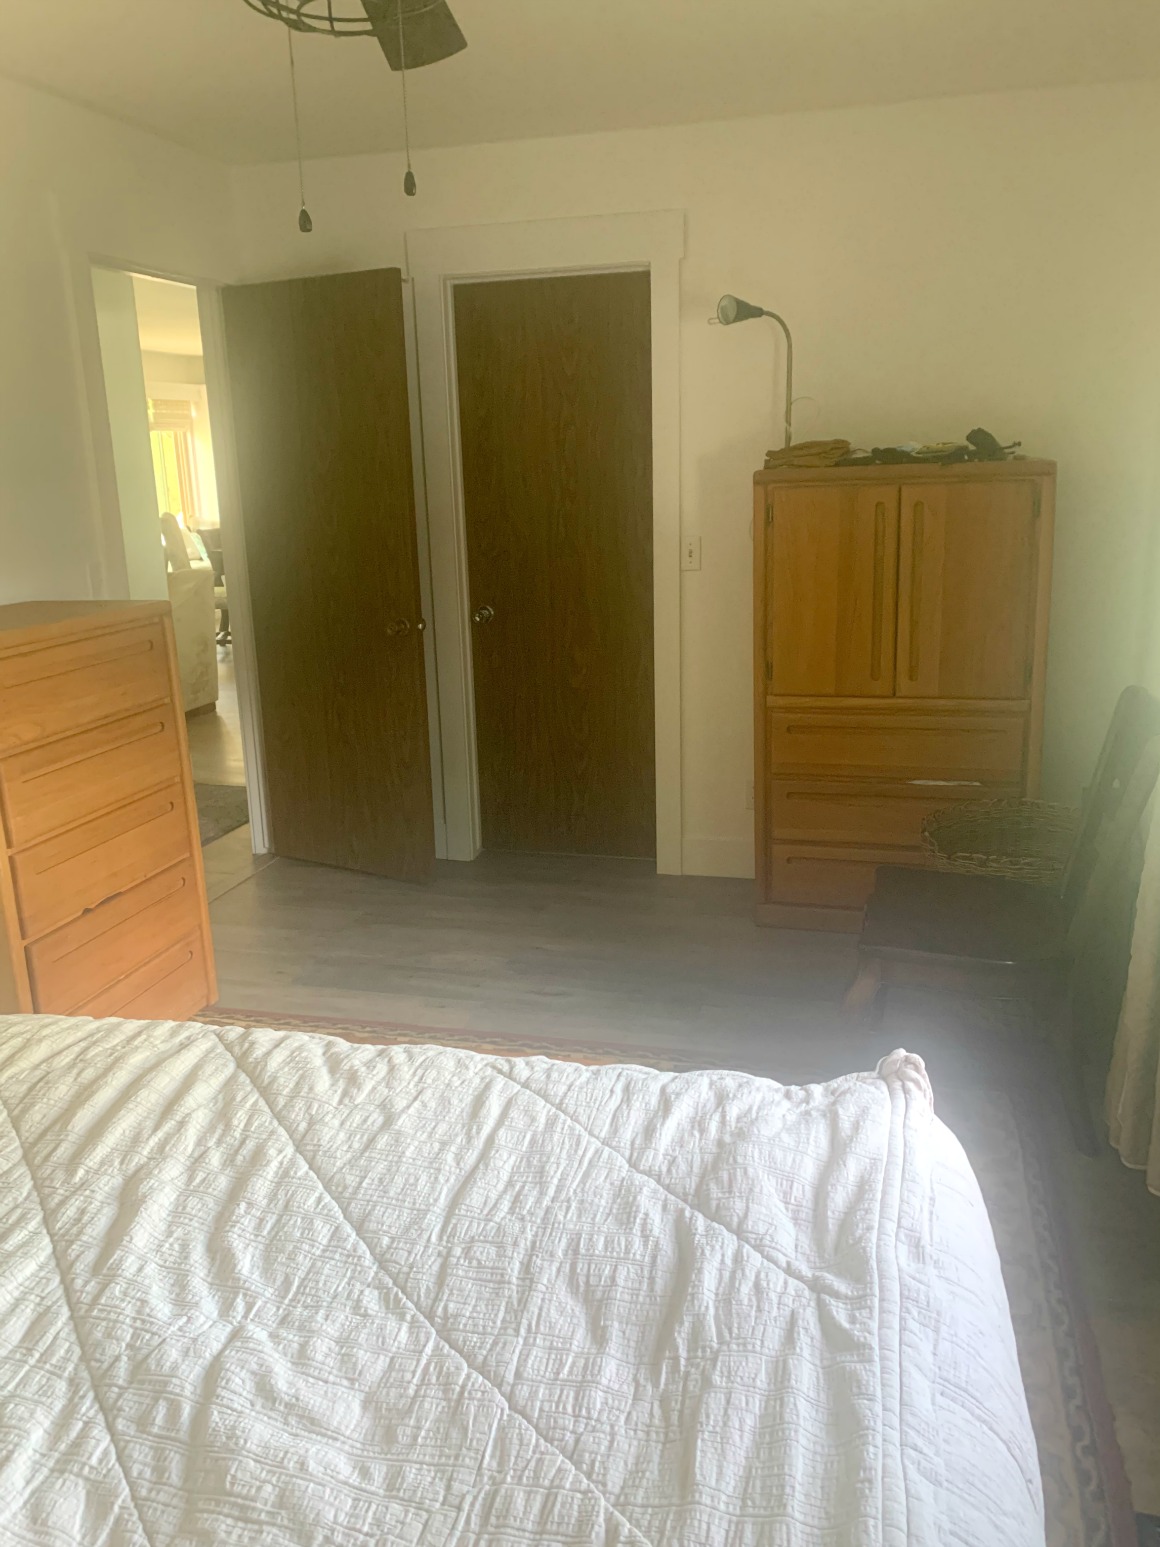
Let’s look at where we started. Master Bedroom Before-
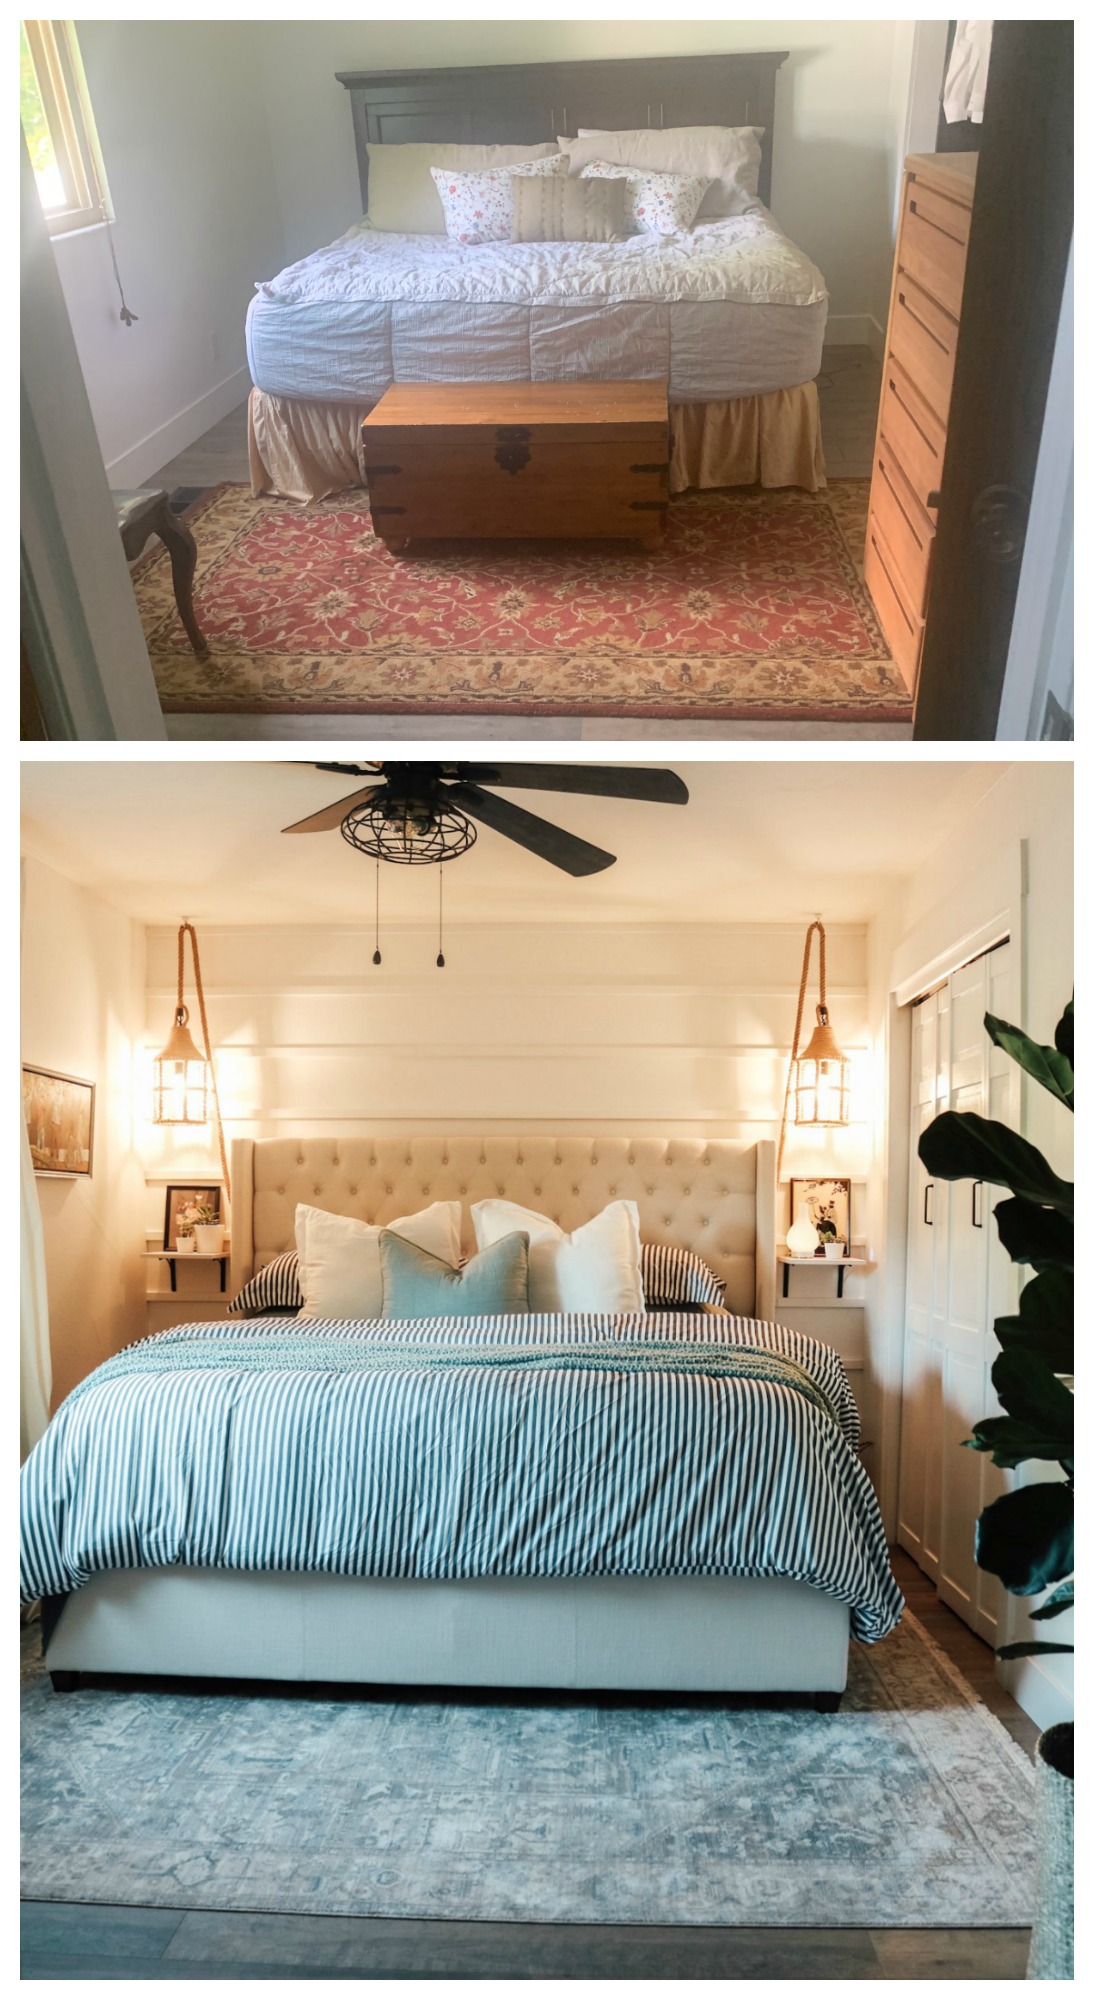
Tada! Snap of the fingers! I wish it was that easy, but we actually do enjoy the process. I love a good wall treatment. It makes a big statement and can typically be done without a lot of money or time. I wanted to keep it more neutral and focus on adding depth and texture in their bedroom. So I came up with the idea to run a horizontal board and batten along the focus wall.
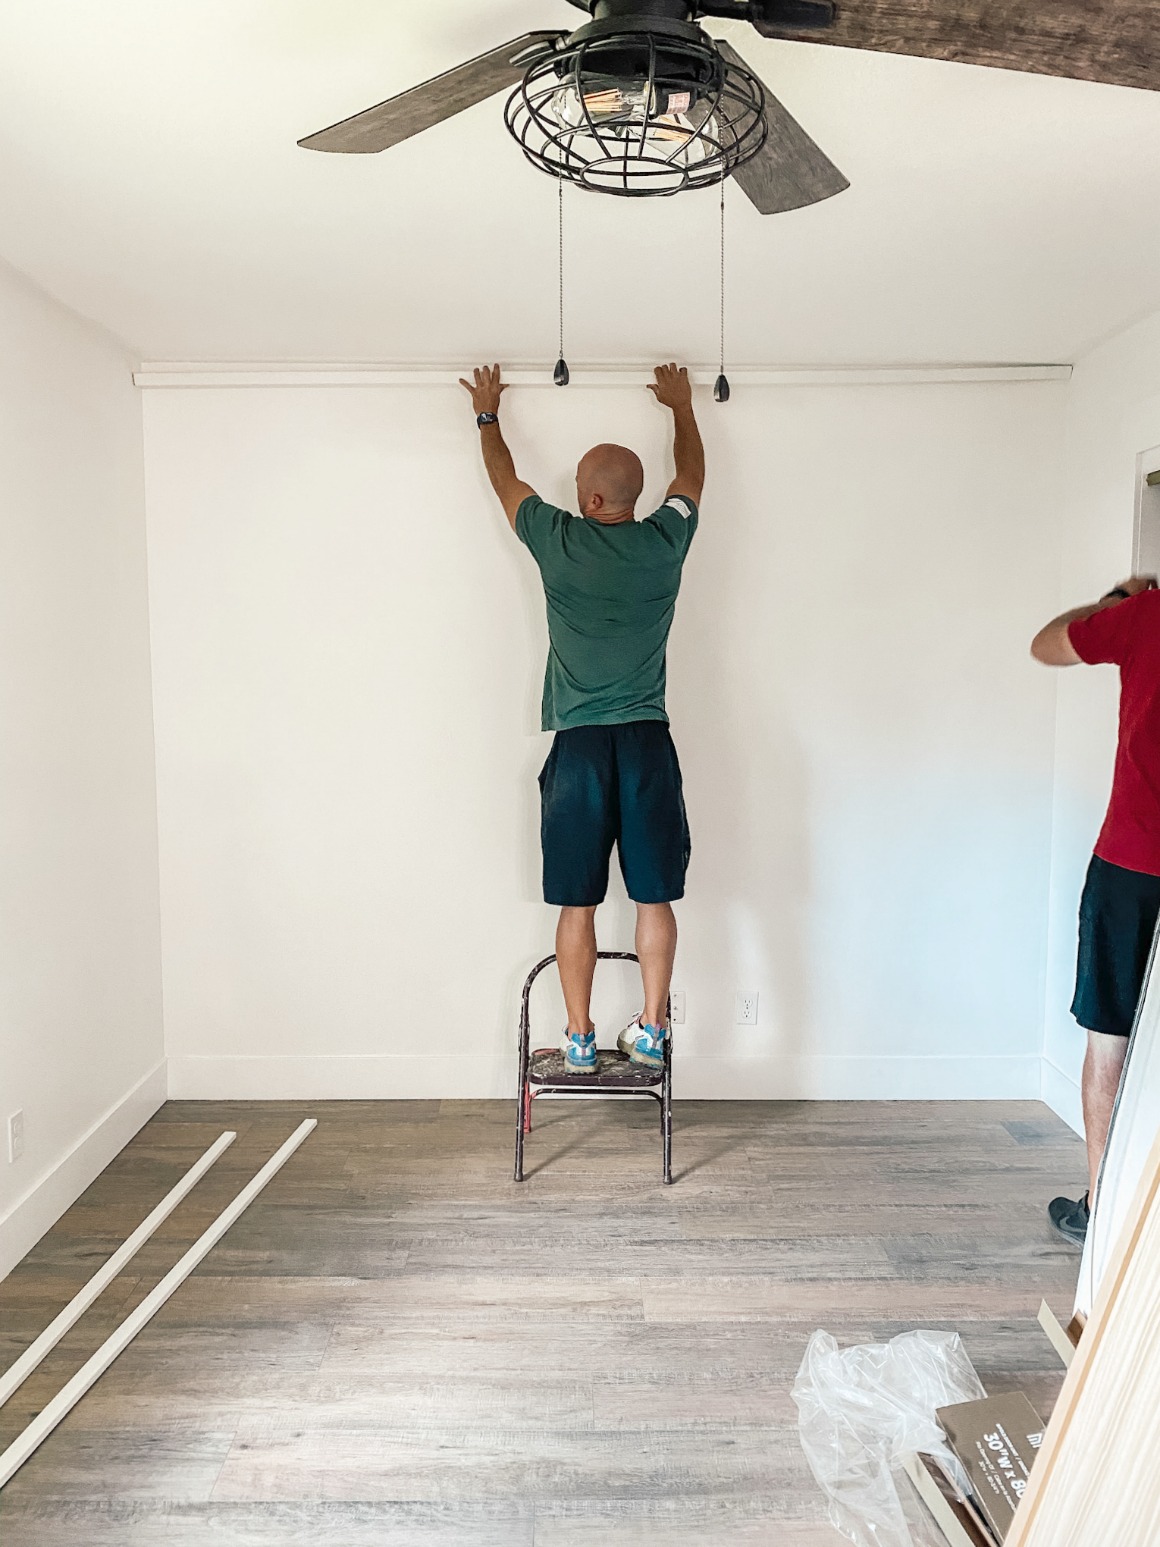
Their bedroom wall is just slightly under 10 feet wide. We found primed pdf boards at The Home Depot that were 1 1/16″ X 1 1/2″ X10′. All Kevin and my Dad did was trim off the end piece and used a nail gun to attach it to the wall. (THIS railgun worked great).
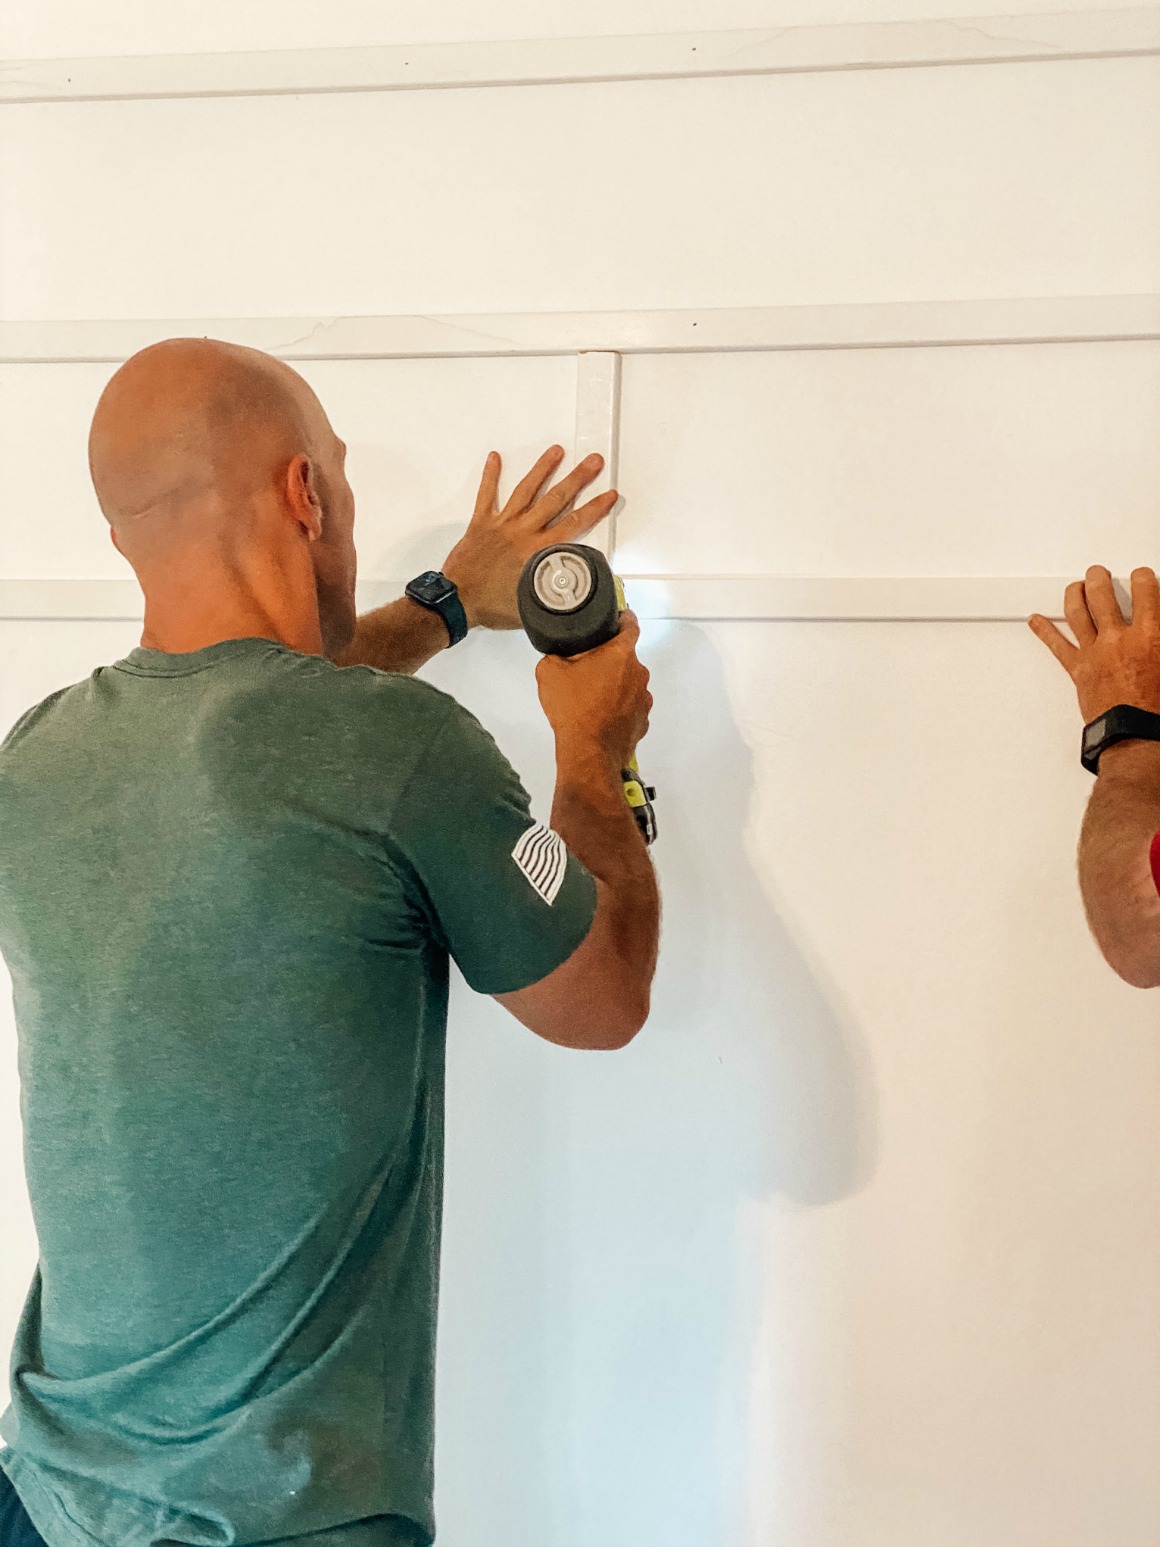
We measured out the wall so the boards were equally spaced from the top to the bottom. Tip- cut a piece of board that is the exact width you want each board spaced and slide it along the middle as you nail the board in several spots on the wall.
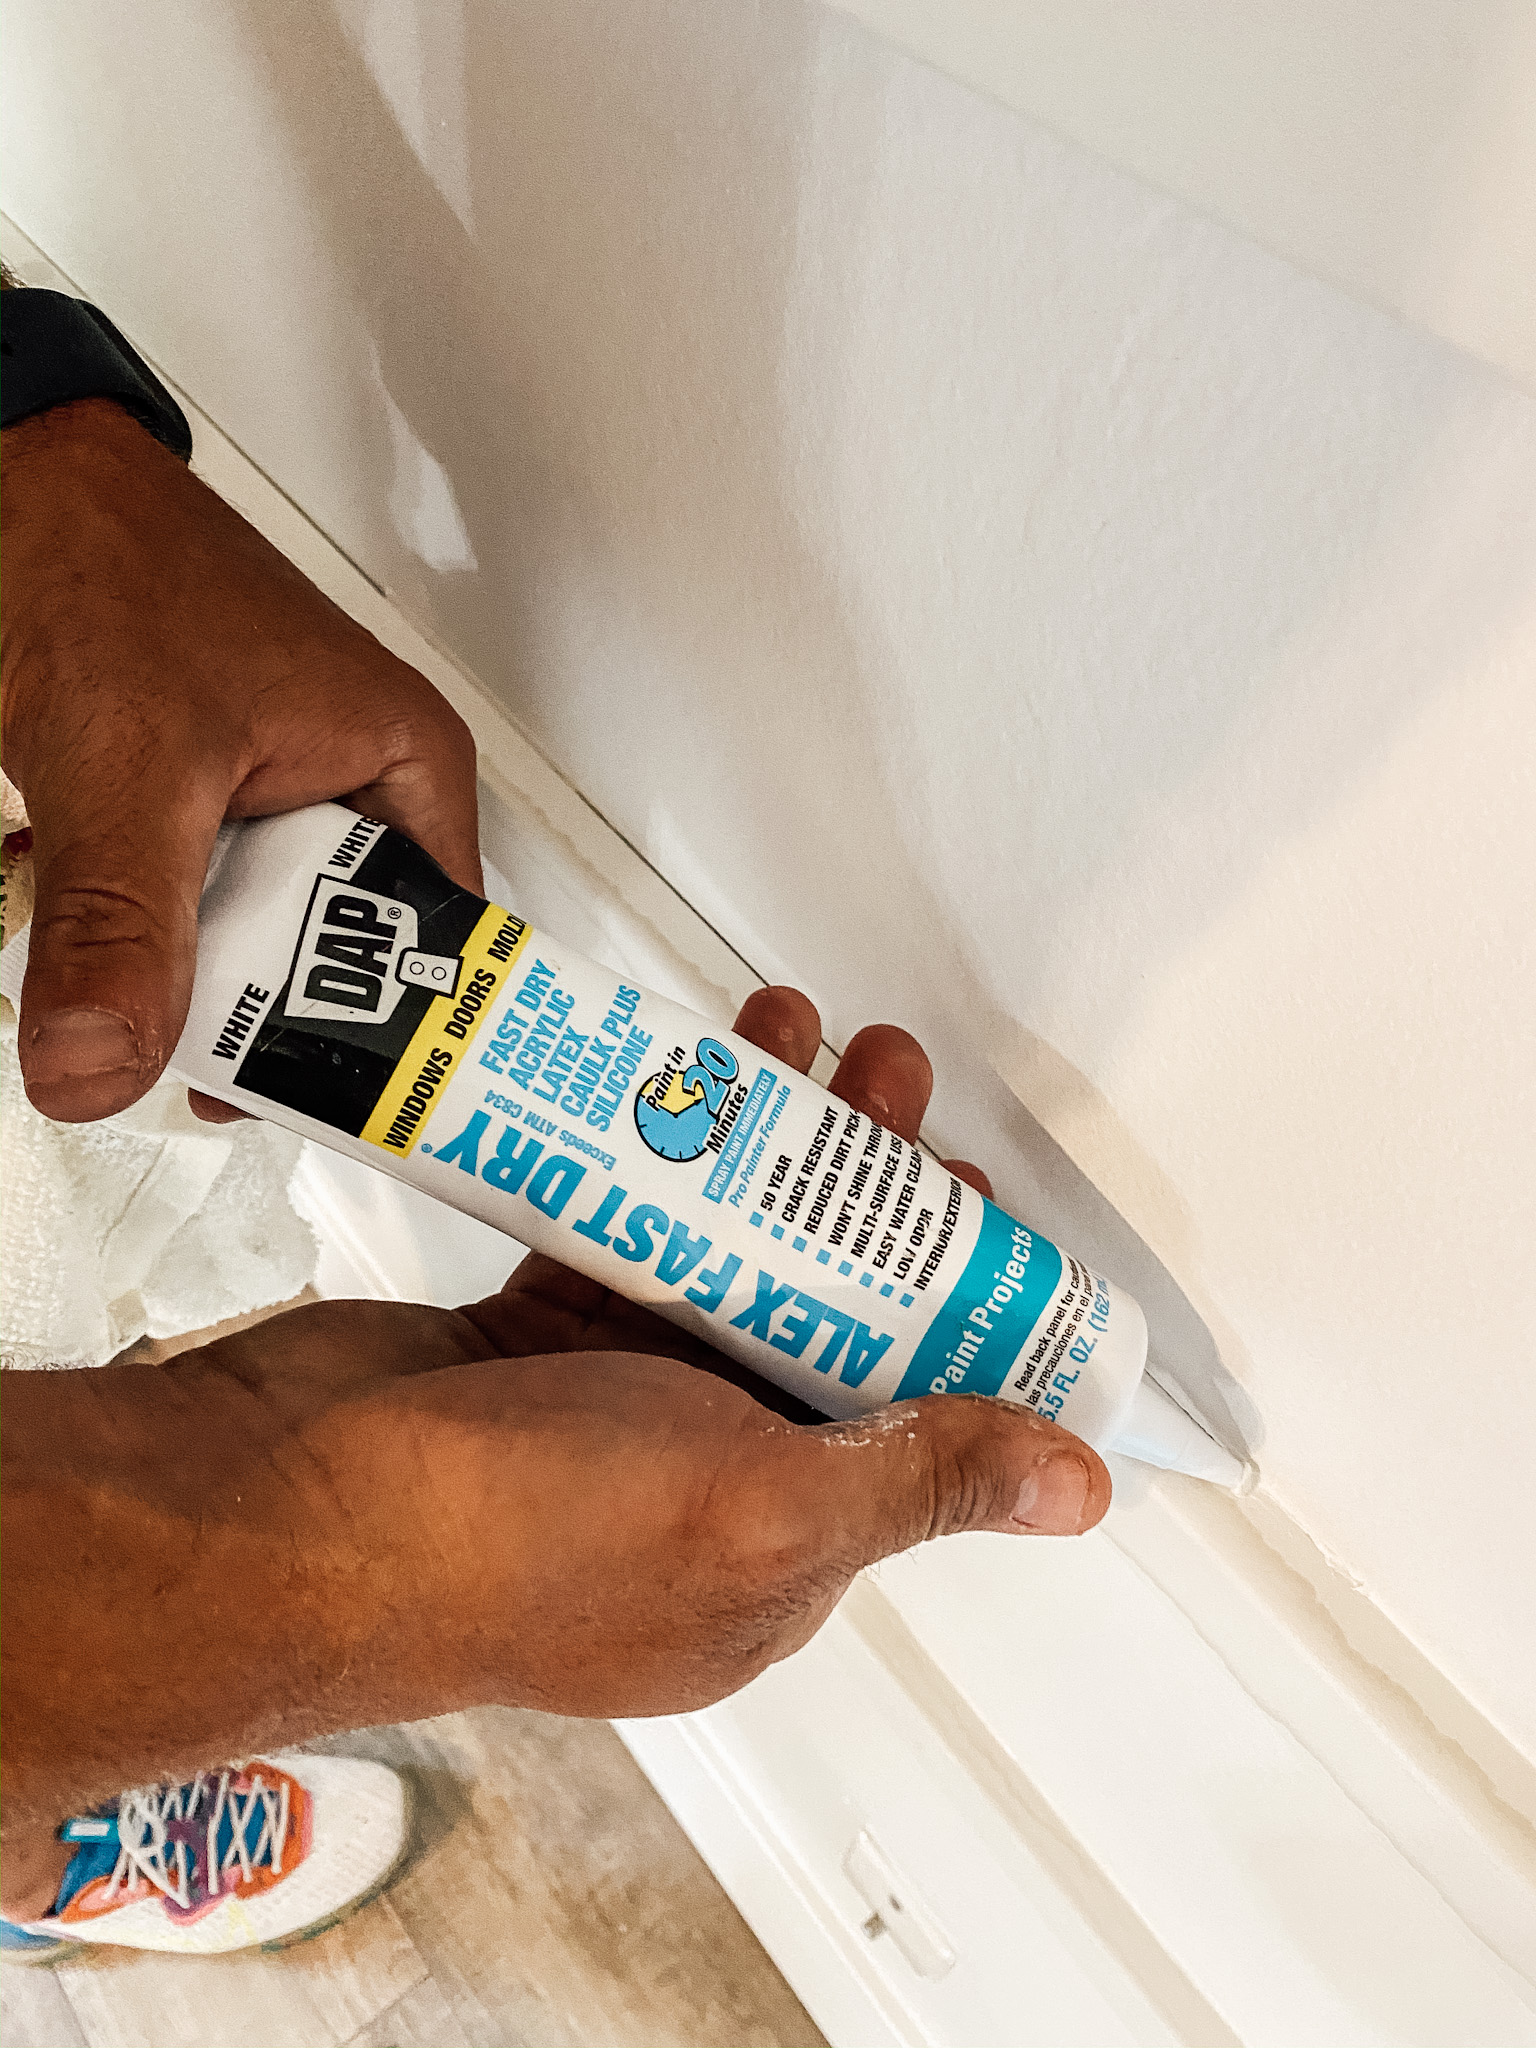
Caulk the gaps and use wood putty in the nail holes, let dry, sand then paint!
We painted the wall the same color as the rest of the walls, that they had recently painted about a month ago. This is a simple job that can be done in a couple of hours.
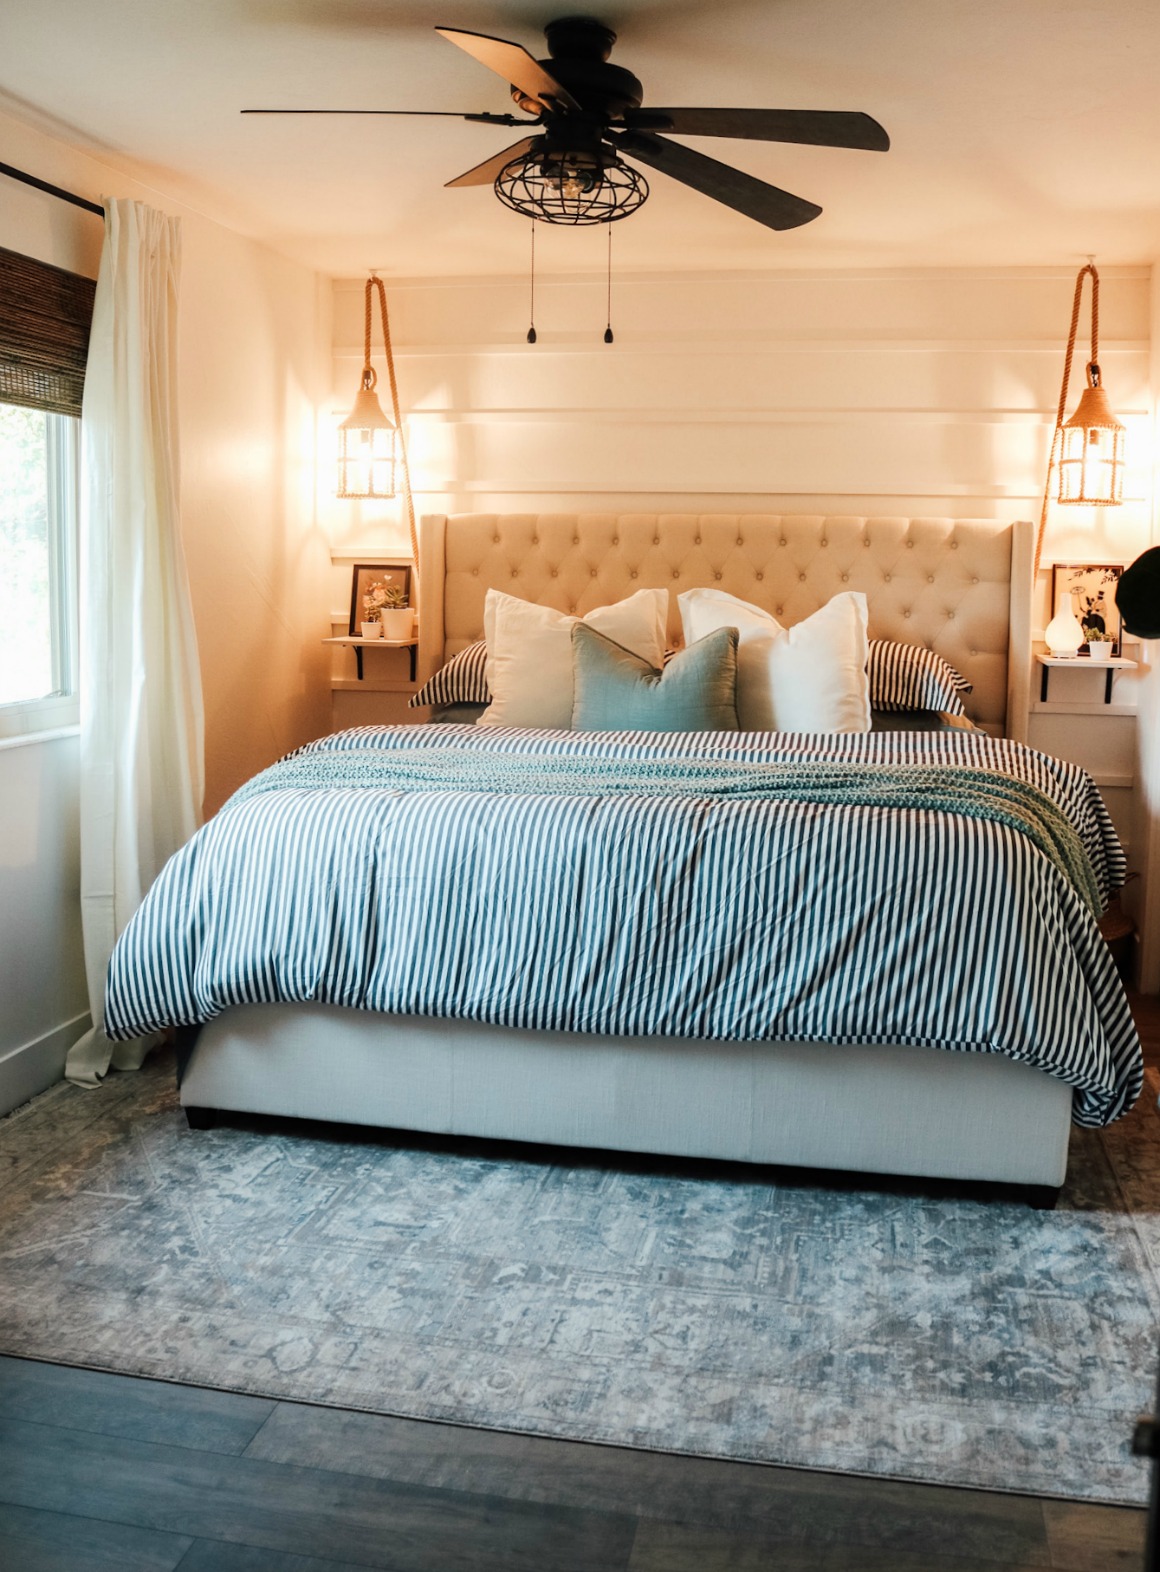
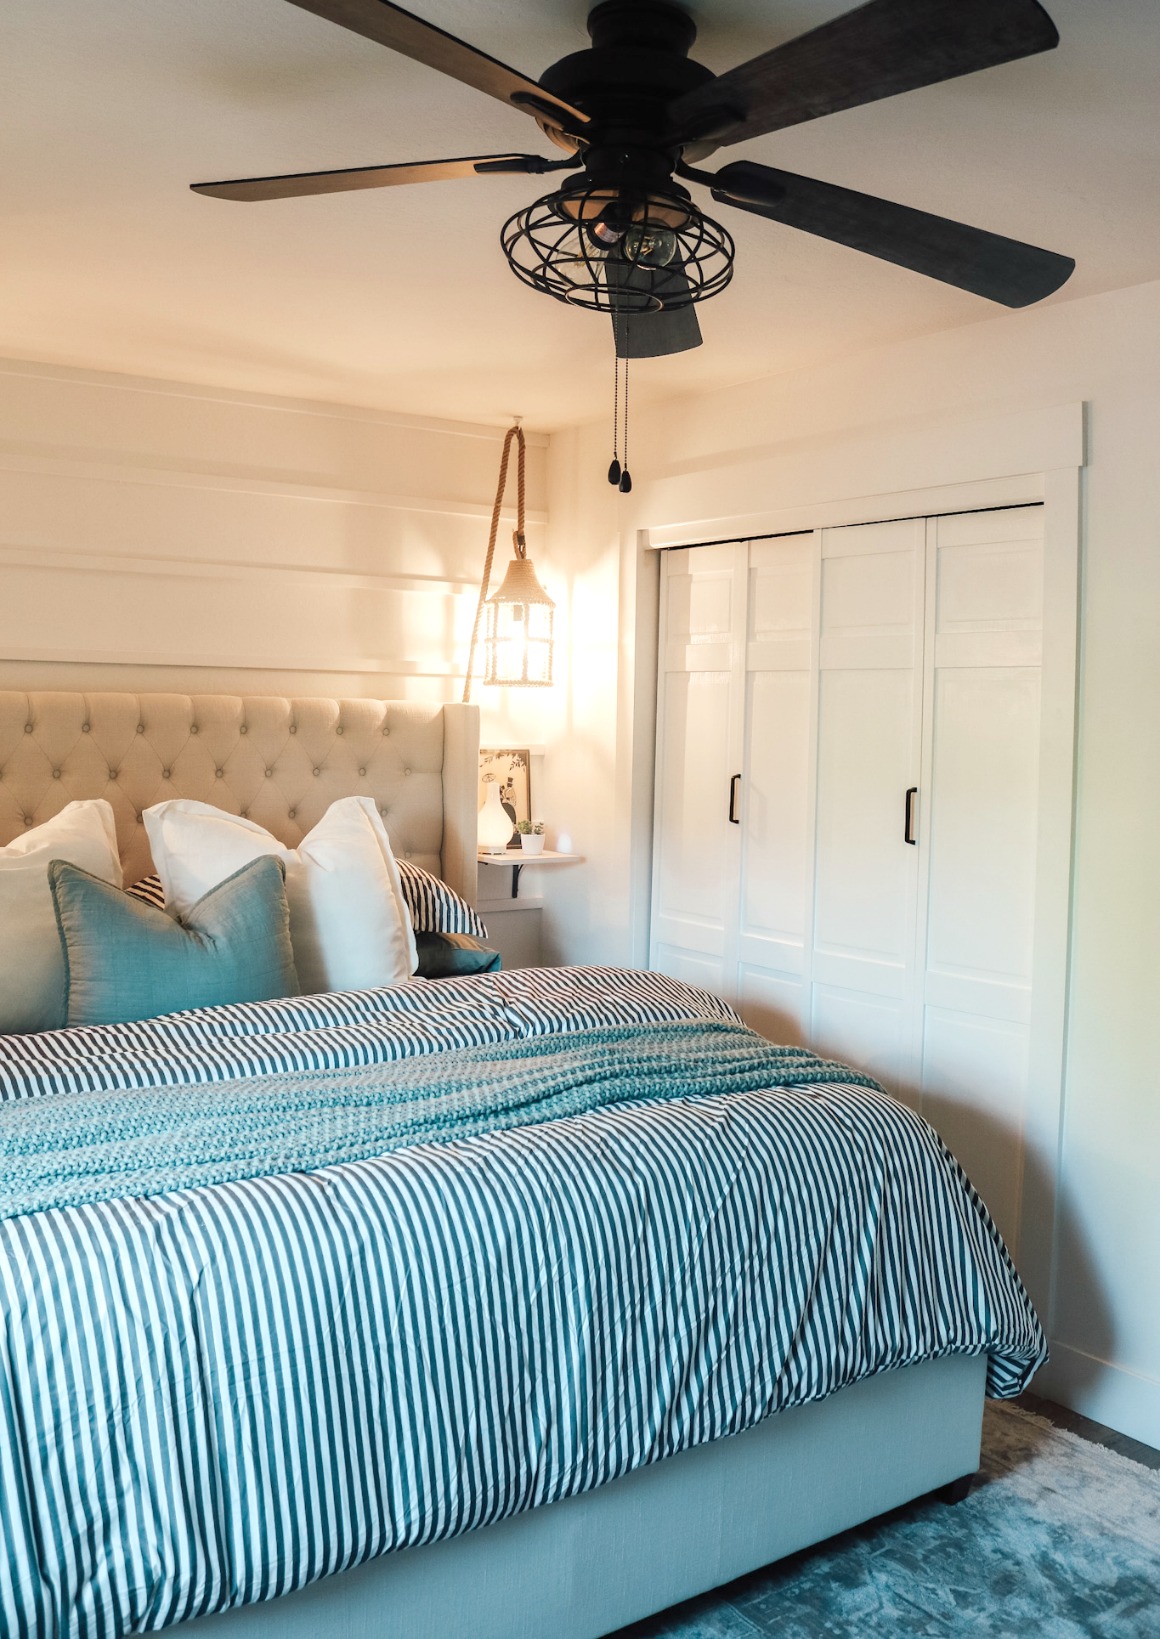
Love how it turned out! Their bedroom is on the smaller side, which I can relate to. It was important to me to keep the room light since the bed is the main focus in the room. I found this upholstered bed in a light linen color that was a great price point too.
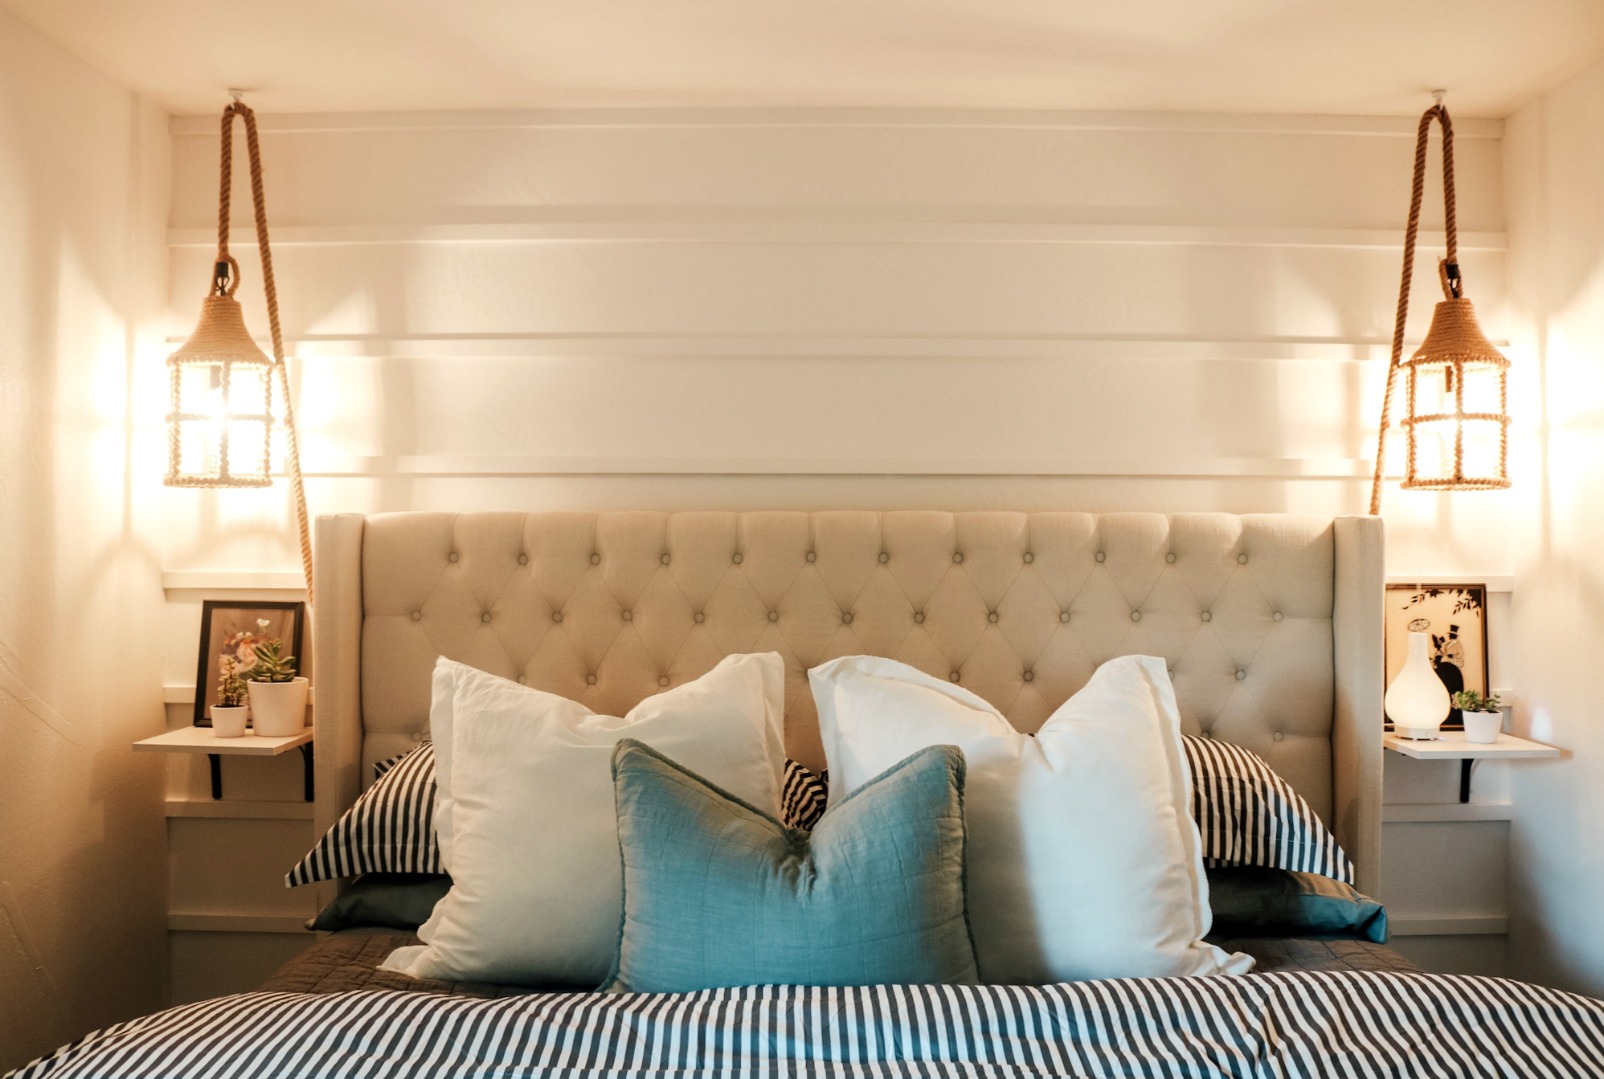
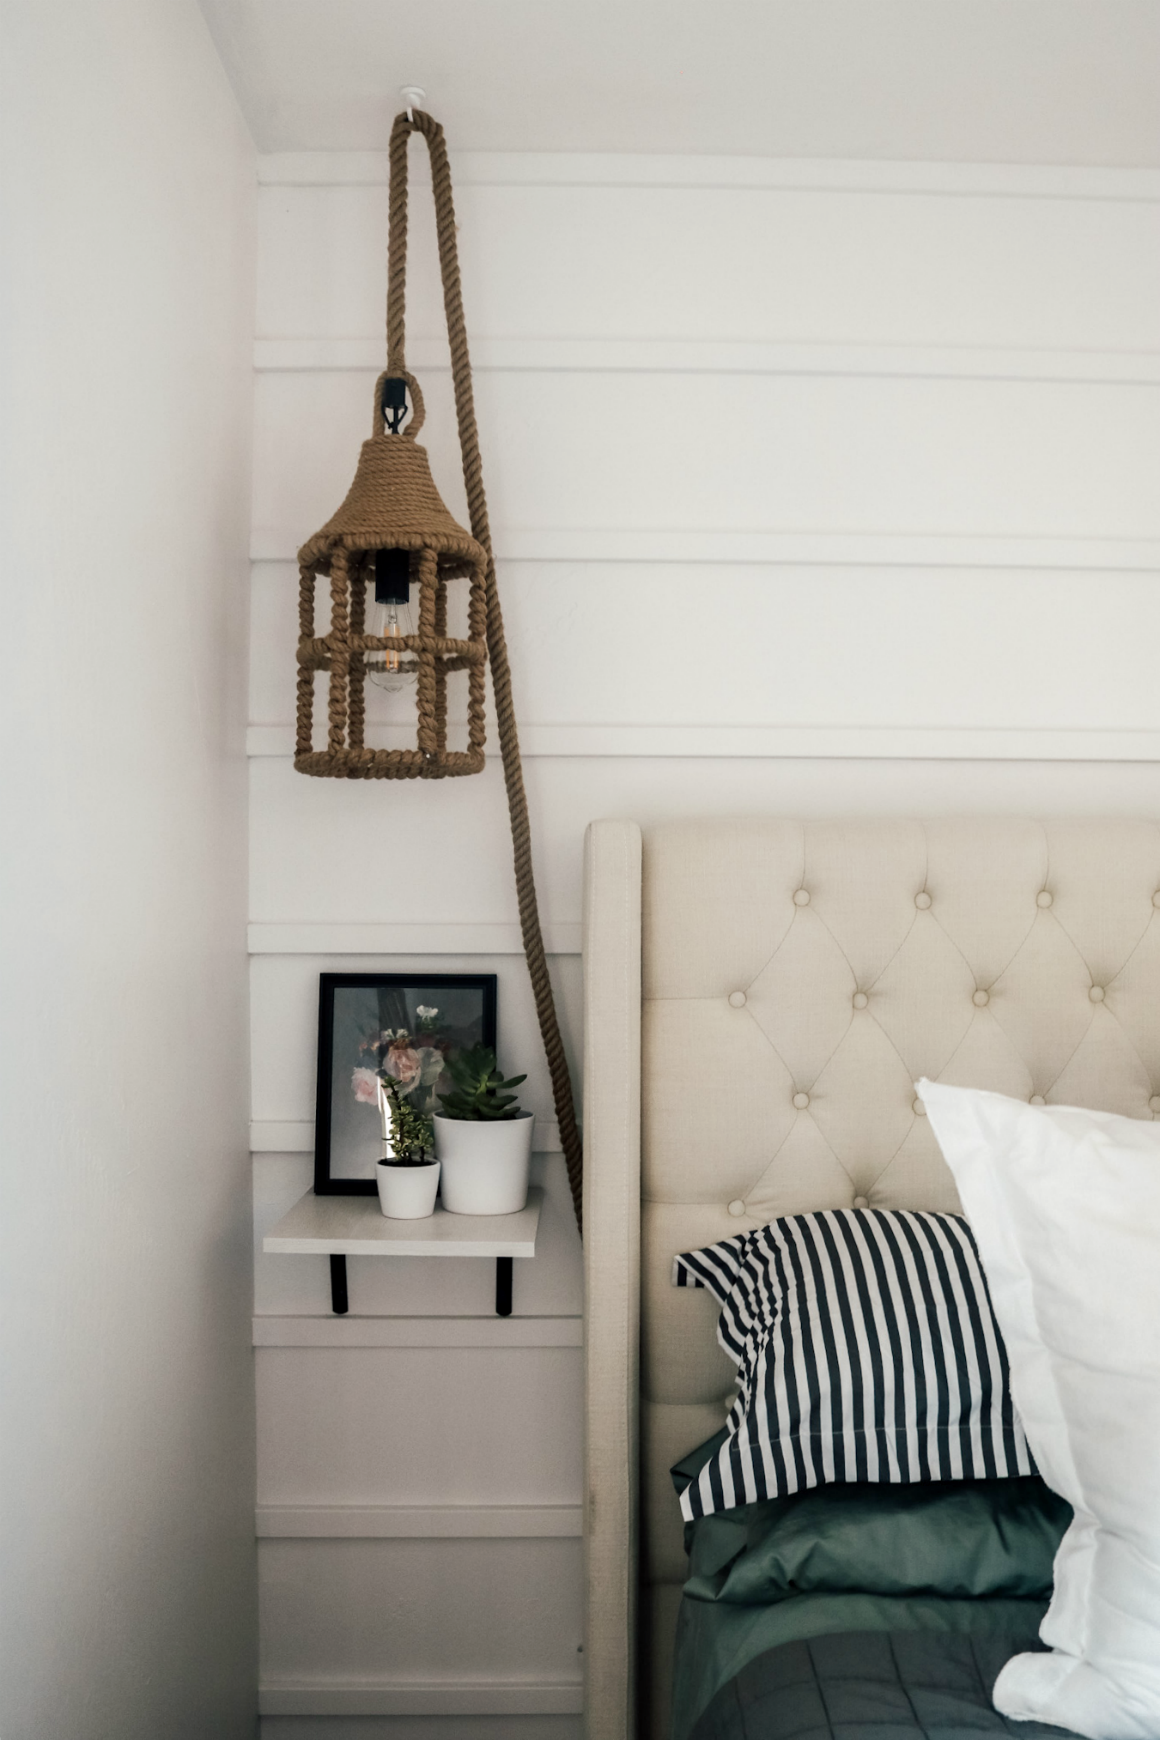
With a king bed, that left us with about 10″ on either side of the bed, really hard to find nightstands that are 10″! So I opted to do these hanging rope pendant lights, with a simple shelf under it for a nightstand.
The pendant lights come ready to hardwire, (which in the future we could have then hardwired to the ceiling). With limited time we just simply cut off the hardwire cap and added this plug to the end so we could plug it into the wall (details how to do that here). The plug is behind the bed, making them hard to turn off each night (the lights don’t have a switch) we put the lights into this wifi smart plug, that they can control from an app!
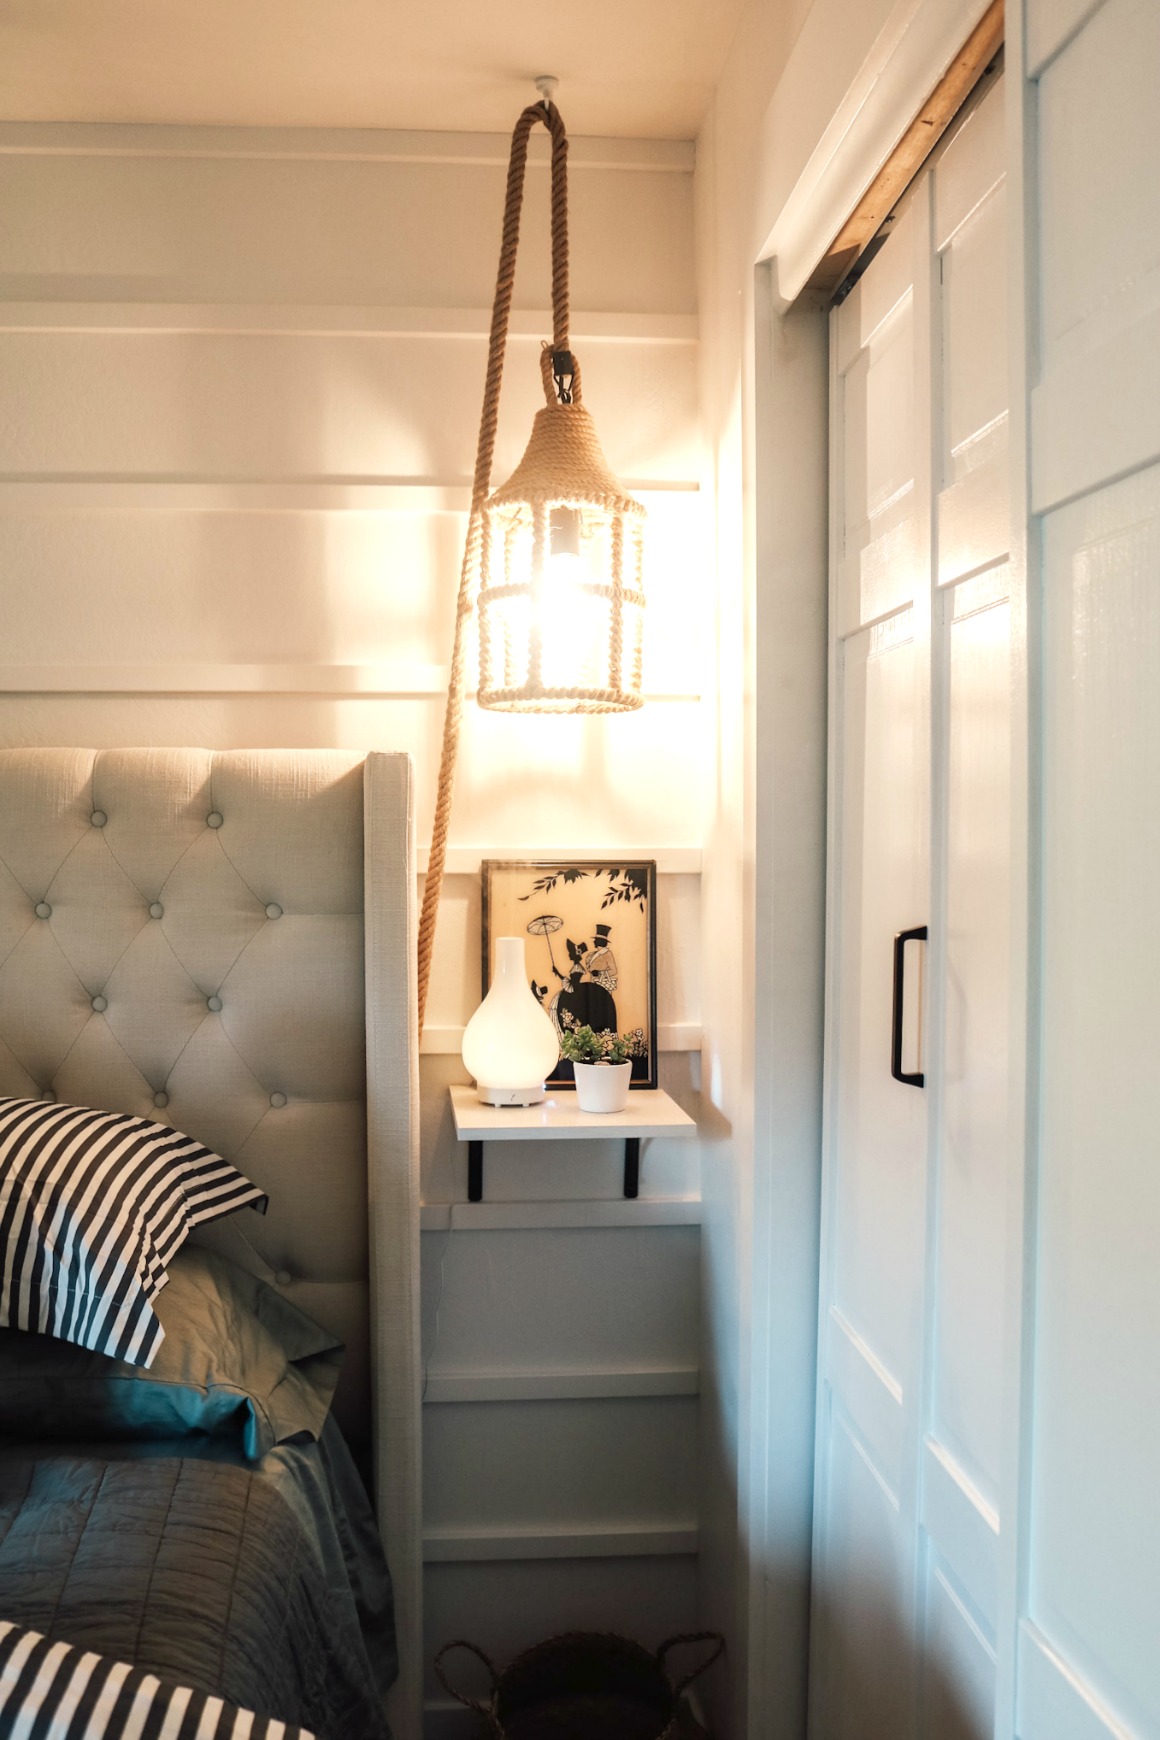
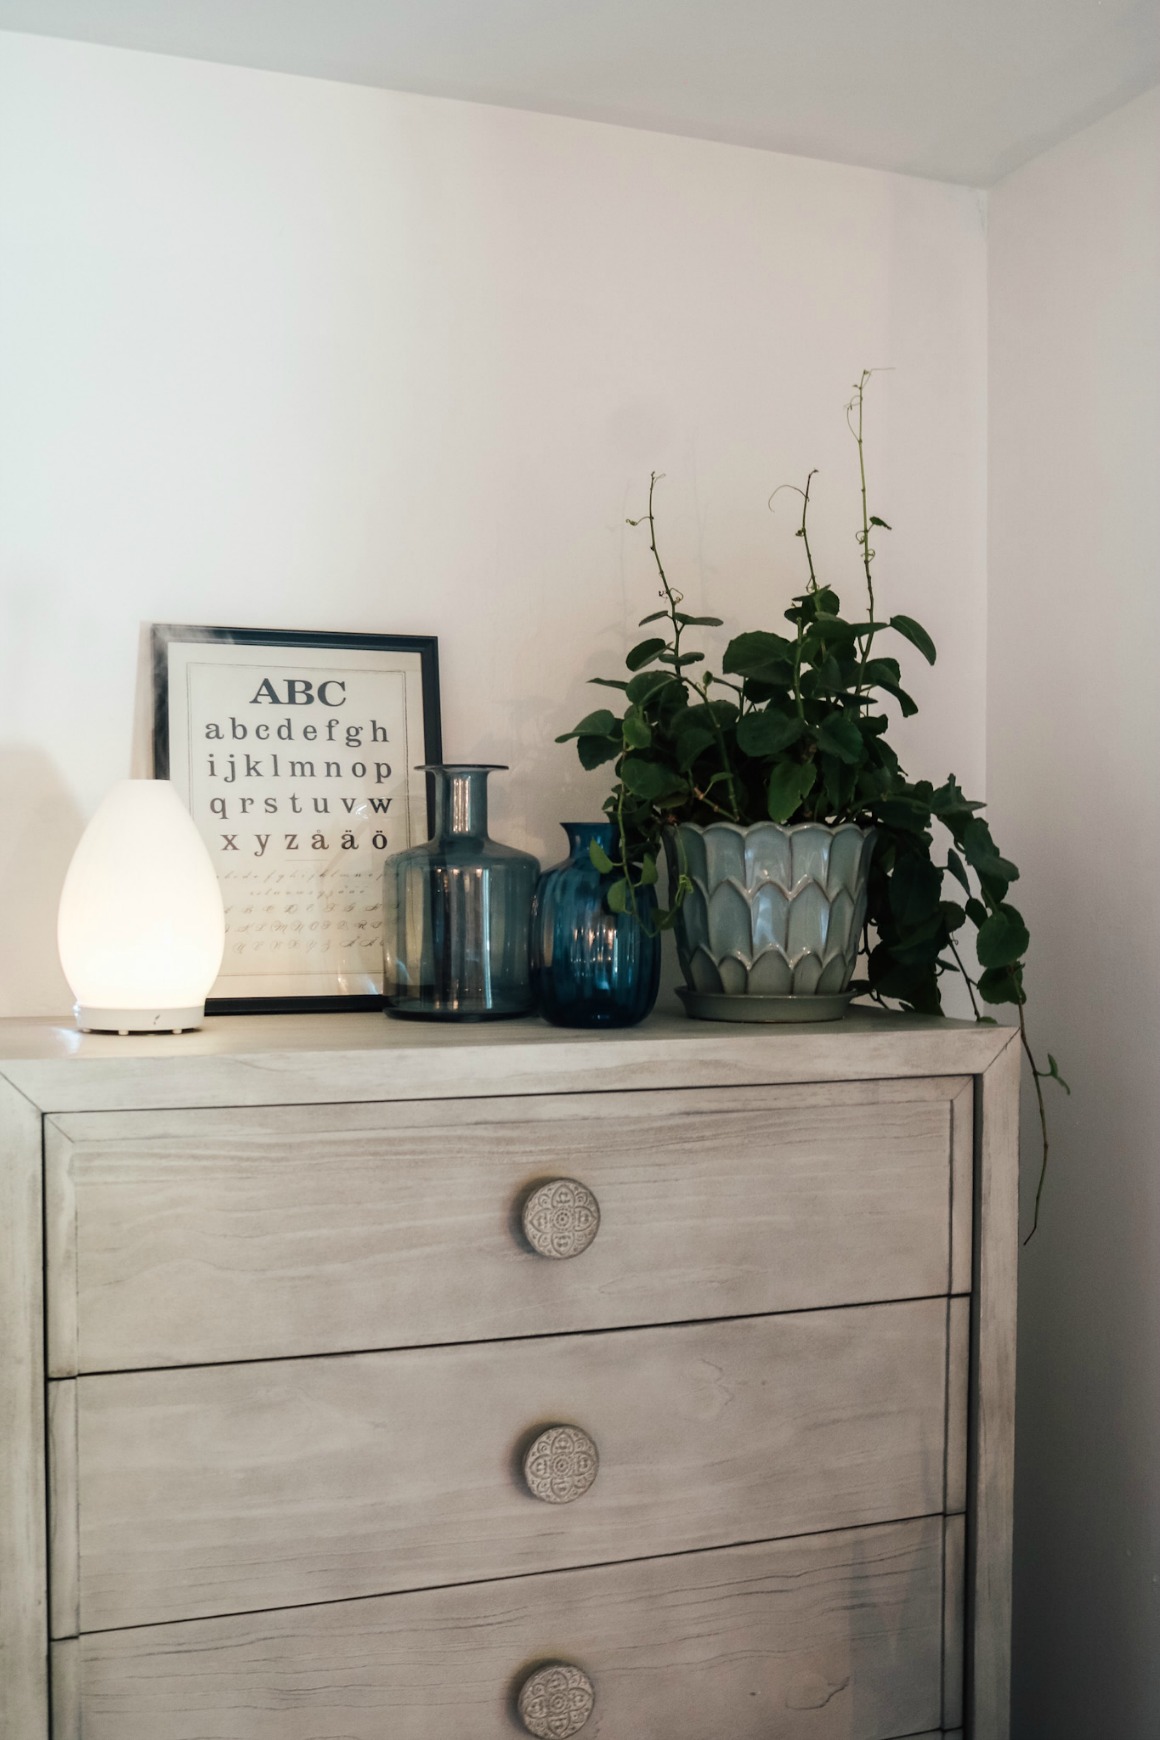
This side had enough room for one of my favorite glass diffusers and a plant (find diffuser here).

The shelves are just these Rubbermaid shelves from The Home Depot, that we cut to size and used these brackets. Also put a basket below each shelf for books etc.
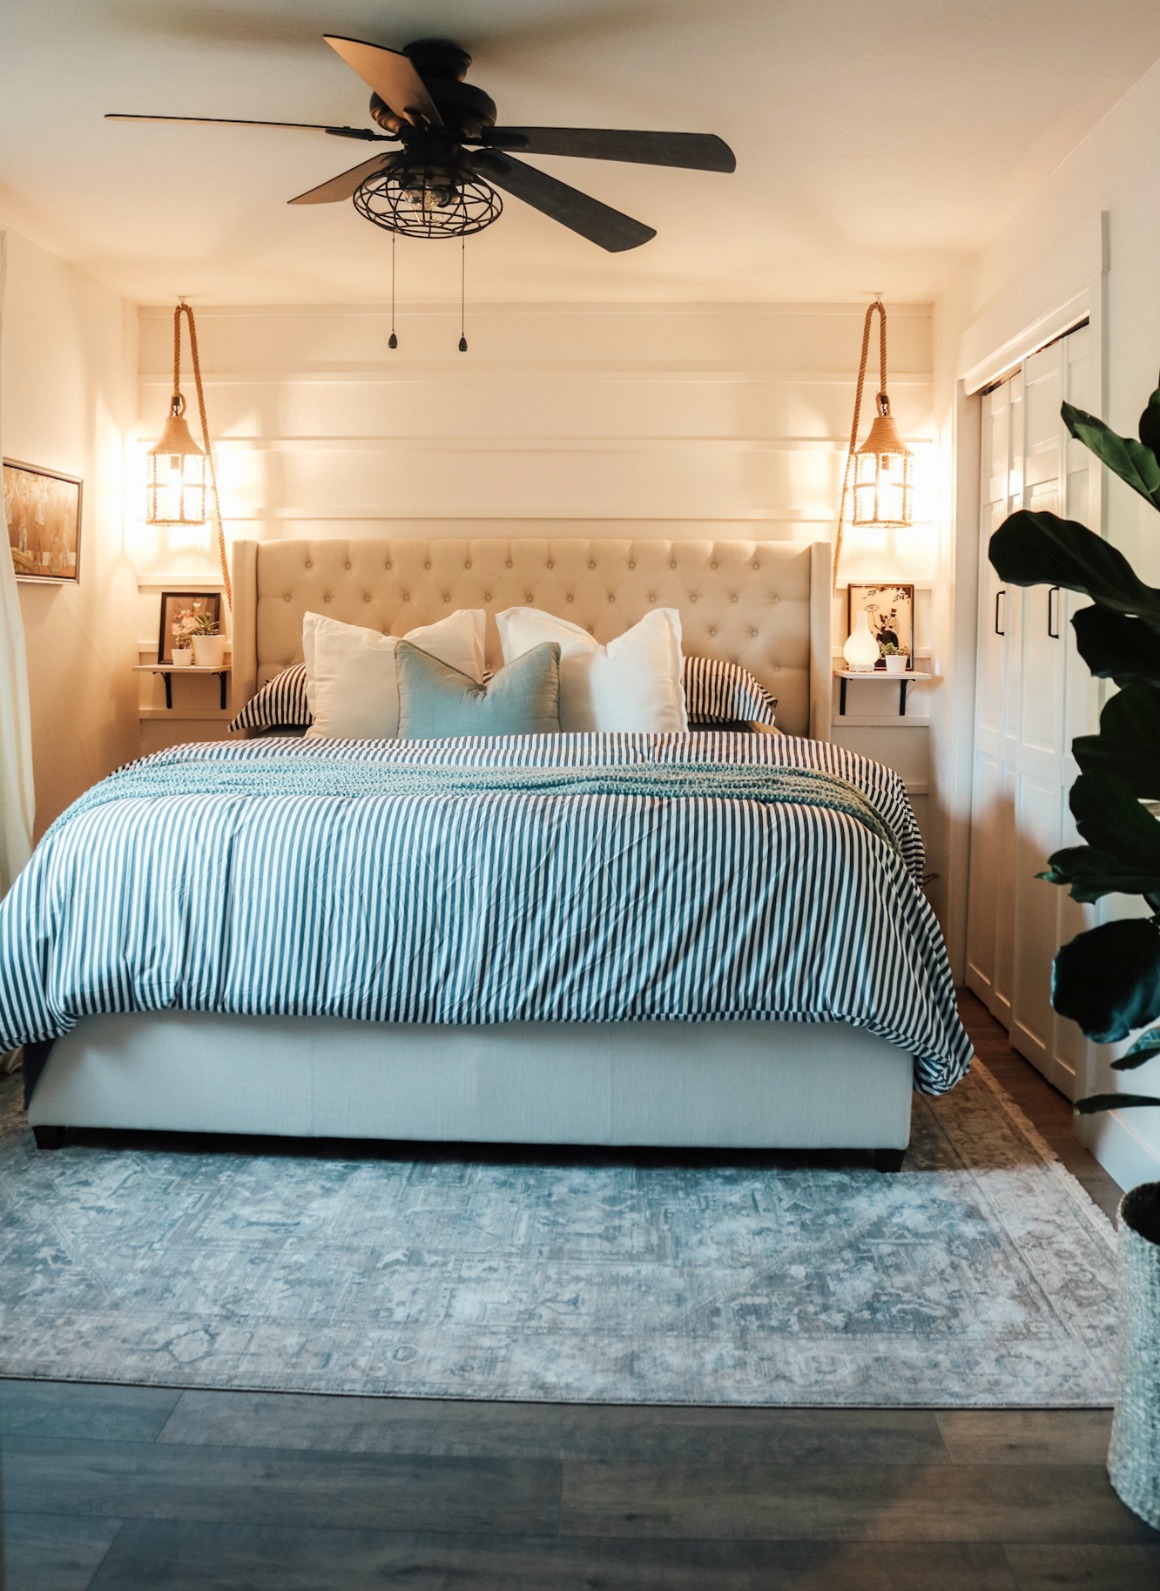
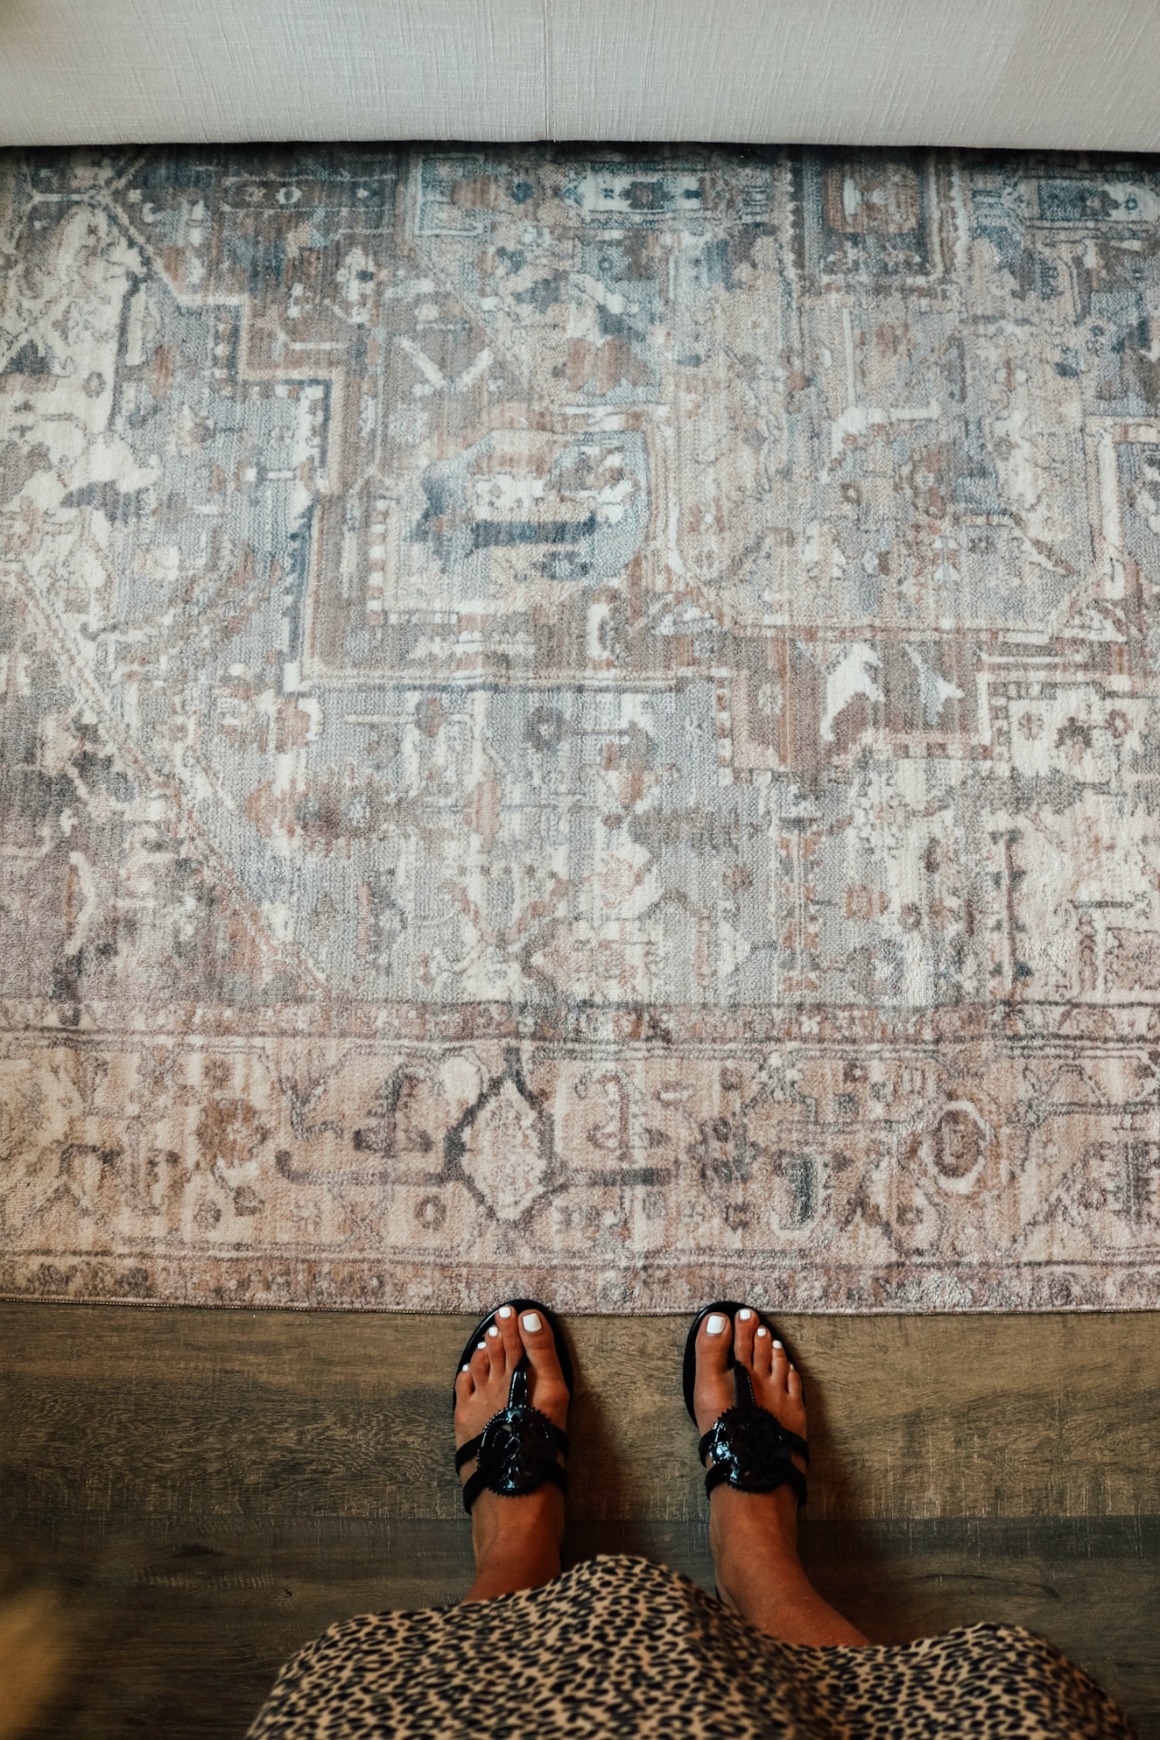
A rug is typically the starting point for me in any design plan. I found this rug at The Home Depot, get price and gorgeous!!!! Love the touch of blue.
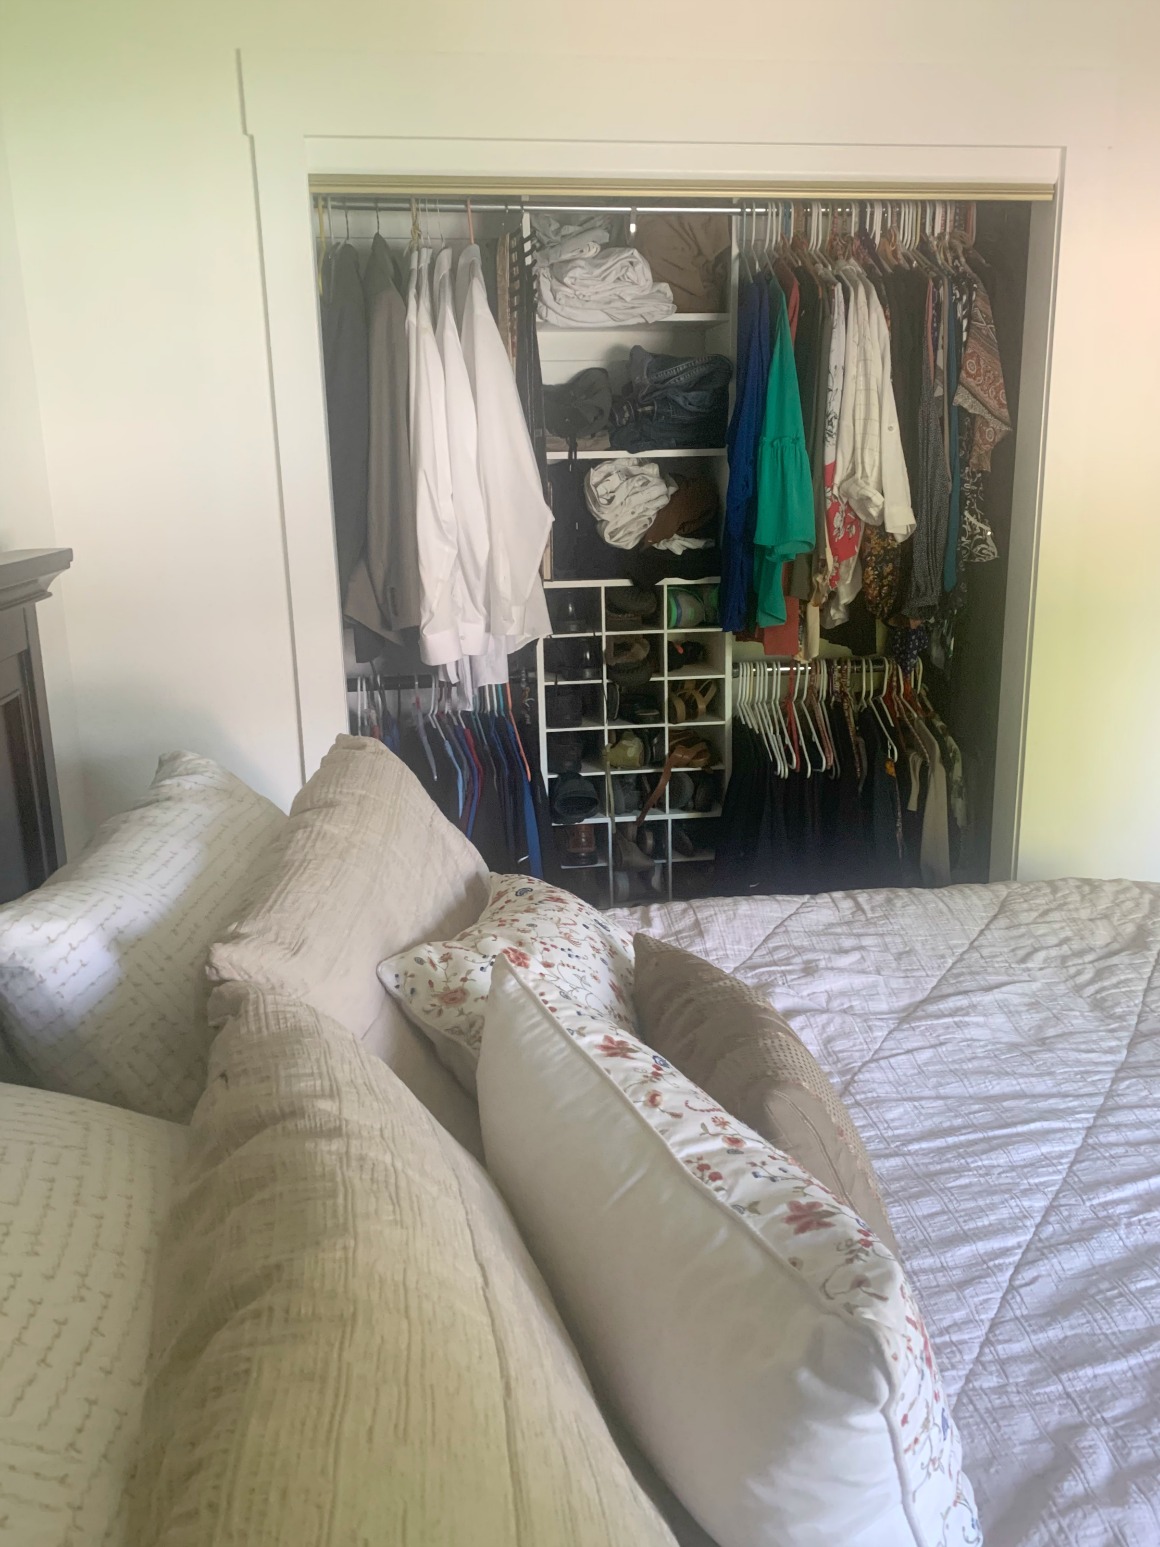
They had sliding mirror closet doors ever since I was little. About a month ago they took them off and added some nice custom shelf organizers in their closet. But hadn’t put doors on yet. So we got them these new doors from The Home Depot. They were slightly too big so we had to sand down the top a little to fit. Much better solution over custom doors.

They had two smaller scale dressers in their bedroom. Instead of doing the same, I found this larger nice dresser. It is REALLY great quality. It came assembled, which a lot of us can appreciate!
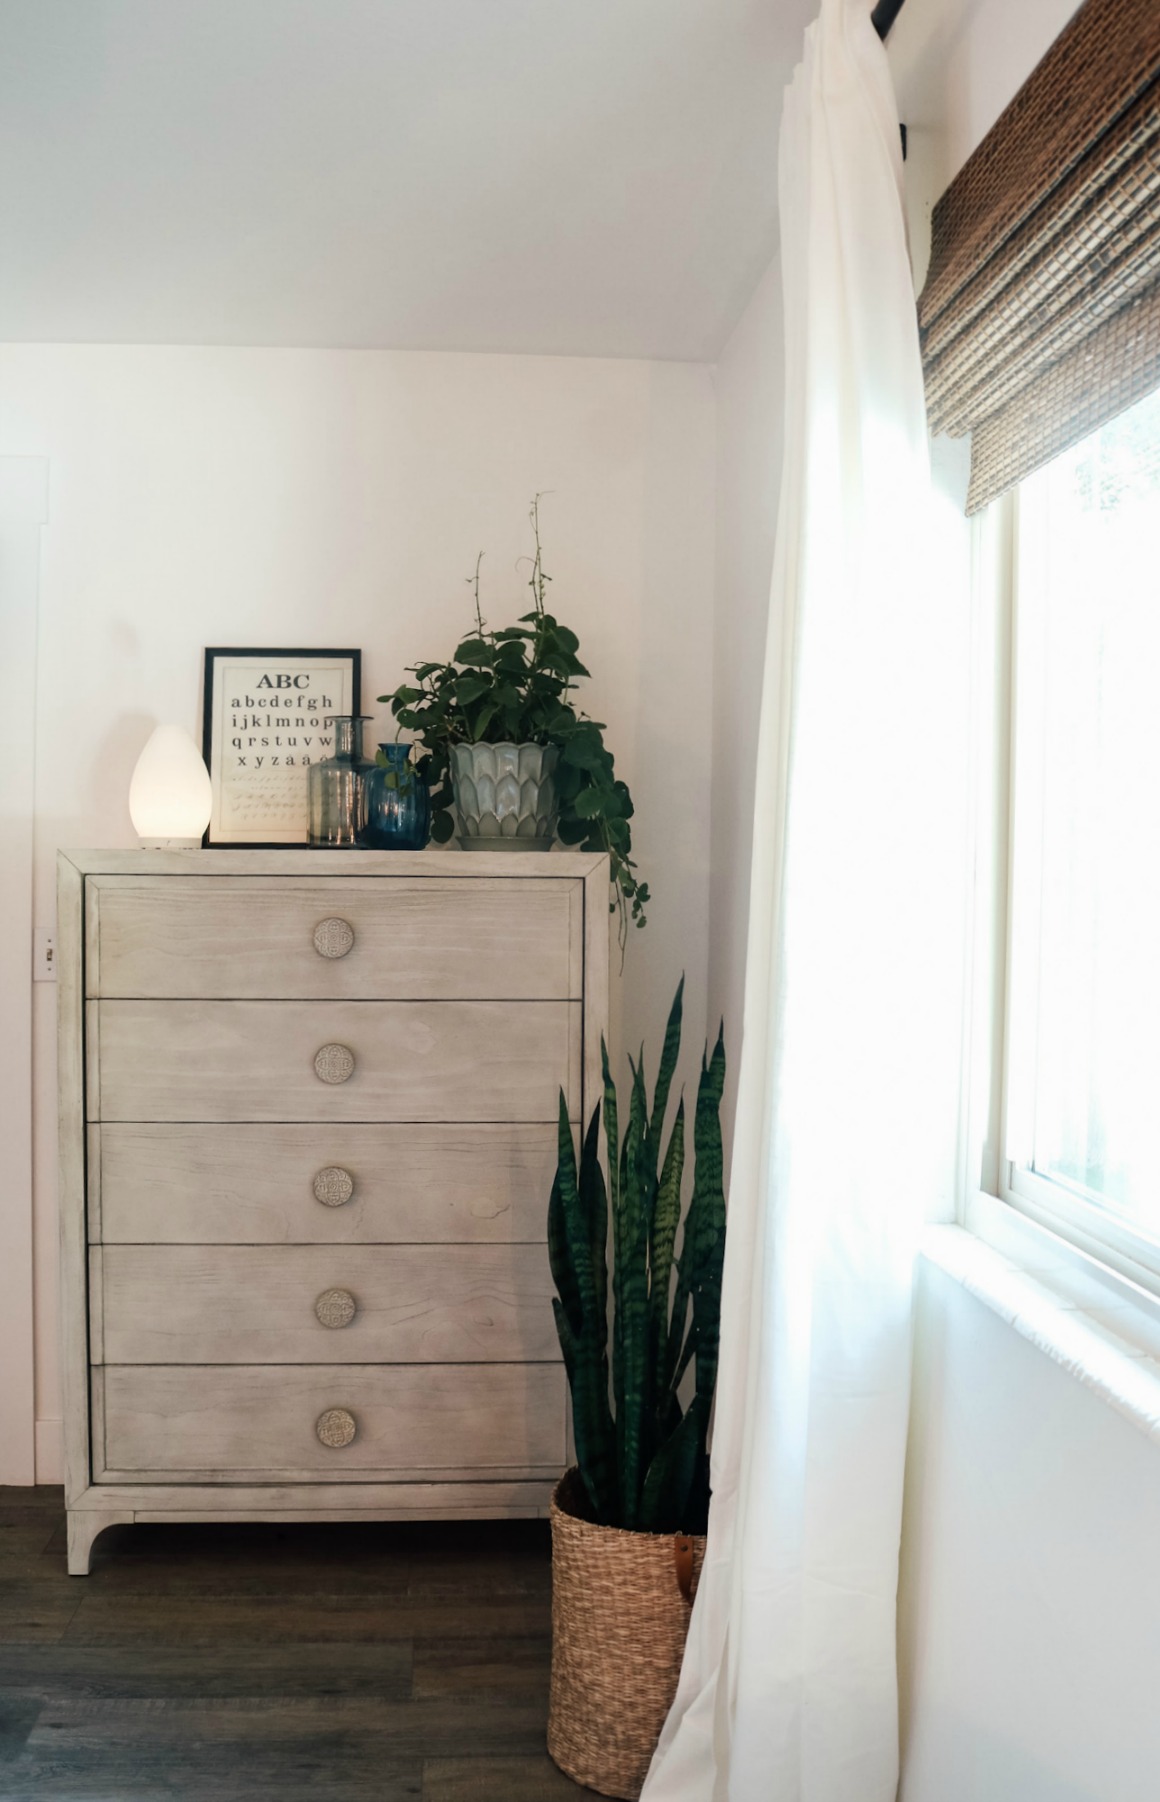
The knobs on the drawers are so pretty and unique. My parents were impressed it was from The Home Depot, because it is not something you see in their store! You can find really anything on their website and I know that they have 100% satisfaction guaranteed, so I could take the risk ordering something I had not seen before!
.
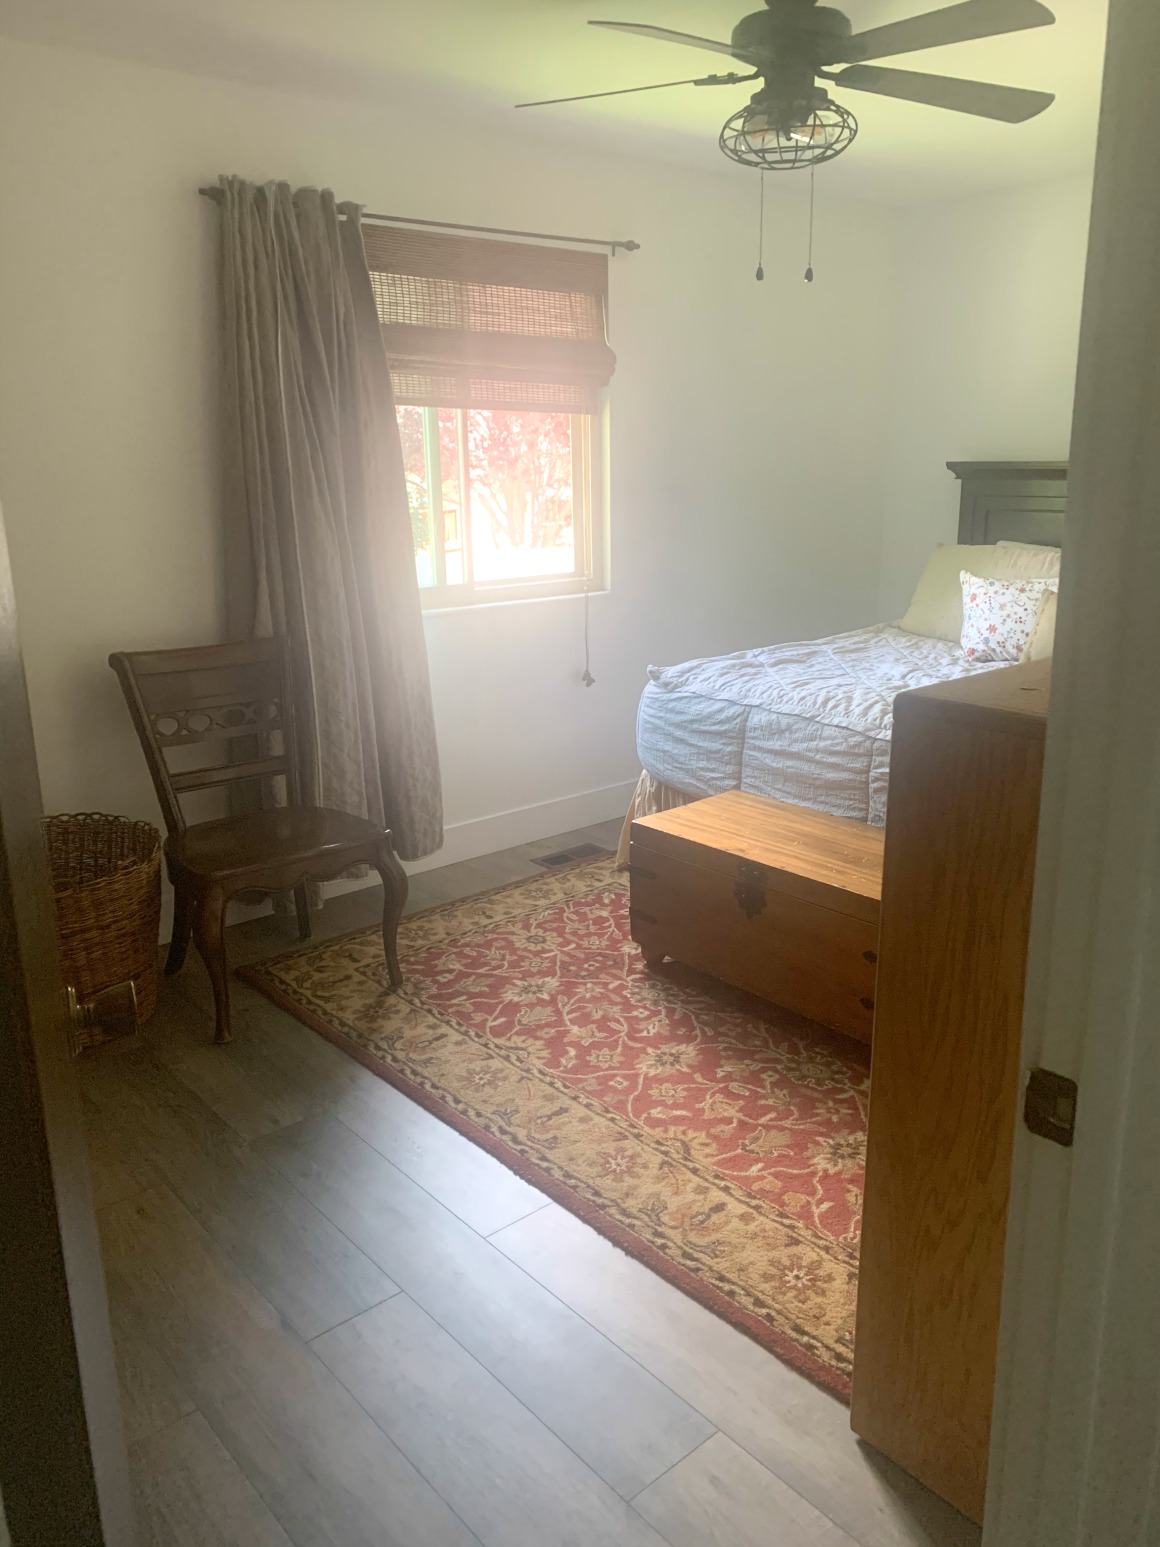
They had some window treatments and the bamboo shades. But the curtain panels were too short and the curtain rod needed to be hung higher…

See the difference?! We got them this new curtain rod that was a little more substantial. This curtain is actually my favorite curtain rod, such a good price and really looks good in any room.
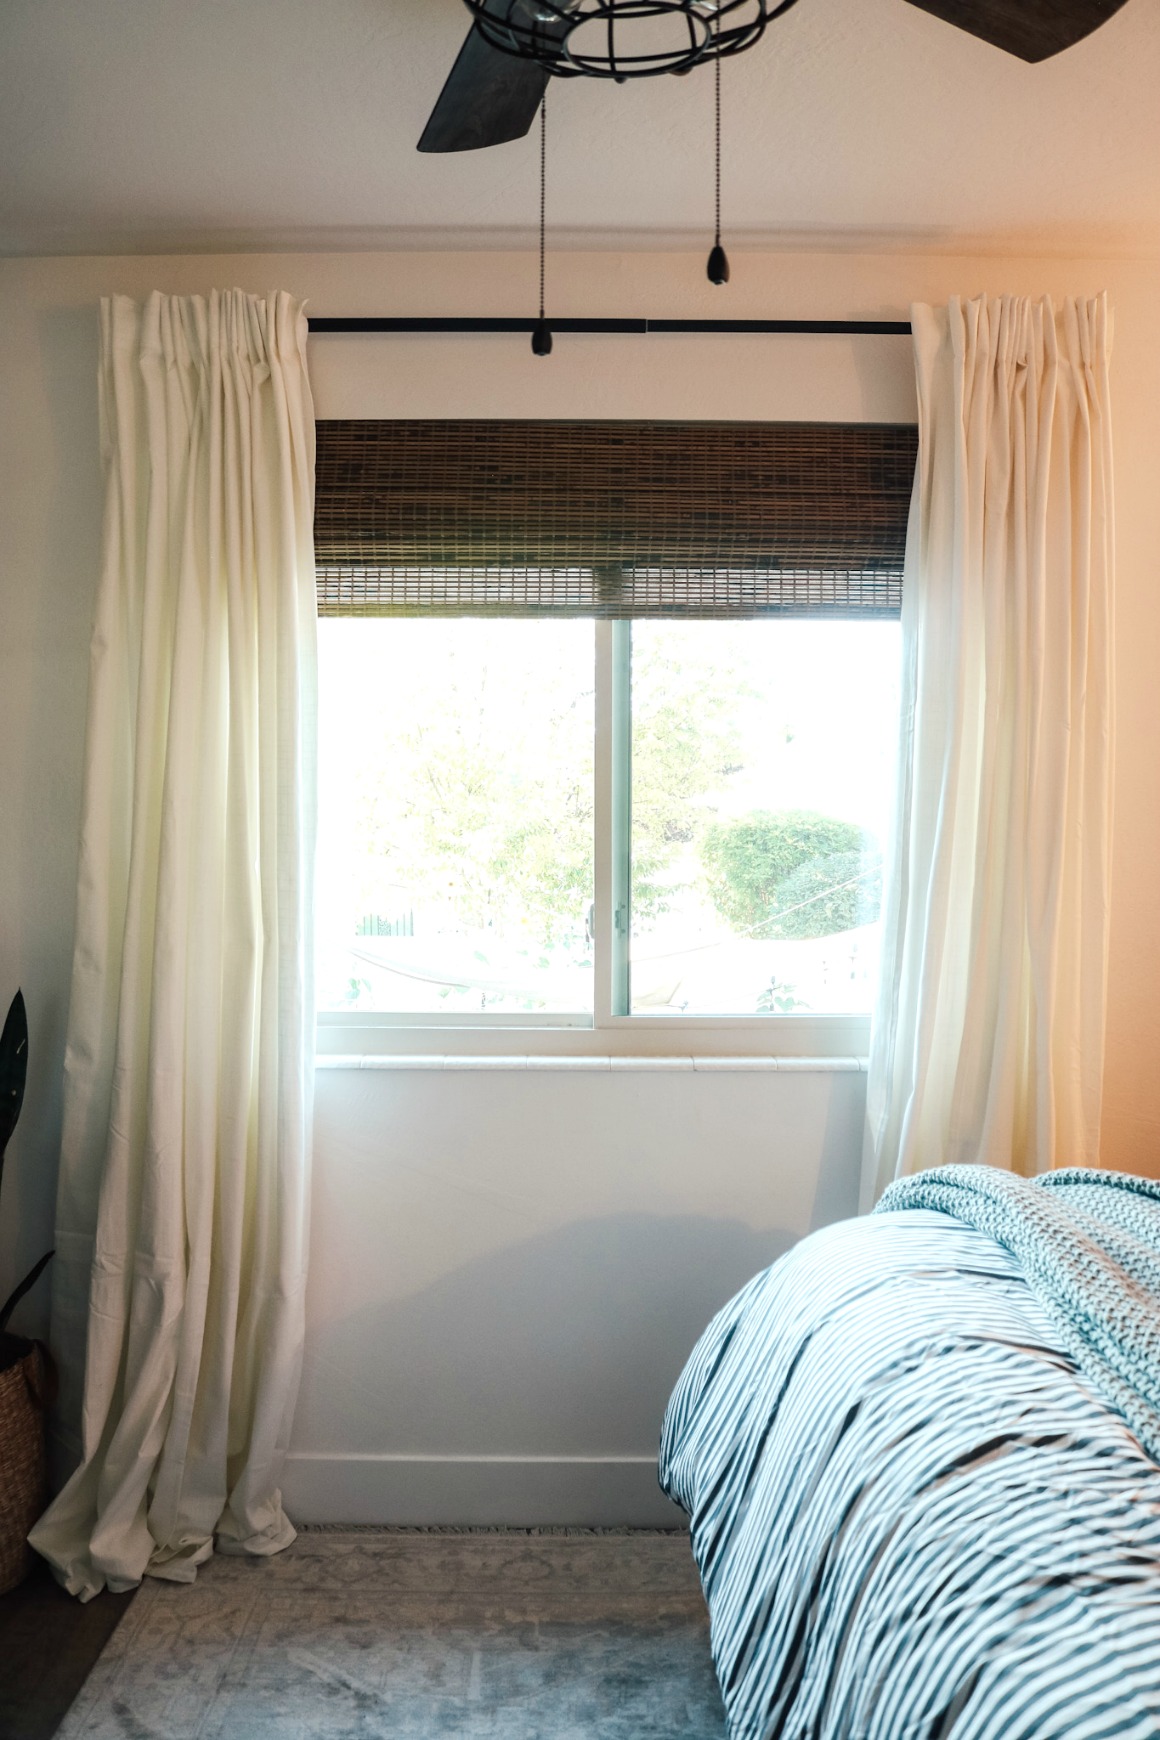
We also did two curtain panels on either side of the window, which I think most windows need! We hung the curtain rod about 6″ from the top of the window and about the same on the sides, that way the panels aren’t blocking the light or the view.
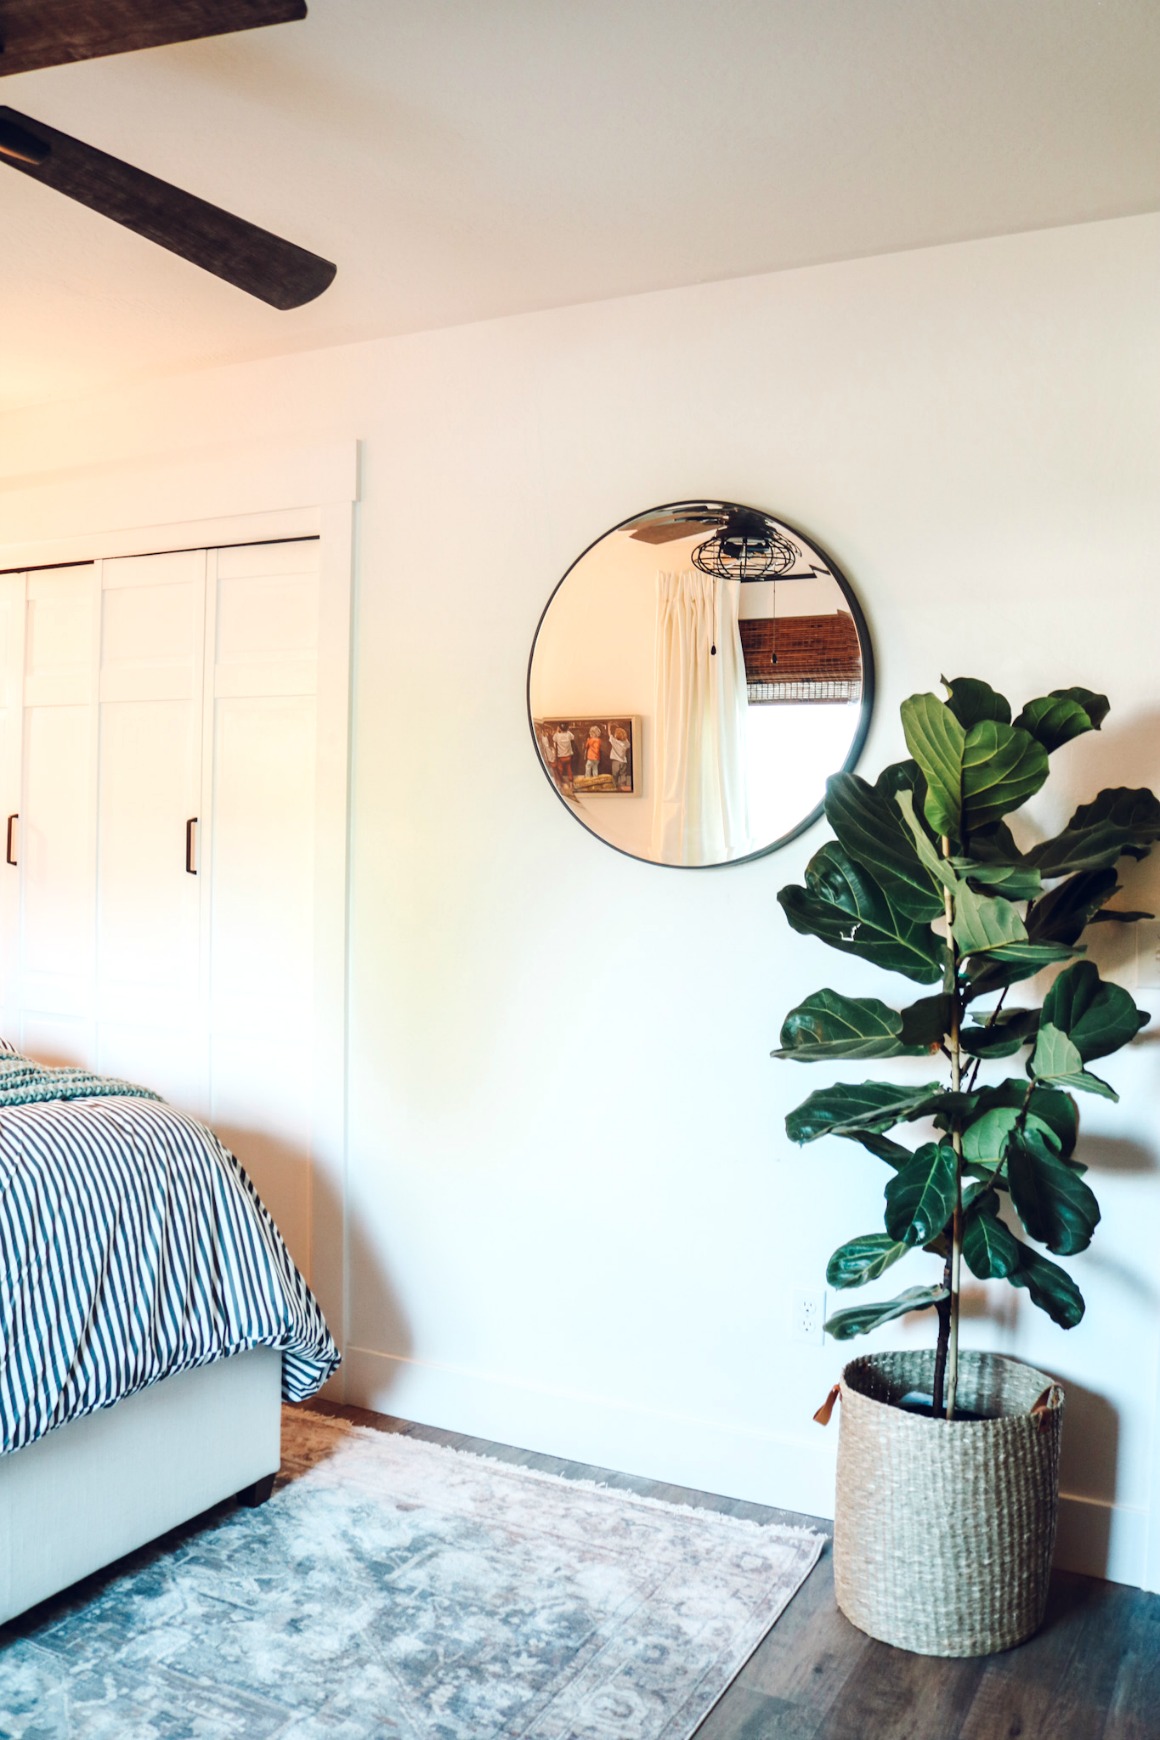
Instead of the dresser on this wall we went with this large round mirror and a real fiddle leaf fig, both from Home Depot. I LOVE this mirror, it is about 2″ thick, very unique!
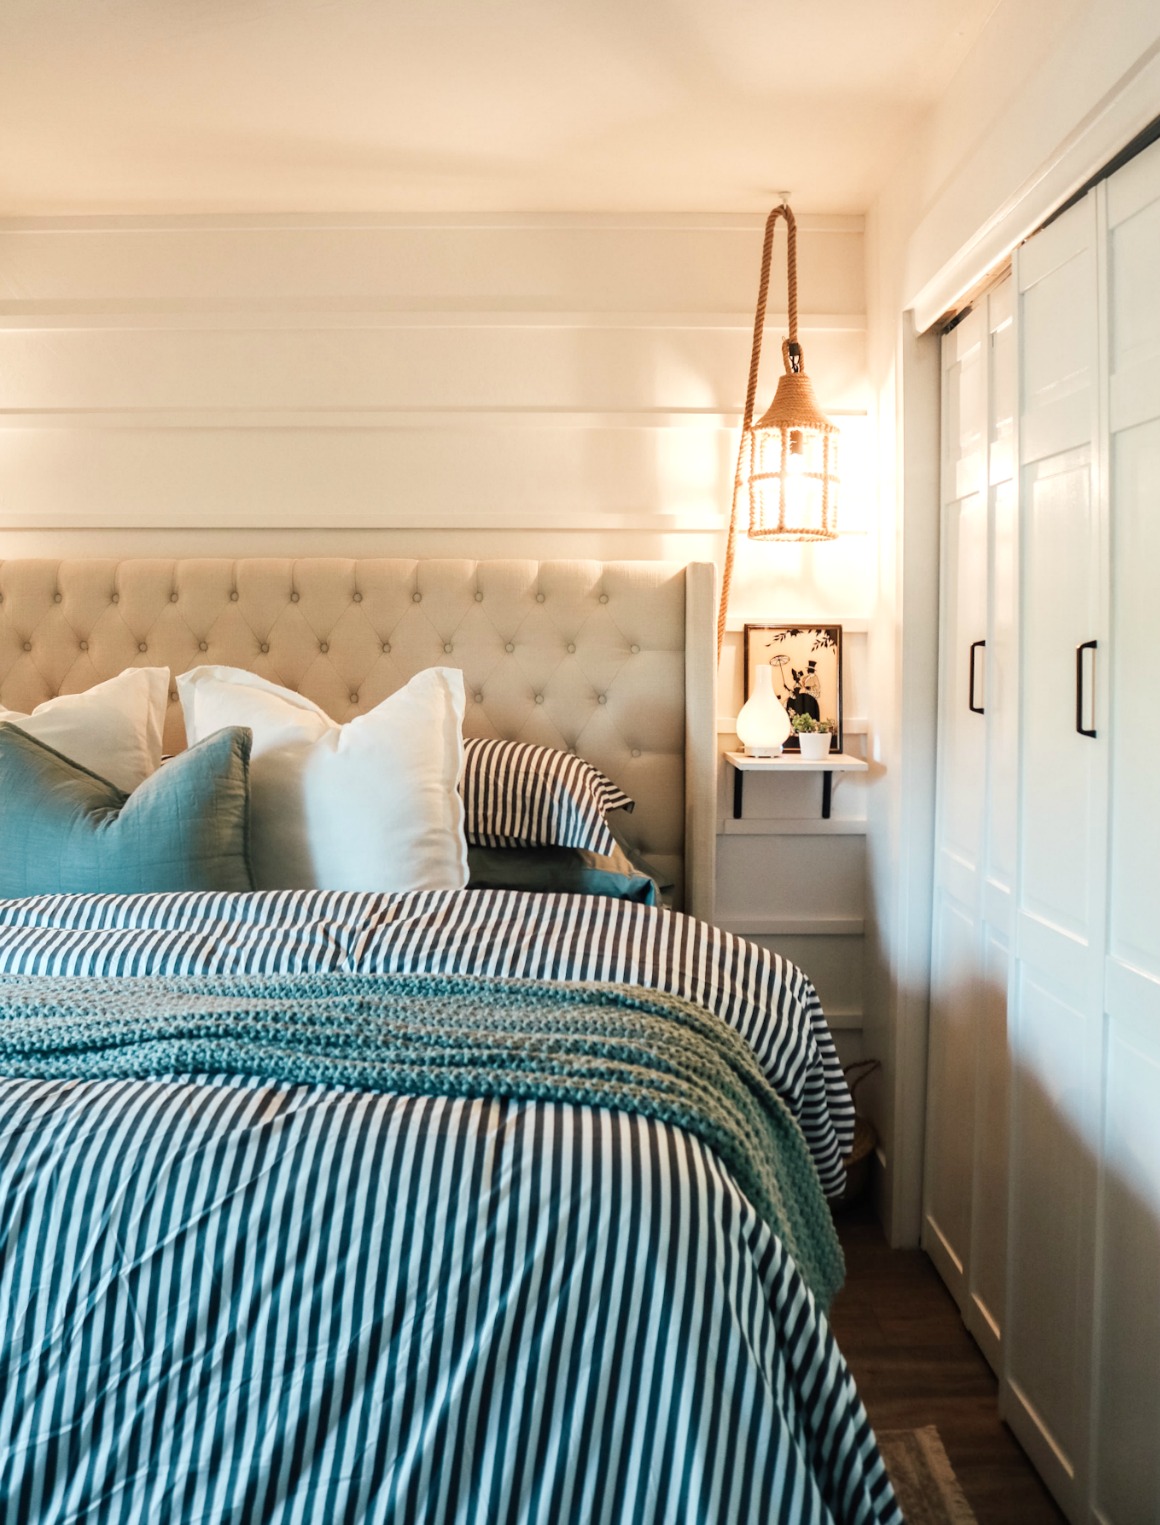
Bedding I kept pretty simple, but wanted something to be a statement piece since the walls were all neutral. I found this King duvet cover and sham set for only $39!!! And with this fluffy (affordable) insert it really makes it look an expensive set. (Find the rest of the bedding here).
Thankful we were able to upgrade their bedroom! Simple changes really go a long way!
Click on an image to shop the room-


I love the closet door panels, the hanging lights and the behind the bed feature wall. How did they become white; simply painting them the same wall paint (or different finish on those?) curious of that process and of the hardware used on those. Really nice job!!! Only issue our children ask is why our remodel projects do not go as quick as what they see within your blog. =)